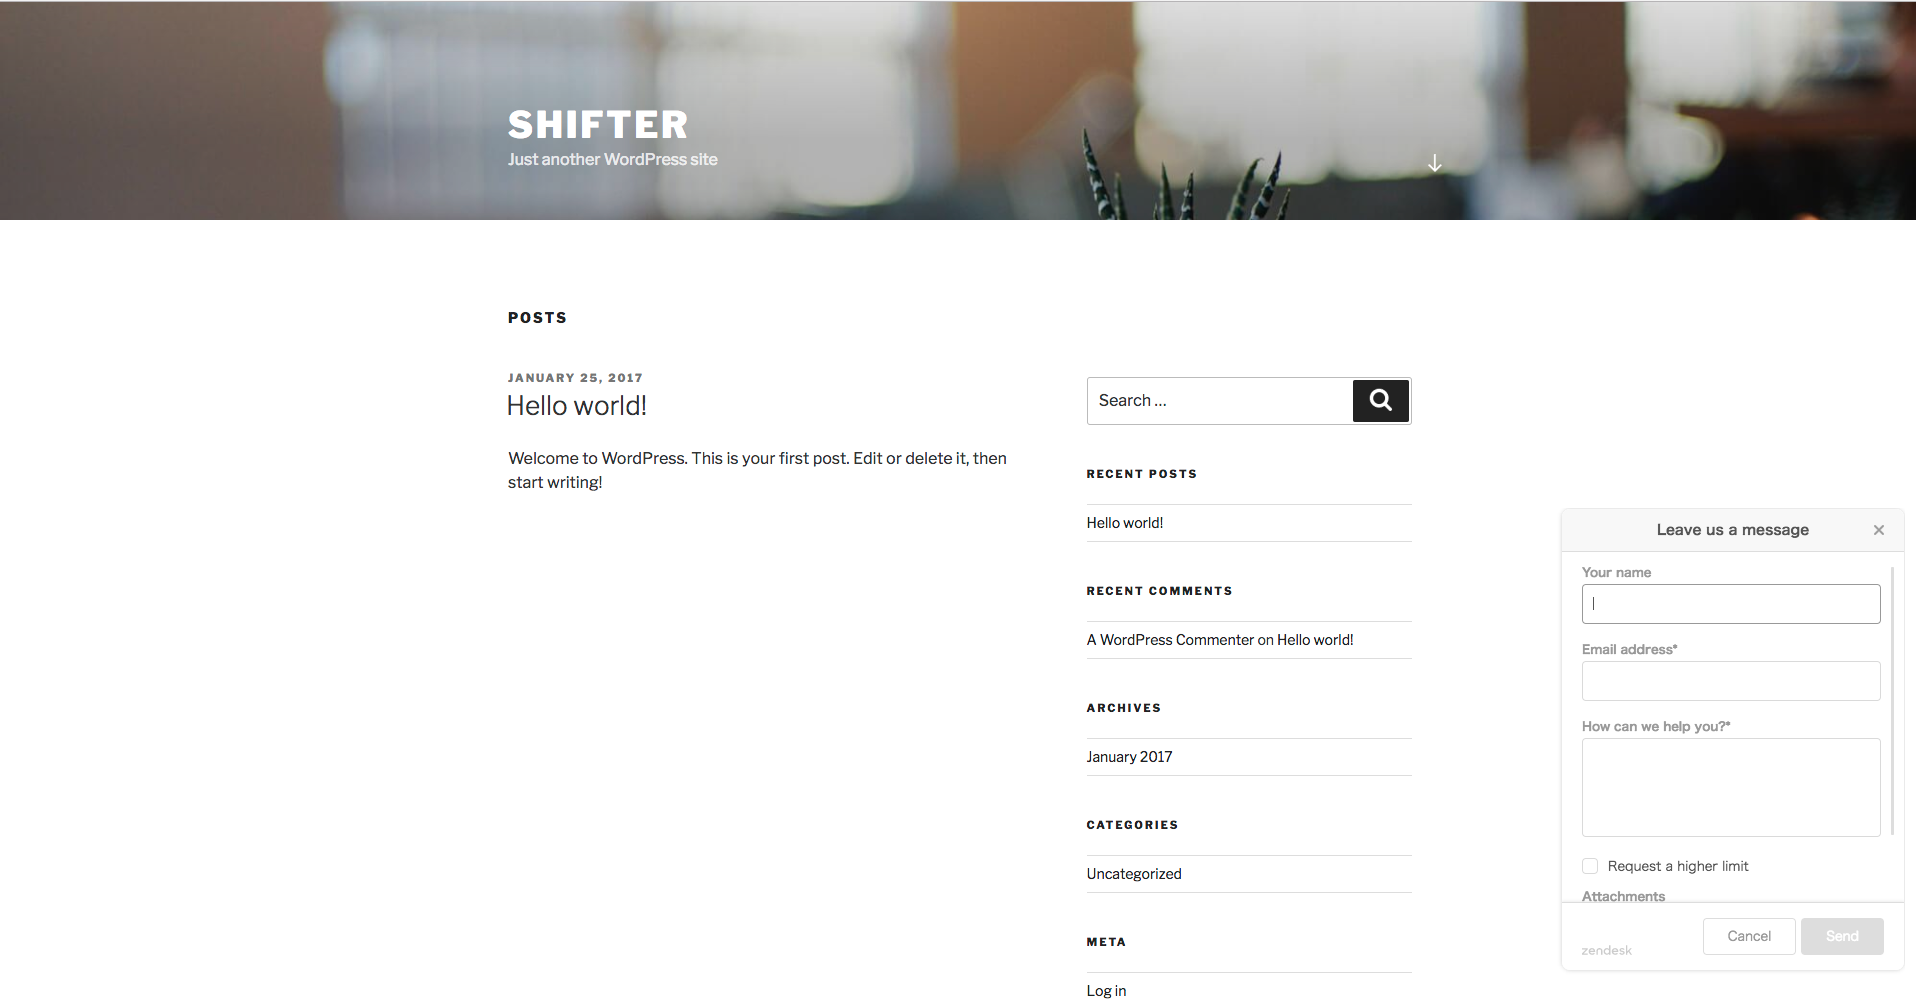
By integrating Zendesk into your WordPress website, you can give your users an interactive help widget.
Step 1: Create Zendesk Account
First, sign up for Zendesk.
You can create a Zendesk account on their Let’s get started page.
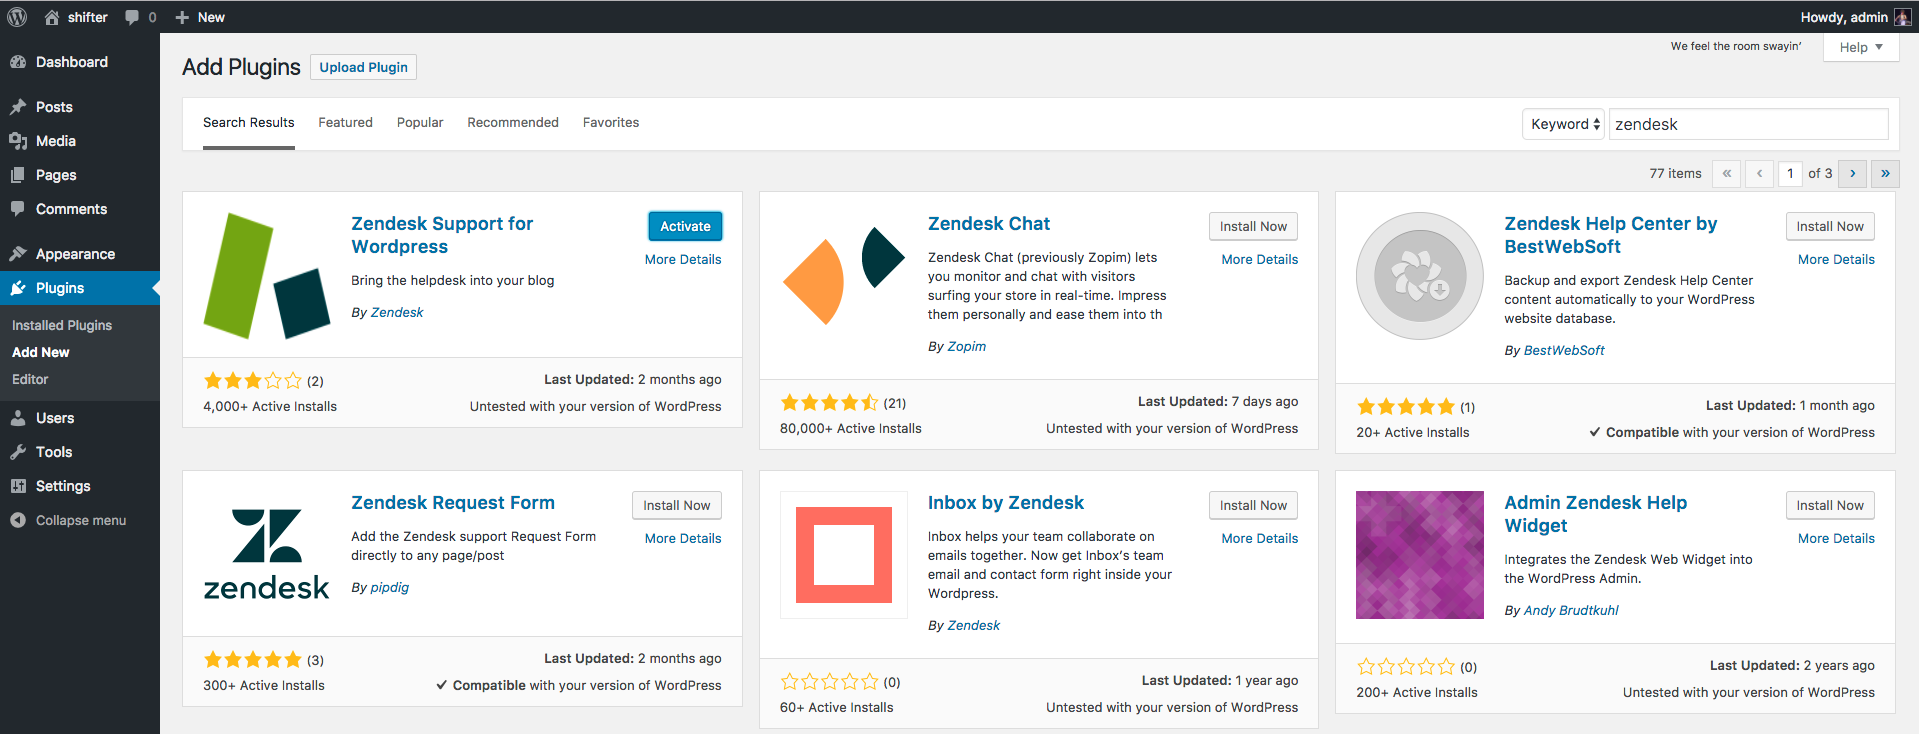
Step 2: Install Zendesk Integration Plugin
Install the Zendesk integration plugin into WordPress on Shifter.
Zendesk provides the Zendesk Support for WordPress plugin to connect your WordPress site to Zendesk. Let’s install and activate it.
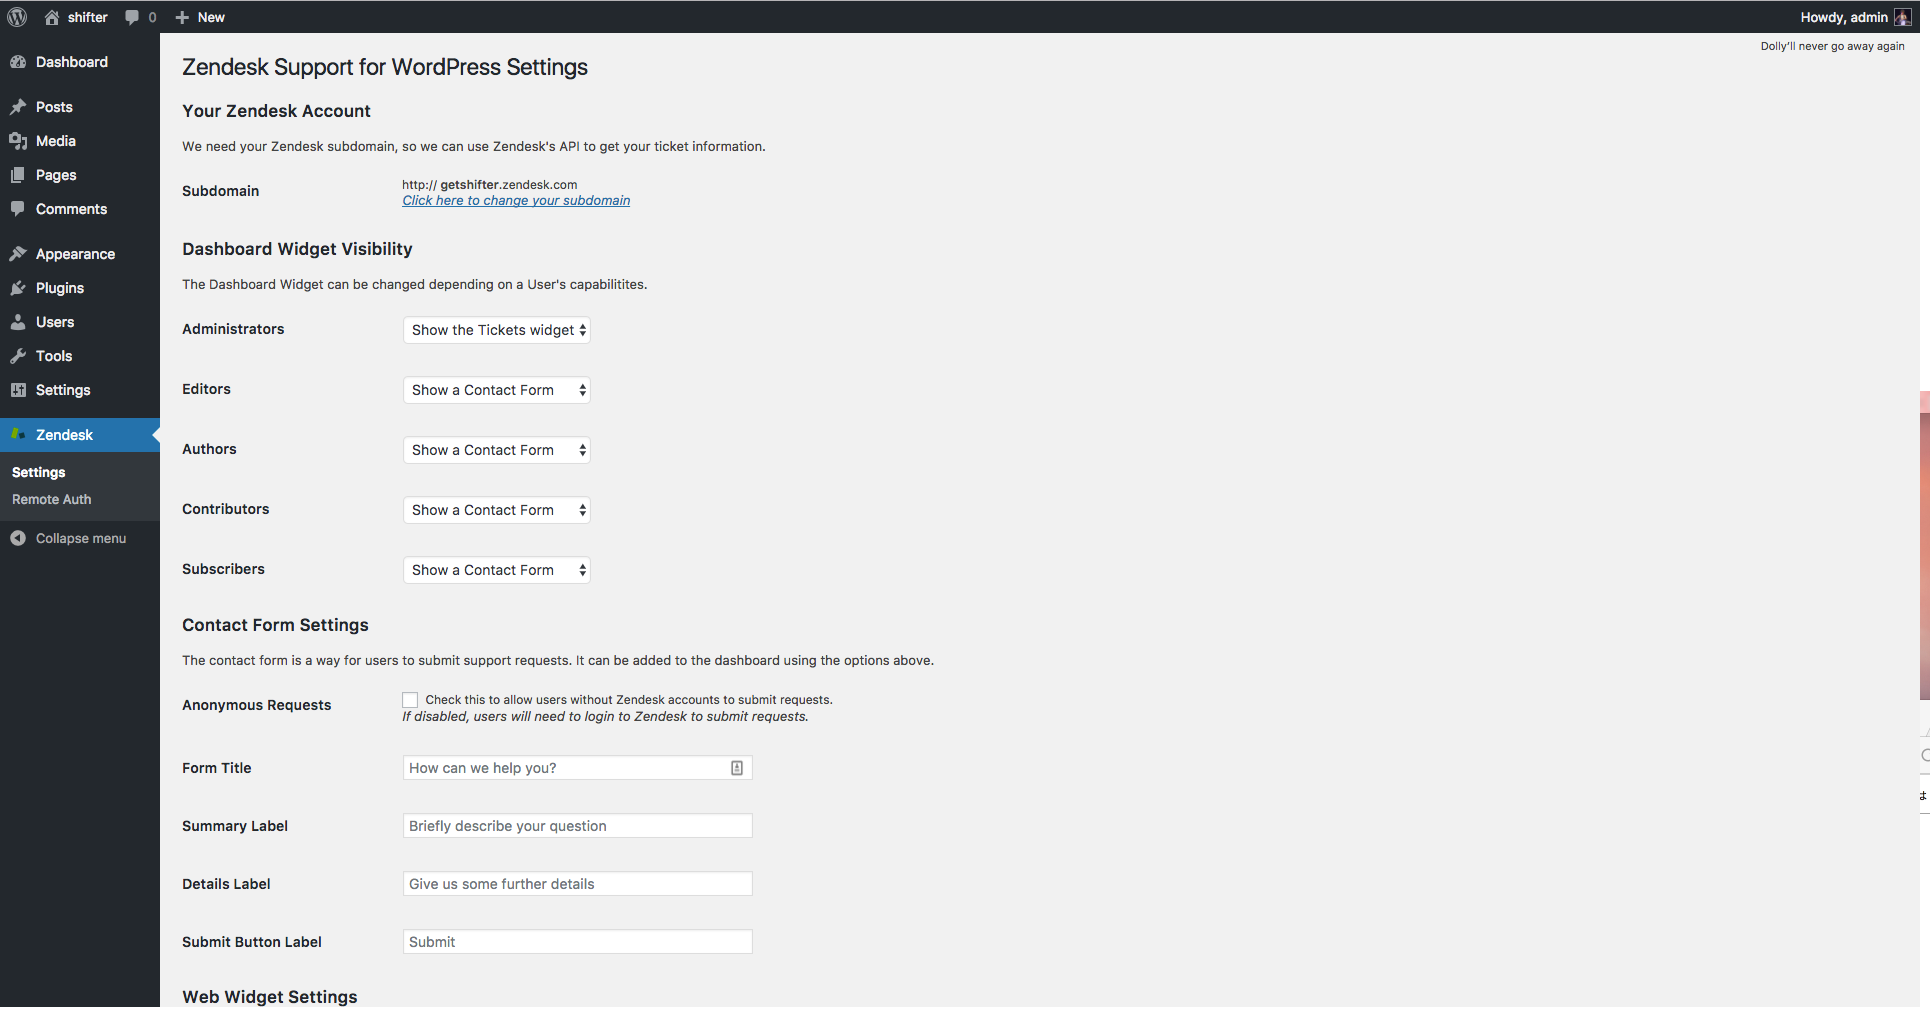
Step 3: Set up the Plugin
Once you enable it, you’ll see [Zendesk] menu on sidebar menu on the WordPress dashboard. Input your sub domain of Zendesk and click [Save Changes] to complete the initial set up.

After the initial set up, you can modify the widget’s settings: visibilities, contact form, etc.
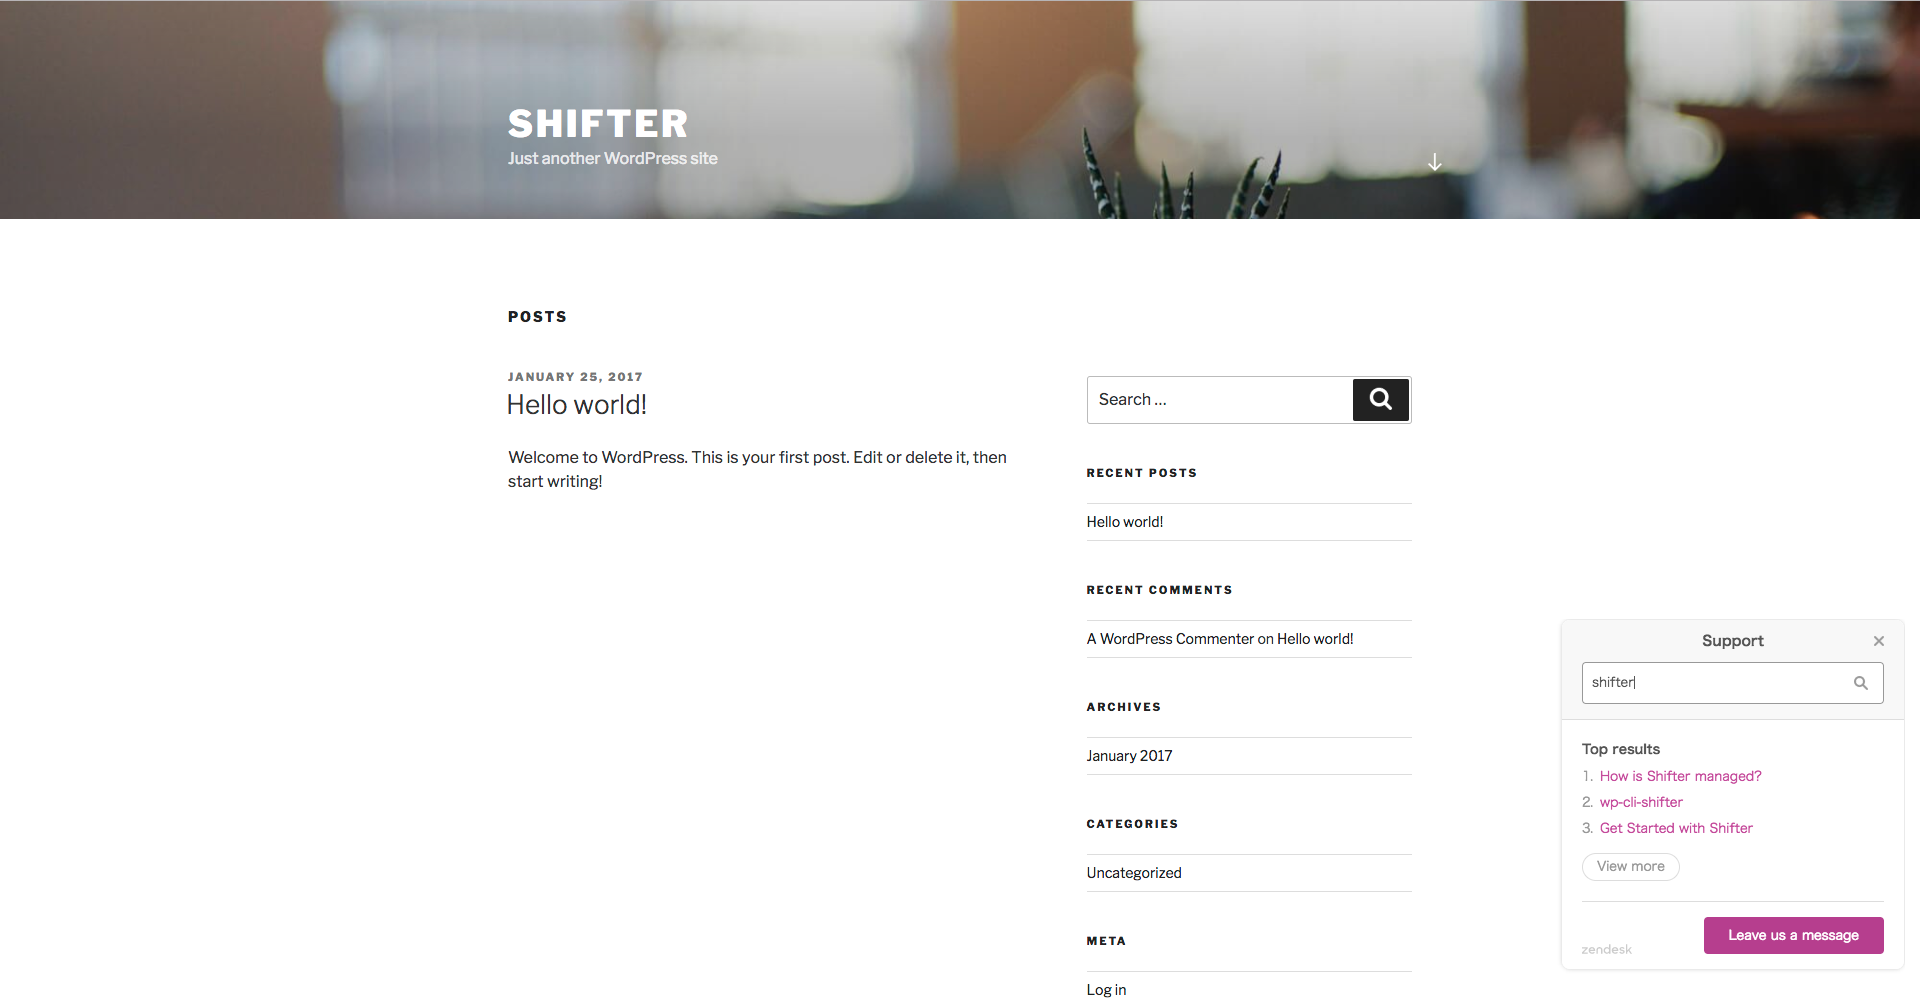
After you have finished setting it up, the Zendesk Support for WordPress plugin adds its widget onto the right lower corner of your site.

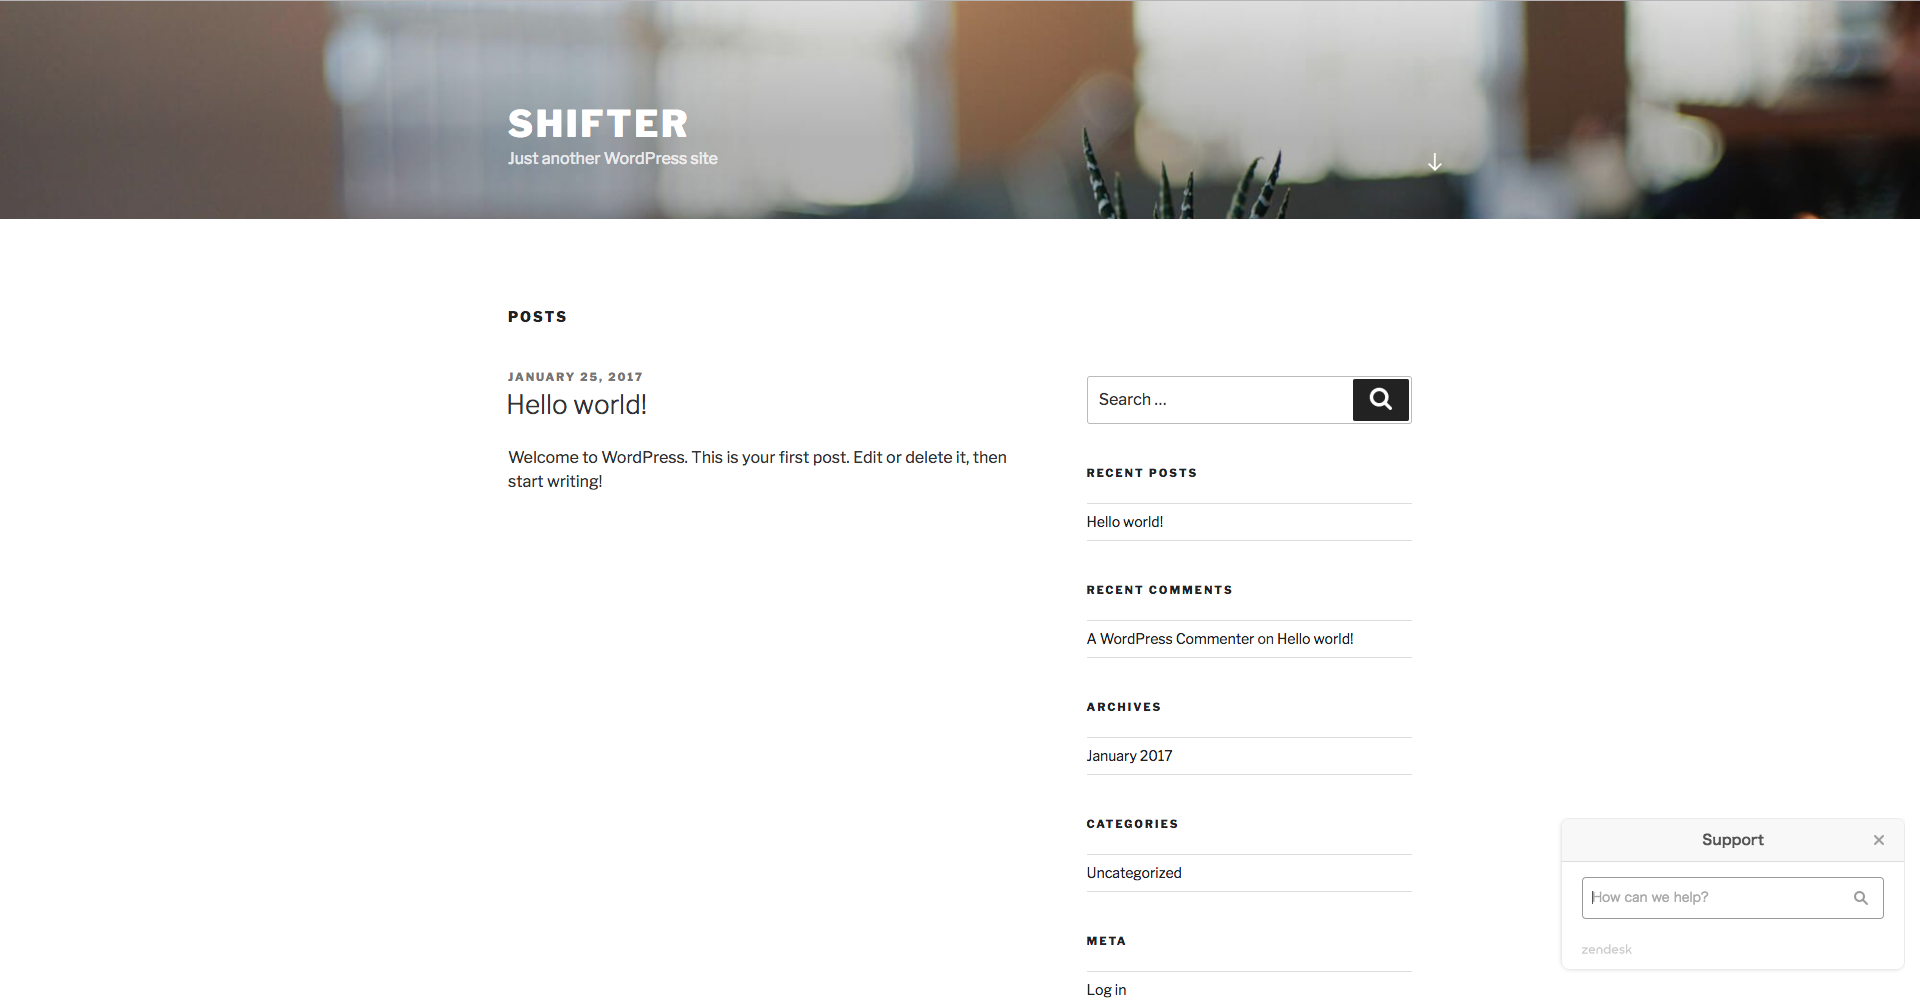
Step 4: Generate
Let’s generate your site with Zendesk Support. Of course, the Zendesk widget works on Shifter-generated sites.
You can quickly search for the Help Center.
Messaging with Zendesk works well, too.