Setting up XML sitemap on Google XML Sitemaps
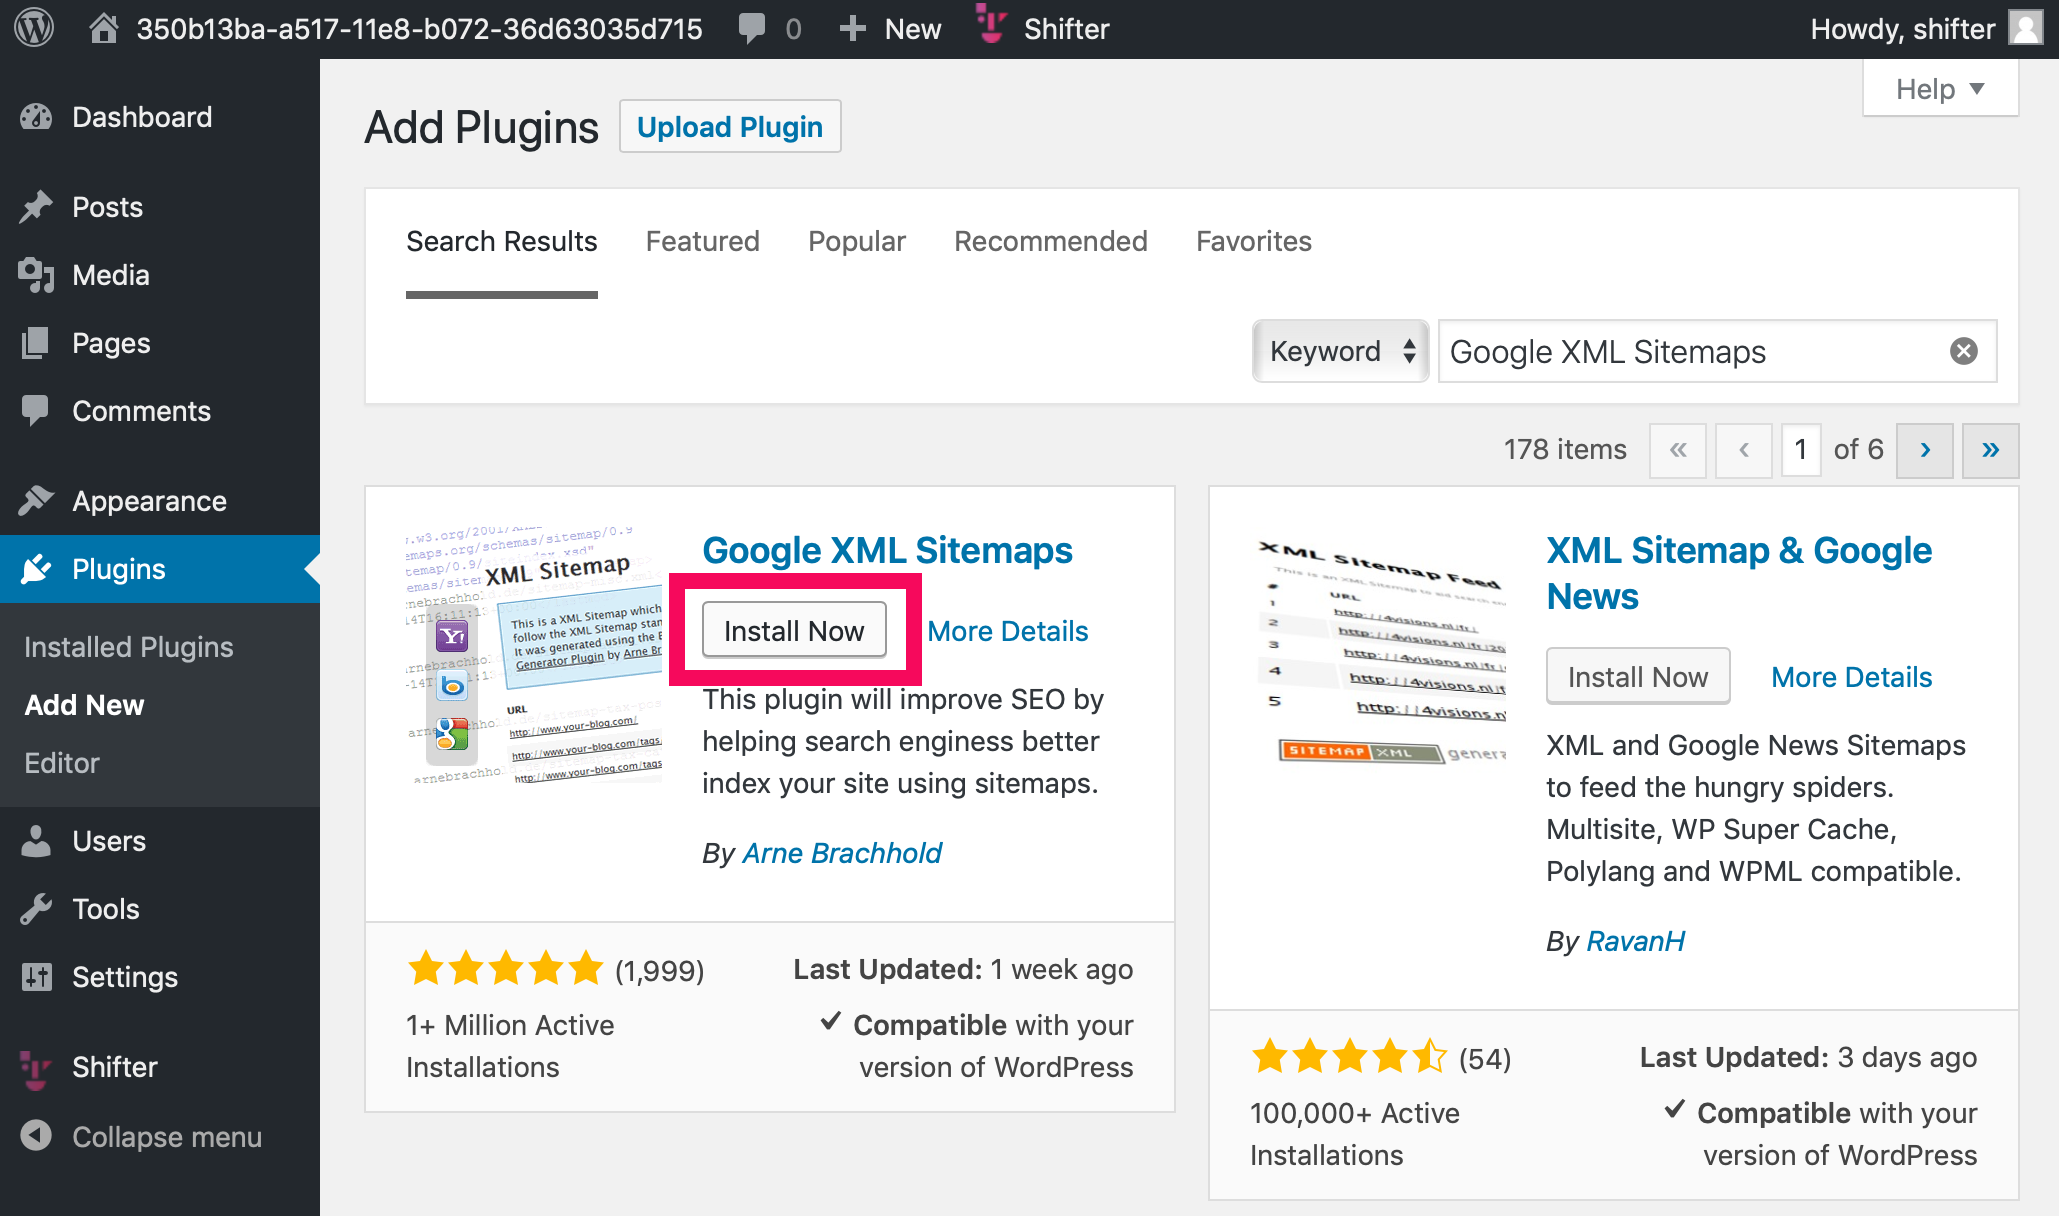
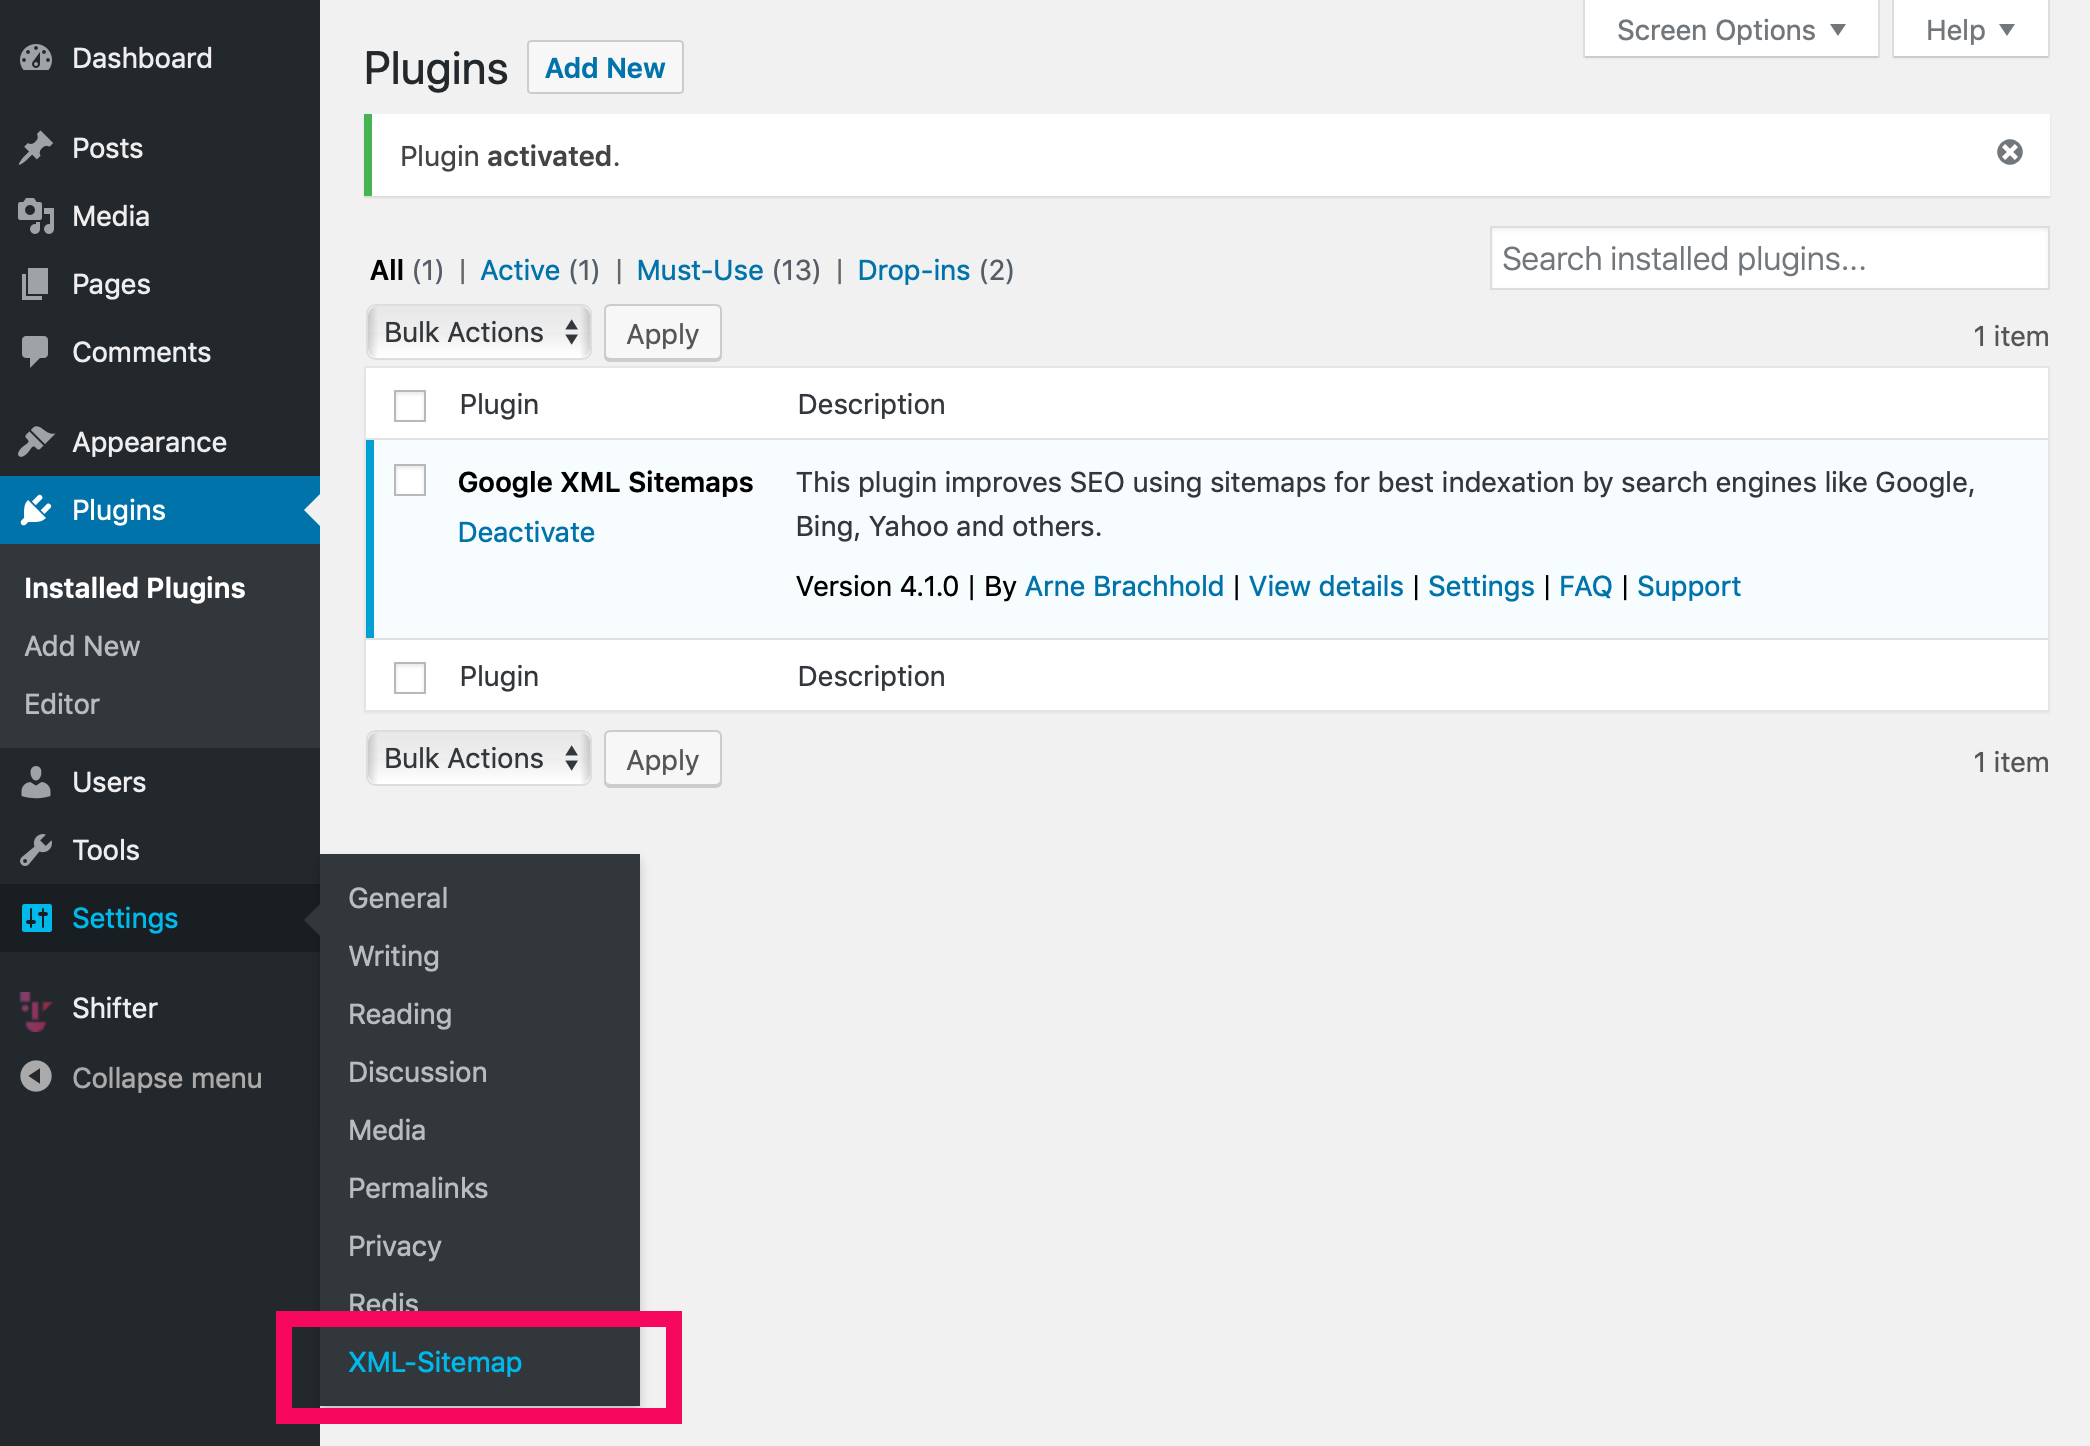
1. Install and activate the plugin

2. Access robots.txt
Virtual robots.txt is generated. Let’s access it.
For example, if the running WordPress URL is https://getshifter.io , add /robots.txt to the tail of that URL to access it.
Sample robots.txt:
User-agent: *
Disallow: /
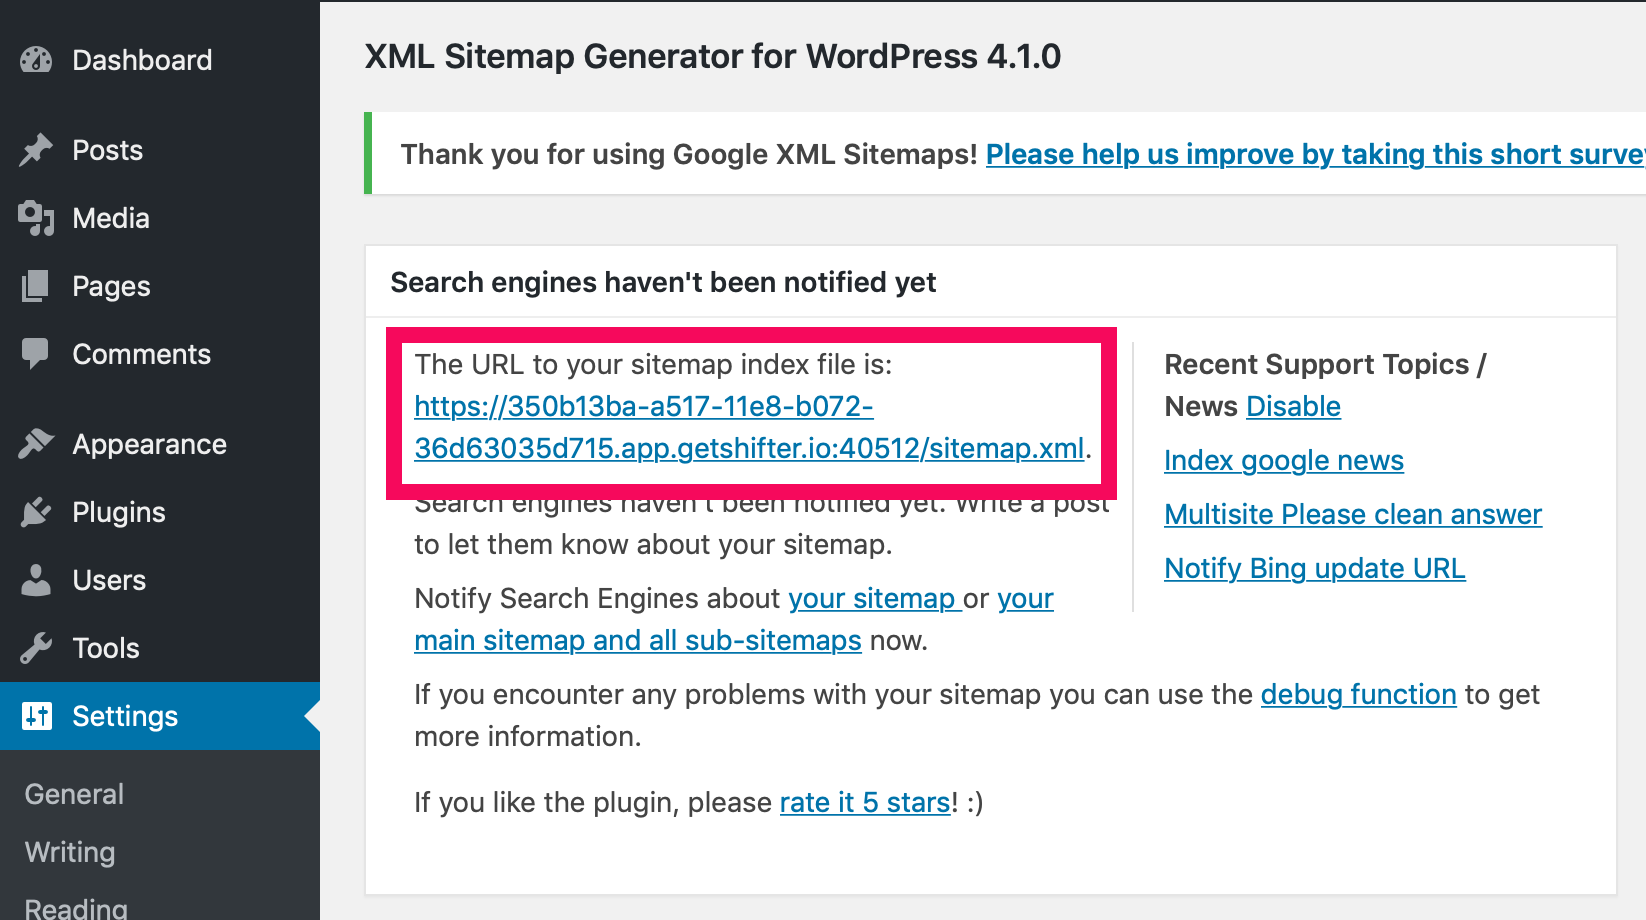
Sitemap: /sitemap_index.xml3. Check the sitemap.xml
Sitemap’s URL for an app will be like this: /sitemap.xml .
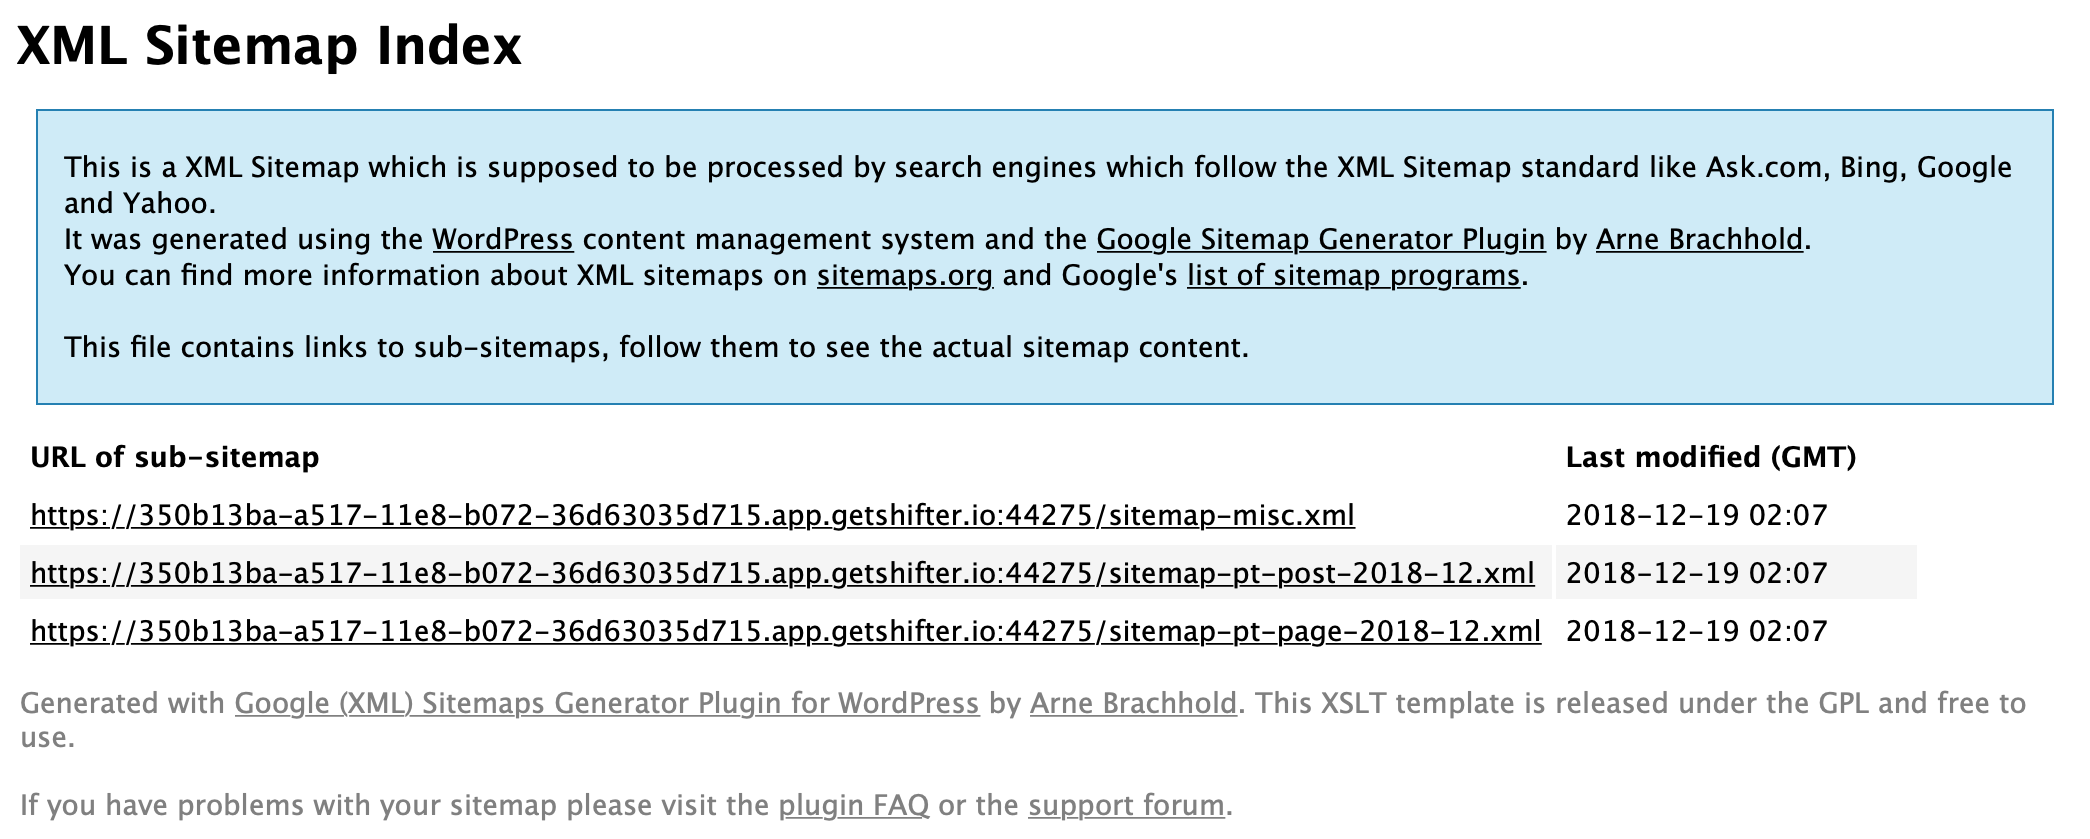
XML Sitemap Index generated by Google XML Sitemaps plugin:
4. Disable notification settings
To avoid sending temporary URLs to search engines, uncheck the following two checkboxes under [Basic Option]:
-
Notify Google about updates of your site
-
Notify Bing (formerly MSN Live Search) about updates of your site
5. Generate and deploy artifact
After checking the sitemap file, let’s make it public.
Click [Generate Artifact] button

6. Check robots.txt file again.
Access your Shifter site by adding /robots.txt to the tail of the URL.
User-agent: *
Disallow: /
Sitemap: http://modest-wescoff7228.static.getshifter.net/sitemap_index.xml
7. Access deployed site and its generated sitemap.xml
The sitemap’s URL on deployed site will be like this: https://www.example.com/sitemap.xml or https://foobar.on.getshifter.io/sitemap.xml
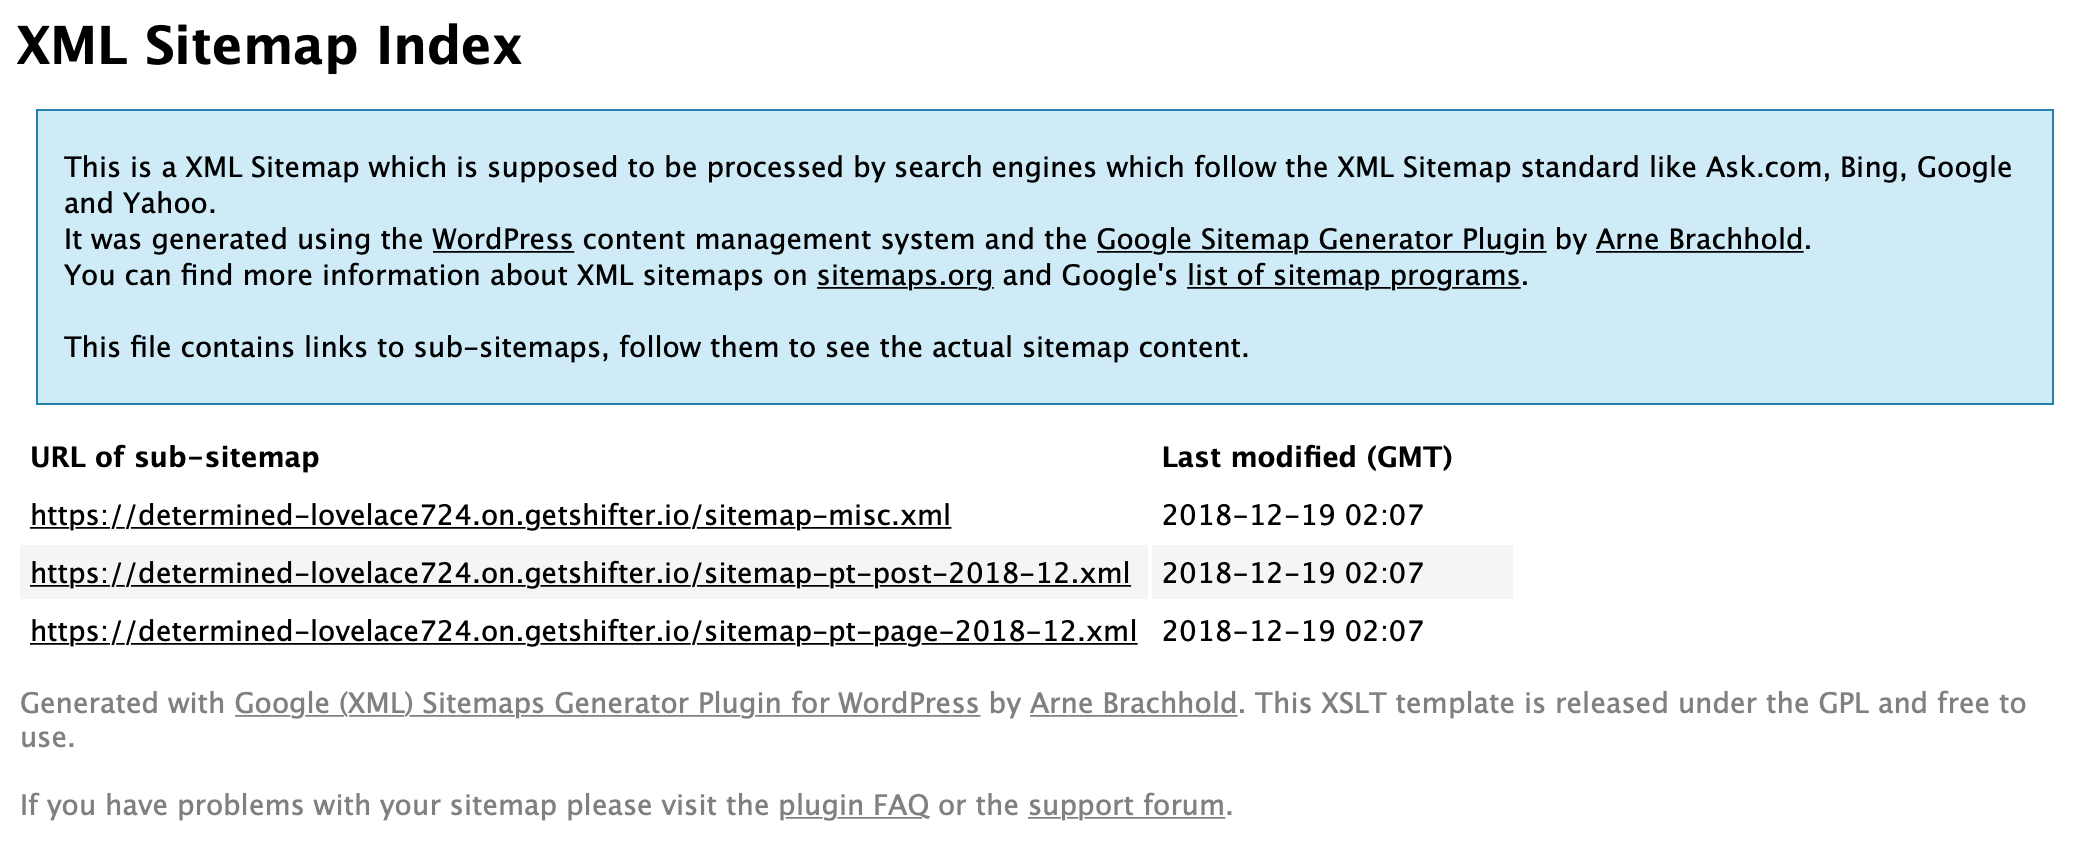
XML Sitemap Index generated by Google XML Sitemaps plugin on deployed site:
That’s all!
The search engine’s crawler will now access the XML Sitemap through robots.txt.