Sign up Shopify, make initial setup
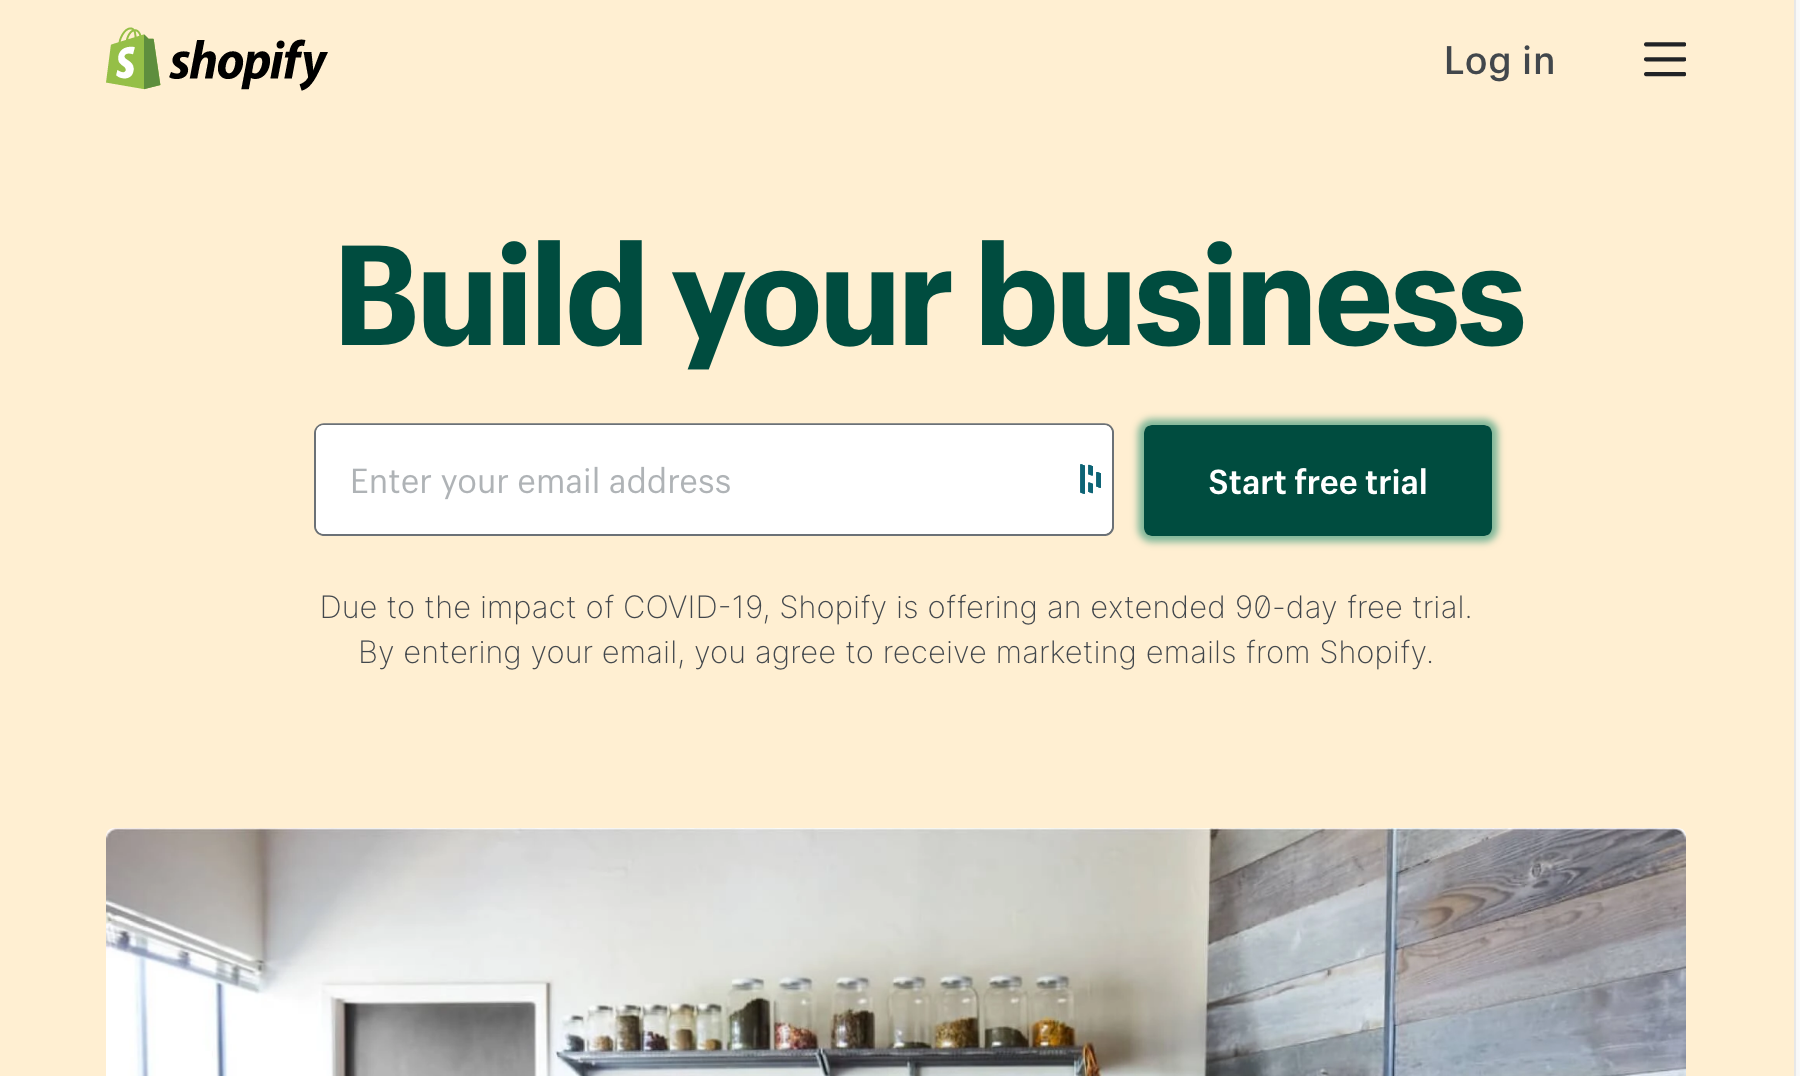
1. Sign up
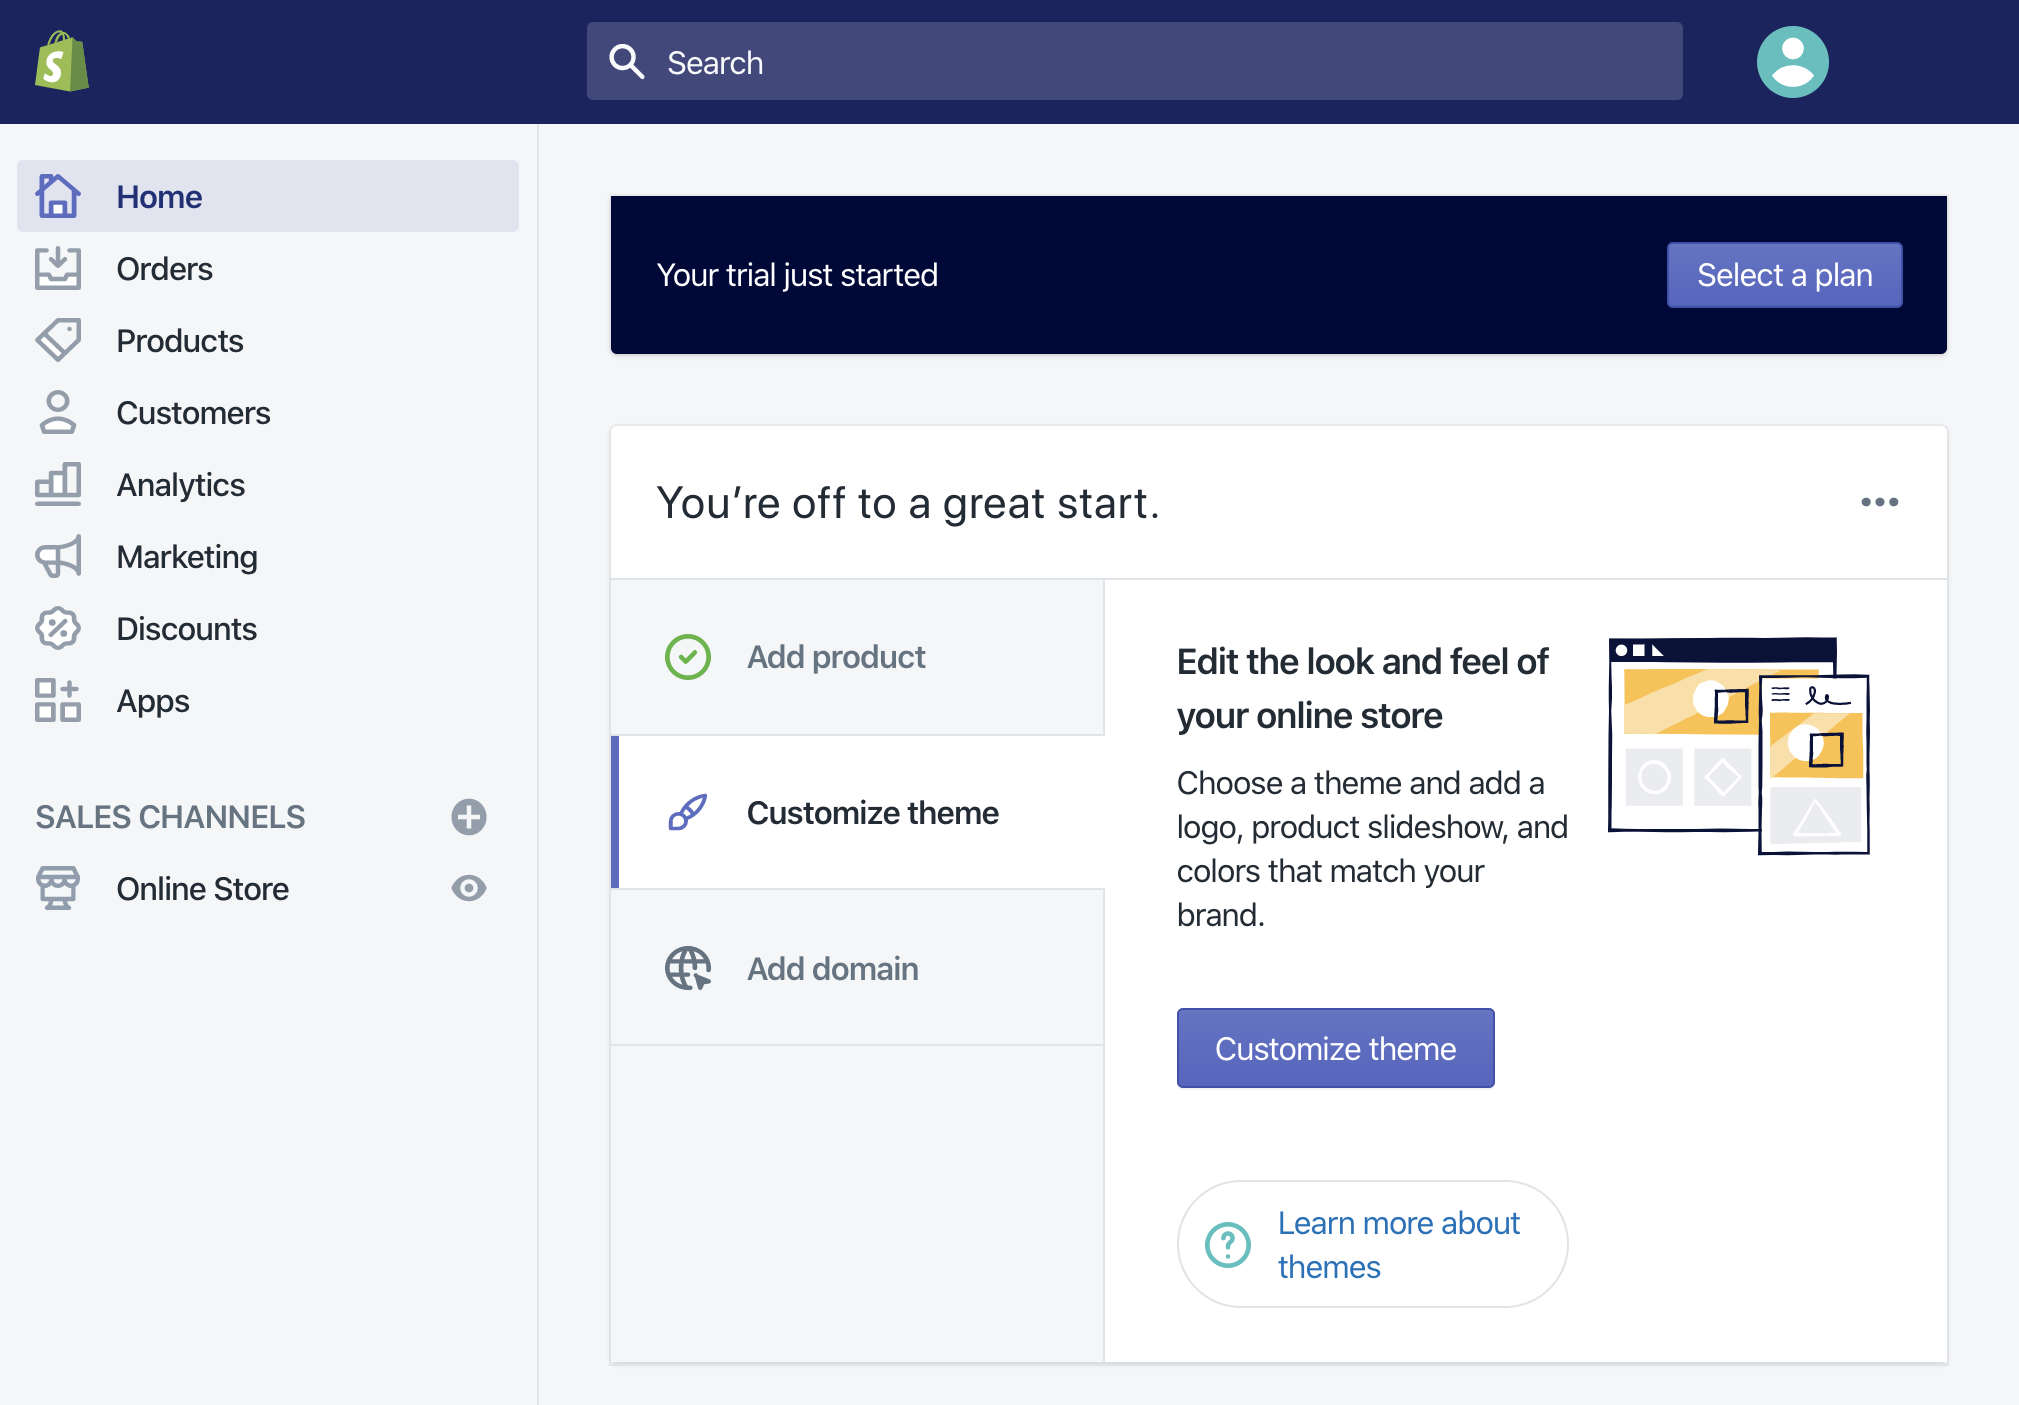
2. Complete initial setup
For more details, please refer to Shopifiy’s official guide: Getting set up to start selling
![](/wp-content/uploads/2024/03/201467988-26fd159ad184c81dc38a5c39.png)
Enable Test Mode
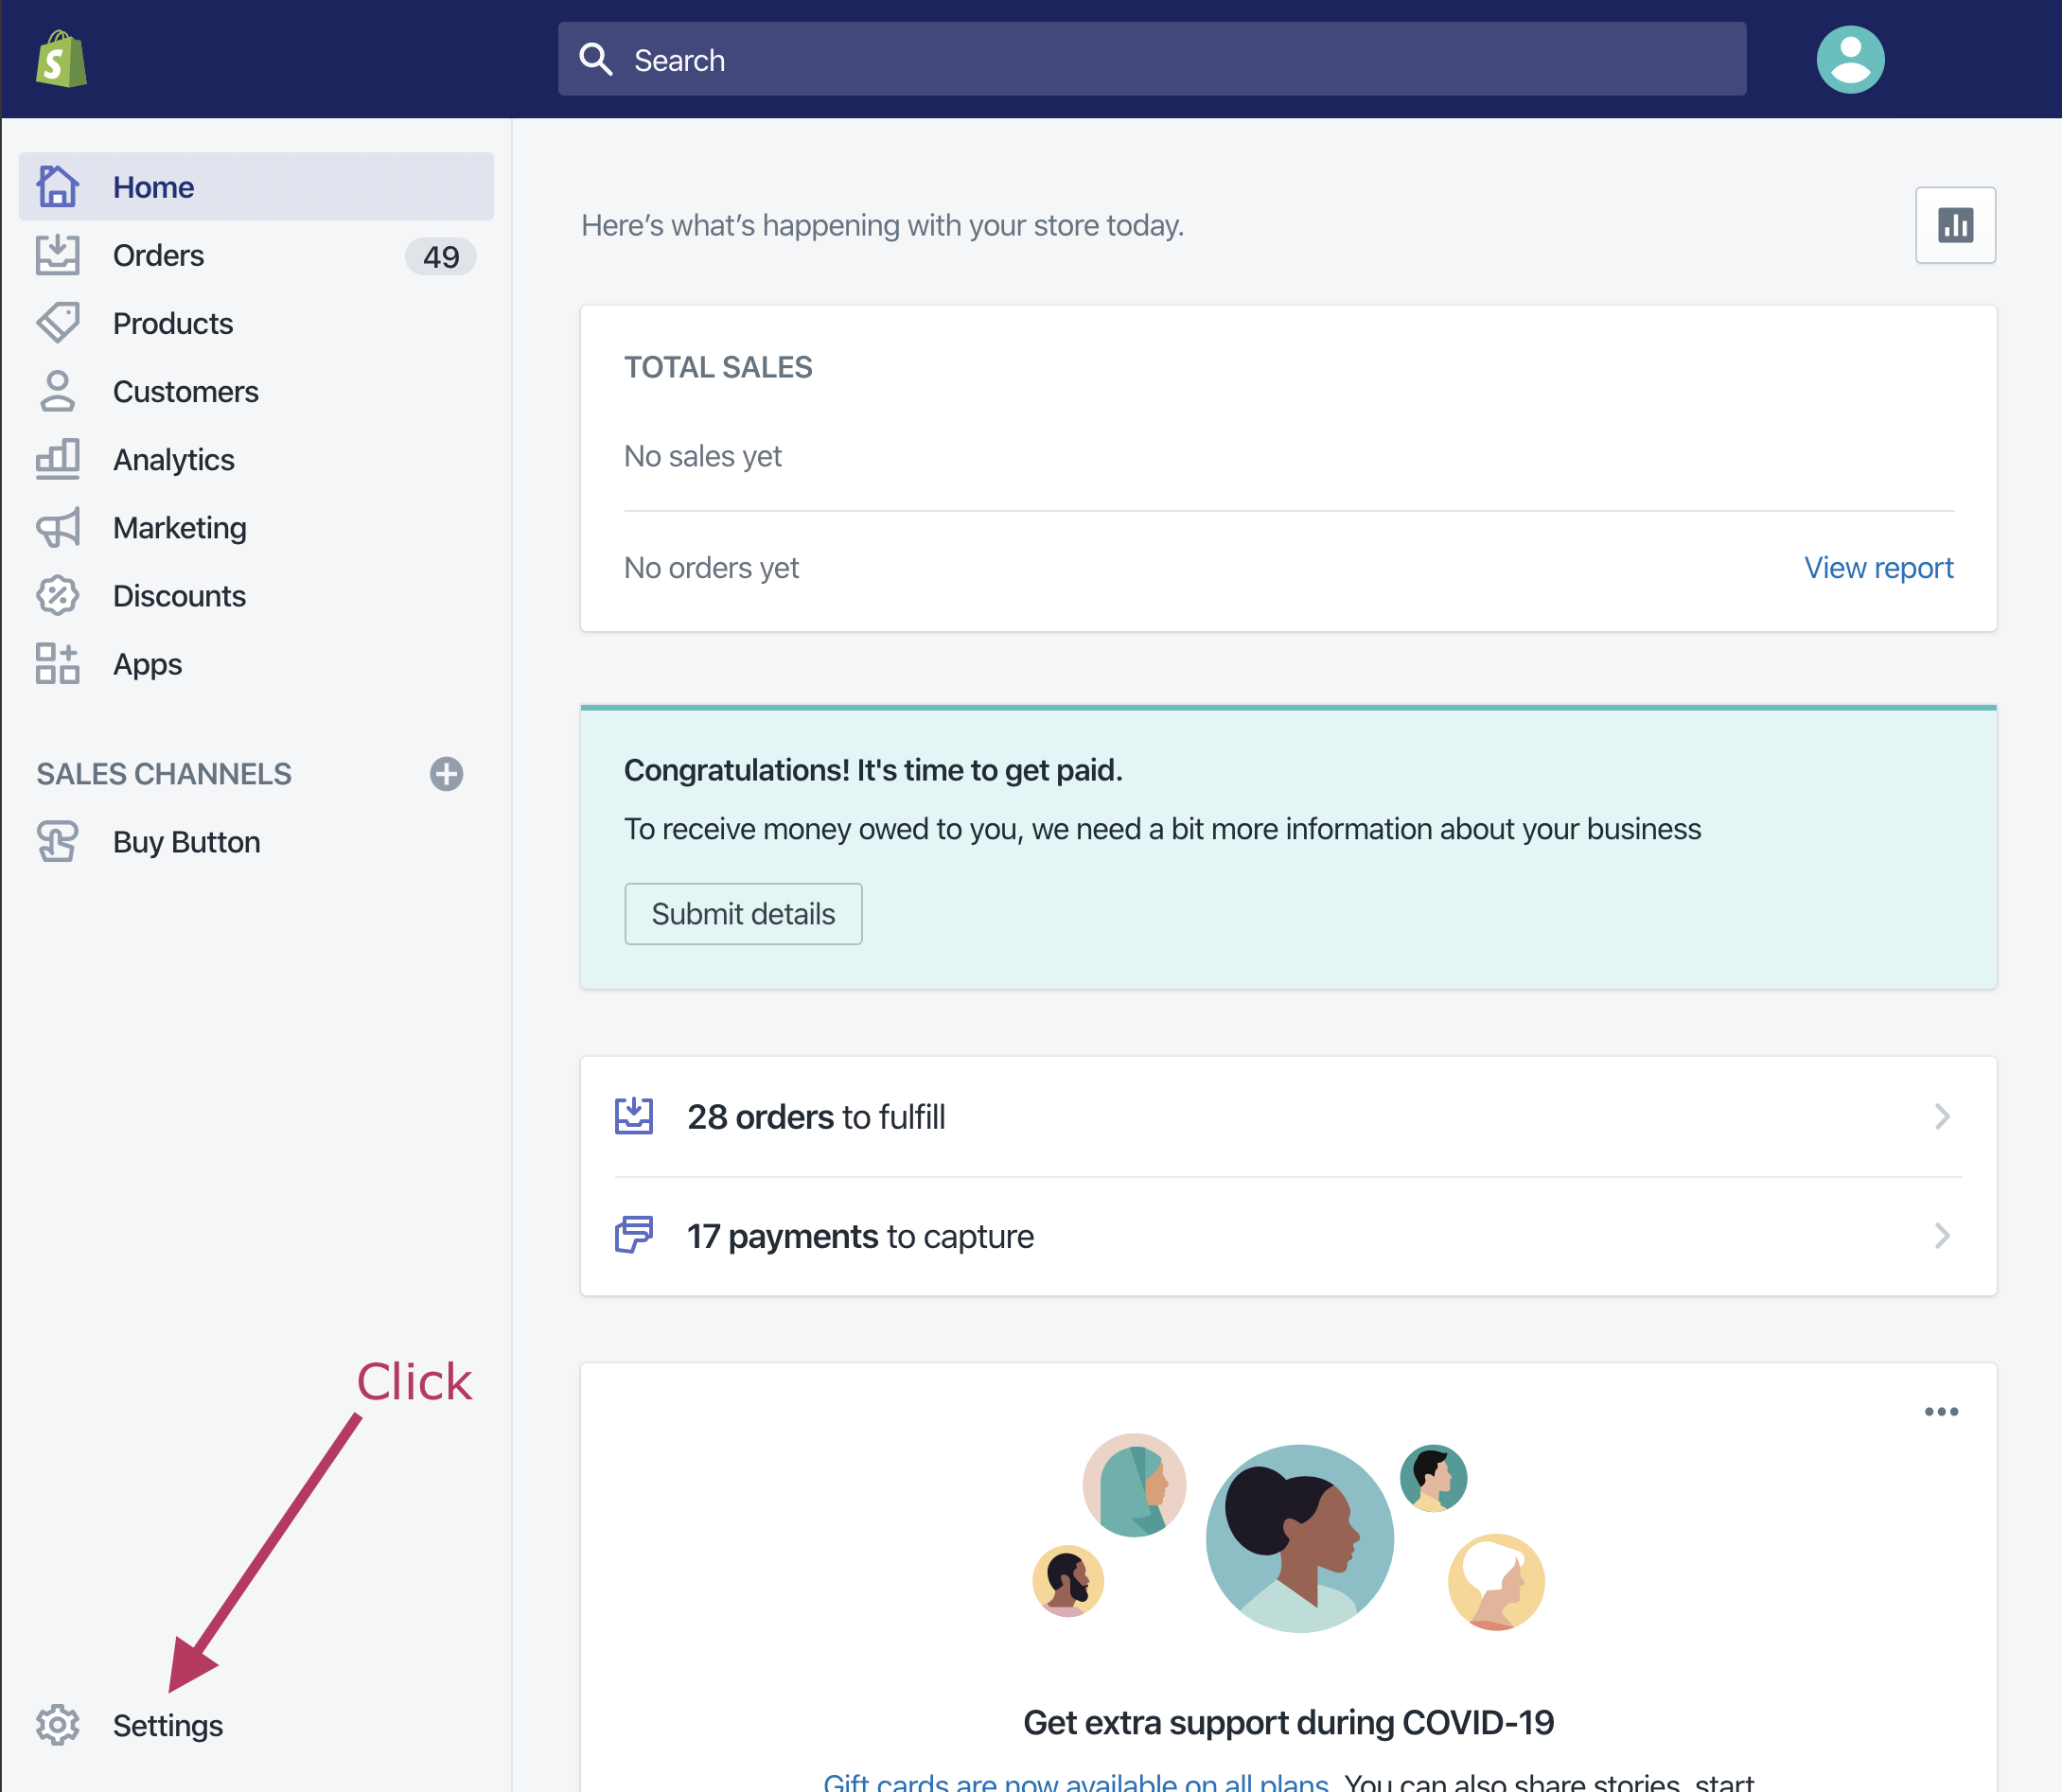
1. Navigate to [Settings]
![](/wp-content/uploads/2024/03/201525729-5016951c19af6ef848e7a19d.png)
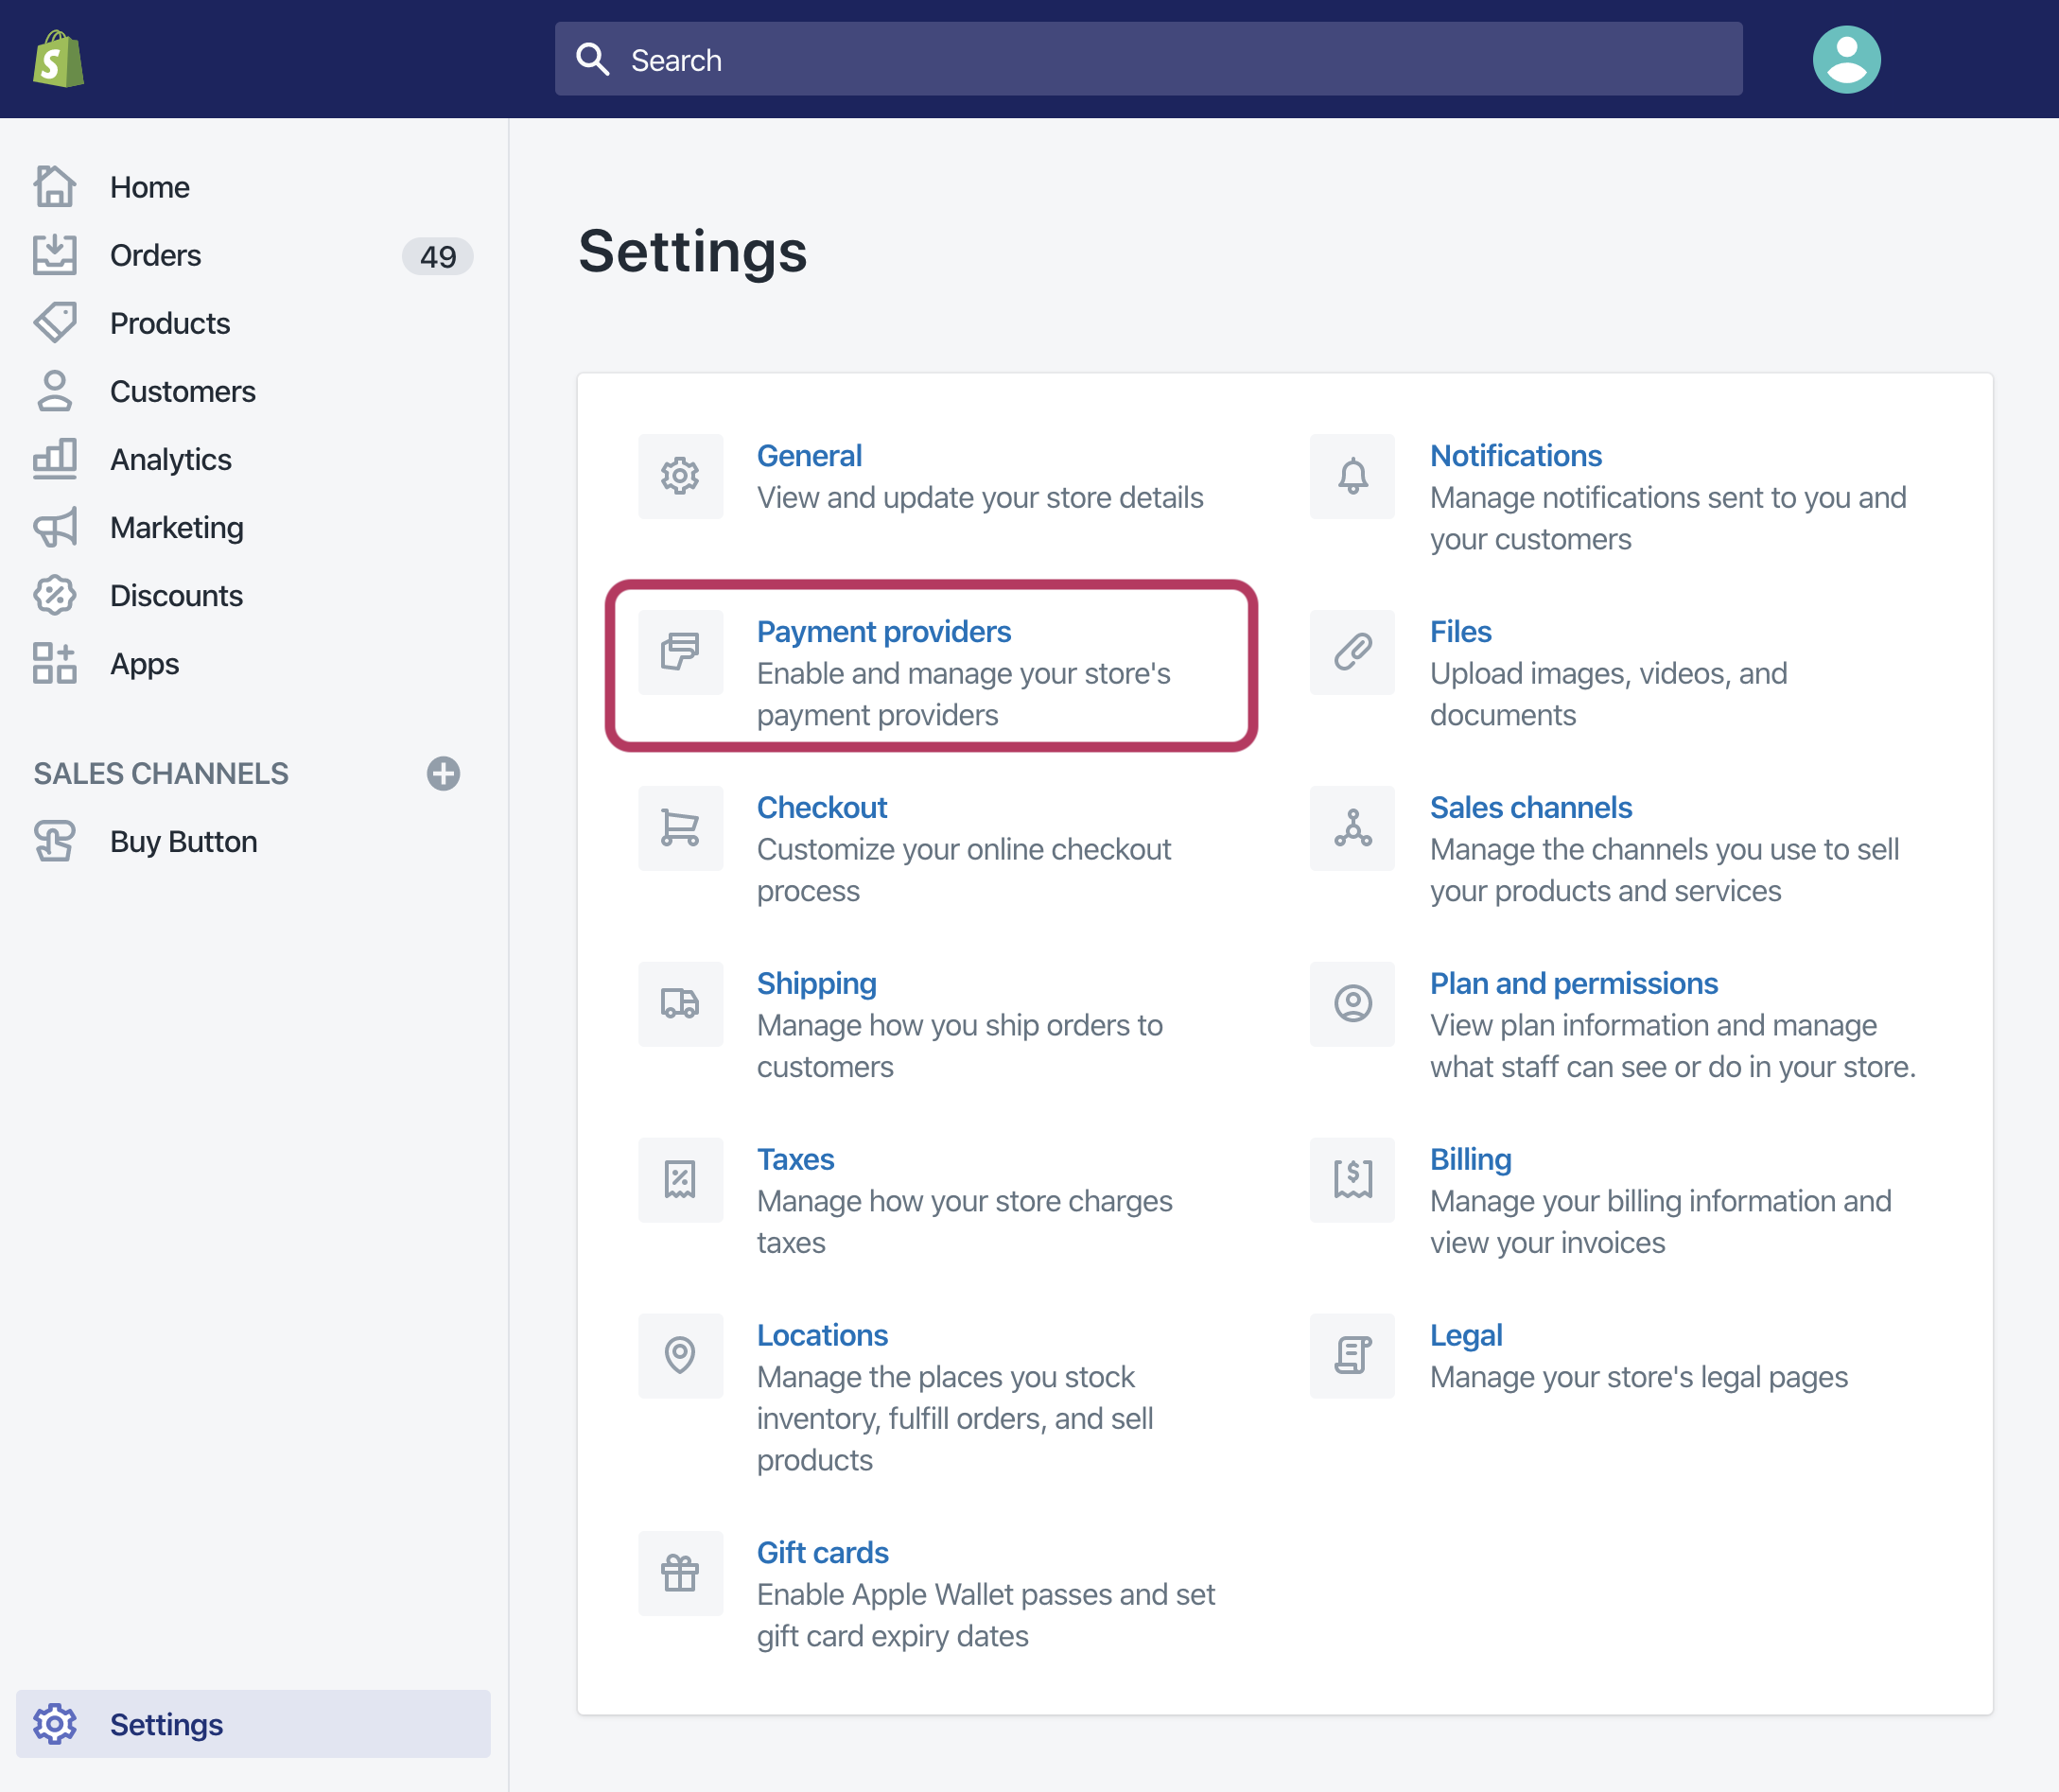
2. Click [Payment Providers]
![](/wp-content/uploads/2024/03/201526031-bb2818a489adba4e43474dba.png)
3. Scroll down to the bottom of page
![](/wp-content/uploads/2024/03/201527827-a40ccf63c2bdbf6f19100647.png)
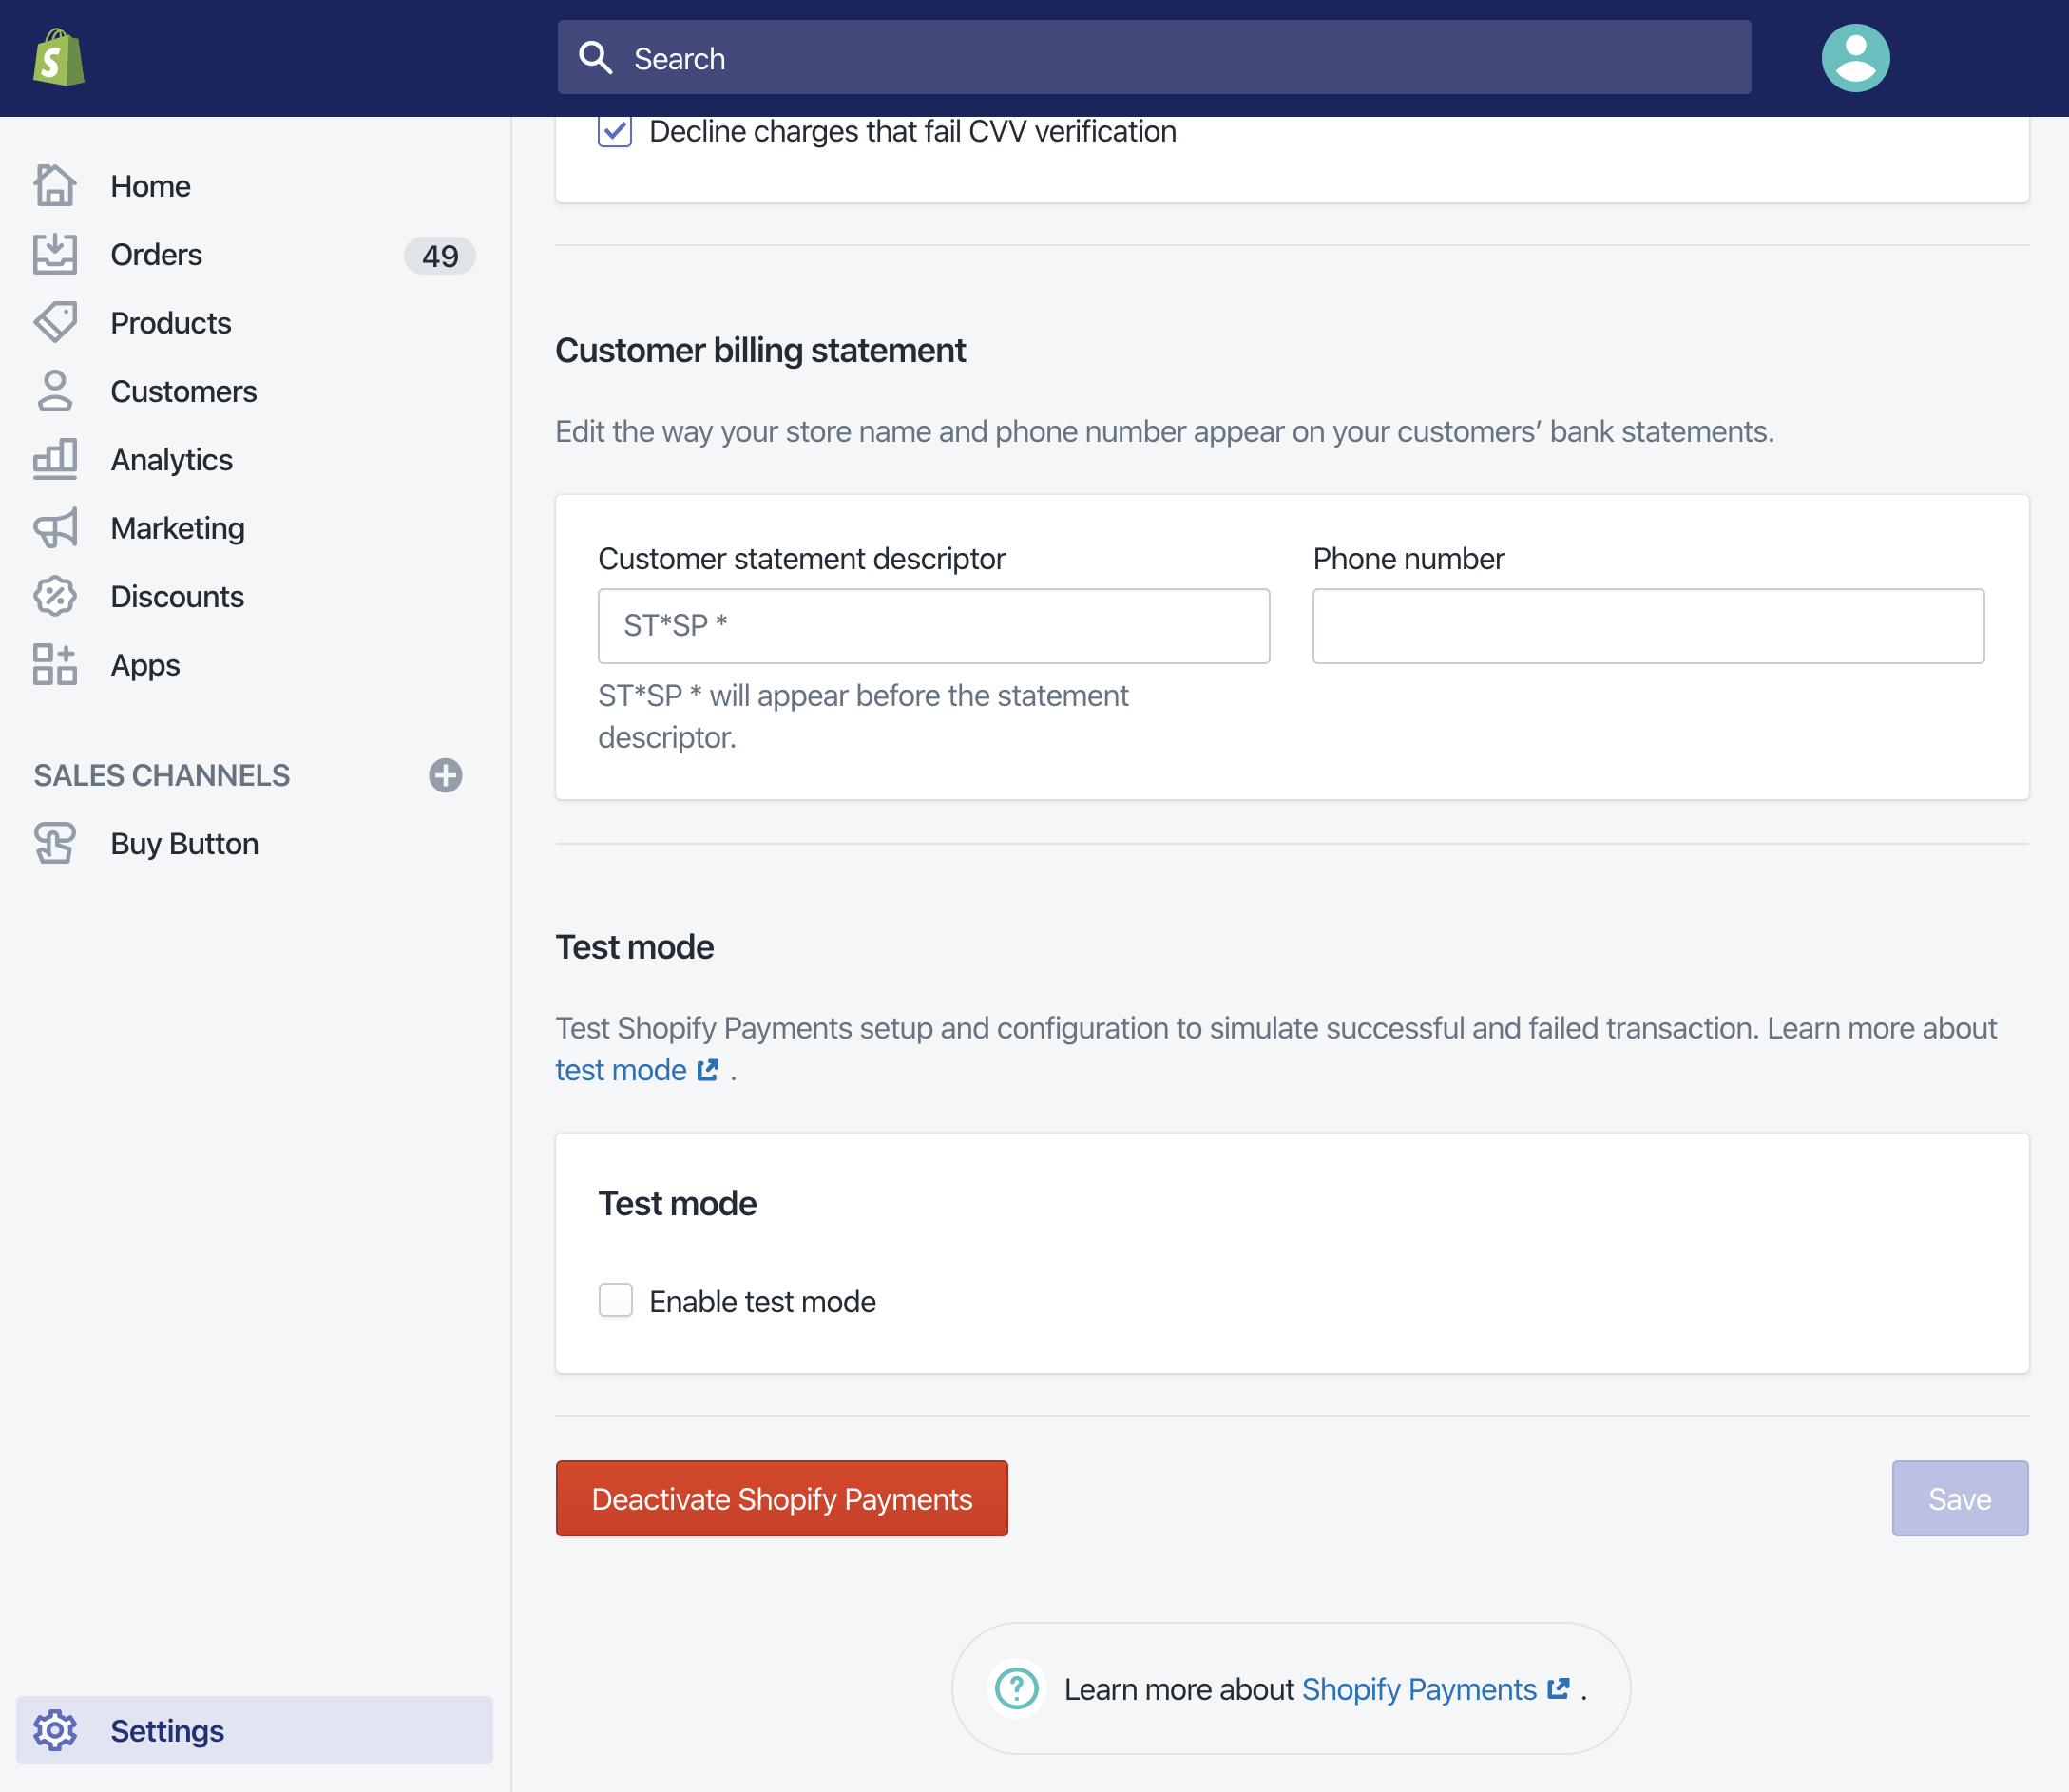
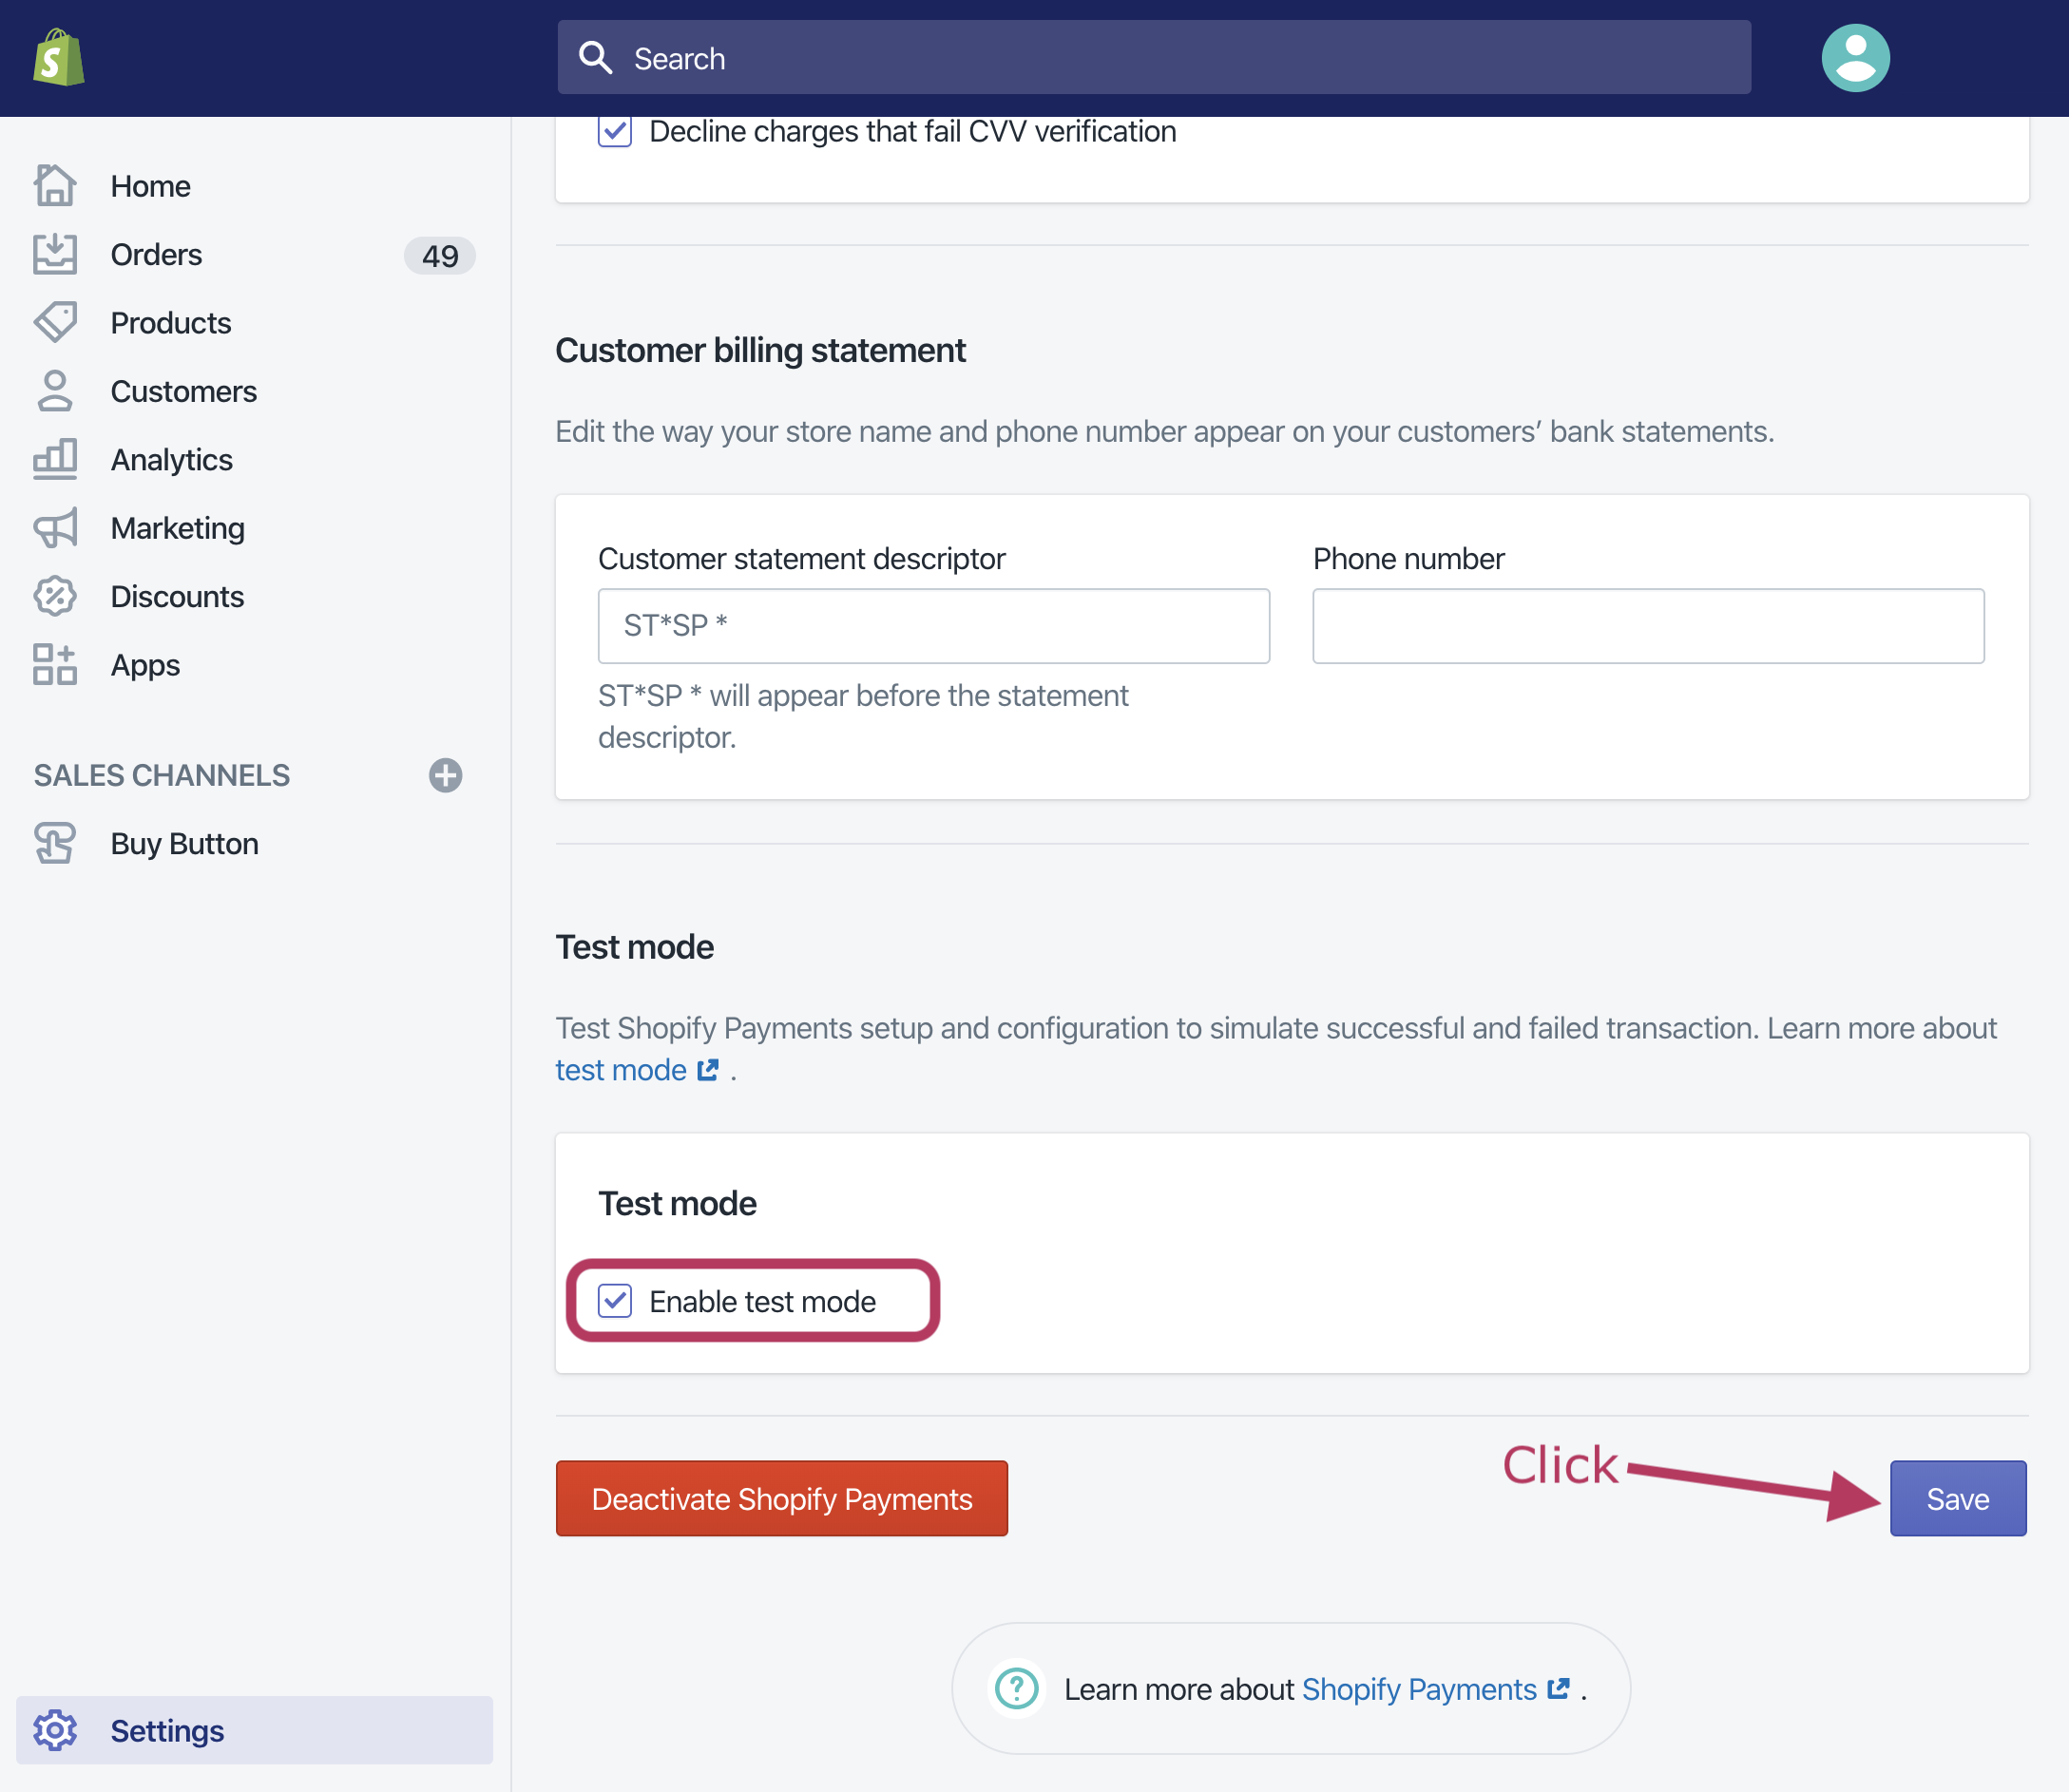
4. Check [Enable test mode] and click [Save] button
![](/wp-content/uploads/2024/03/201528542-9249ecce4e3171cdf57fa8b0.png)
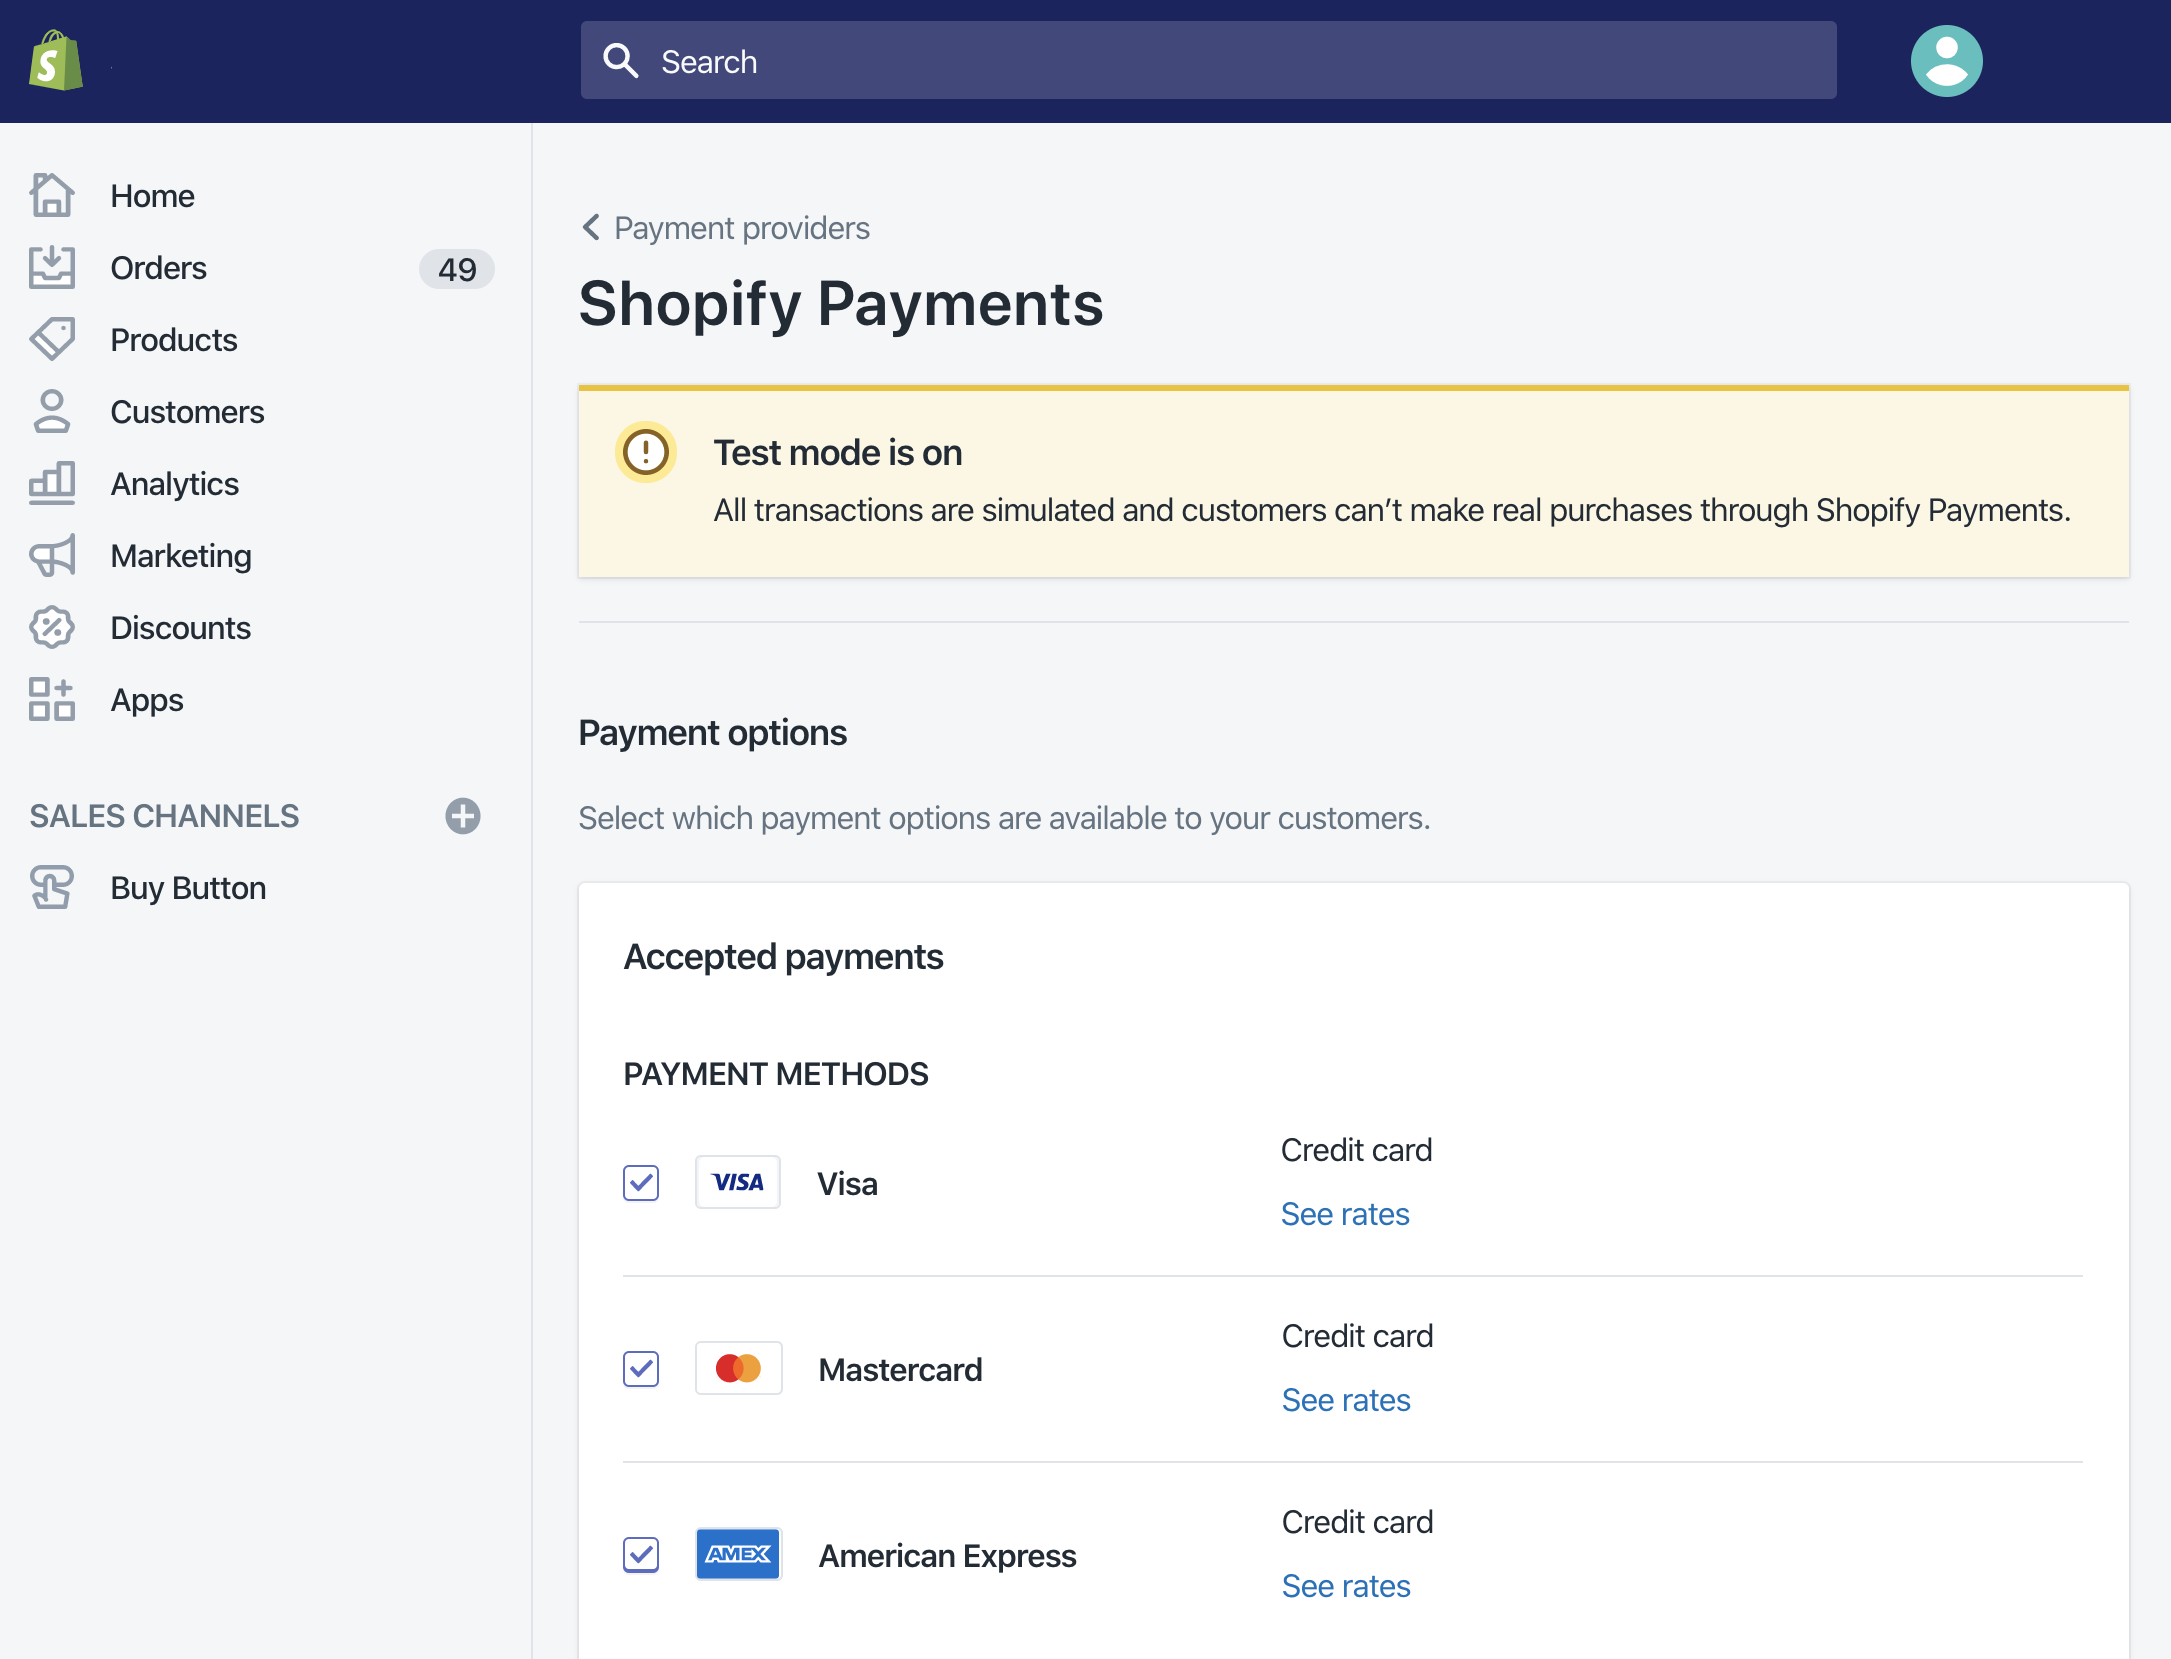
5. Confirm “Test mode” is on
![](/wp-content/uploads/2024/03/201527087-c3a7459035afd73e4128e1fc.png)
Create Buy Button
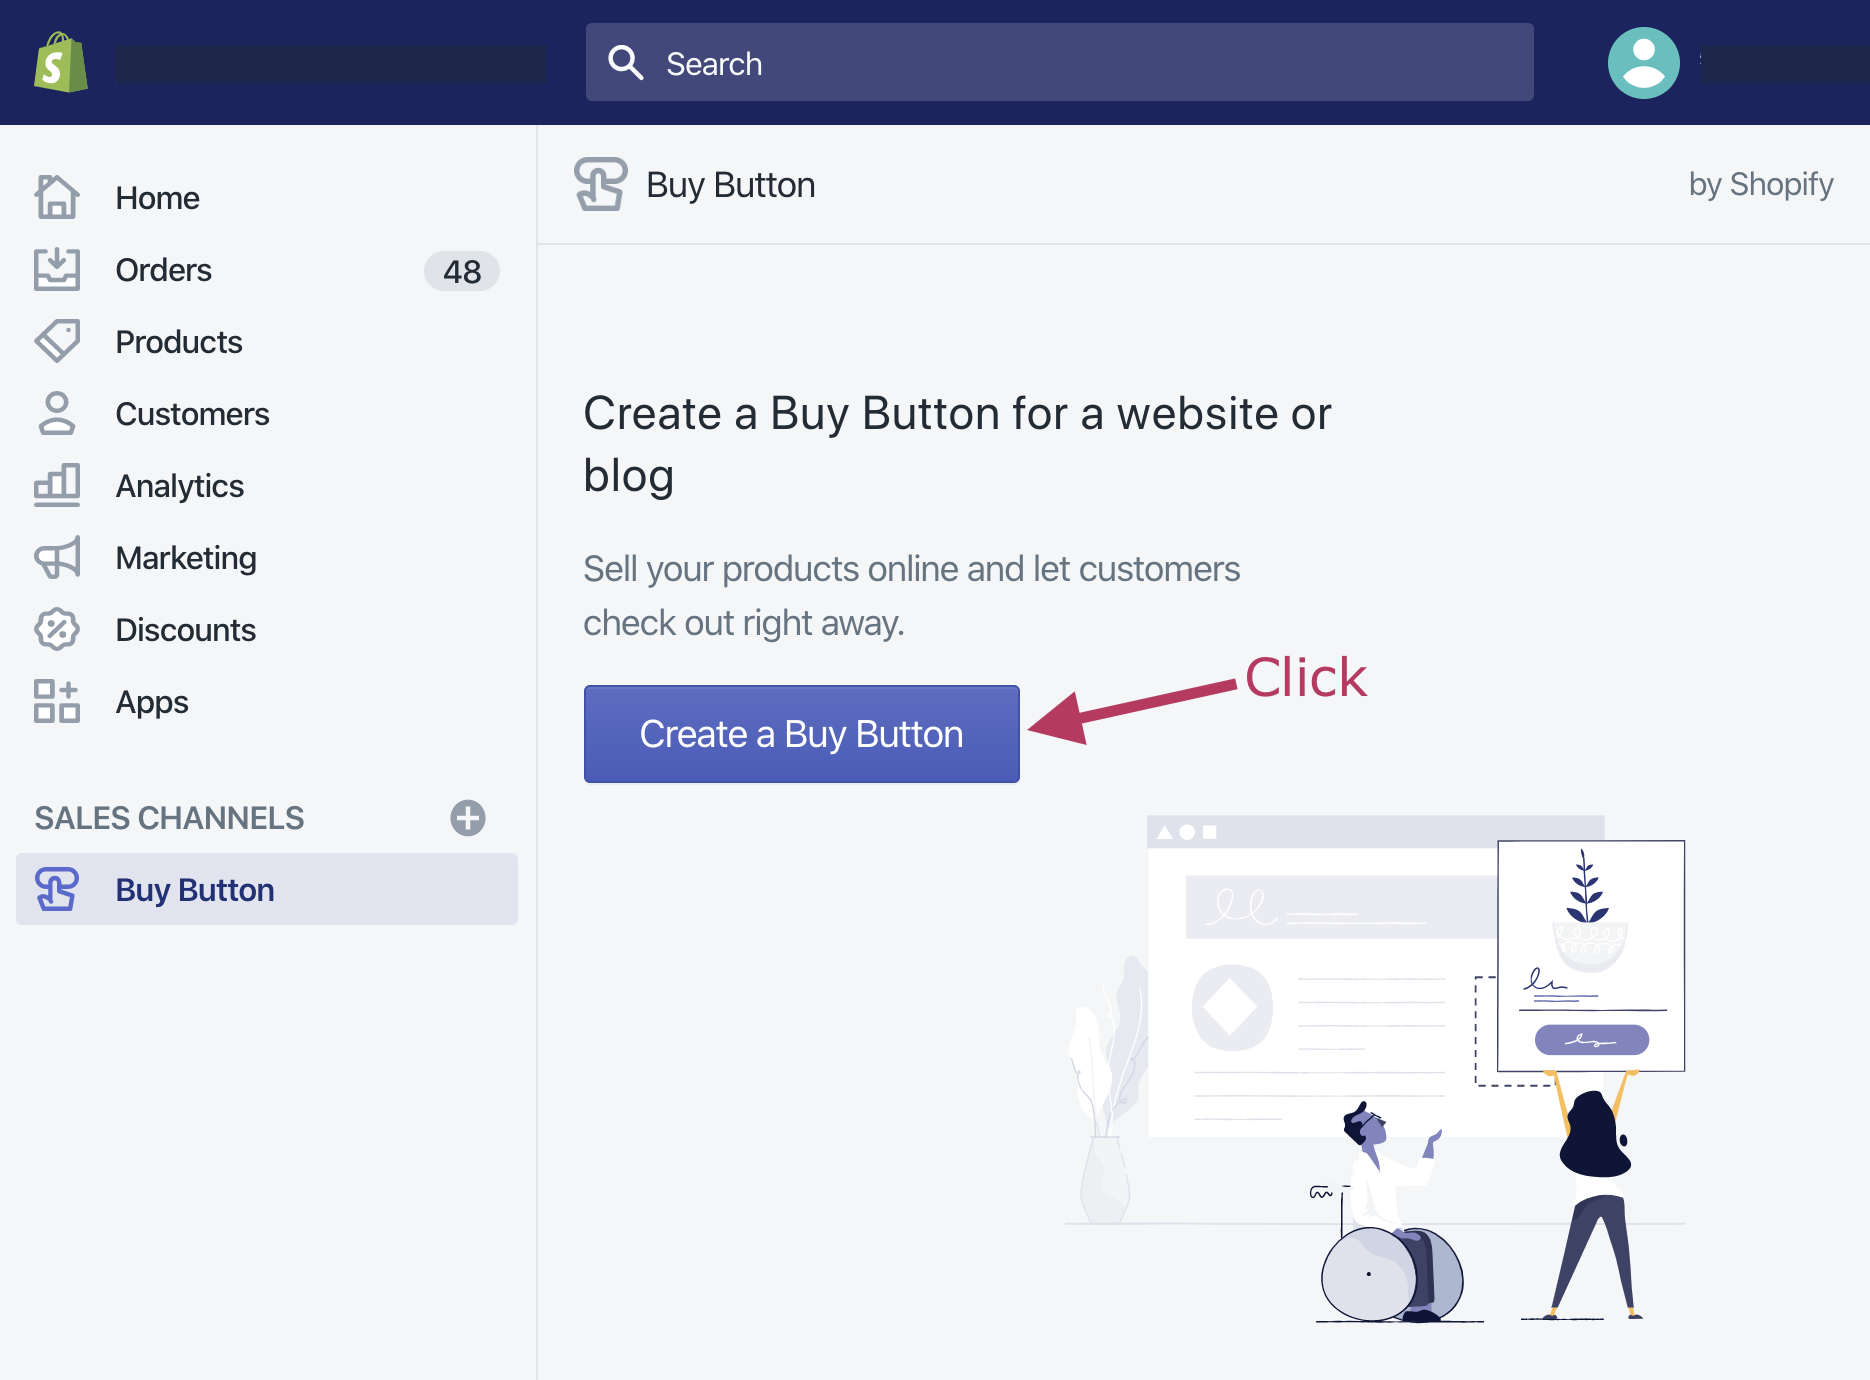
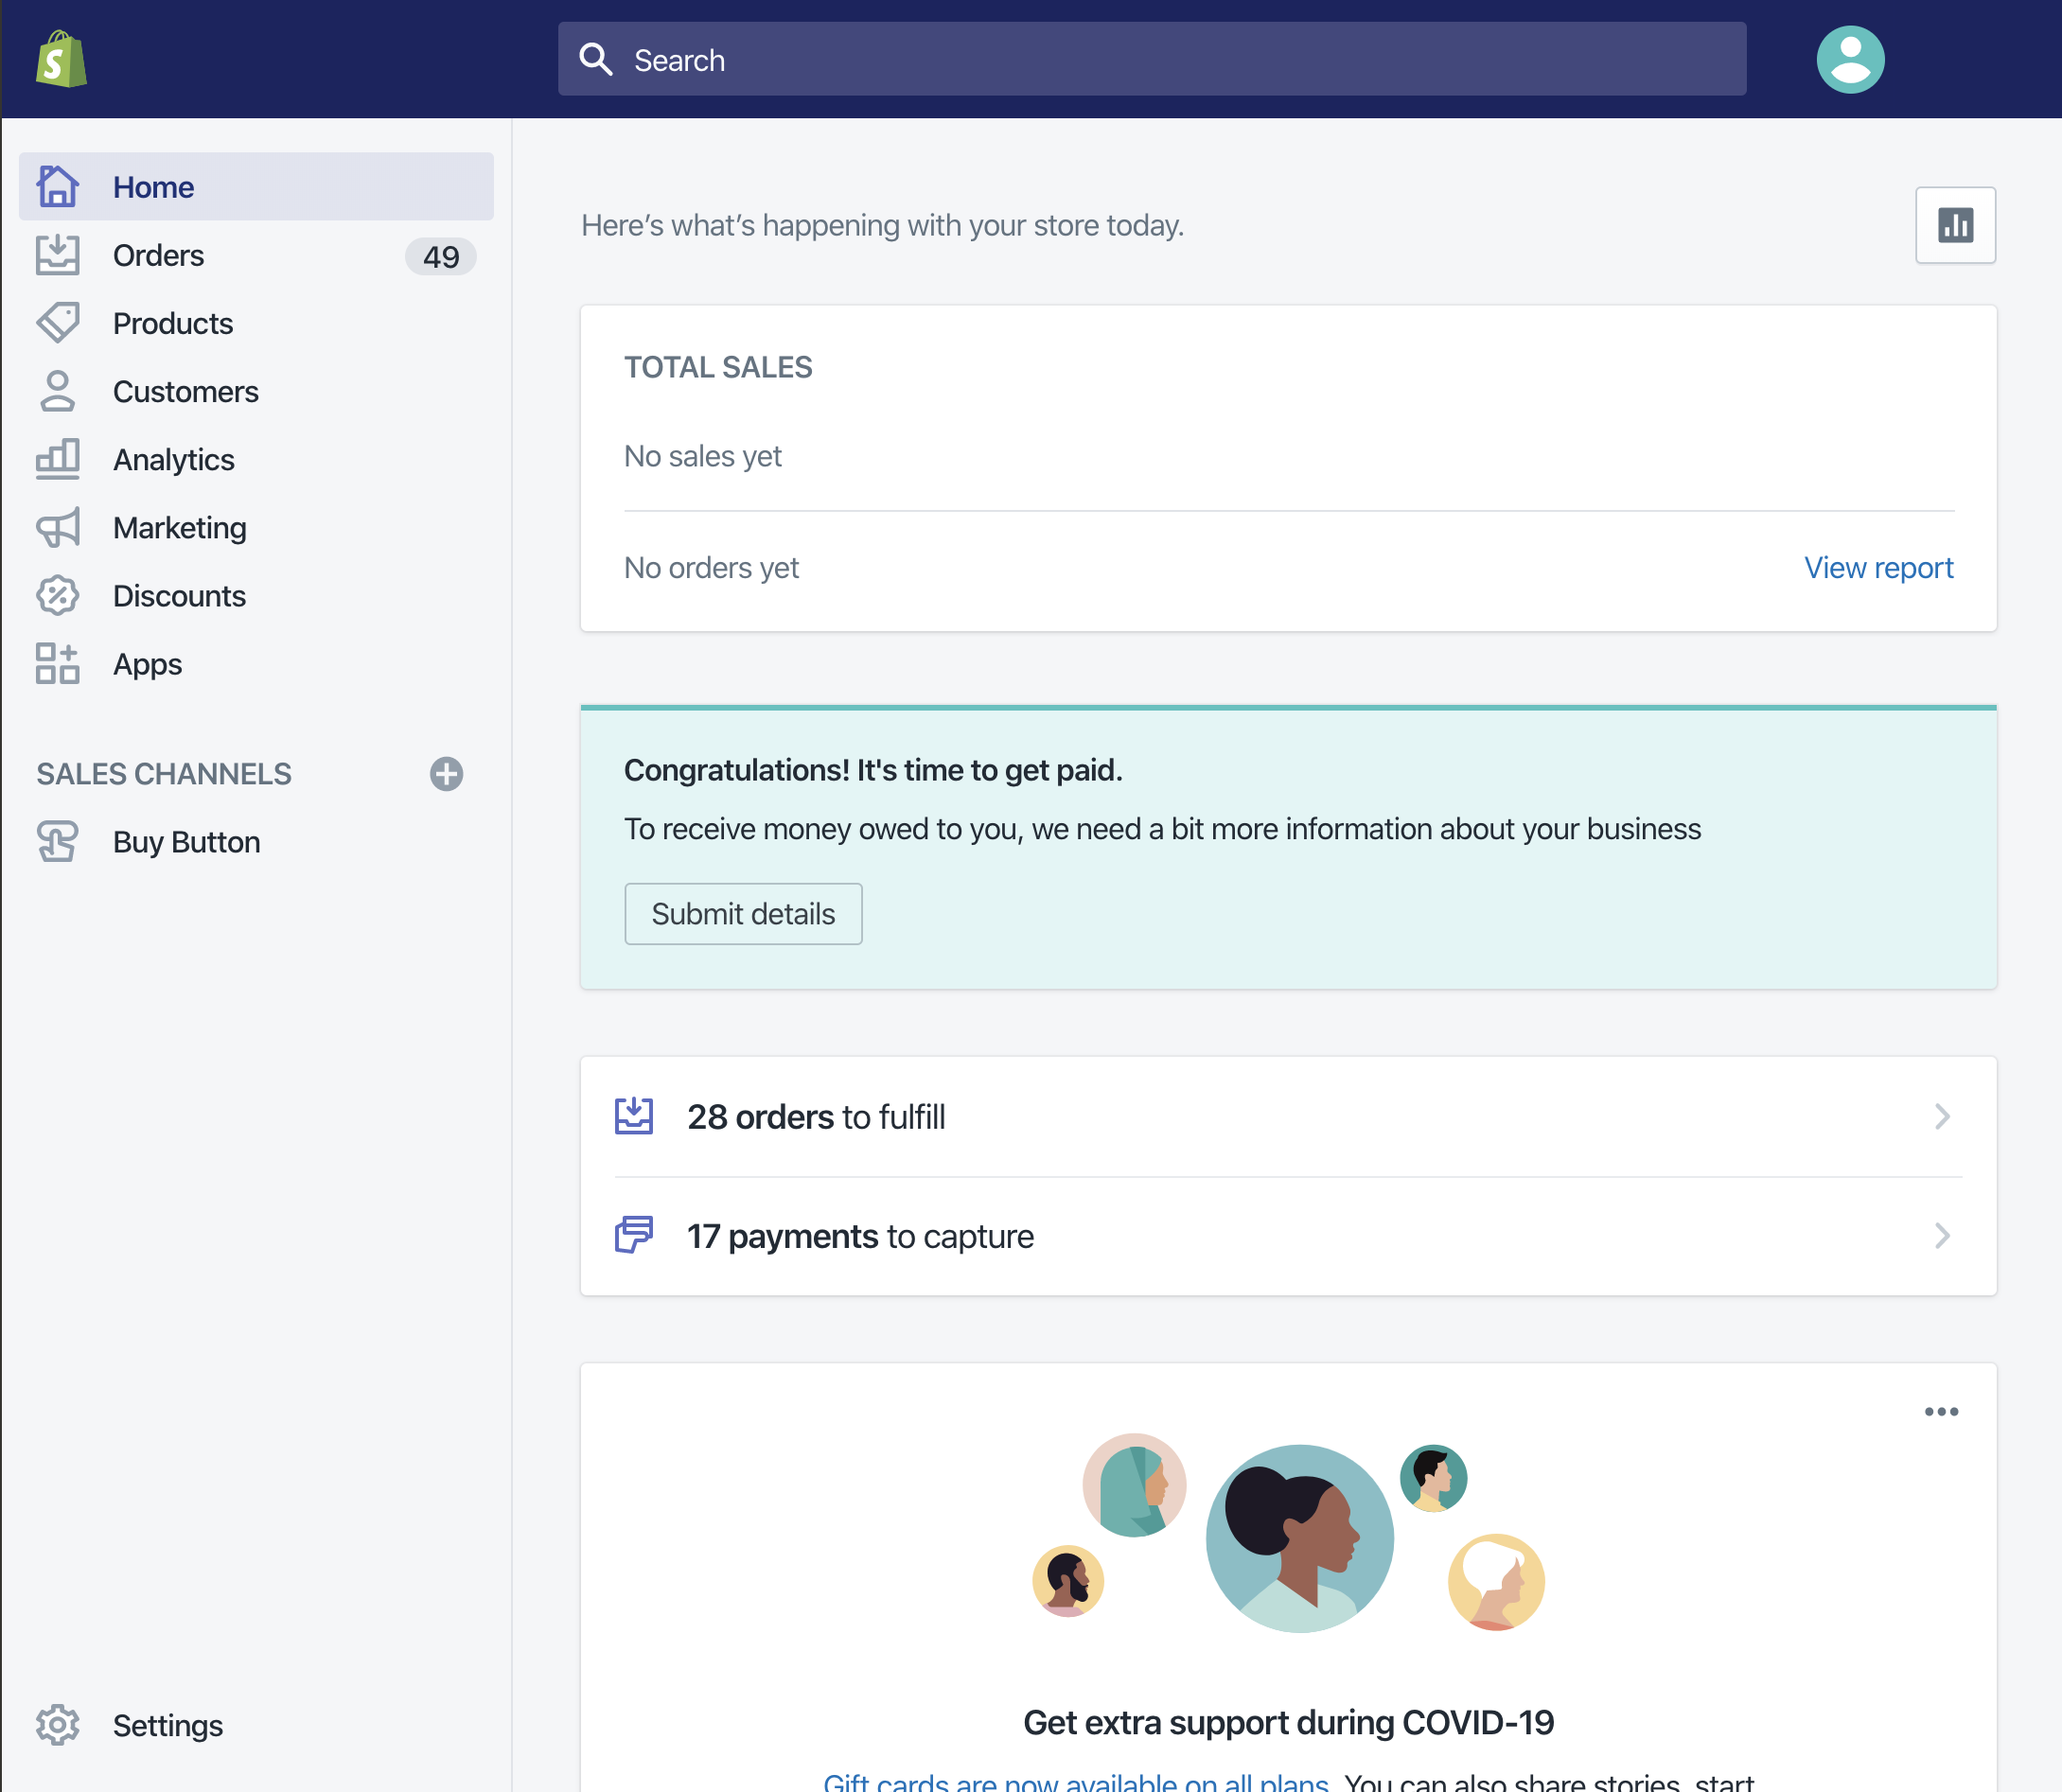
1. Back to admin area and click [Create a BuyButton]
![](/wp-content/uploads/2024/03/201494310-52b740d57cab51b319650407.png)
2. Choose [Product Buy Button] or [Collection Buy Button]
![](/wp-content/uploads/2024/03/201481354-b1bf9f1266b04cc5dadd6585.png)
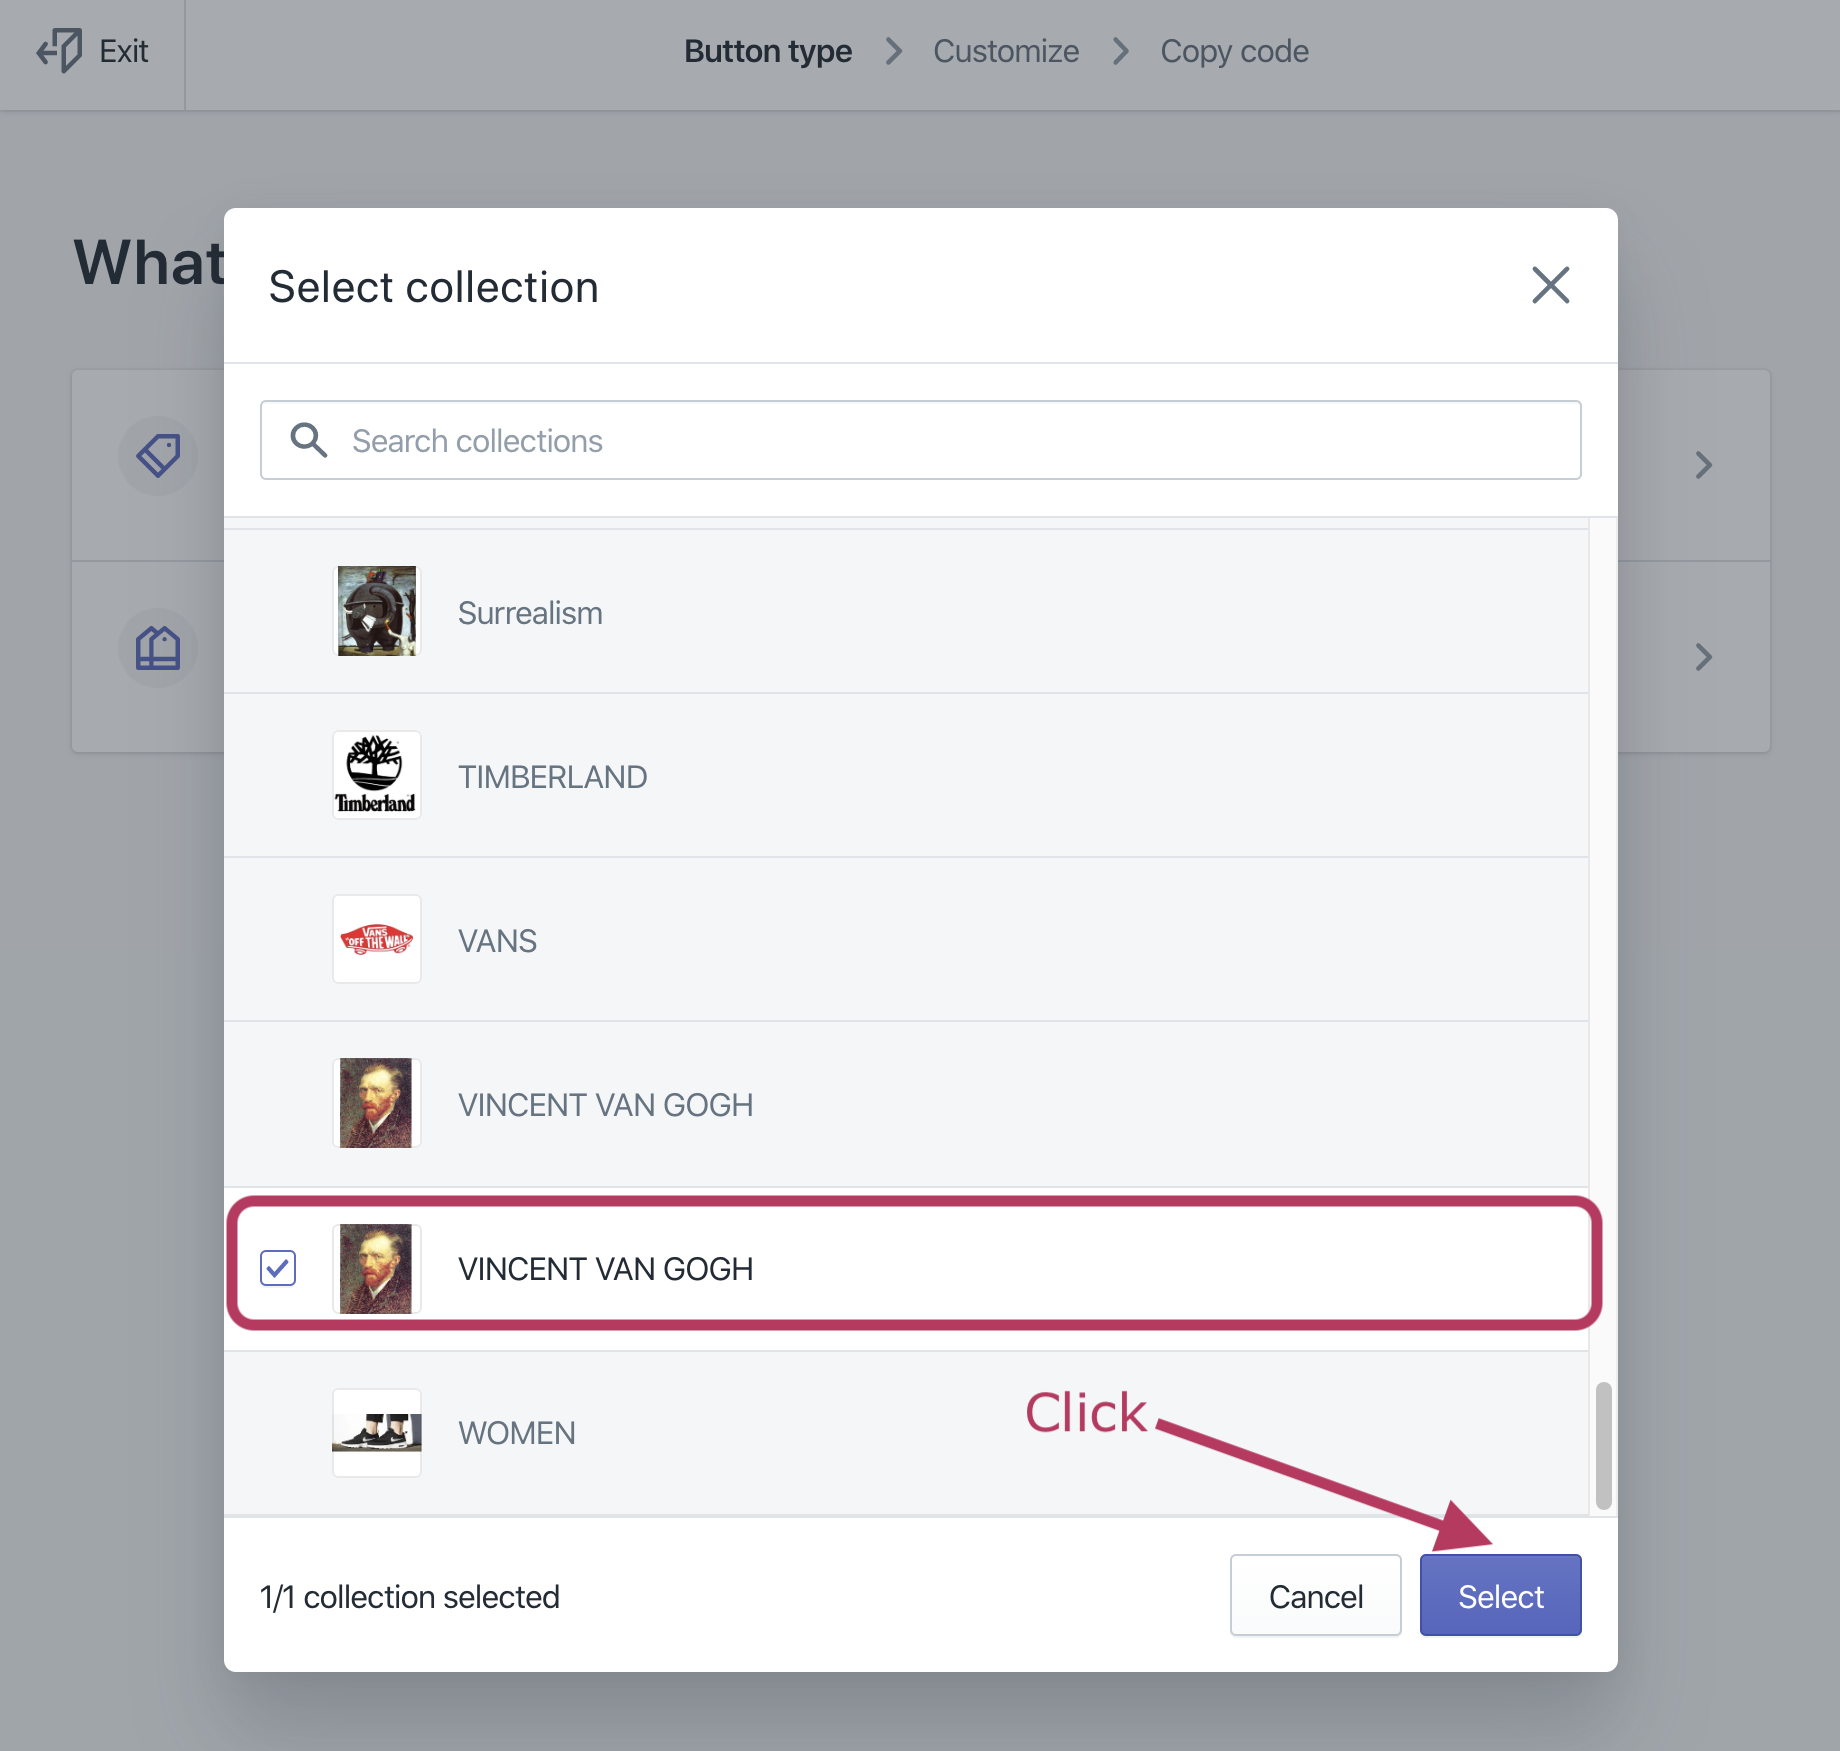
3. Check your item, then click [Select] button
![](/wp-content/uploads/2024/03/201494520-a4d7b79c364f21c7193bdd0b.png)
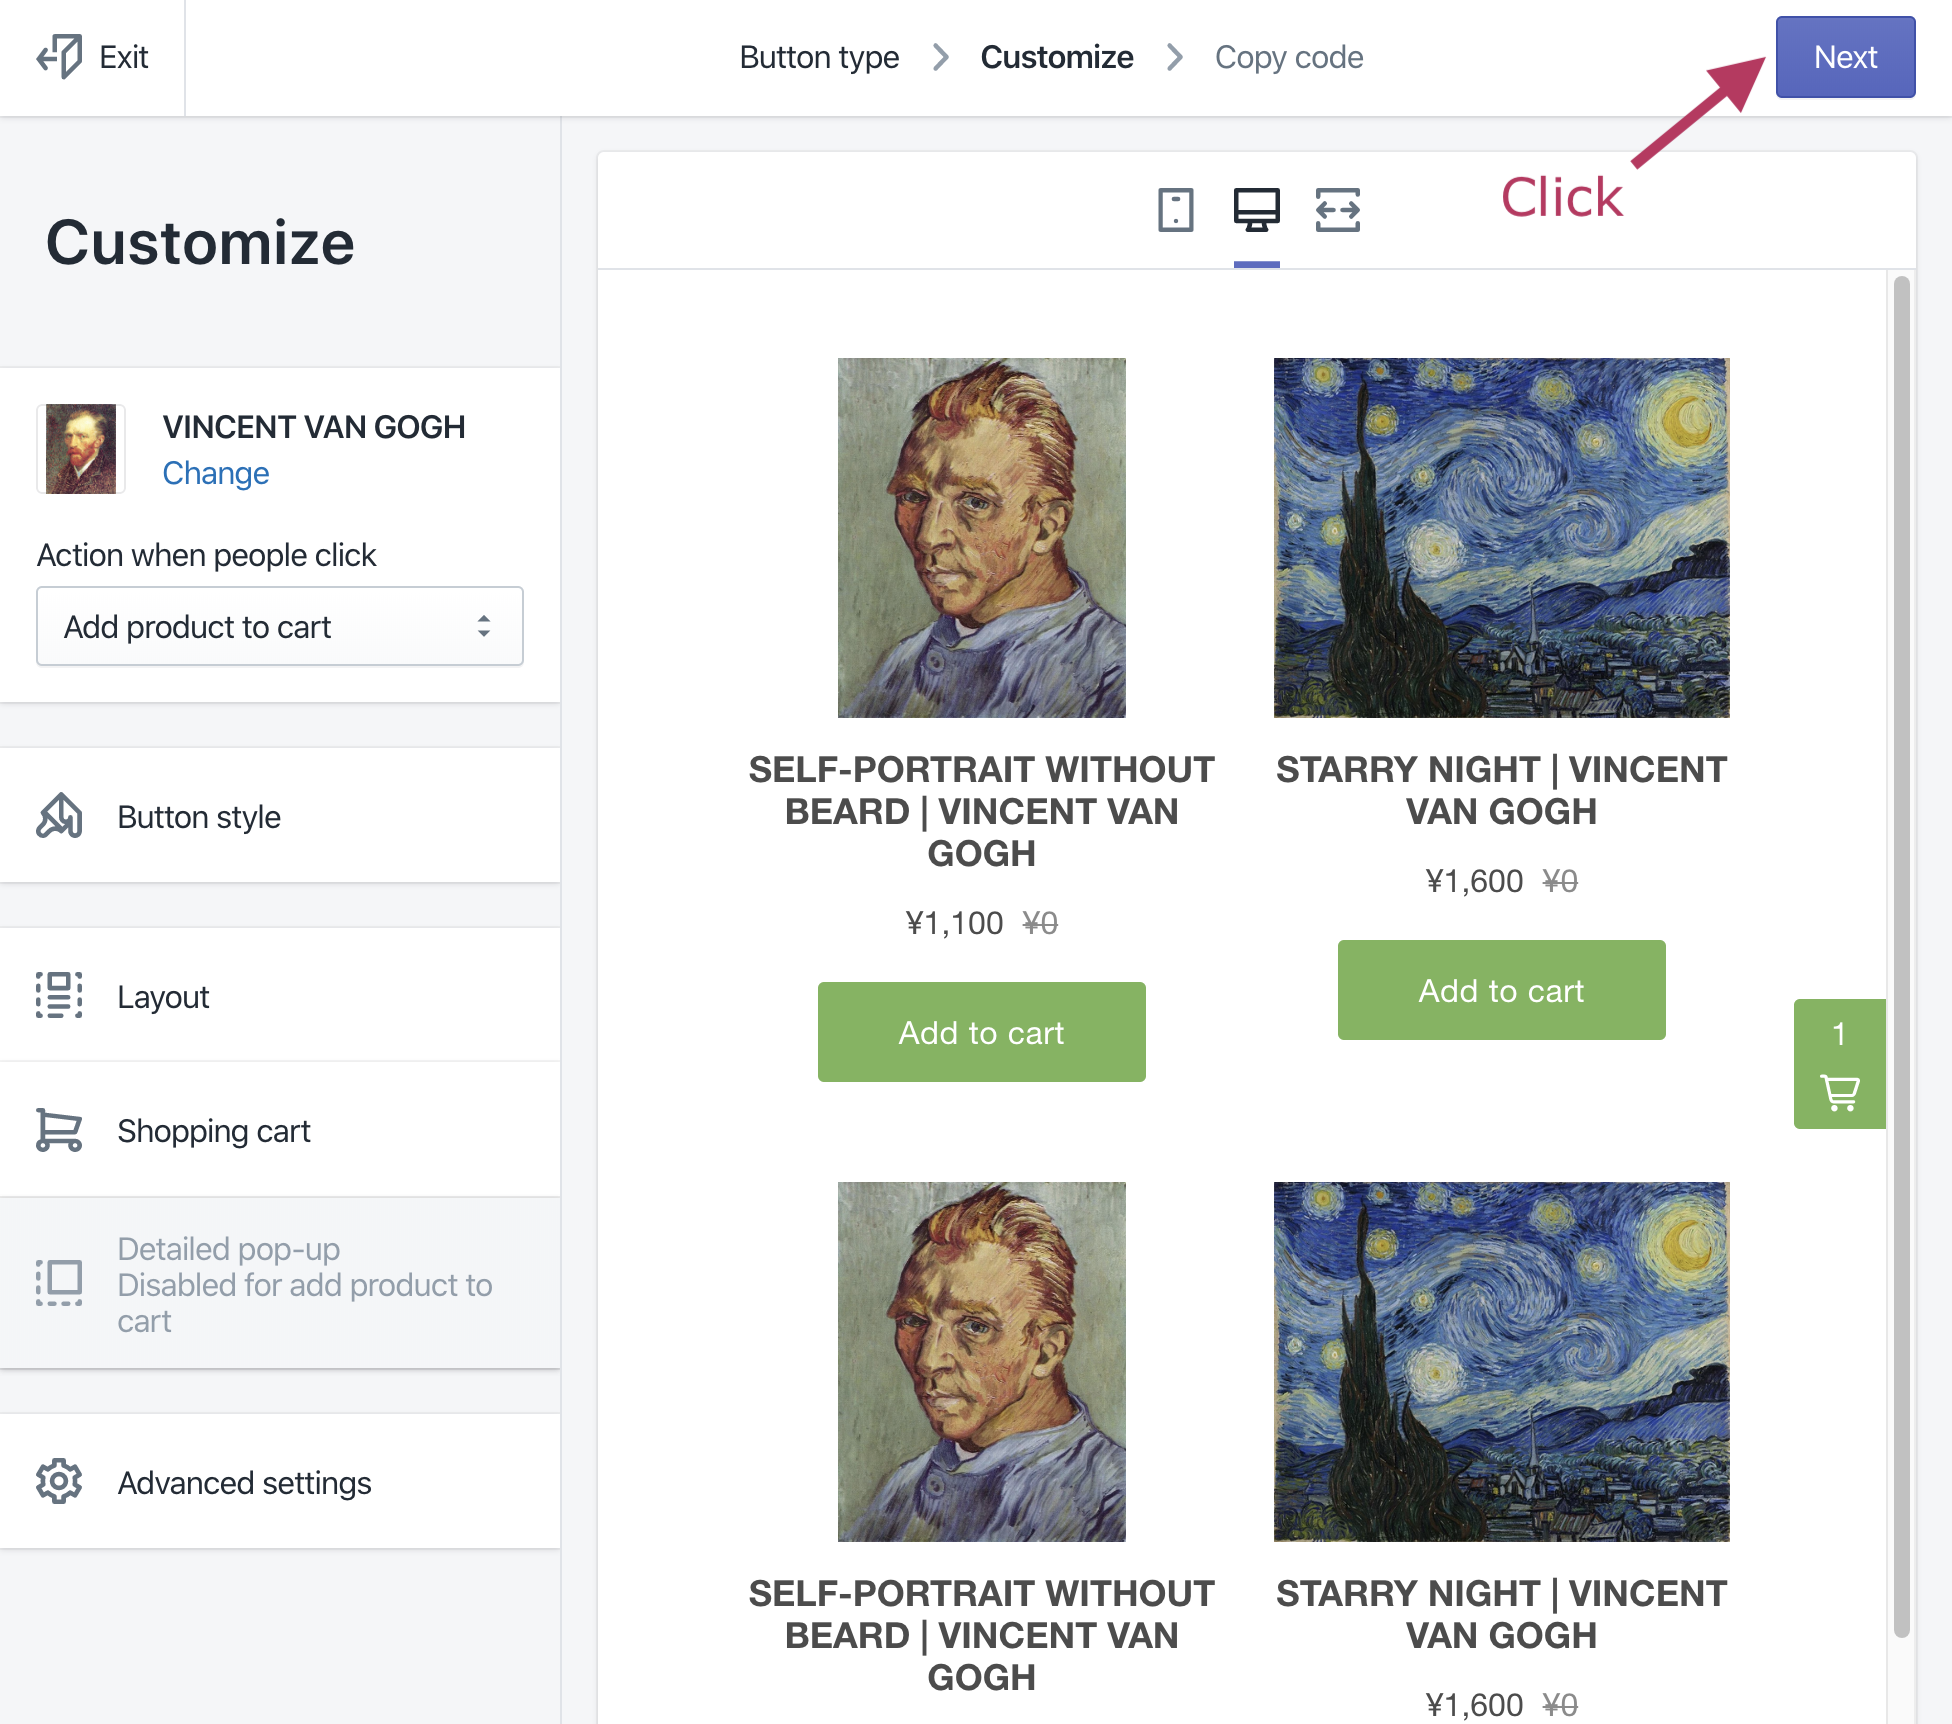
4. Click [Next] button
![](/wp-content/uploads/2024/03/201493269-9956422ff9dc2a8eafce78aa.png)
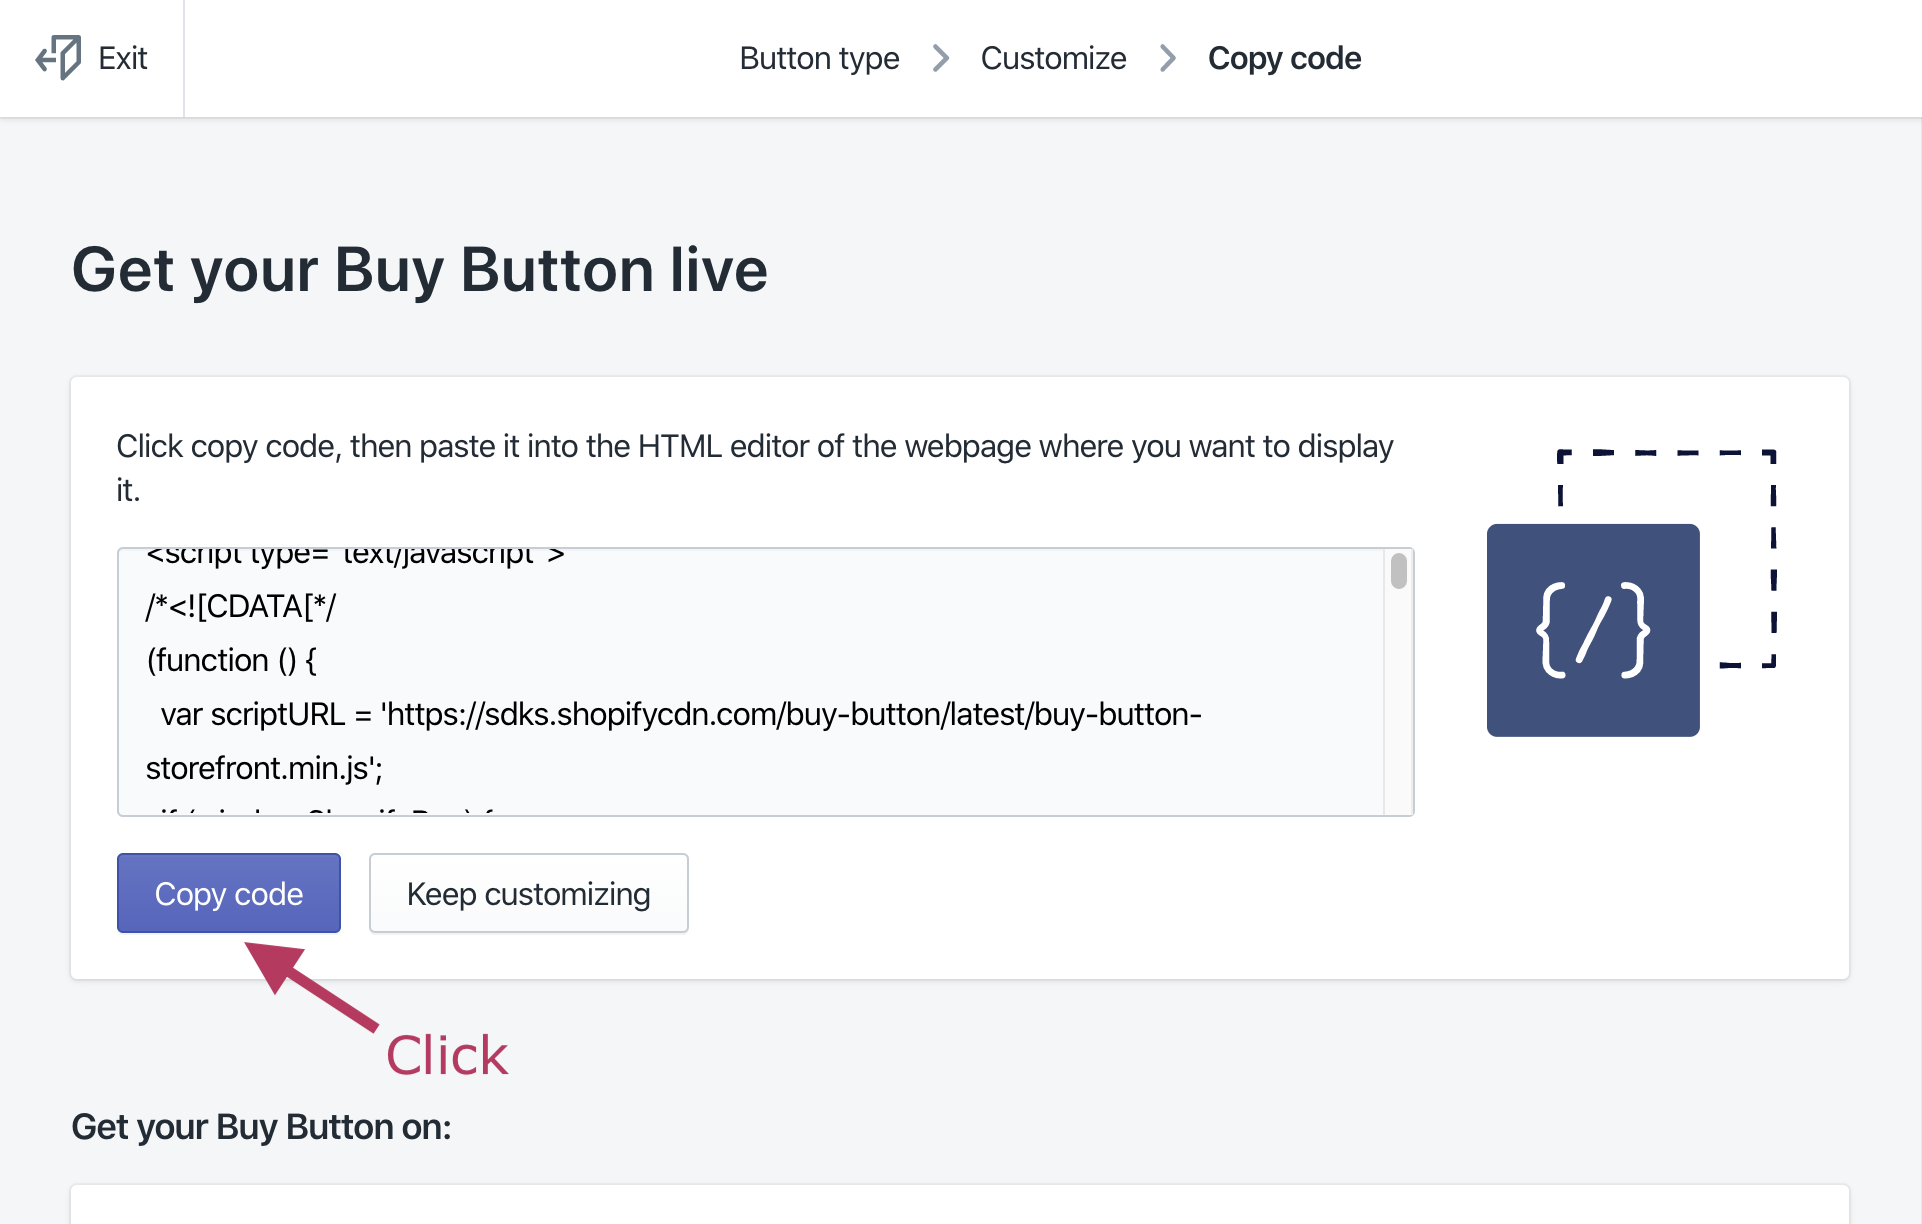
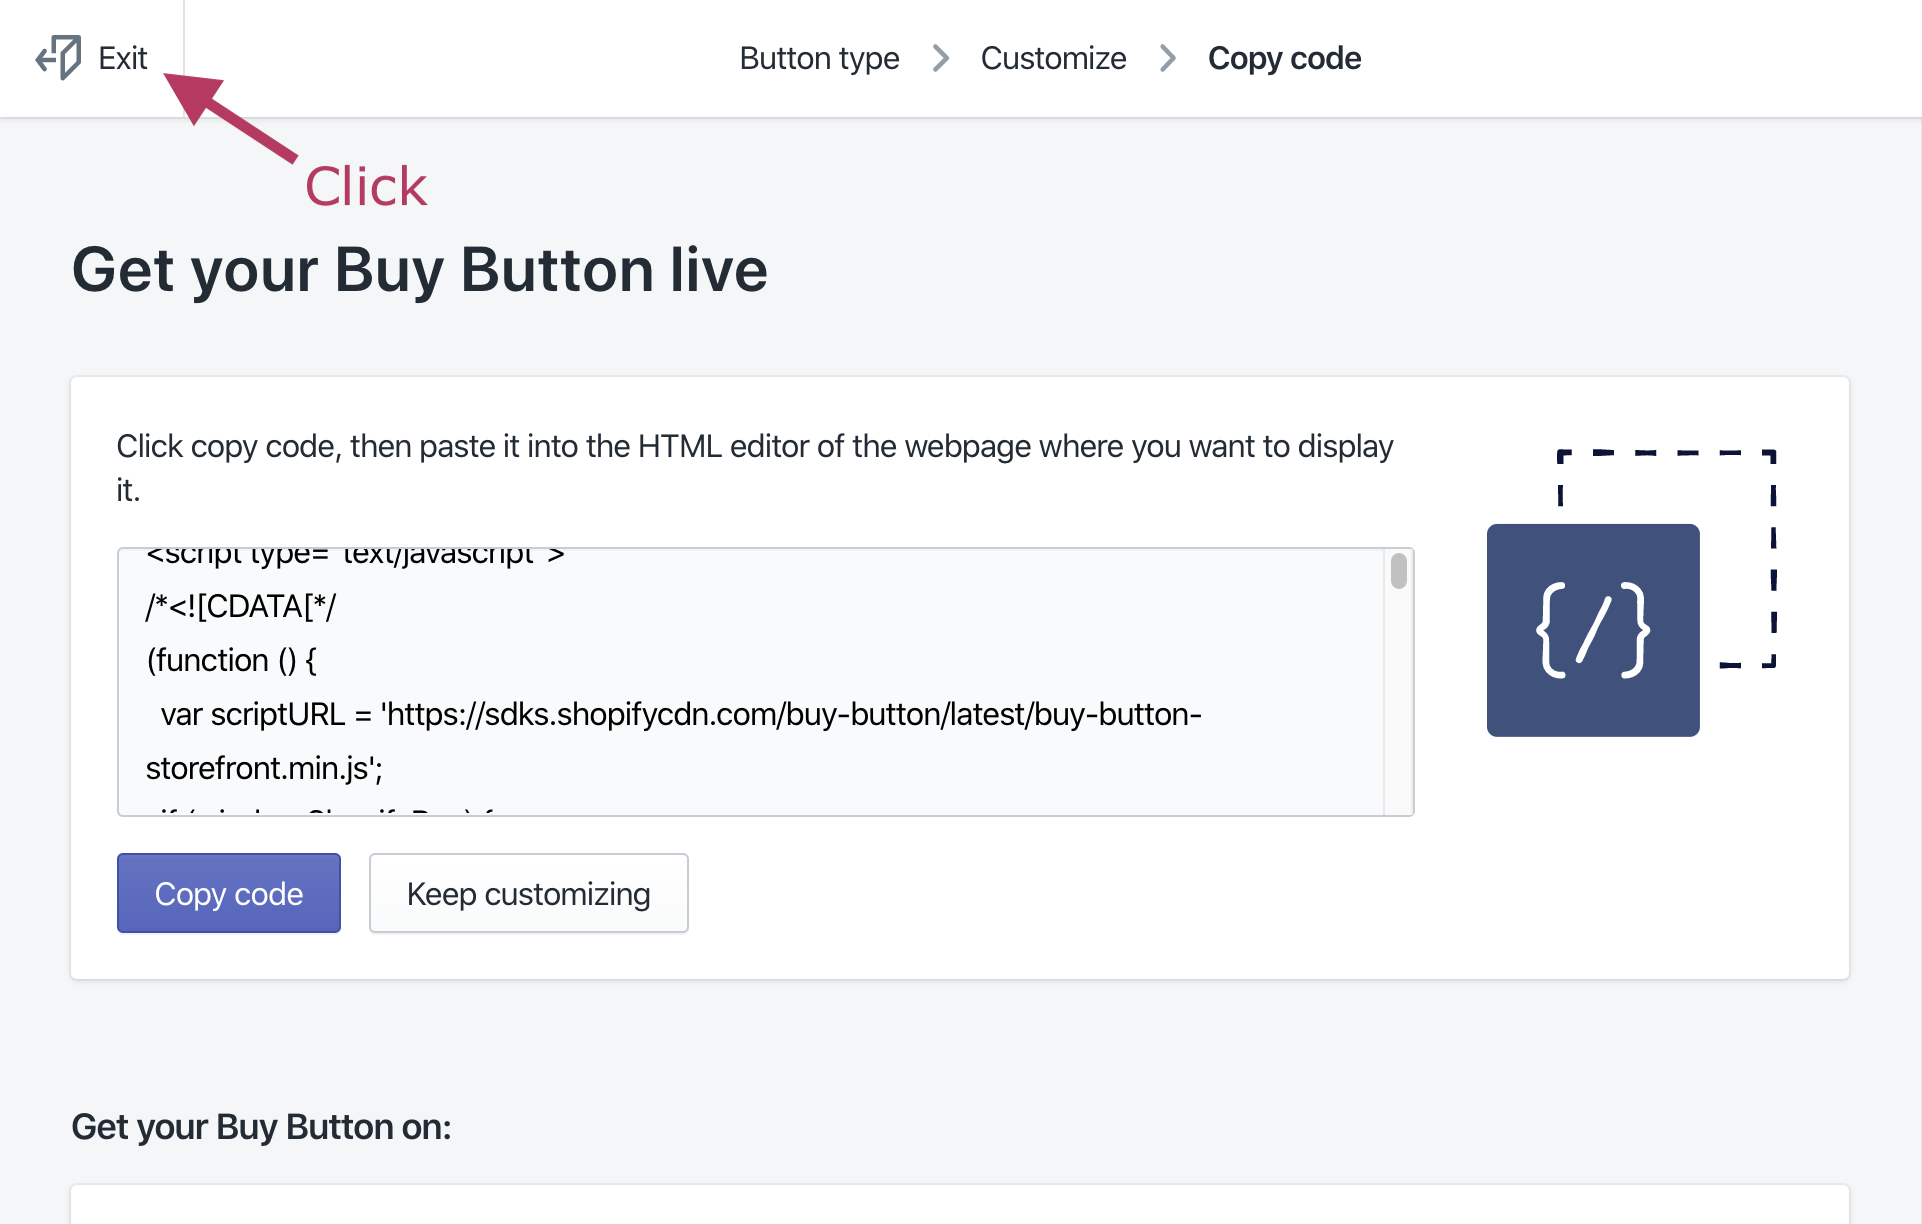
5. Click [Copy code] button to copy generated code
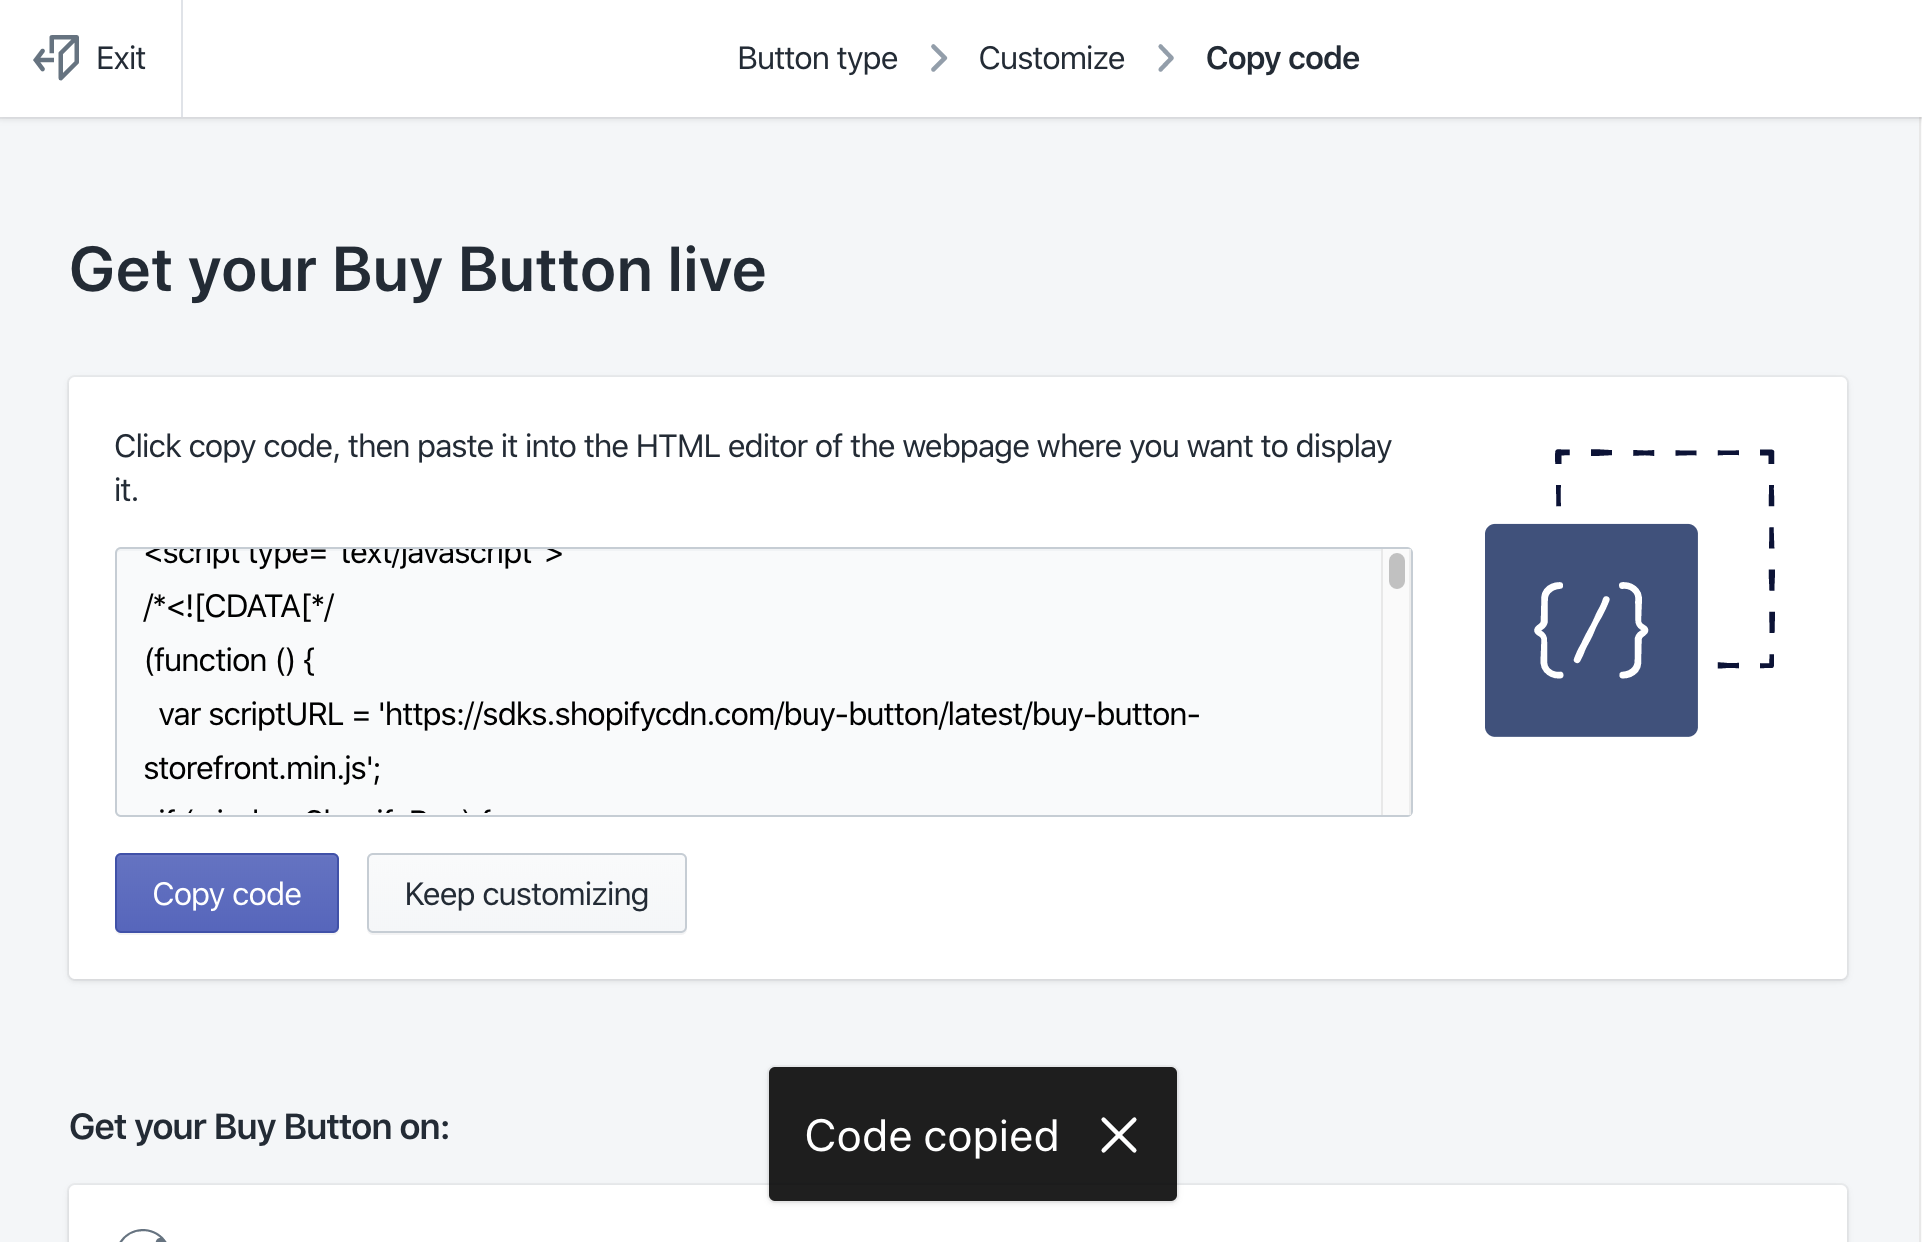
![](/wp-content/uploads/2024/03/201493416-8f92df33d435dfa0a70c7779.png)
6. … Copied
![](/wp-content/uploads/2024/03/201487617-039aa77af3fbe9c657309916.png)
7. Click [Exit]
![](/wp-content/uploads/2024/03/201493064-8ce05d86aea2b08bda6f4705.png)
Add Buy Button to WordPress page
1. Start WordPress on Shifter Dashboard, then login to WordPress Dashboard
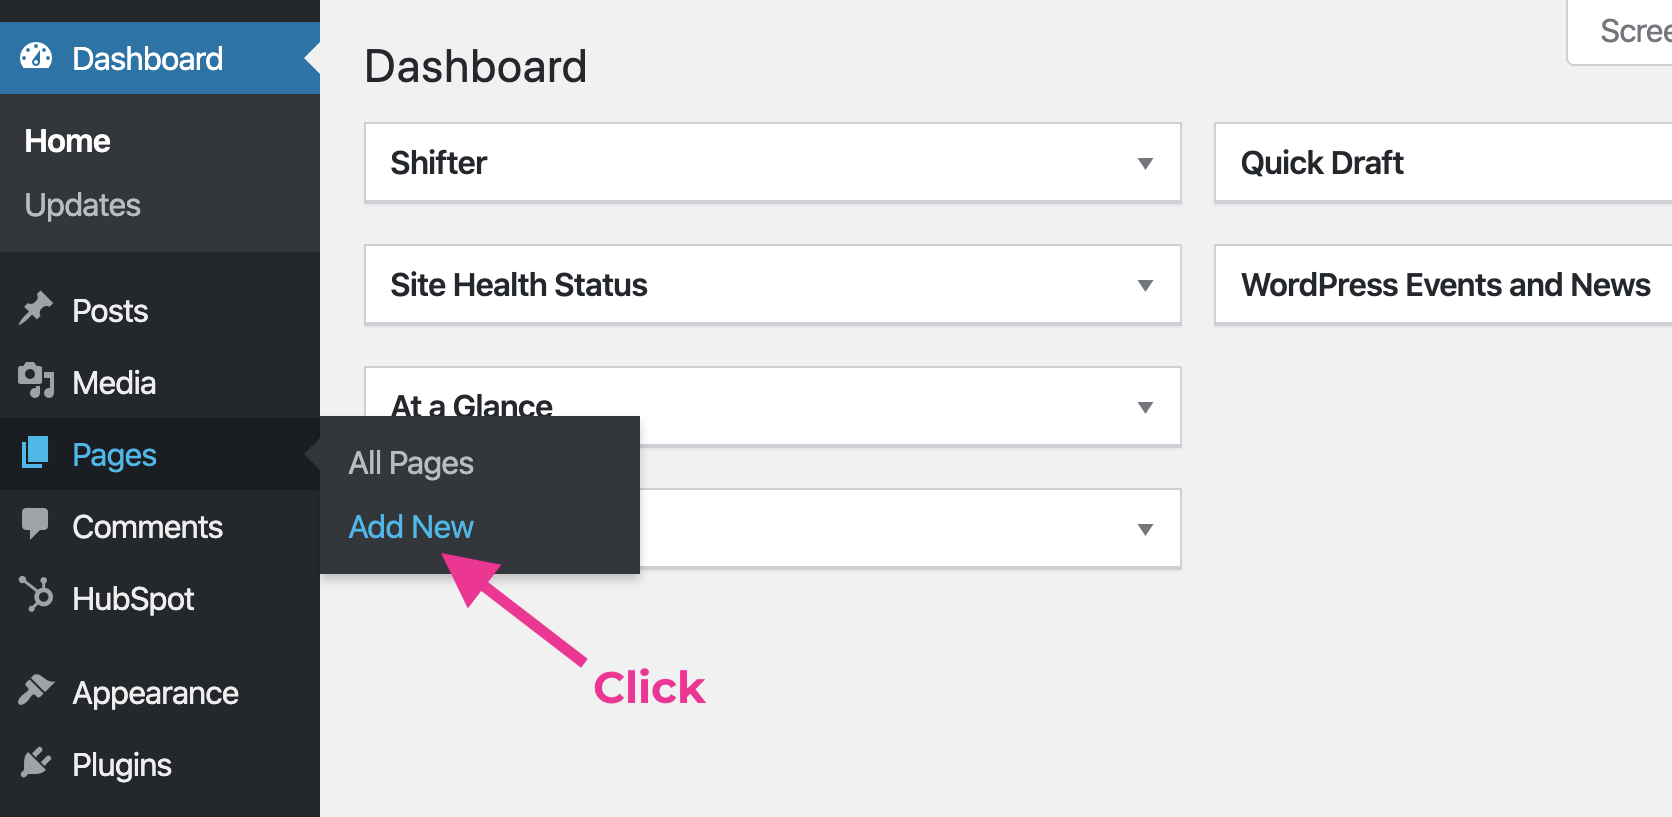
2. Add a new page or post
![](/wp-content/uploads/2024/03/199939653-e91ff7554e7850bbe1cca67b.png)
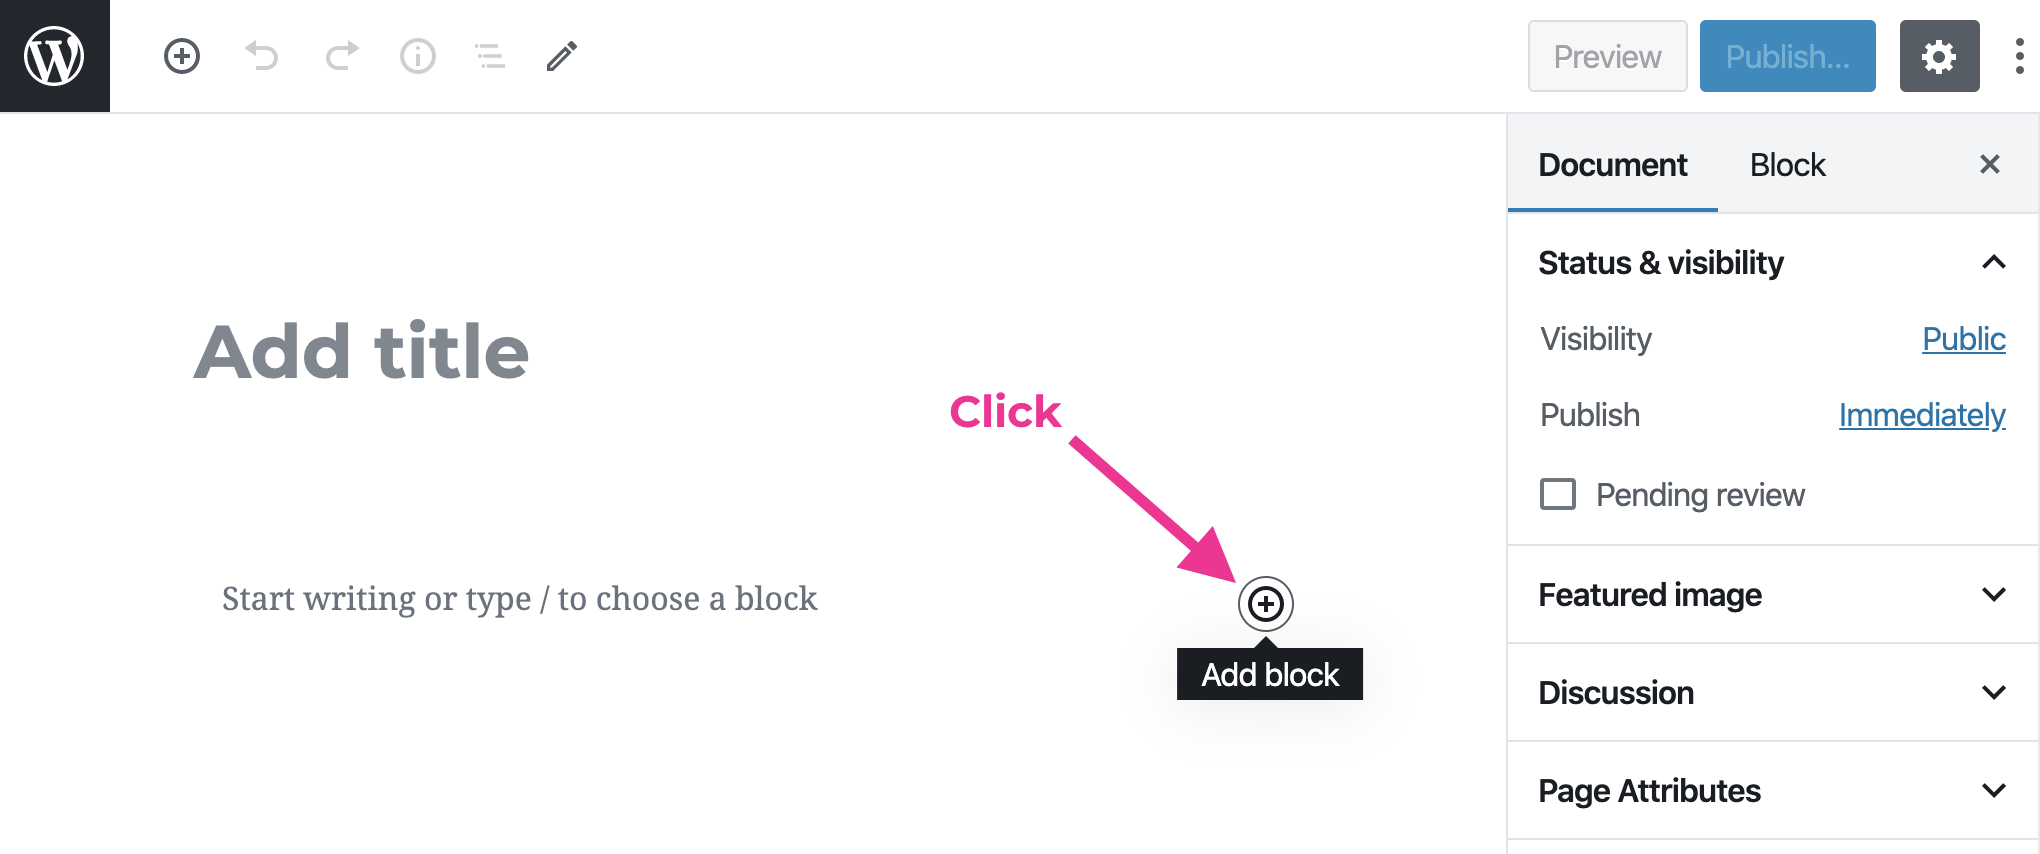
3. Add “Custom HTML”
![](/wp-content/uploads/2024/03/199939533-01f55b1f5e5a77cafe7c6015.png)
4. Paste copied Buy Button JavaScript code
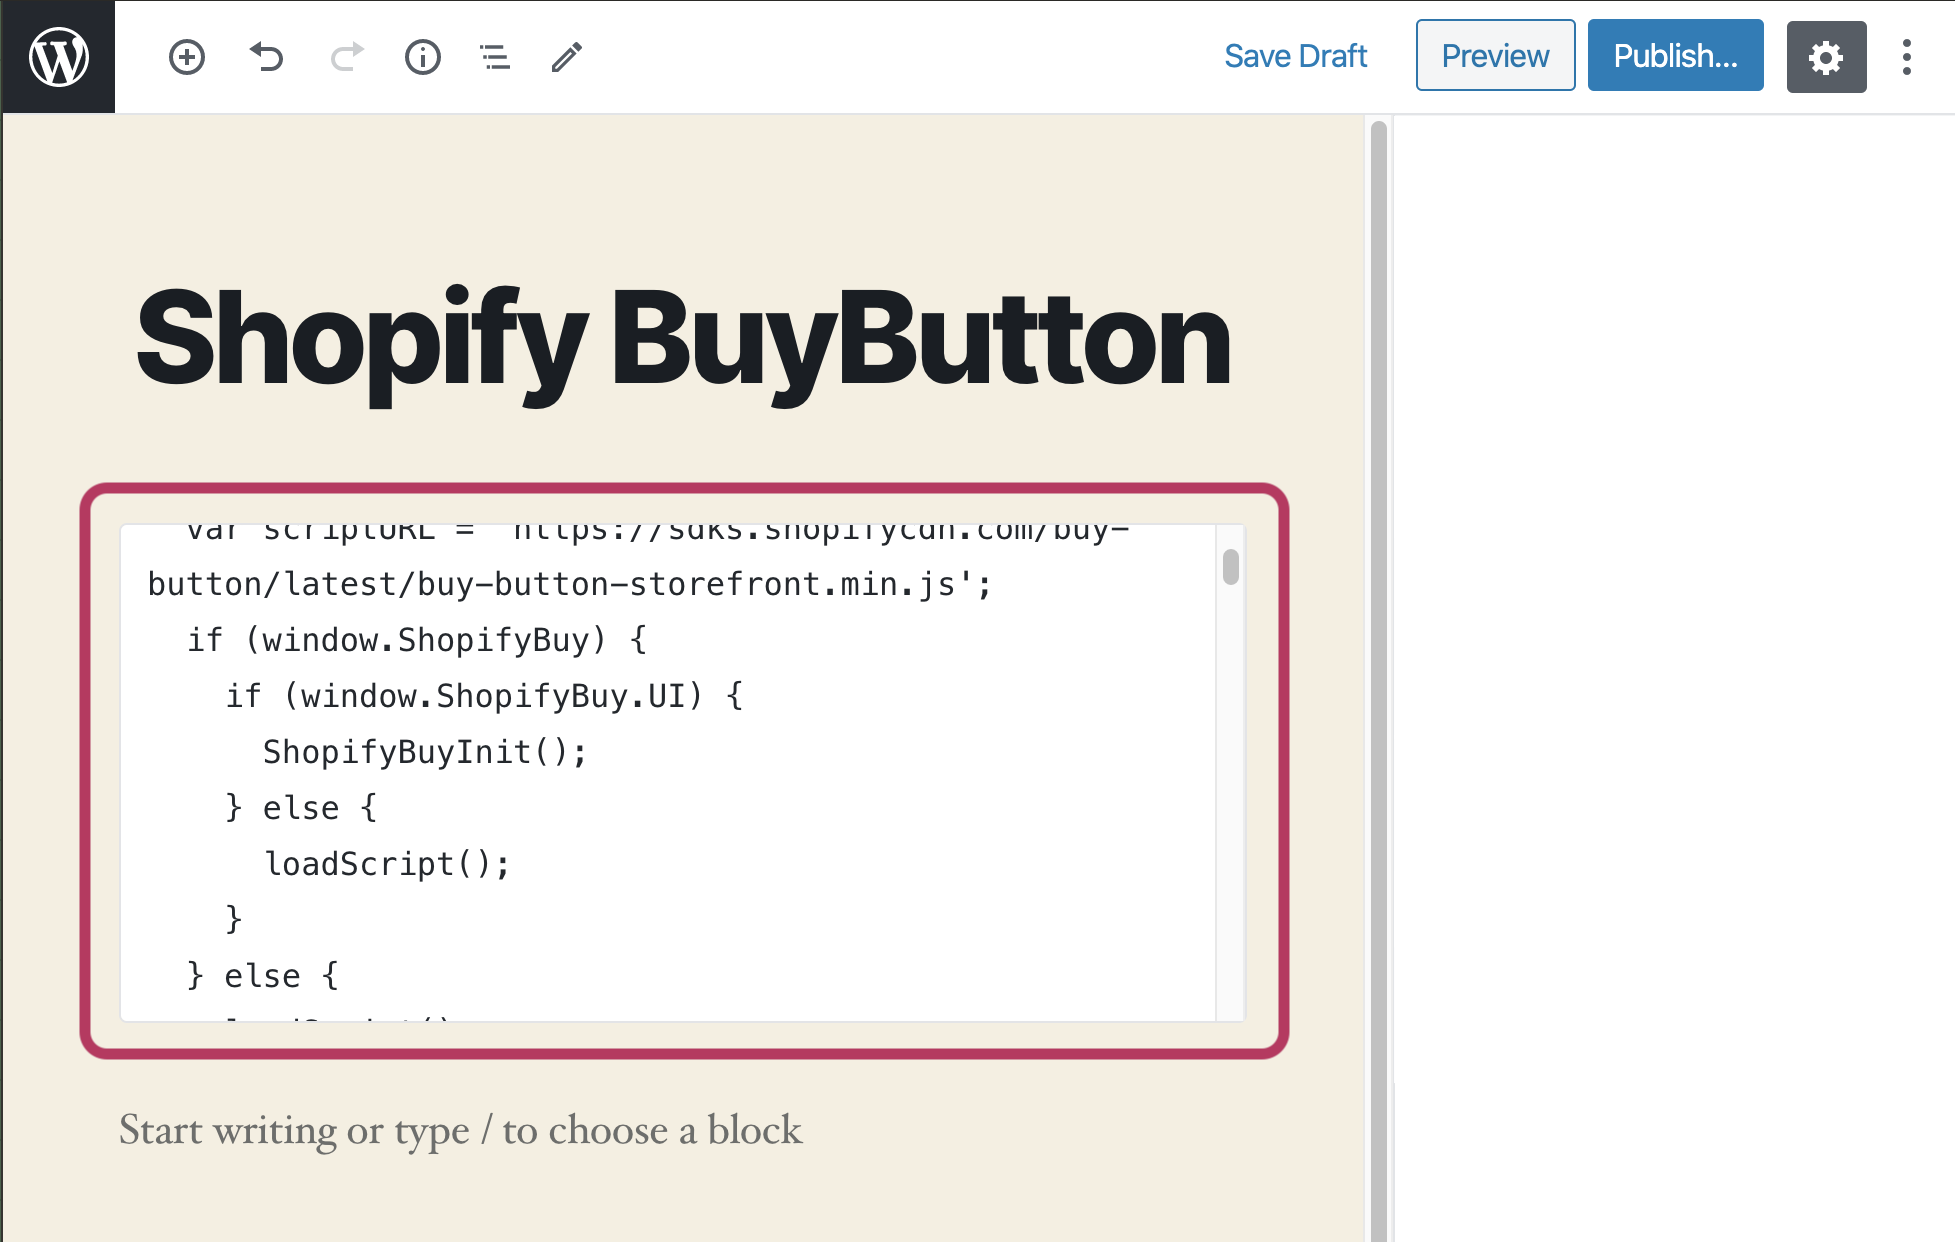
![](/wp-content/uploads/2024/03/201485688-8026c076b8000d6ce4f0be74.png)
5. Publish
![](/wp-content/uploads/2024/03/201516749-38ab39ffc7e289c9a74d37ec.png)
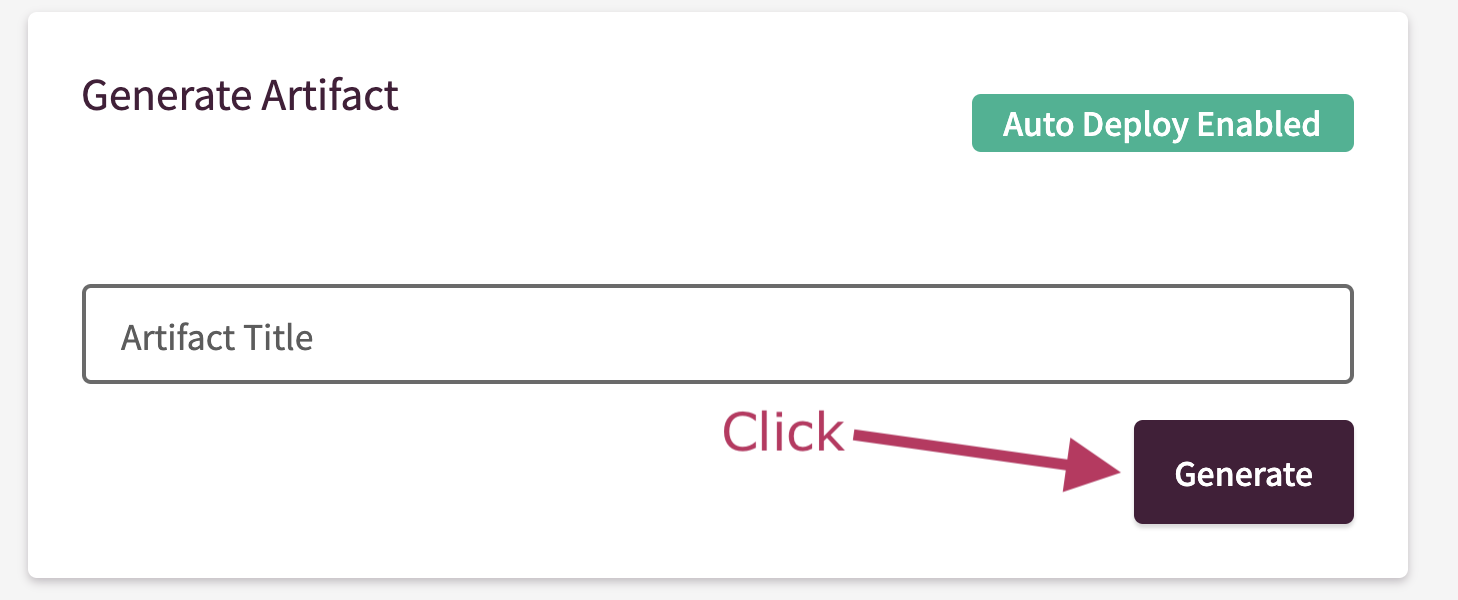
6. Back to Shifter Dashboard and generate an Artifact
![](/wp-content/uploads/2024/03/201516932-b872b0e5fe12458583c504e3.png)
Confirm Buy Button works.
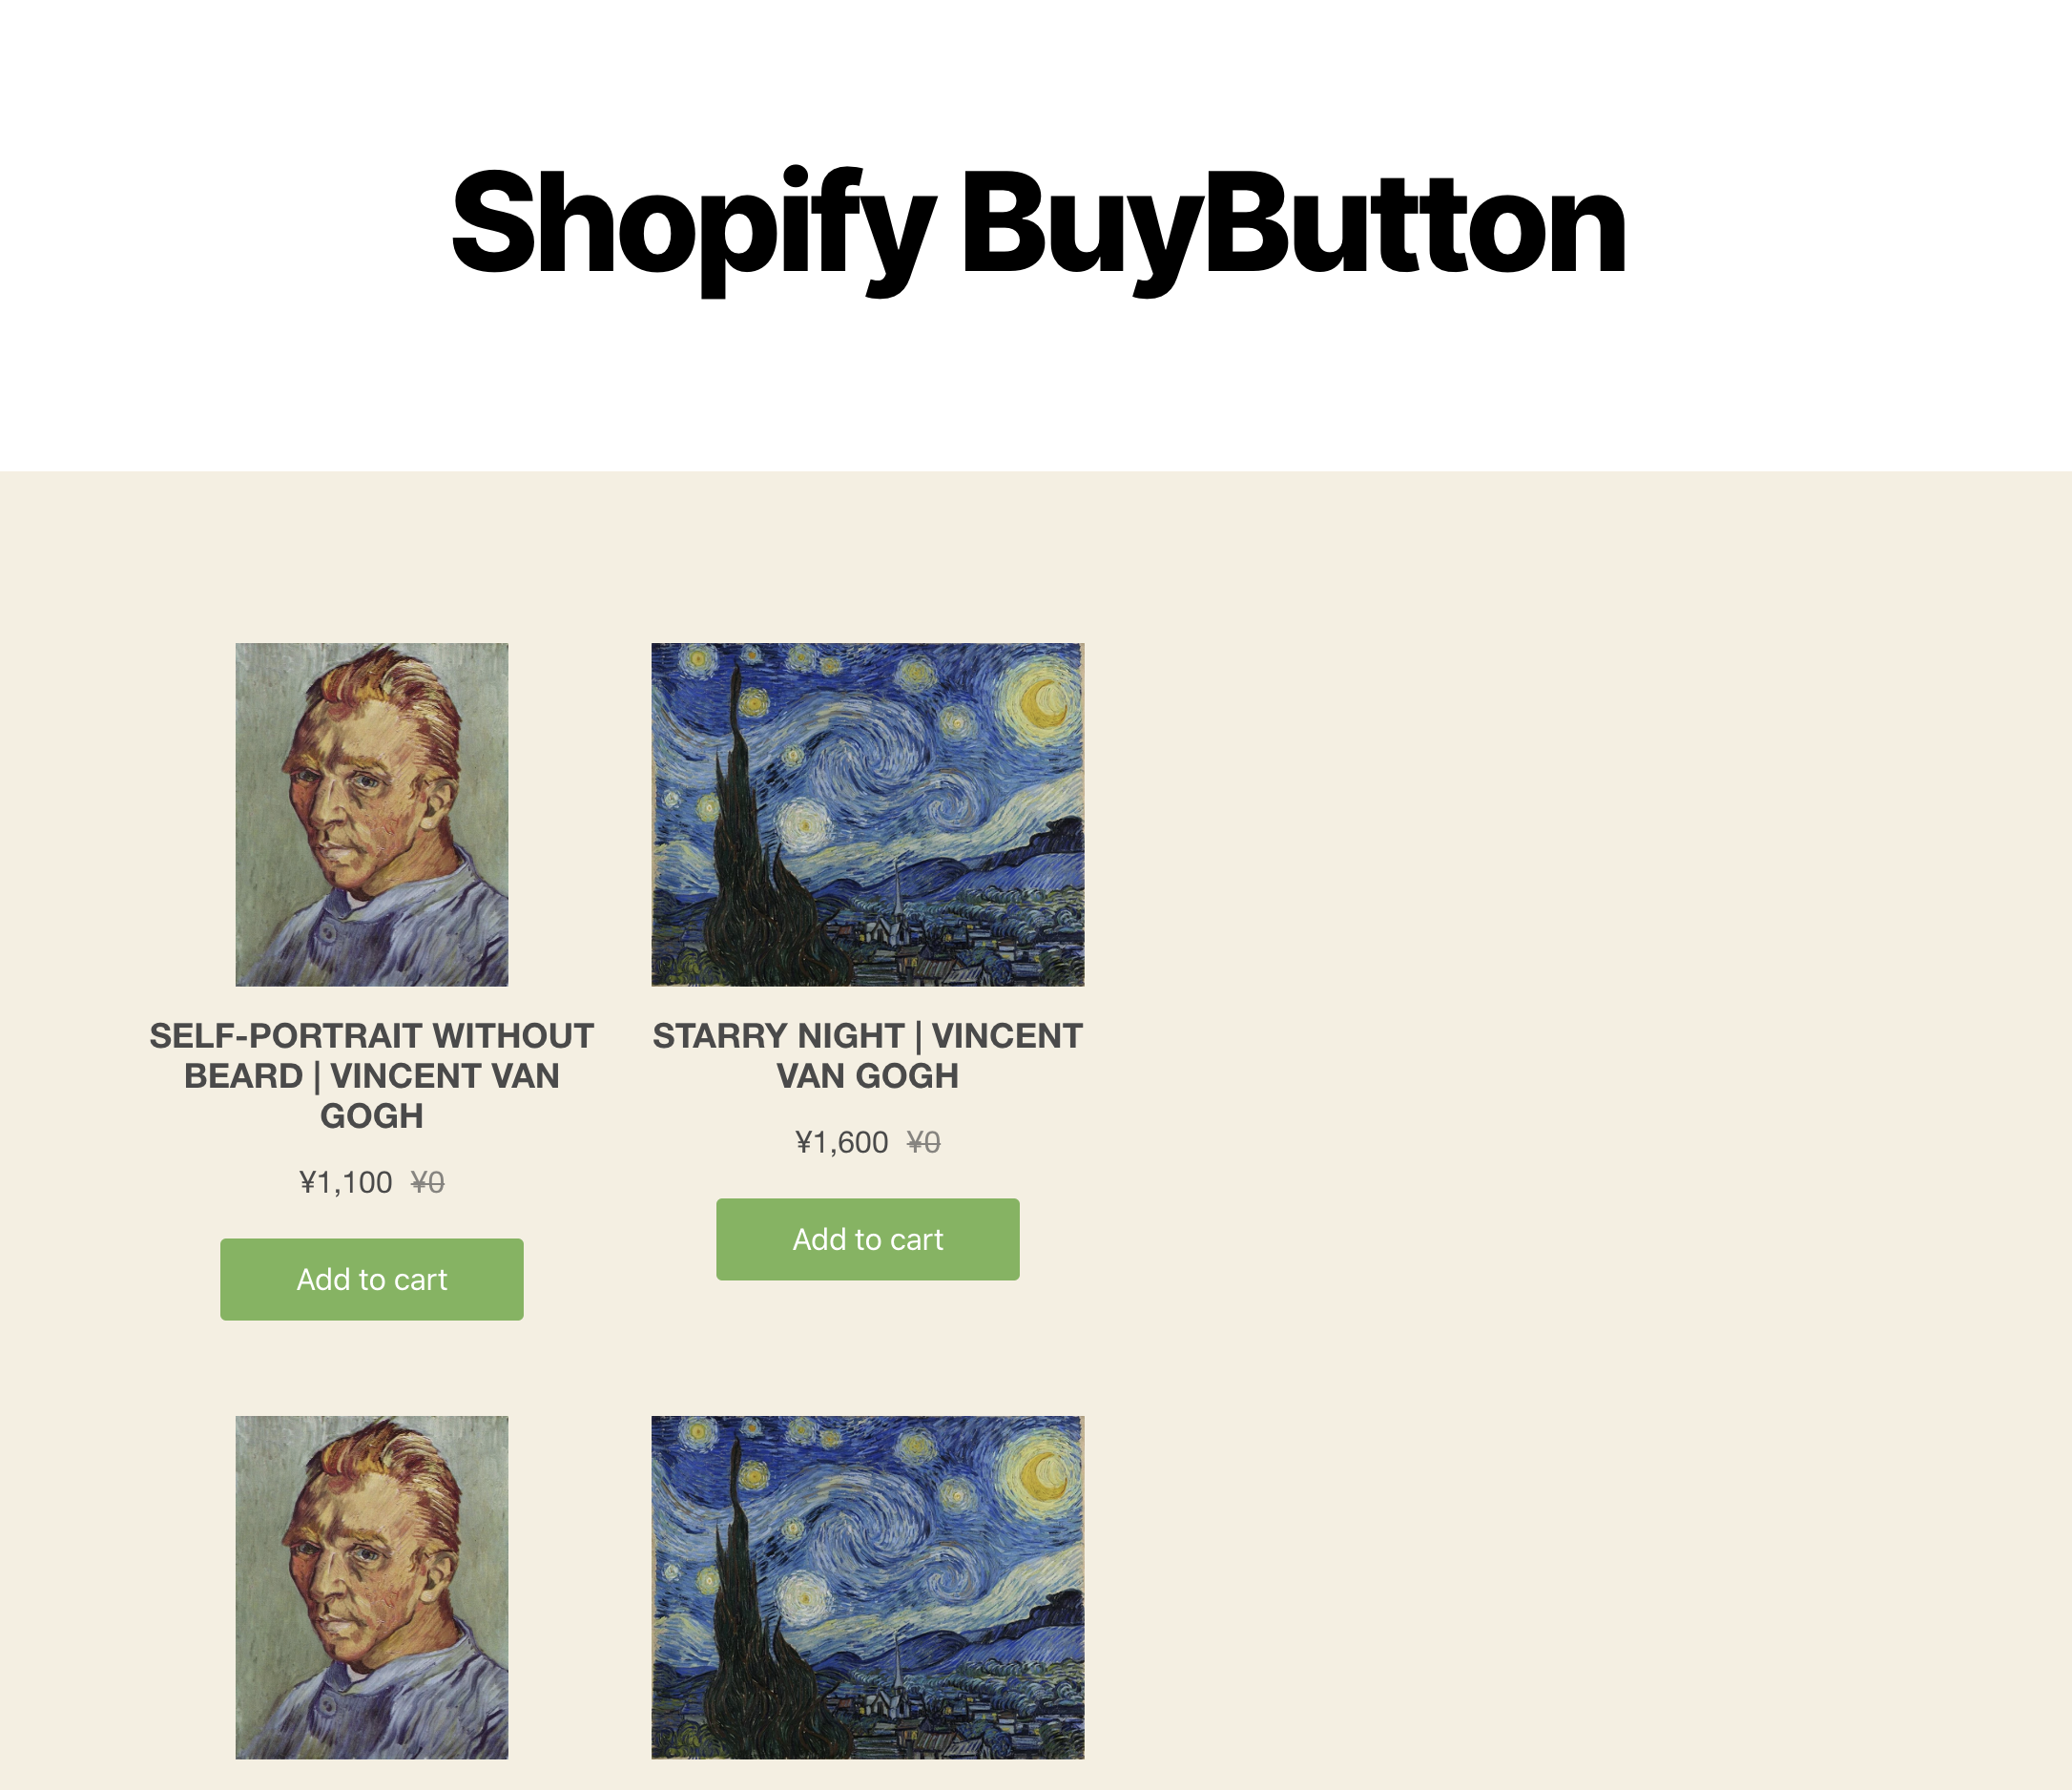
1. Navigate to Buy Button page
e.g. https://example.com/shopify-buybutton/
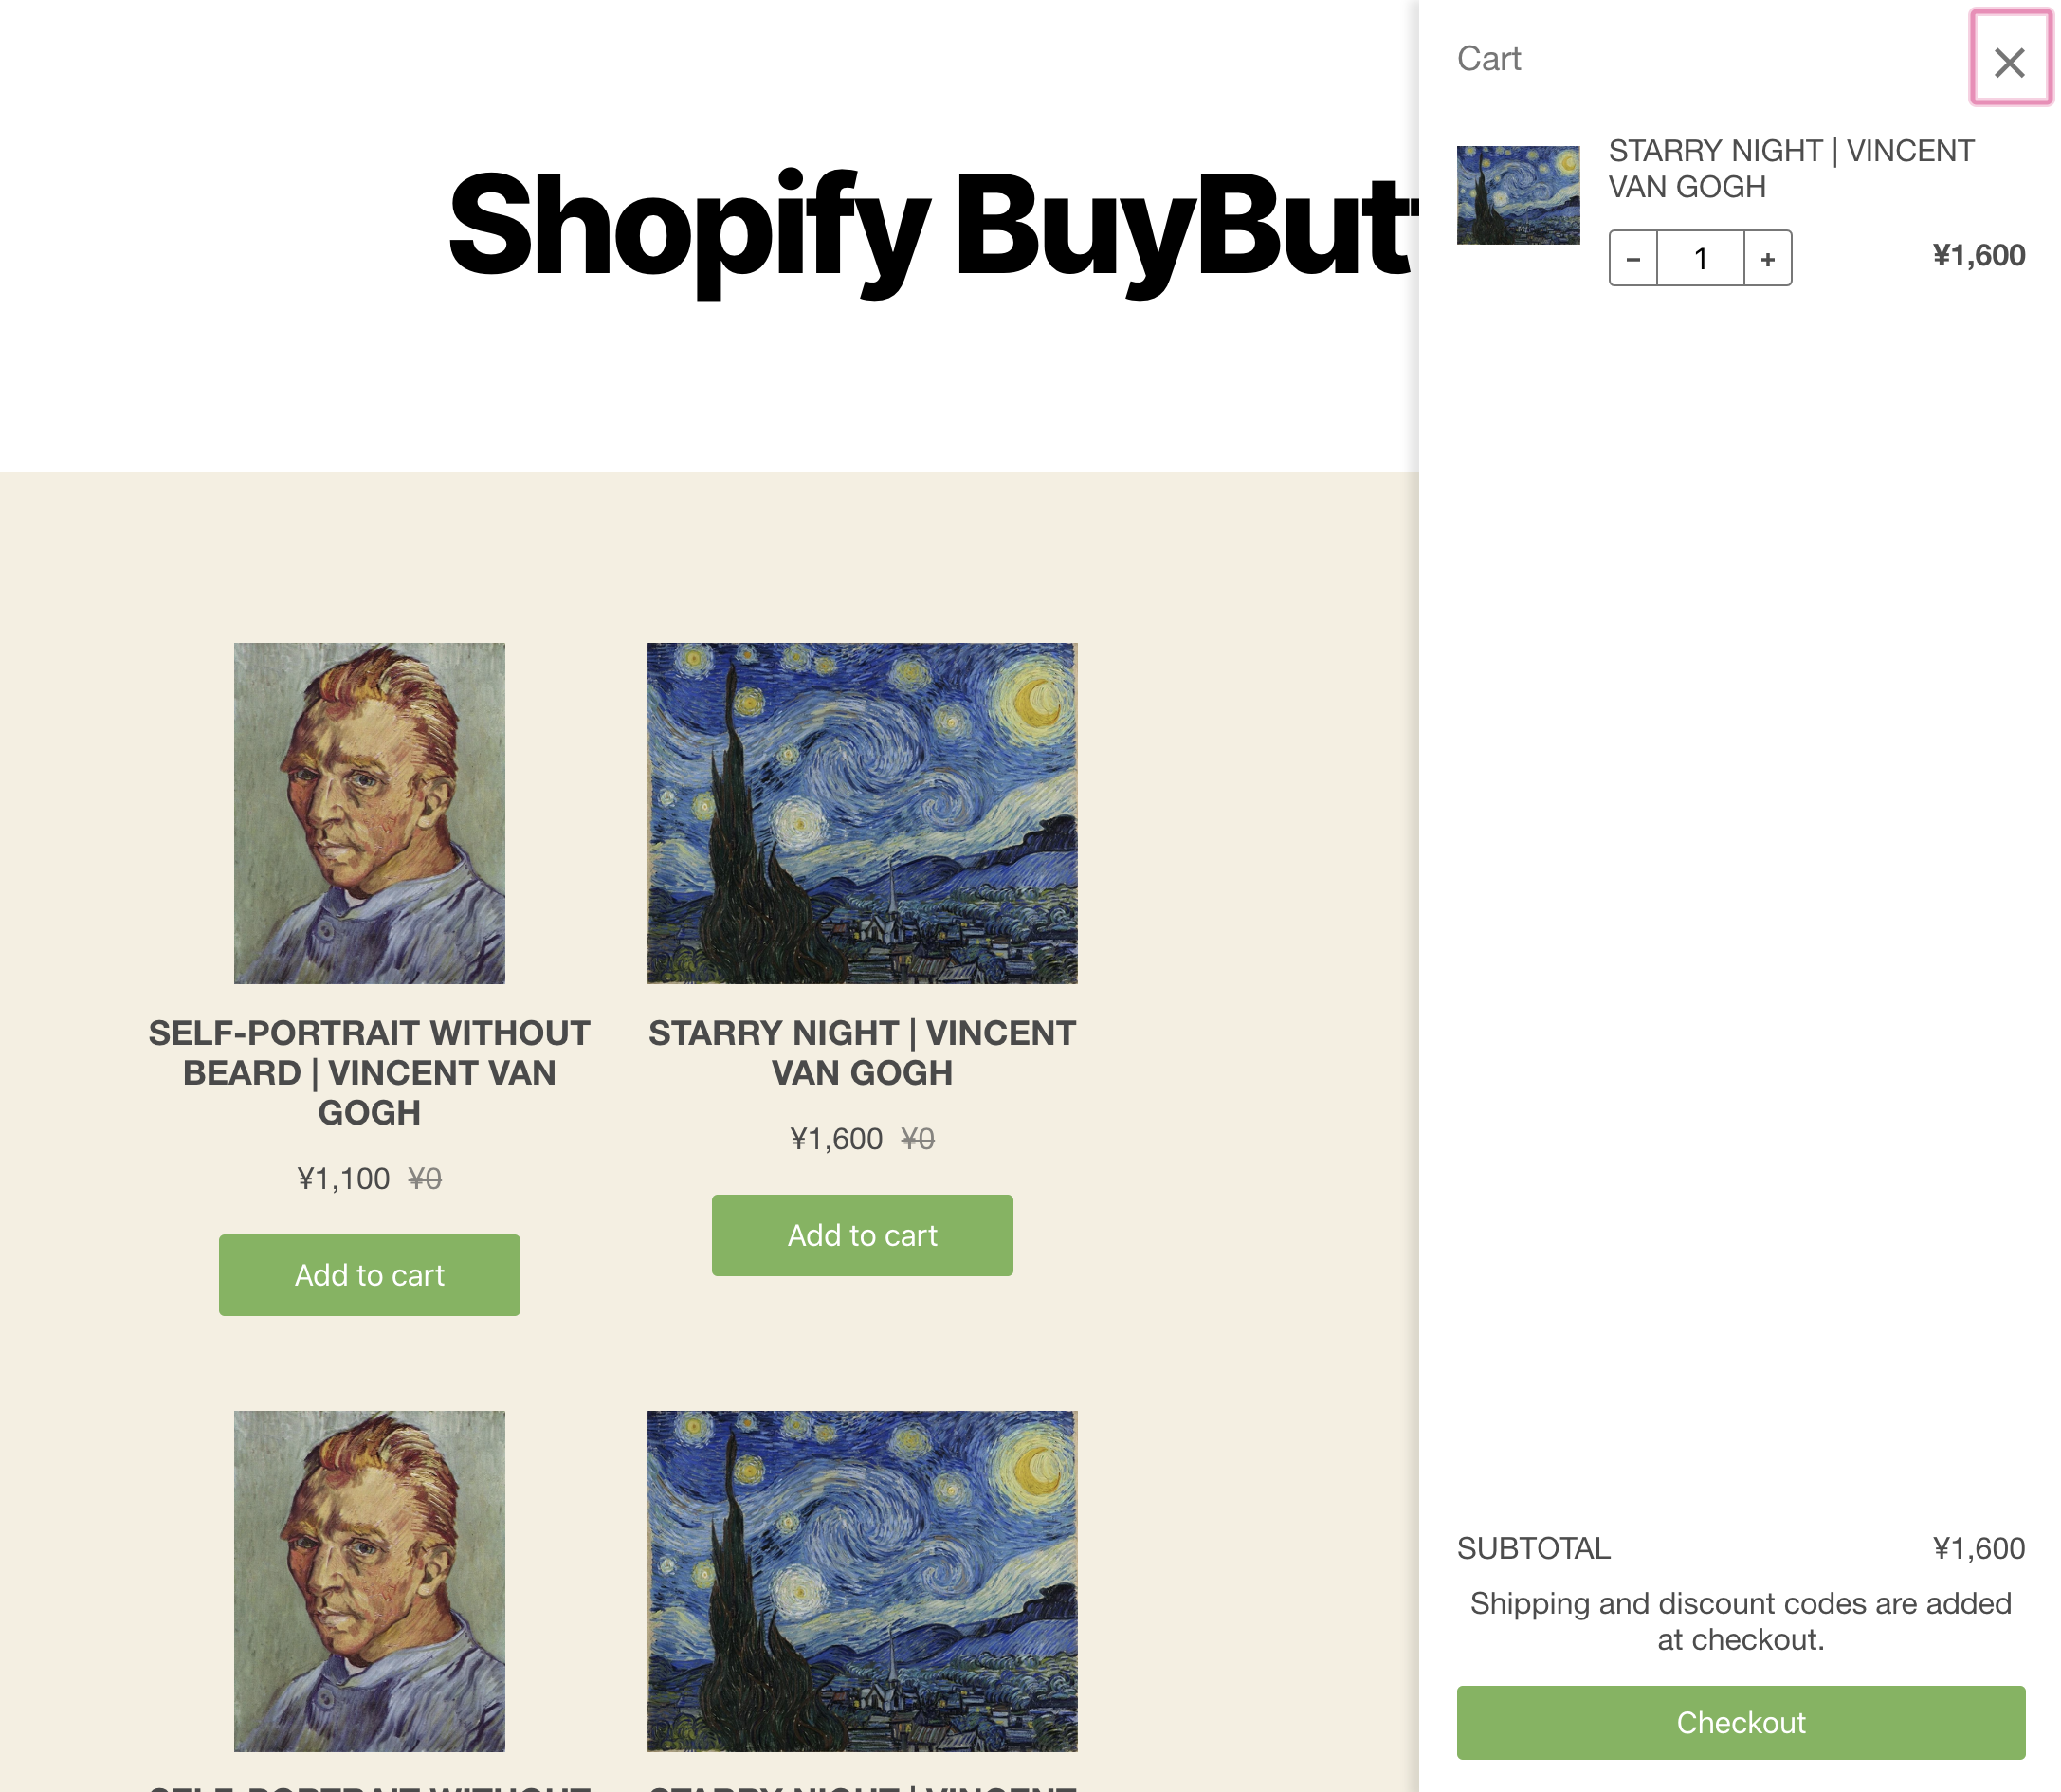
2. Click item’s [Add to cart] button
![](/wp-content/uploads/2024/03/201519302-52c9d14e14e6a78da7b0fa67.png)
3. Item is added to the cart
![](/wp-content/uploads/2024/03/201519136-38deeac4befdf924252af233.png)
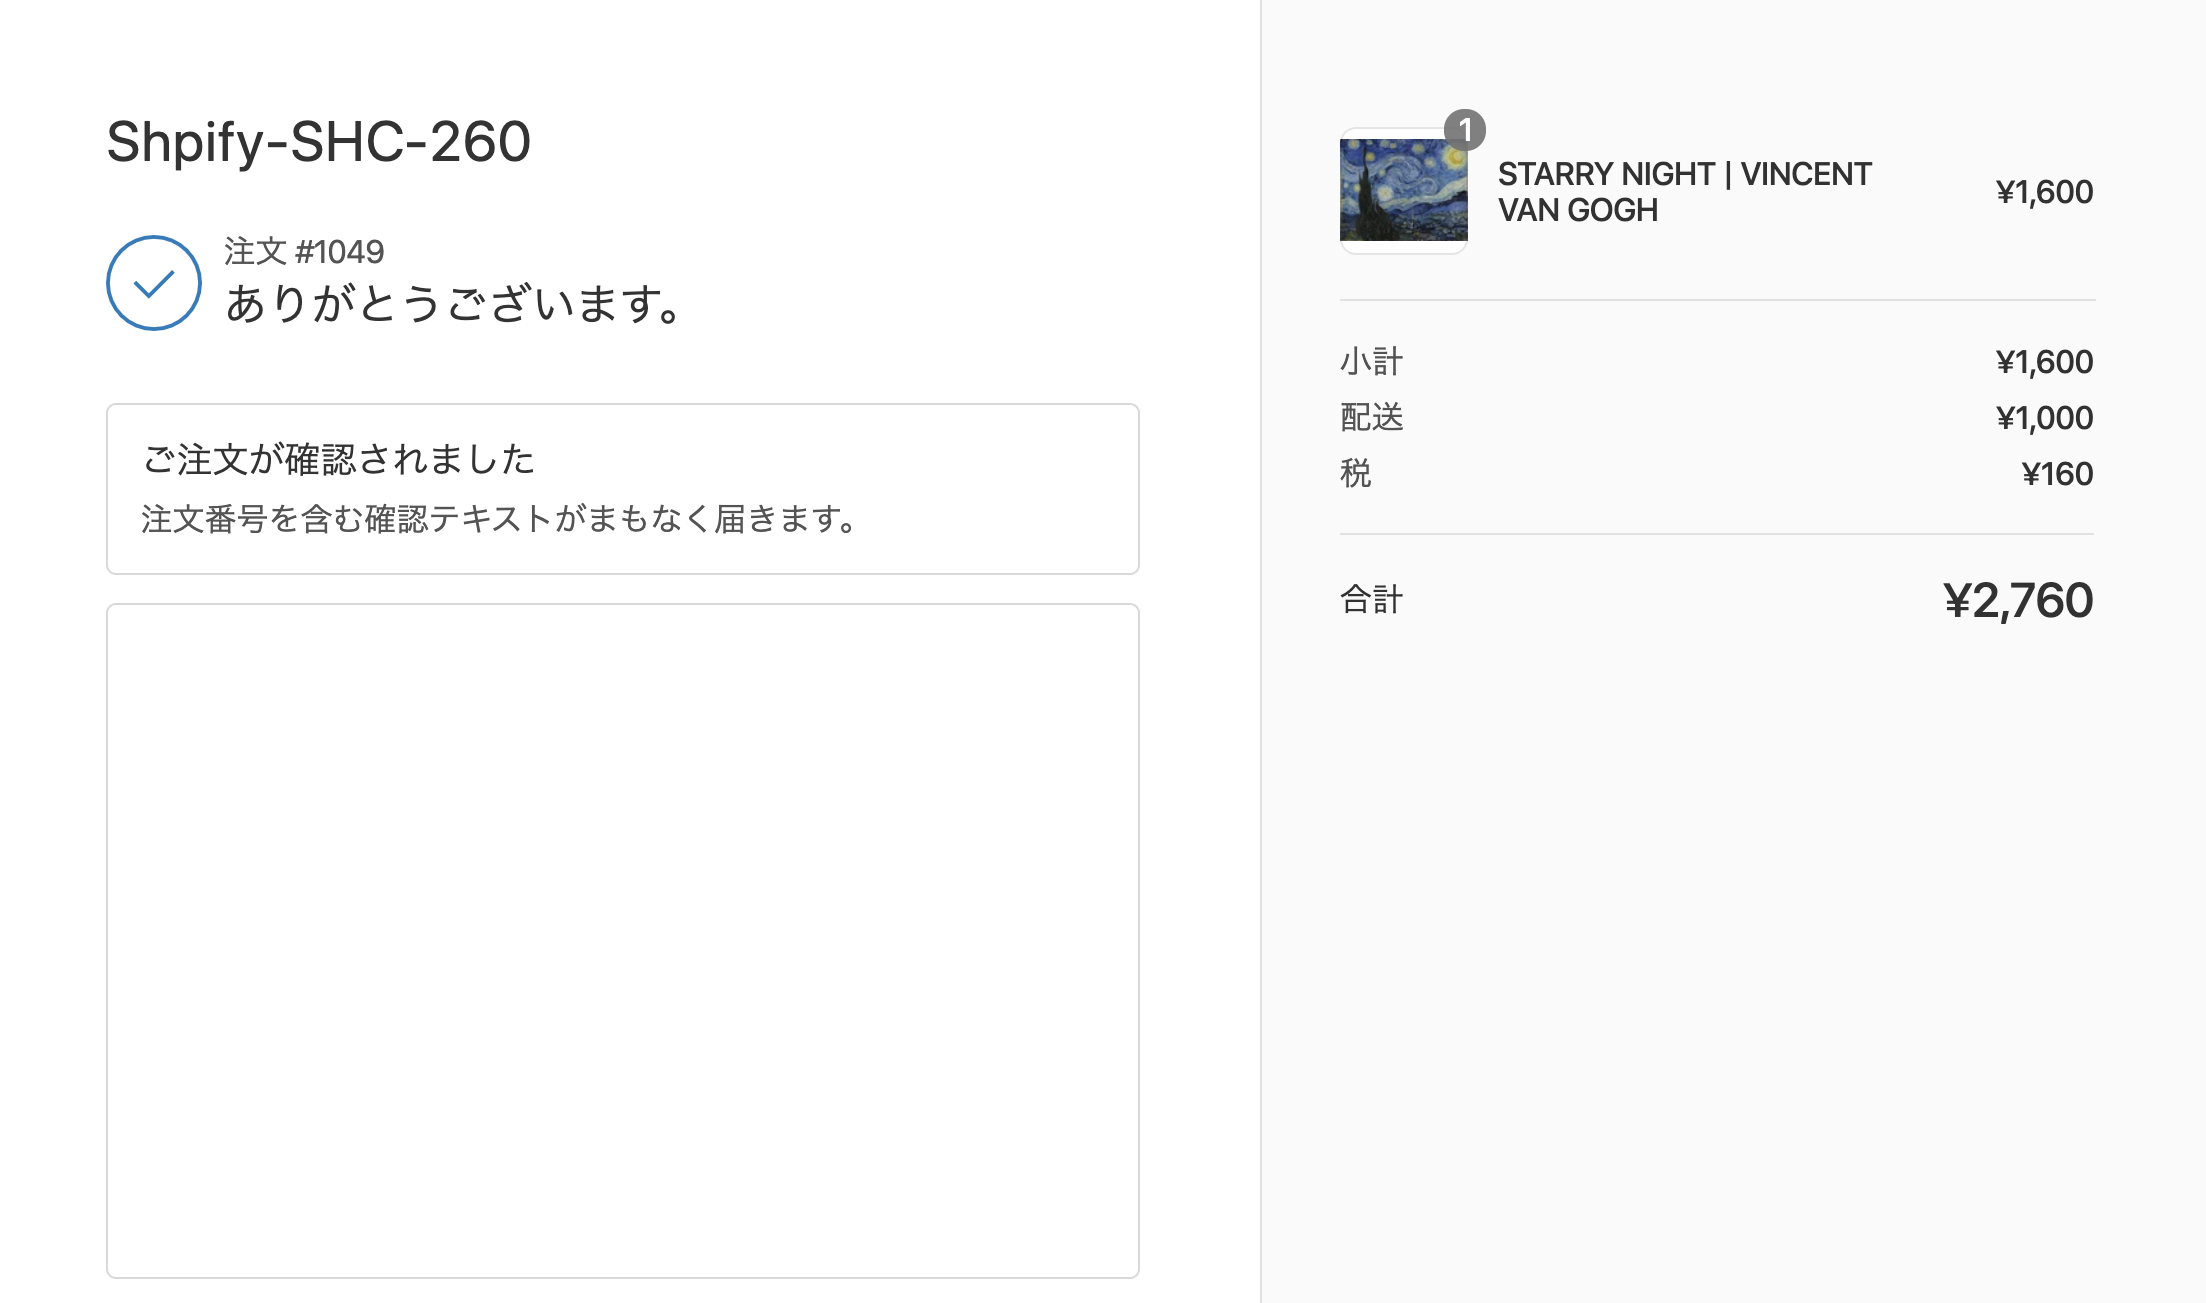
4. Complete checkout and succeeded
![](/wp-content/uploads/2024/03/201518773-9a8829be8783b995649152ab.png)
Disable test mode
1. Back to Shopify admin page
![](/wp-content/uploads/2024/03/201525605-f08375b800cca331e8b4dbf9.png)
2. Click [Settings]
![](/wp-content/uploads/2024/03/201525729-5016951c19af6ef848e7a19d.png)
3. Click [Payment Providers]
![](/wp-content/uploads/2024/03/201526031-bb2818a489adba4e43474dba.png)
4. Click “Turn off test mode”
![](/wp-content/uploads/2024/03/201526491-56dc3c805b2f76b77aef1d17.png)
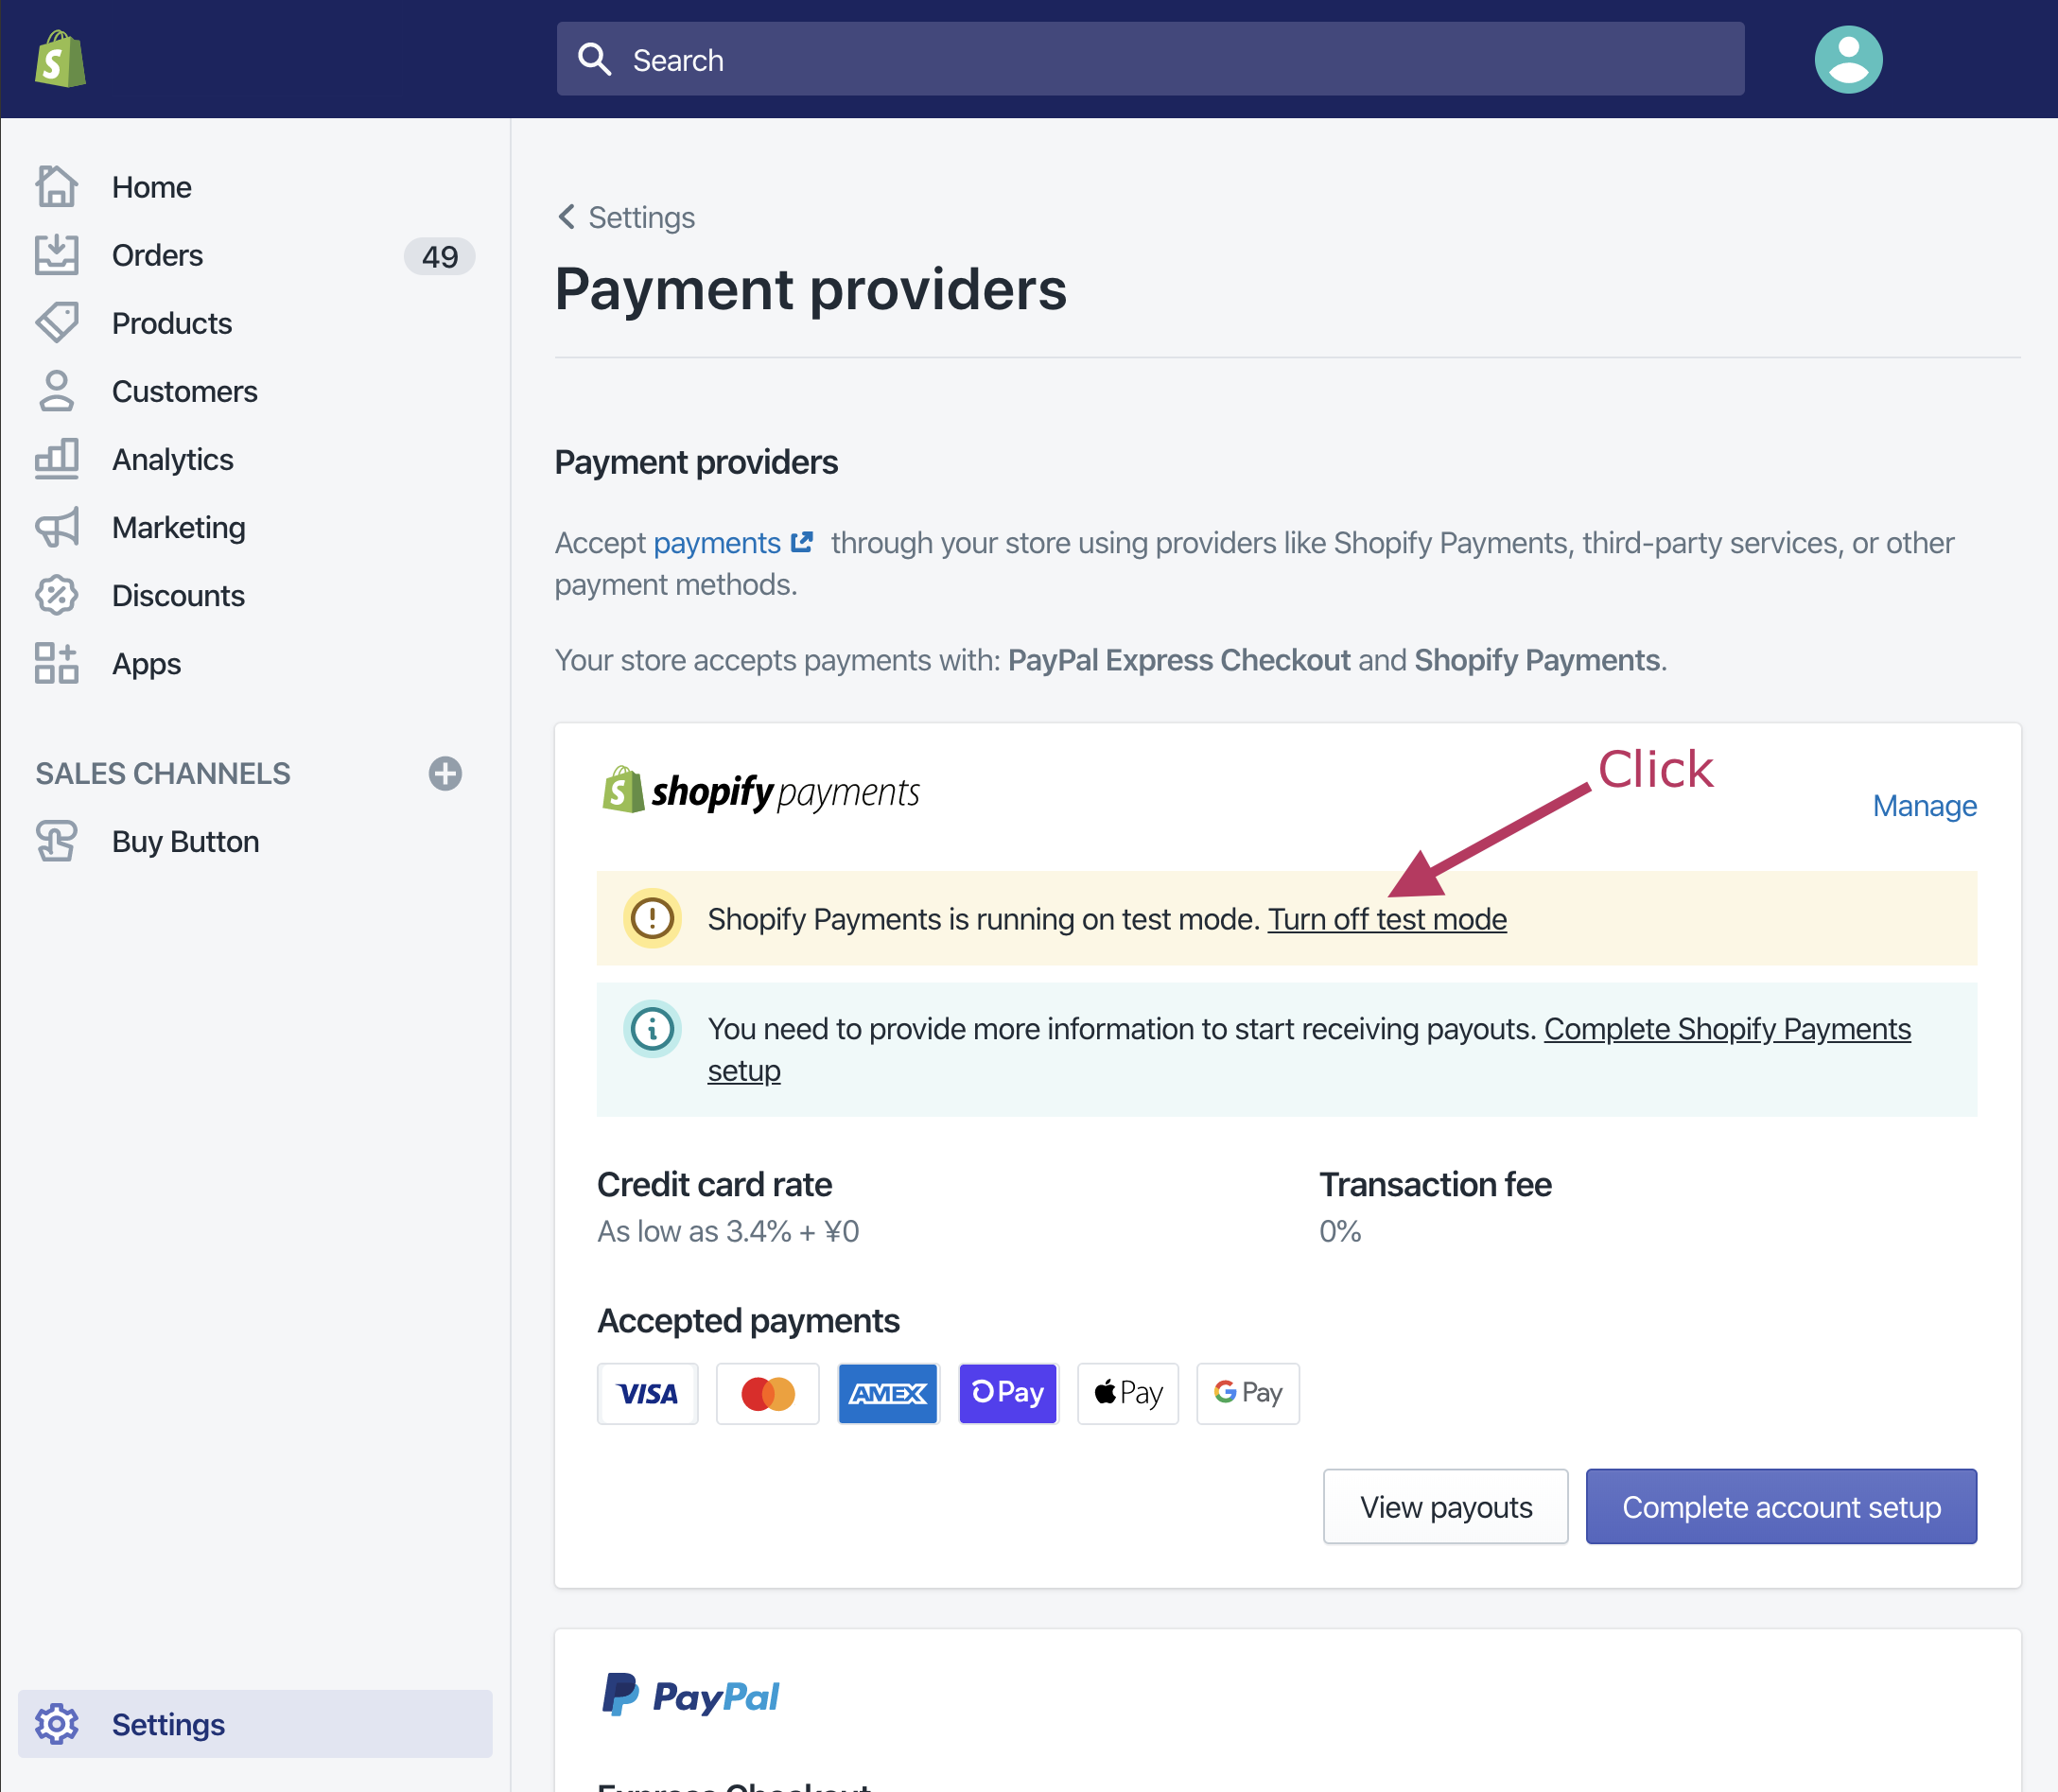
5. Disable “Test mode” and make your Shop site public.
![](/wp-content/uploads/2024/03/201524498-5258a293e902d89ab7223df6.png)
7. Confirm “Test mode” is off
![](/wp-content/uploads/2024/03/201527567-c3d47b6e1aa4ae67a3c83791.png)
That’s all!