Requirements
Make sure git and npm are working correctly.
-
Shifter account (View Creating an account to setup a new account)
-
GitHub account
-
AWS account
Start up a Shifter Headless site and access WordPress
1. Login to Shifter Headless dashboard
https://go.getshifter.io/admin/headless/
2. Start Headless WordPress
For more details, checkout support document: Start up Shifter Headless WordPress
https://support.getshifter.io/en/articles/3981108
Connect Vercel
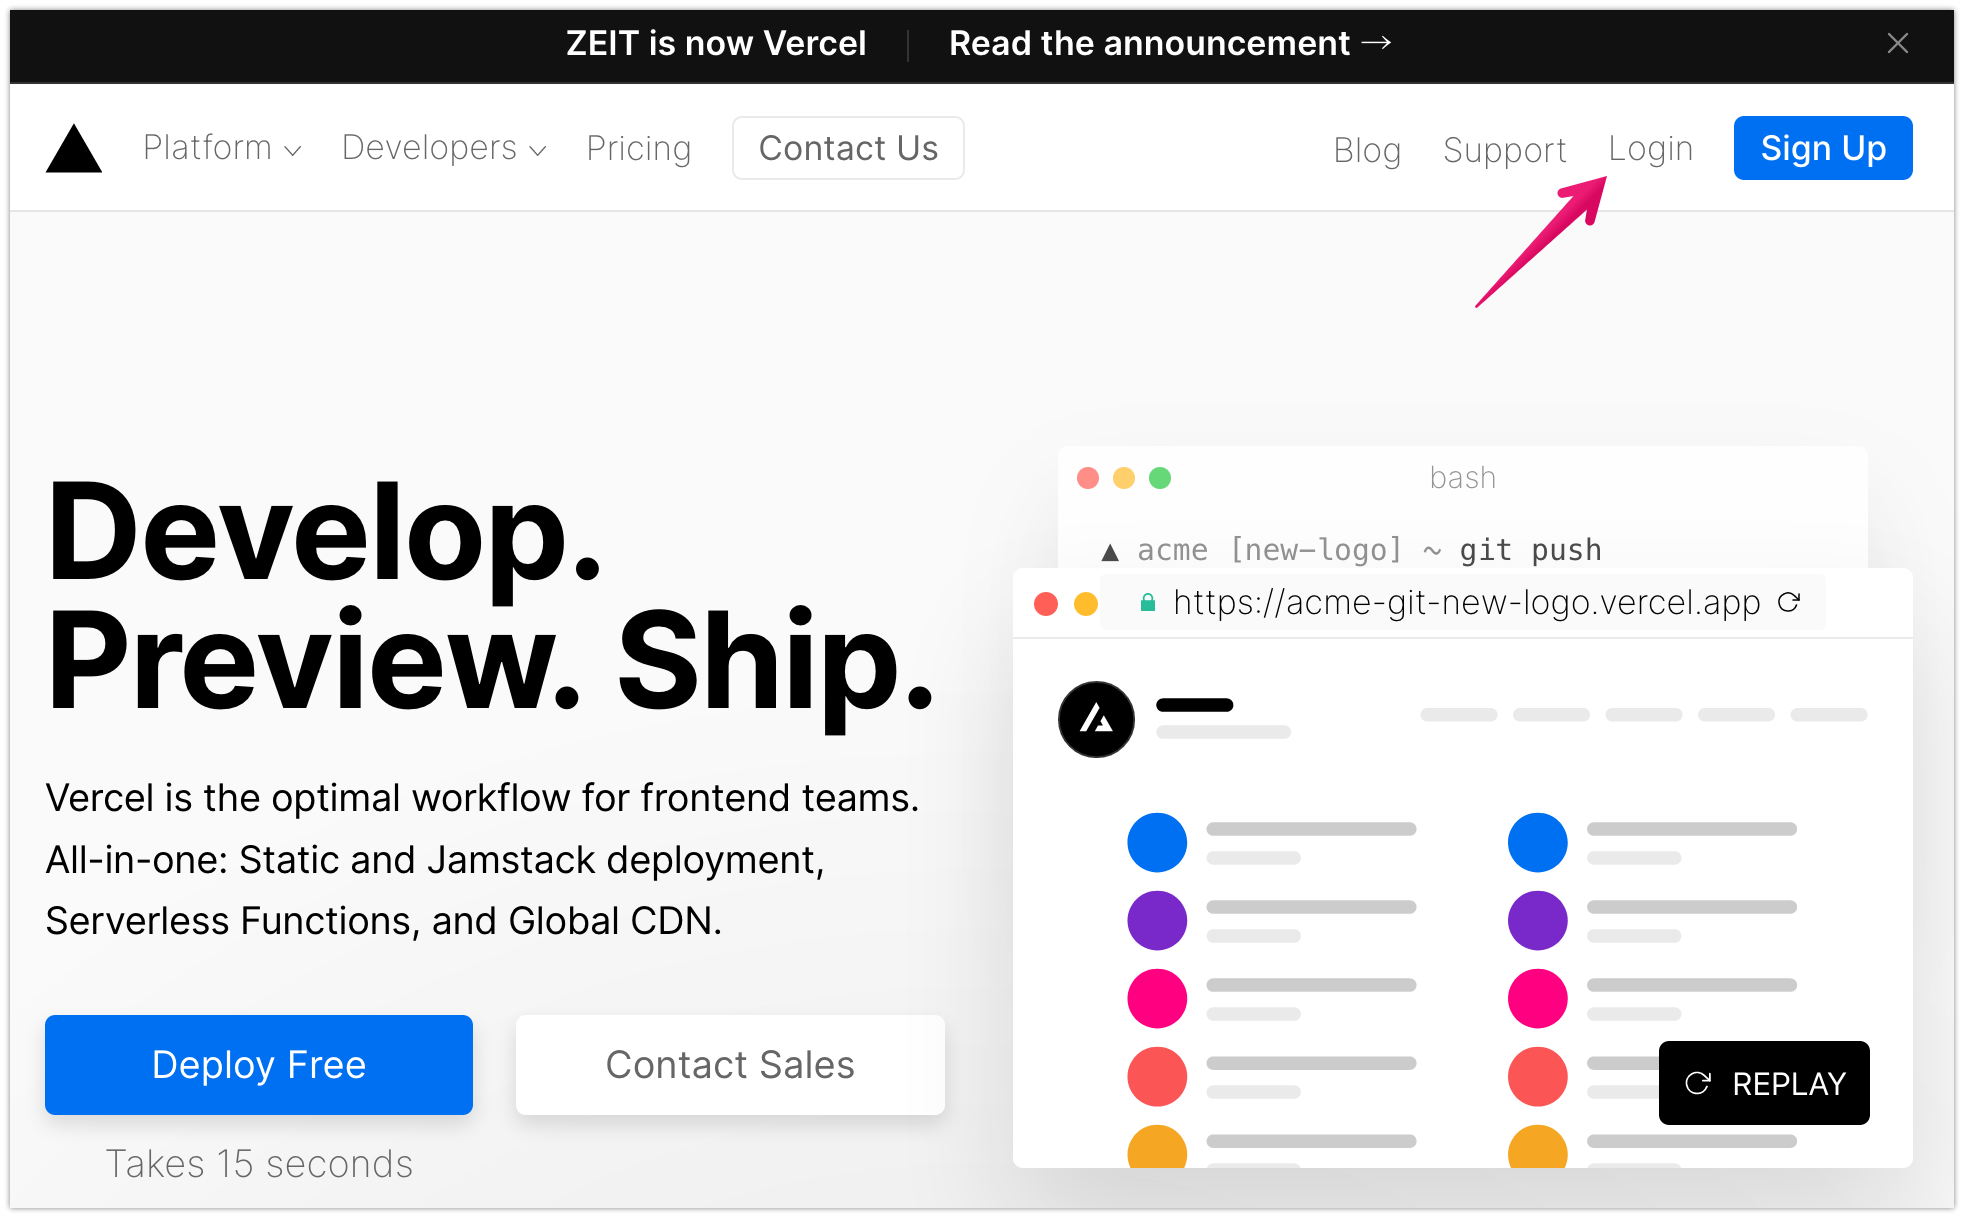
3. Sign up up for Vercel
4. Choose your favorite Git service, or sign up with an e-mail.

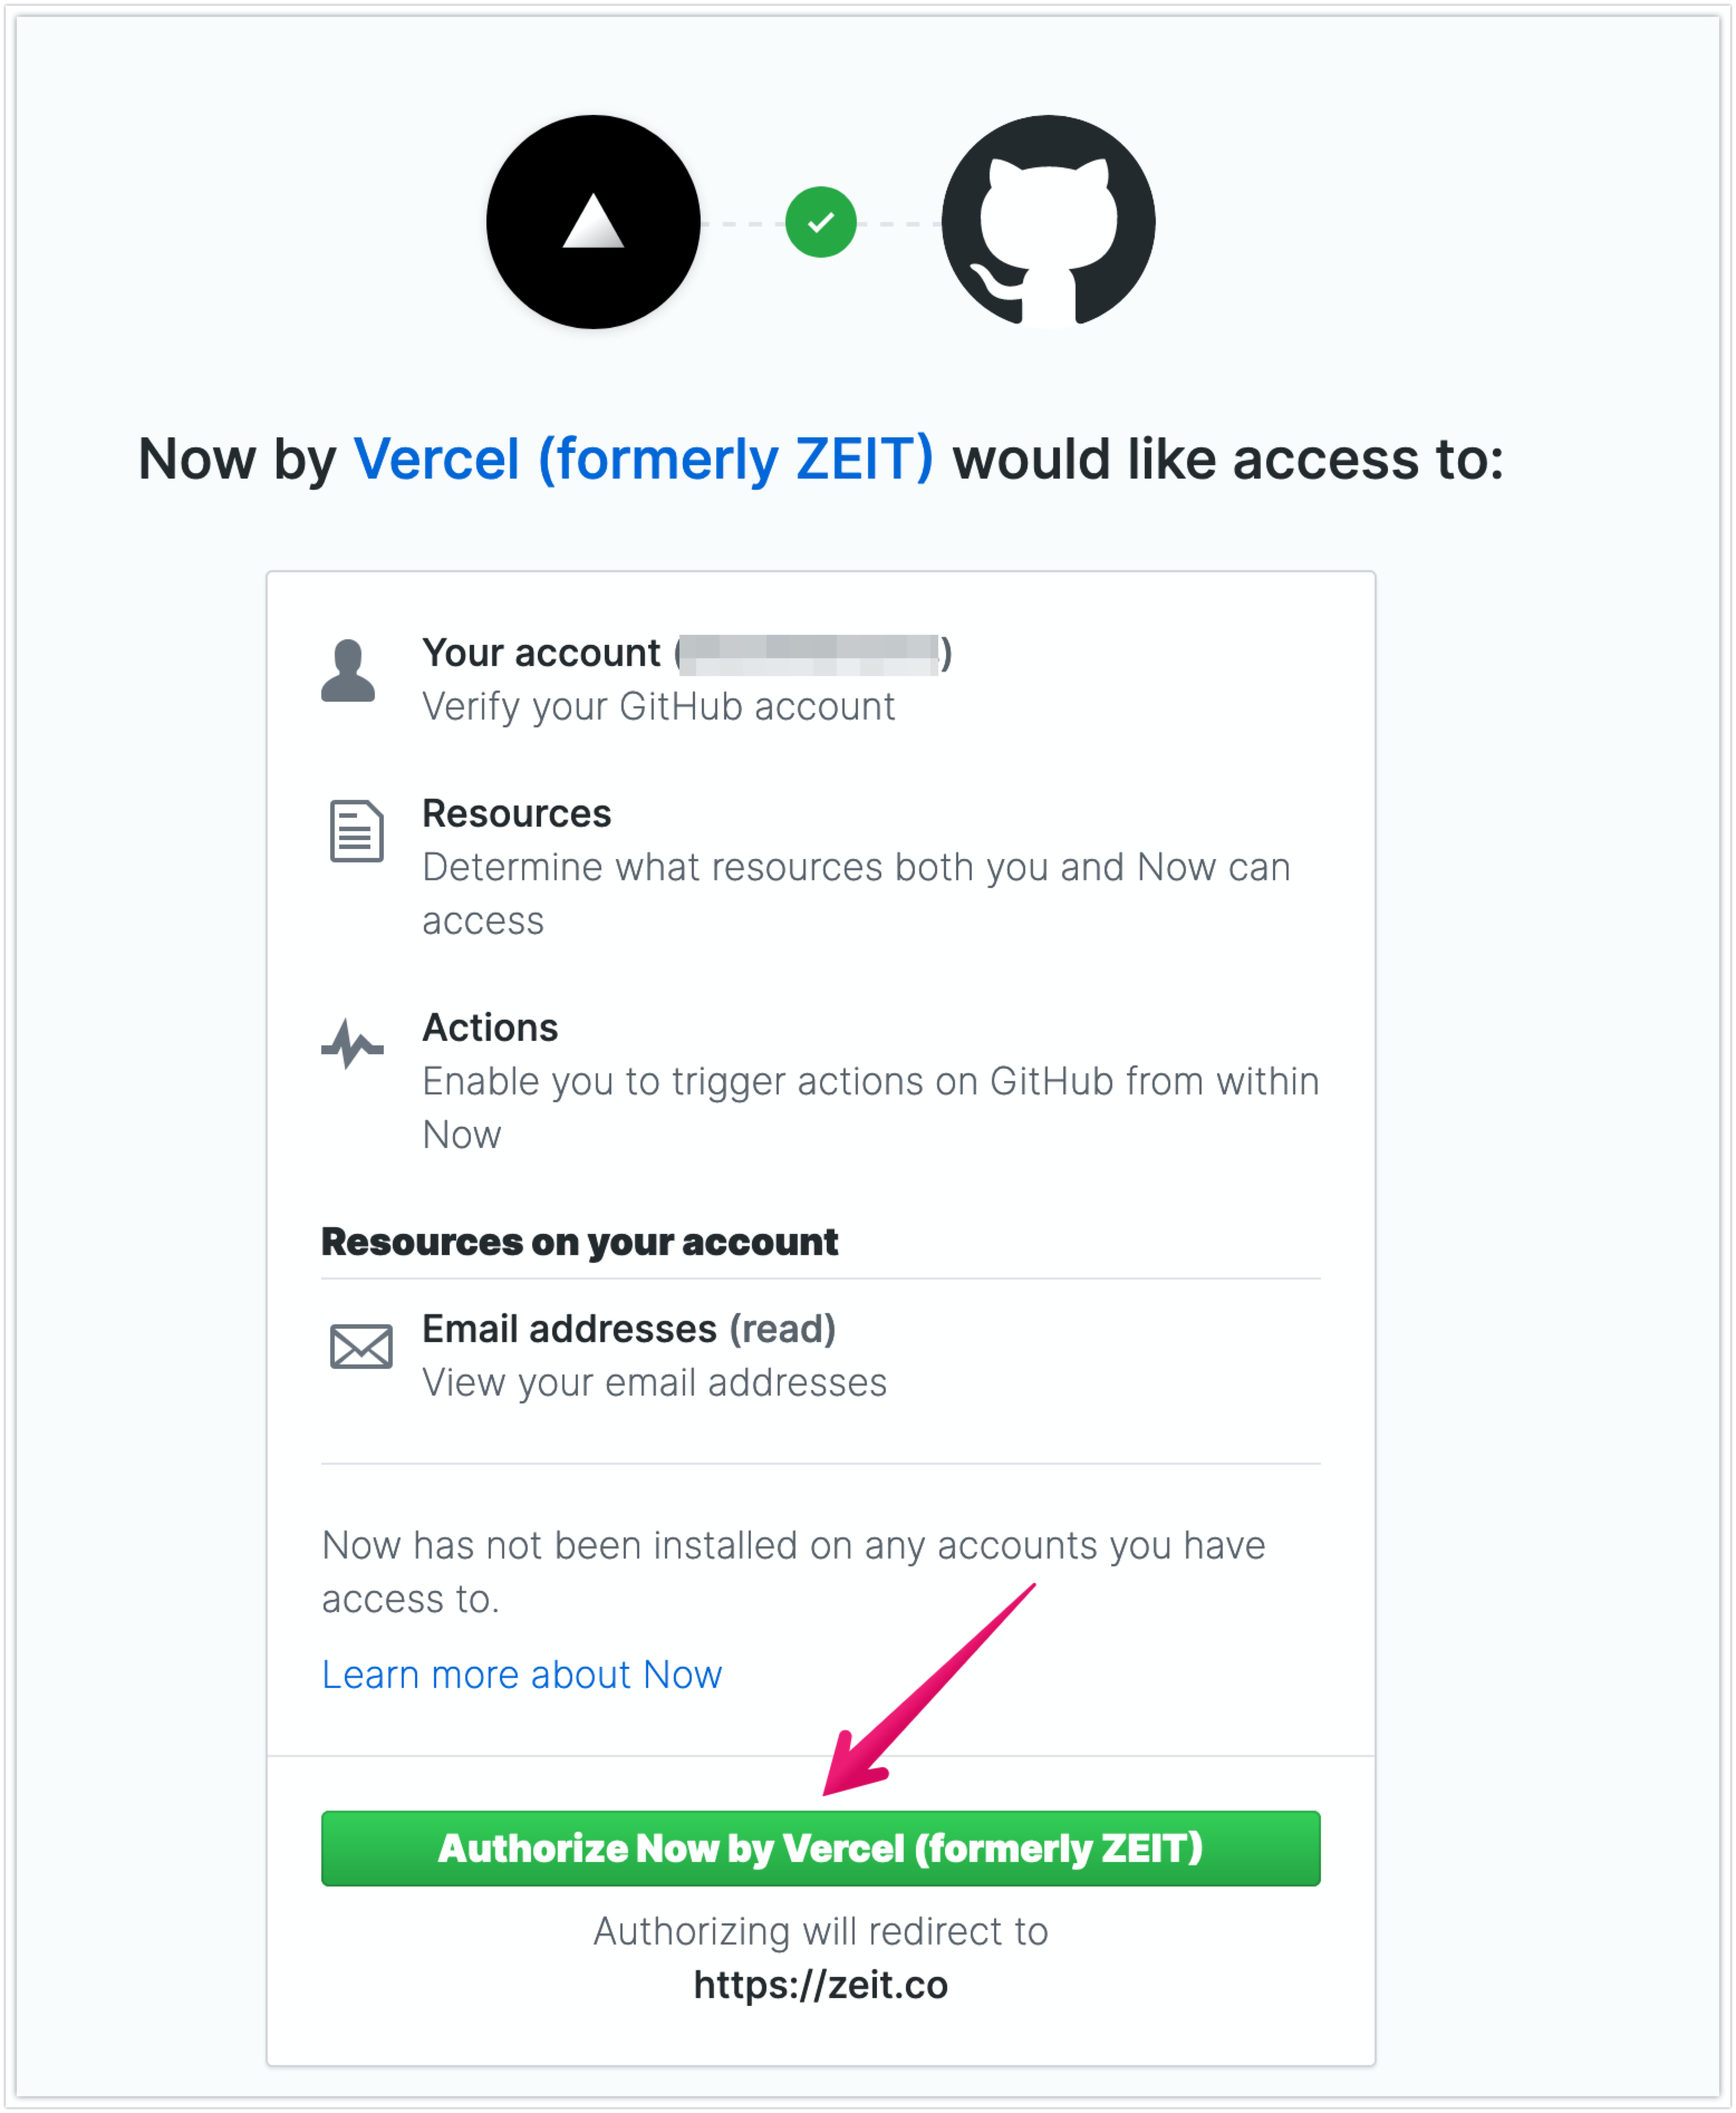
5. Click [Authorize New by Vercel (formerly ZEIT)] button (if you choose Git service)
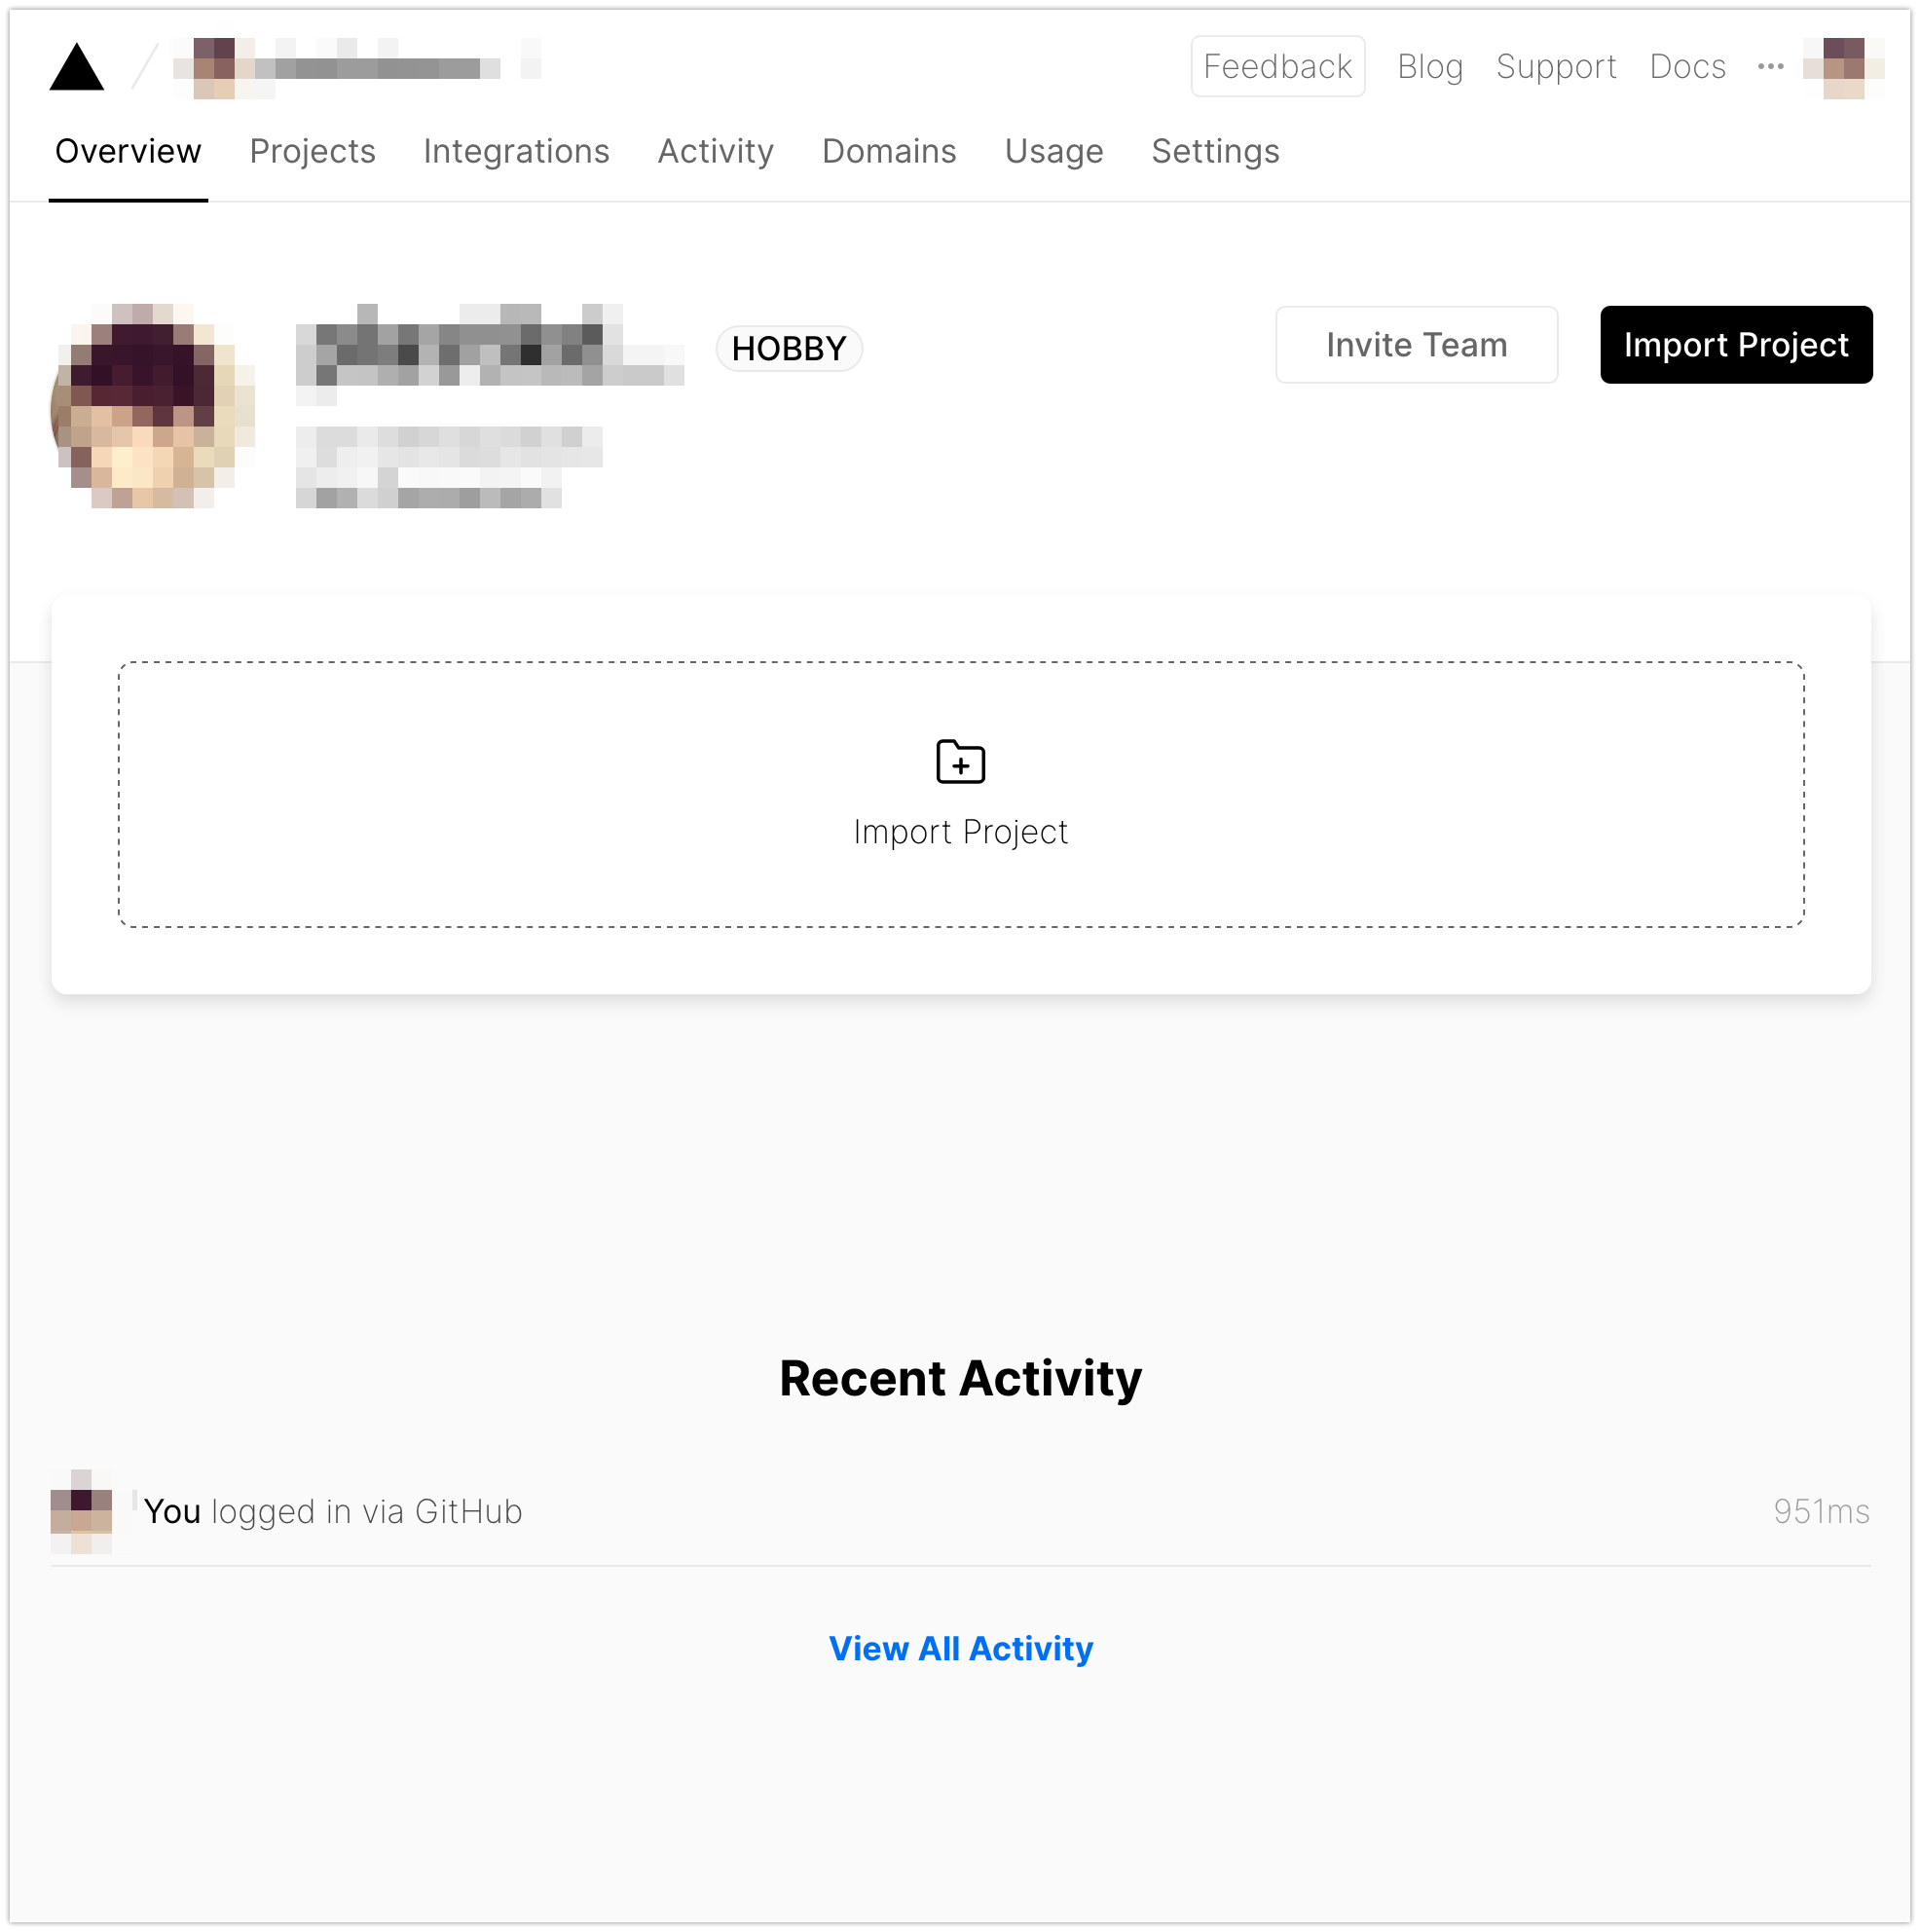
6. Sign up complete
Set up a Frontity sample site
7. Git clone our sample repository to local and dive into it
$ git clone git@github.com:getshifter/example-frontity-wordpress.git
$ cd example-frontity-wordpress
8. Modify frontity.settings.js
Open frontity.settings.js with your favourite editor
or with vi.
$ vi frontity.settings.jsThen rewrite URL around line 5, from
"frontity": {
  "url": "https://test.frontity.io",
to
"frontity": {
  "url": "https://YOUR-SHIFTER-HEADLESS-URL",
Also, update line 44
"source": {
  "api": "https://b5d85ac952f05c2bcb7e0b42979eff431beac2f1.hl-a.getshifter.co/wp-json"
}
to
"source": {
  "api": "https://YOUR-SHIFTER-HEADLESS-URL/wp-json"
}
Double check and save changes.
Additionally, you can change menu from
"menu": [
            [
              "Home",
              "/"
            ],
            [
              "Edge Case Category",
              "/category/edge-case-2/"
            ],
to
"menu": [
            [
              "Home",
              "/"
            ],
            [
              "Menu Item #1",
              "menu-item-1"
            ],
or anything else.
Never forget to save your changes.
Start local server
9. Install additional command for the project
$ npm install10. Run below command to start local server
$ npm run devnpm returns below
SERVER STARTED -- Listening @ http://localhost:3000
  - mode: development
  - target: module
and http://localhost:3000 will be opened up with your web browser.
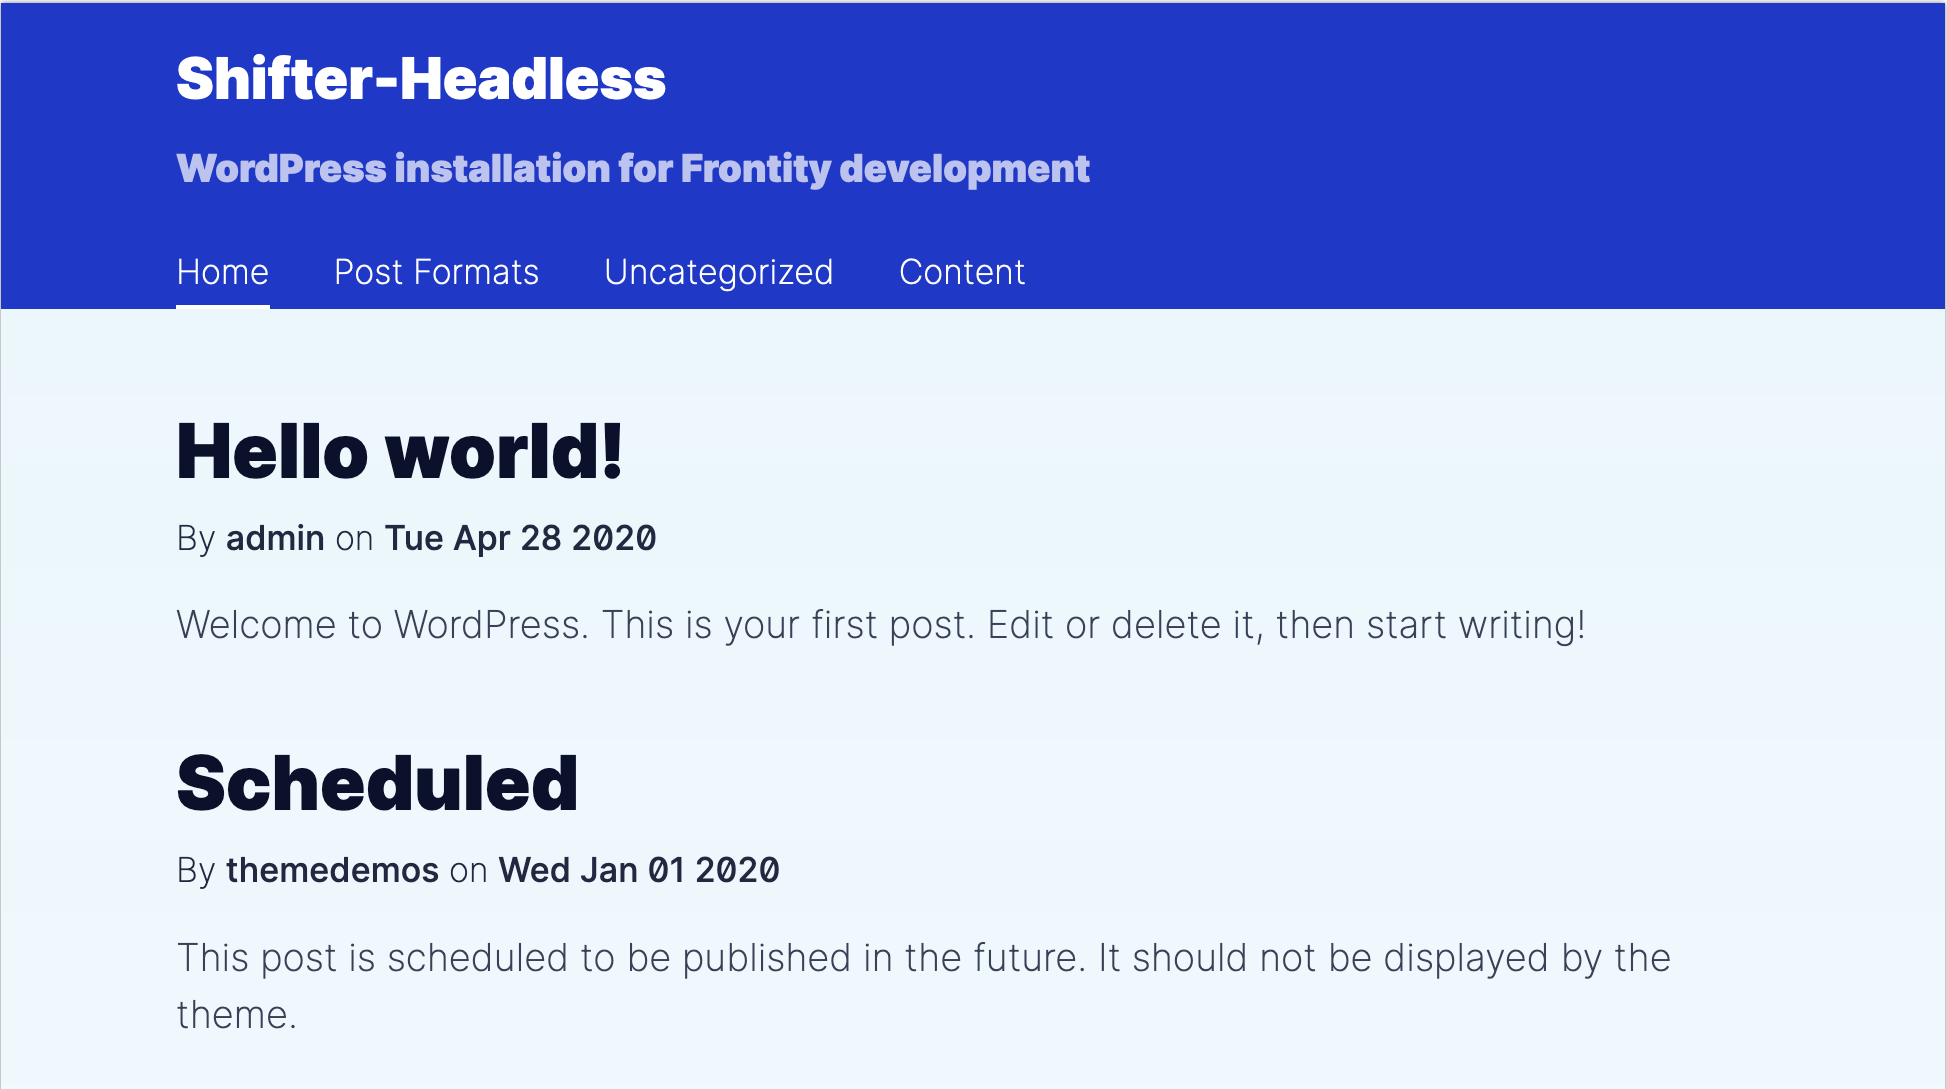
11. Check that your site works
12. Push the [Control] key and [C] key to stop the server.
Build a site and deploy
13. Build site
$ npm run buildThis may take a while.
14. Login to Vercel (now.sh)
$ npx now login

Now CLI 18.0.0
Enter your email: YOUR-EMILADDRESS

We sent an email to YOUR-EMILADDRESS. Please follow the steps provided inside it and make sure the security code matches Kind Lion.

✔ Email confirmed
Congratulations! You are now logged in. In order to deploy something, run `now`.
💡  Connect your Git Repositories to deploy every branch push automatically (https://zeit.ink/1X).
15. Deploy the built site to Vercel (now.sh)
$ npx now --prod

Now CLI 18.0.0
? Set up and deploy “example-frontity-wordpress”? [Y/n] y
? Which scope do you want to deploy to? NAME-OF-SCOPE
? Link to existing project? [y/N] n
? What’s your project’s name? example-frontity-wordpress
? In which directory is your code located? ./
🔗  Linked to NAME-OF-SCOPE/example-frontity-wordpress (created .now)
🔍  Inspect: https://zeit.co/NAME-OF-SCOPE/example-frontity-wordpress/iij40if2b [5s]
✅  Production: https://example-frontity-wordpress.now.sh [copied to clipboard] [56s]
16. Open Production URL with a web browser
That’s all!