What is Polylang?
Polylang allows you to create a bilingual or multilingual WordPress site. You write posts, pages and create categories and post tags as usual, and then define the language for each of them. The translation of a post, whether it is in the default language or not, is optional.
— Polylang — WordPress plugin | WordPress.org
A. How to install and set up
1. Start WordPress and login to WordPress Dashboard
2. Start WordPress from Shifter Dashboard
3. Login to WordPress Dashboard by clicking [Dashboard] button
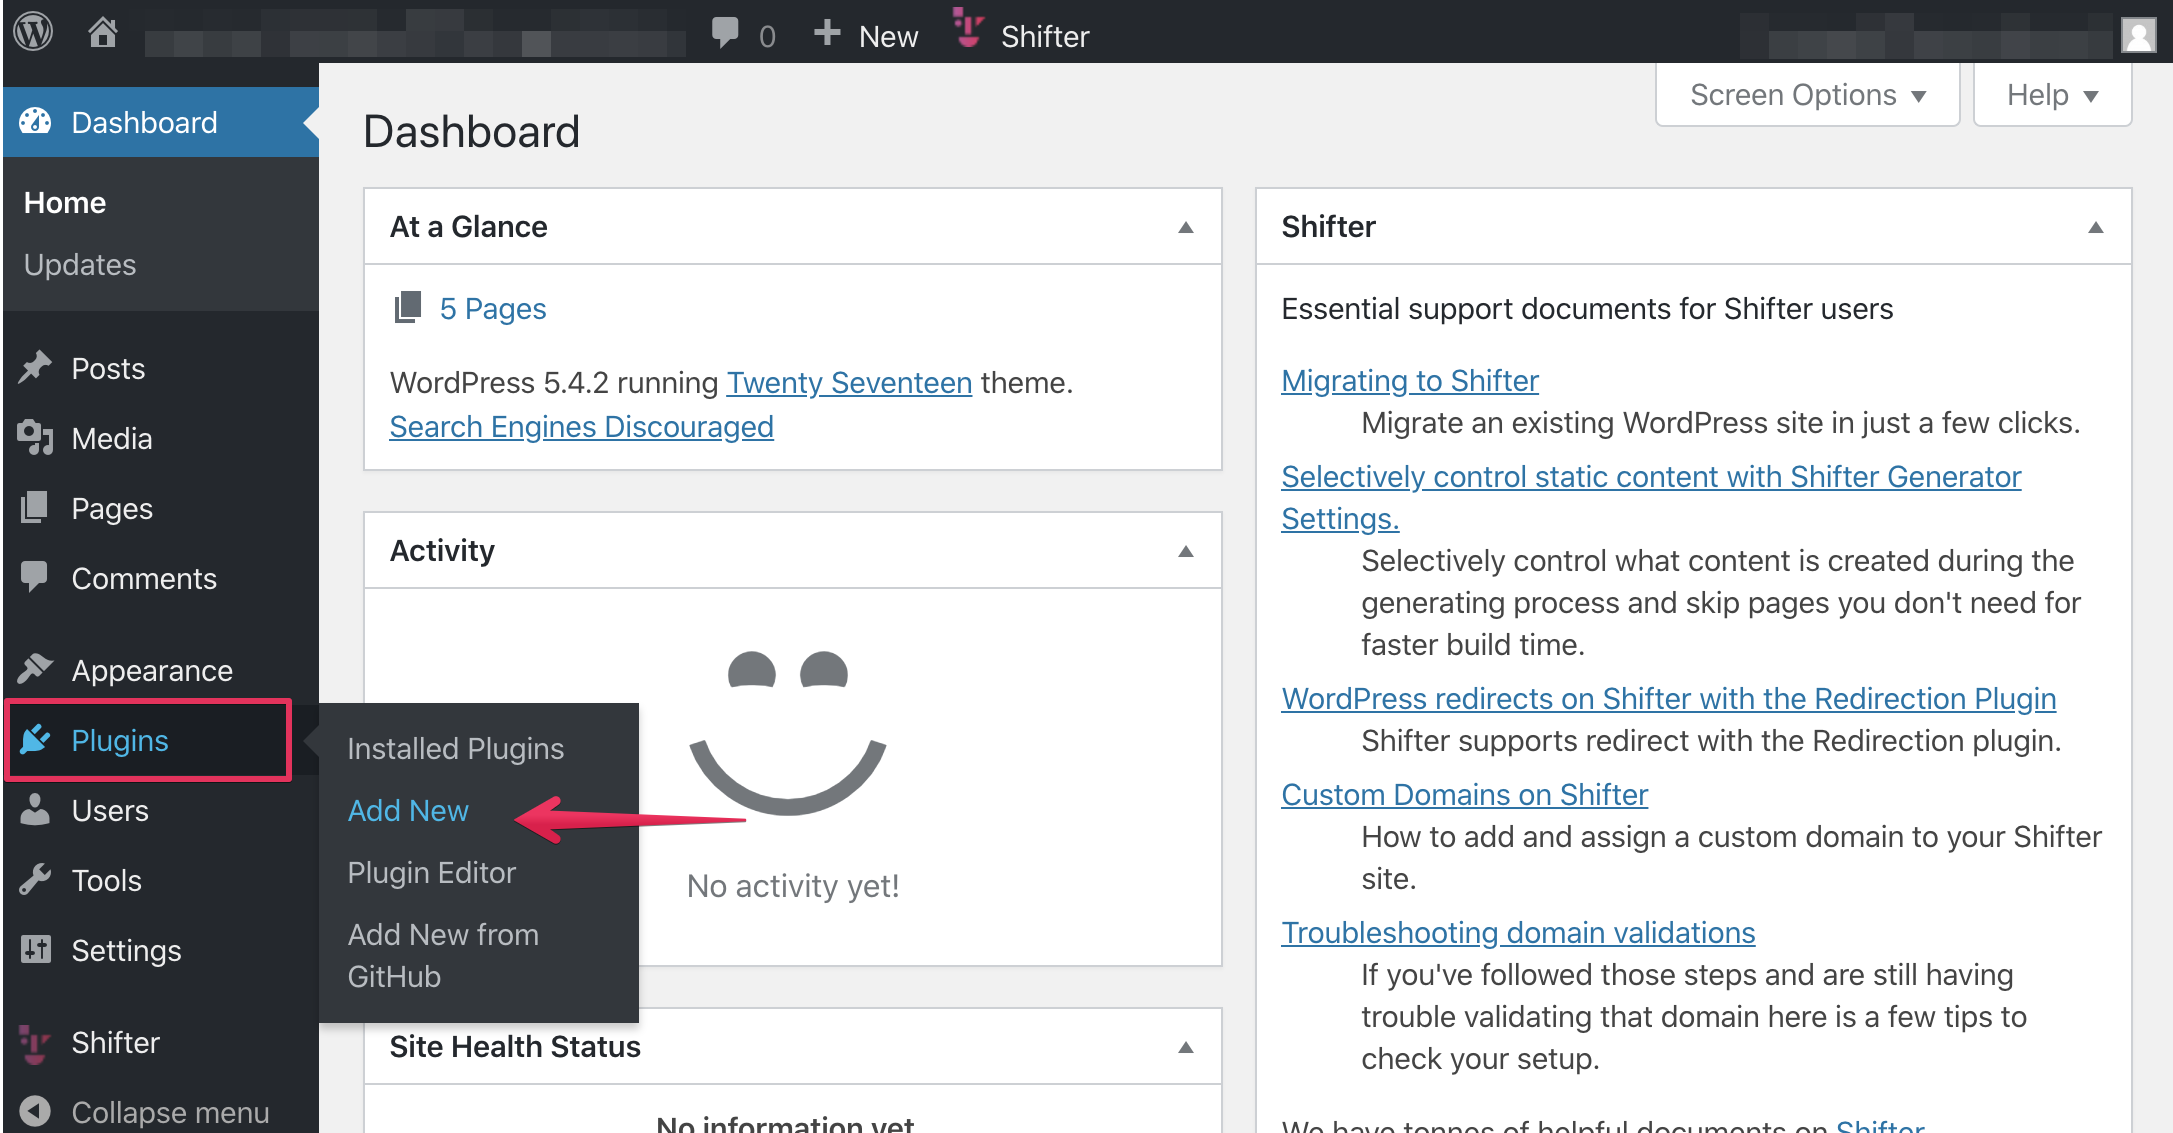
4. Navigate to Plugins menu, then click [Add New]
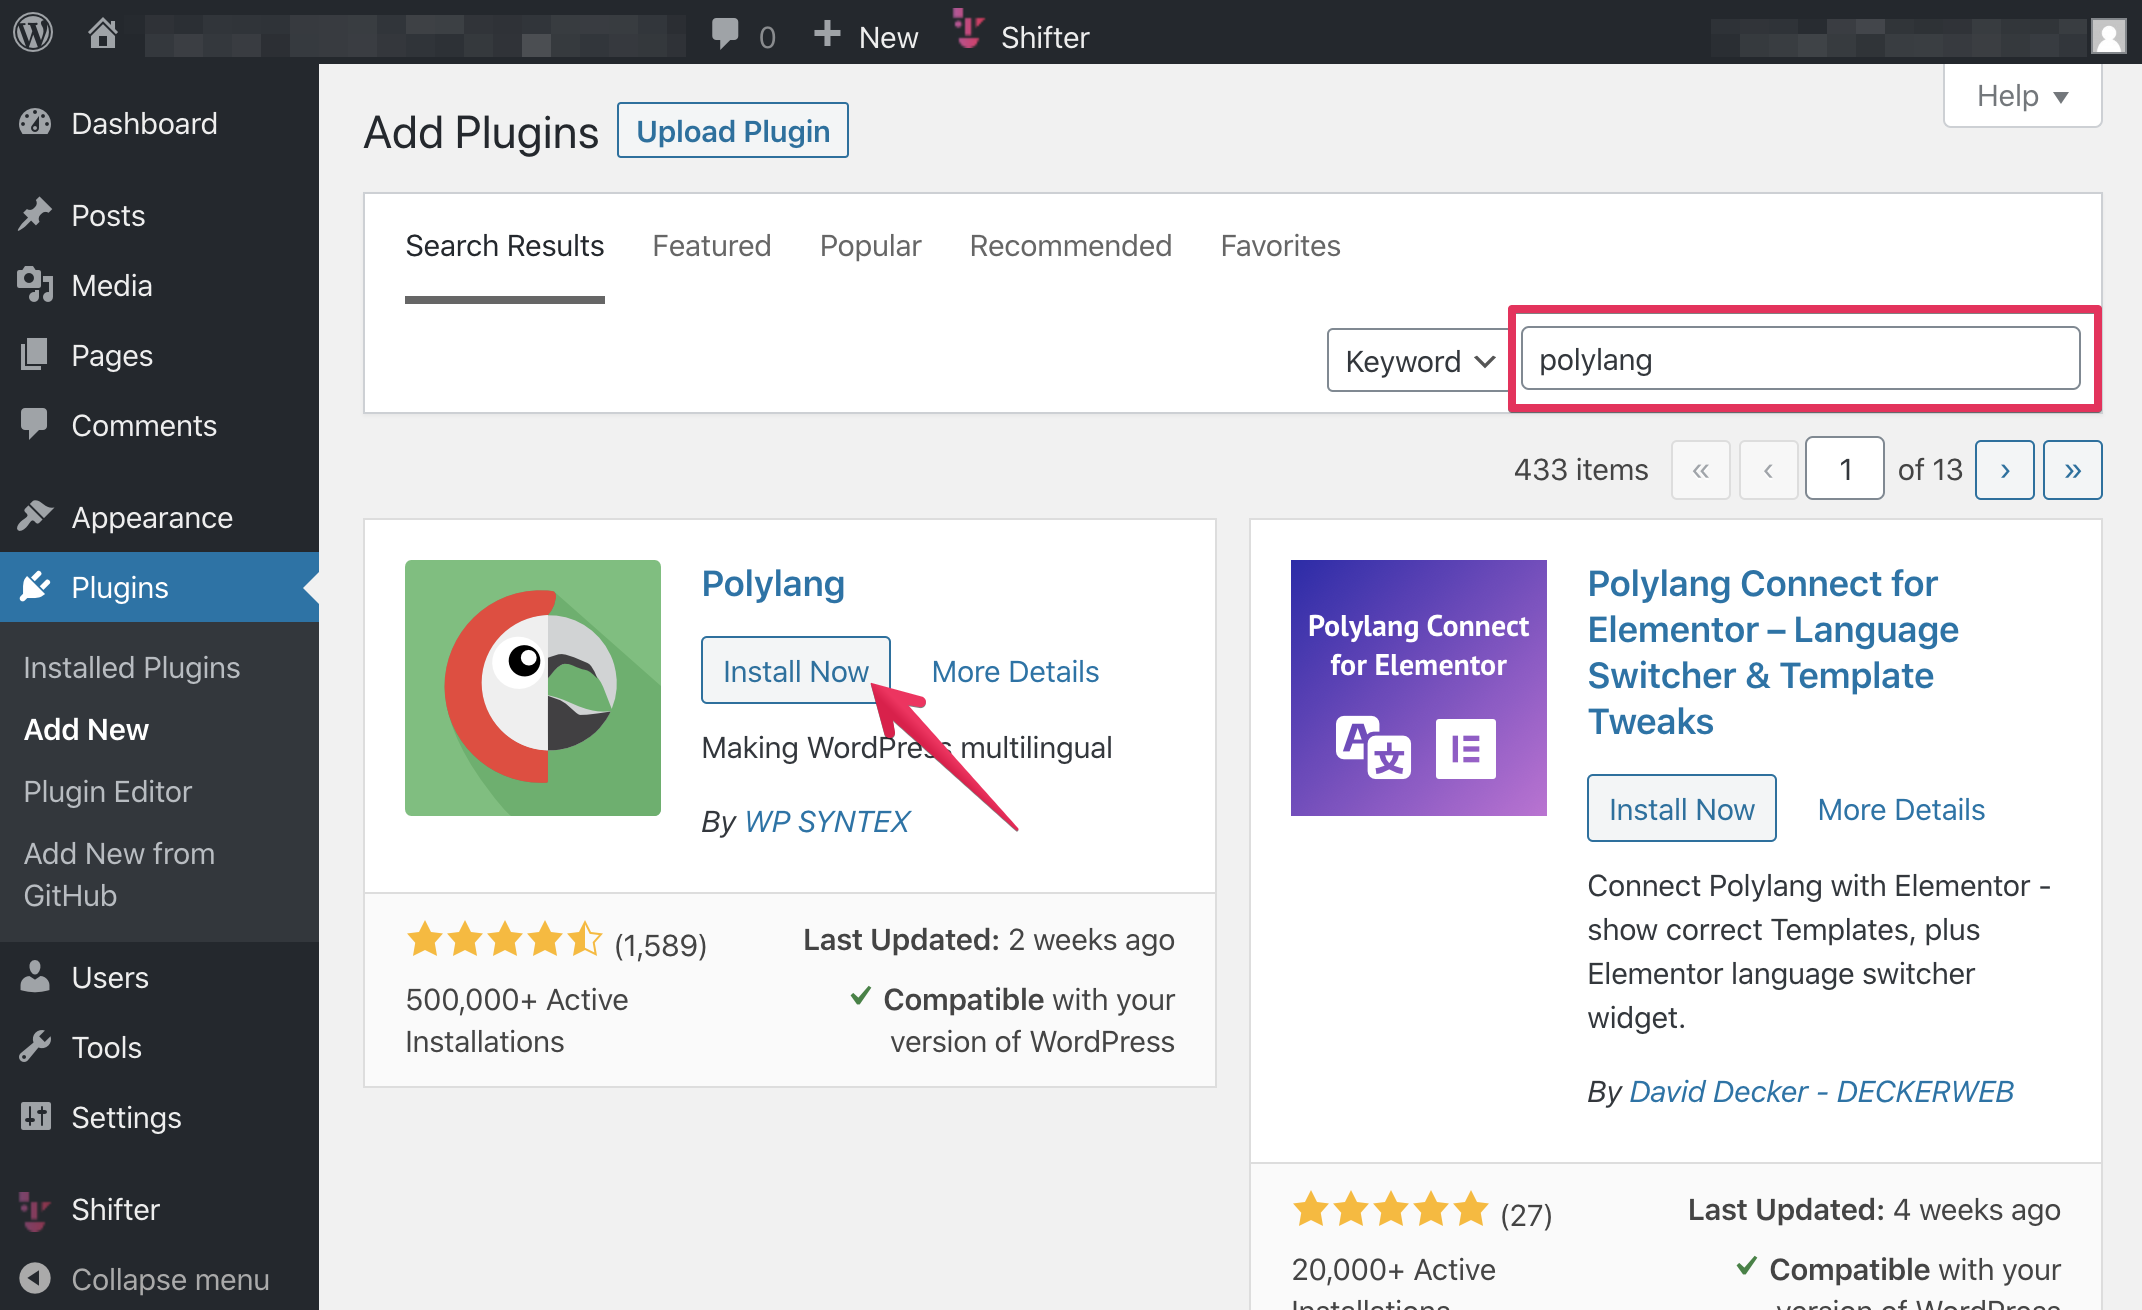
5. Search “Polylang” and click [Install Now] button
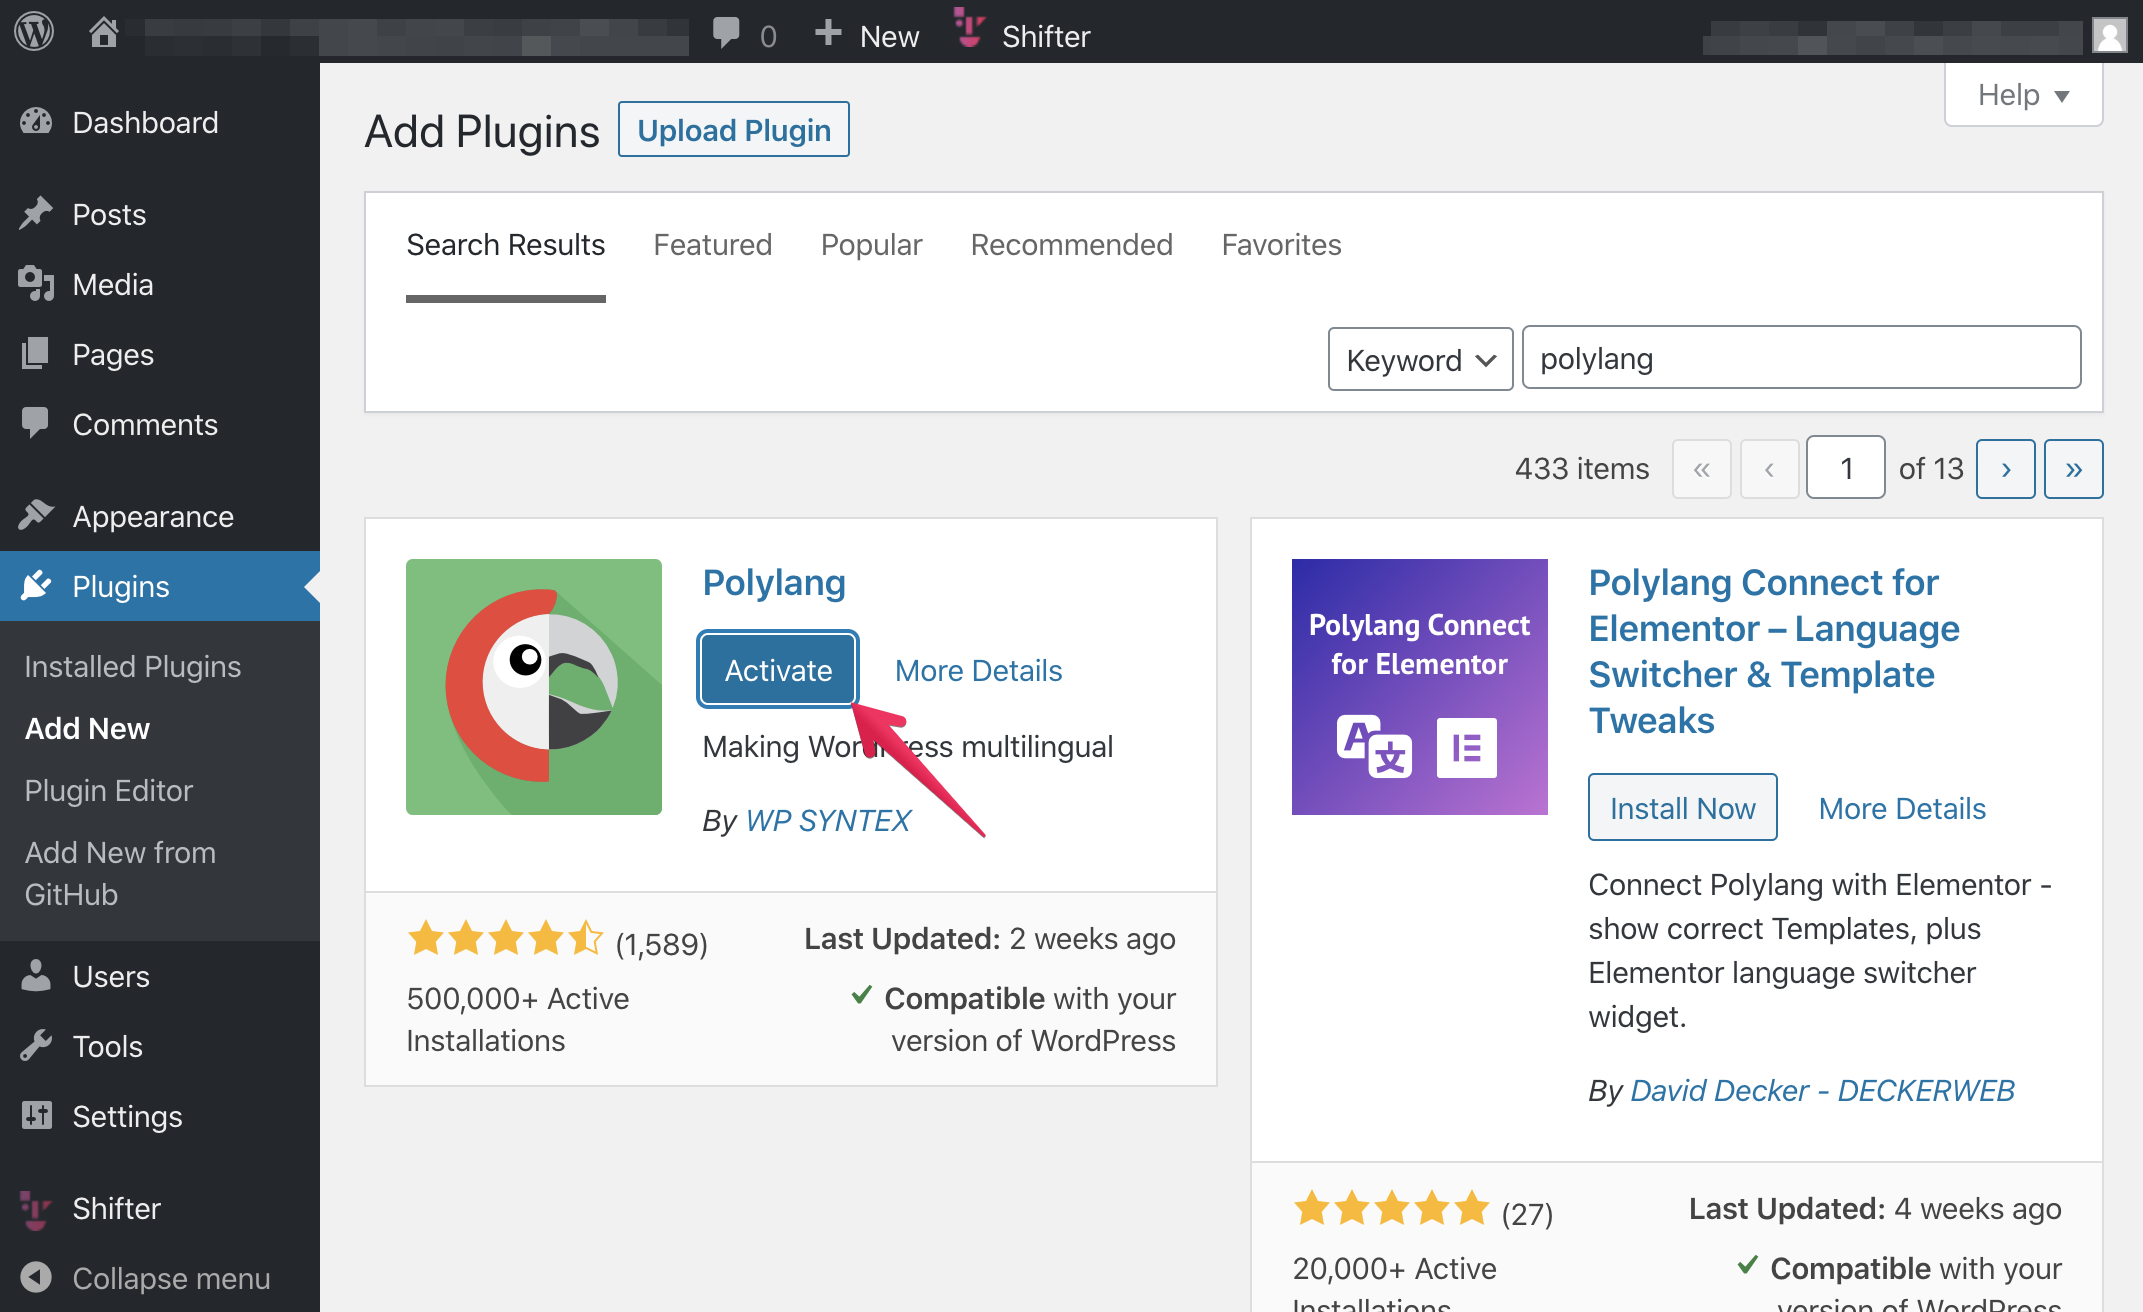
6. Activate it.
B. Setting up Polylang plugin
1. Click [Settings]

2. Complete initial setup
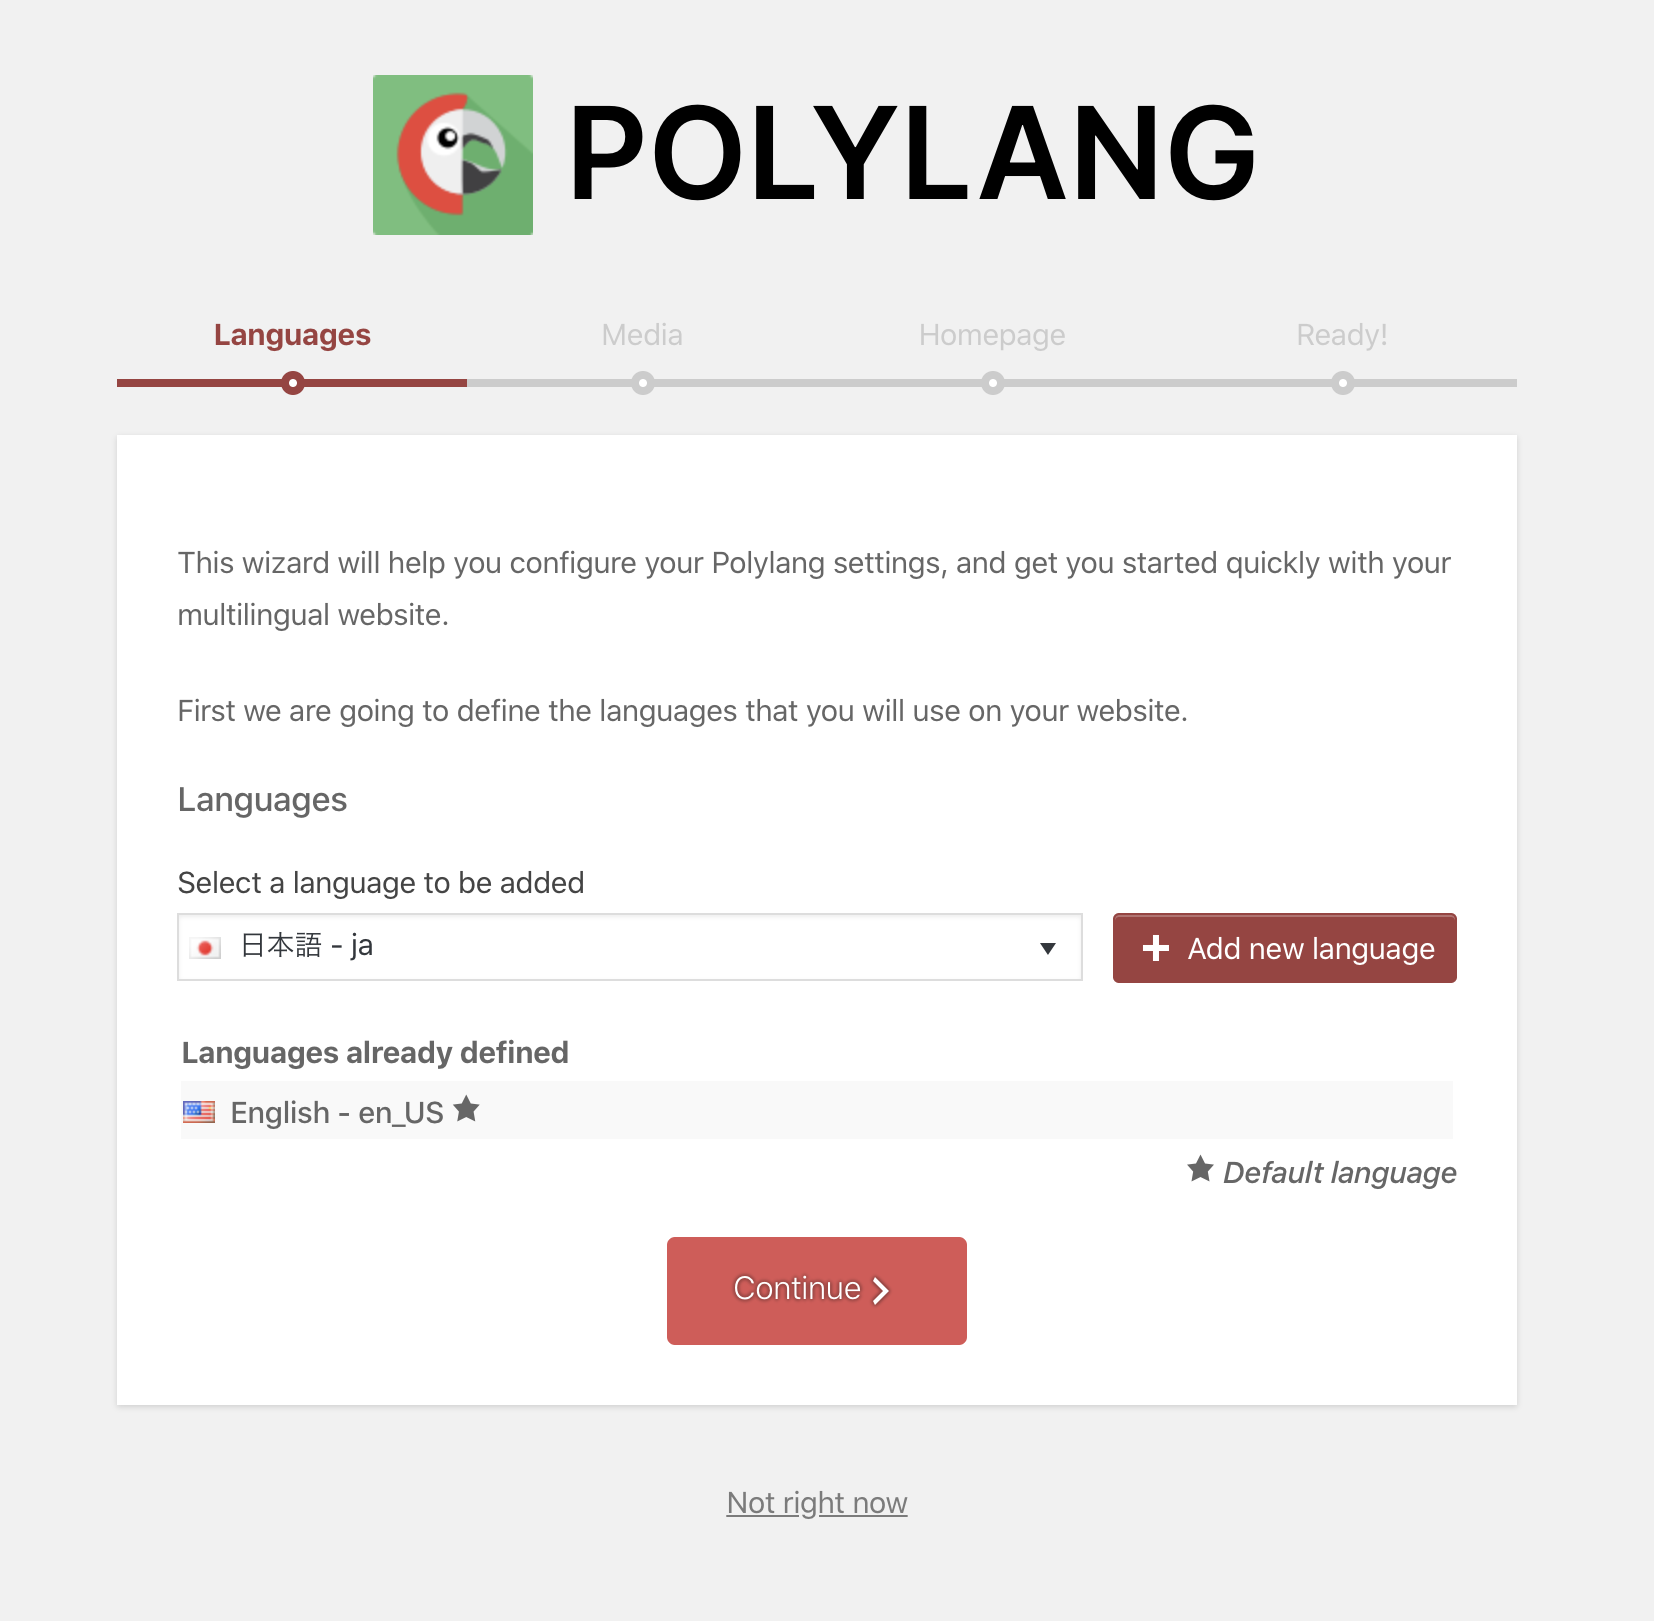
3. We install Japanese as a sub secondary language.

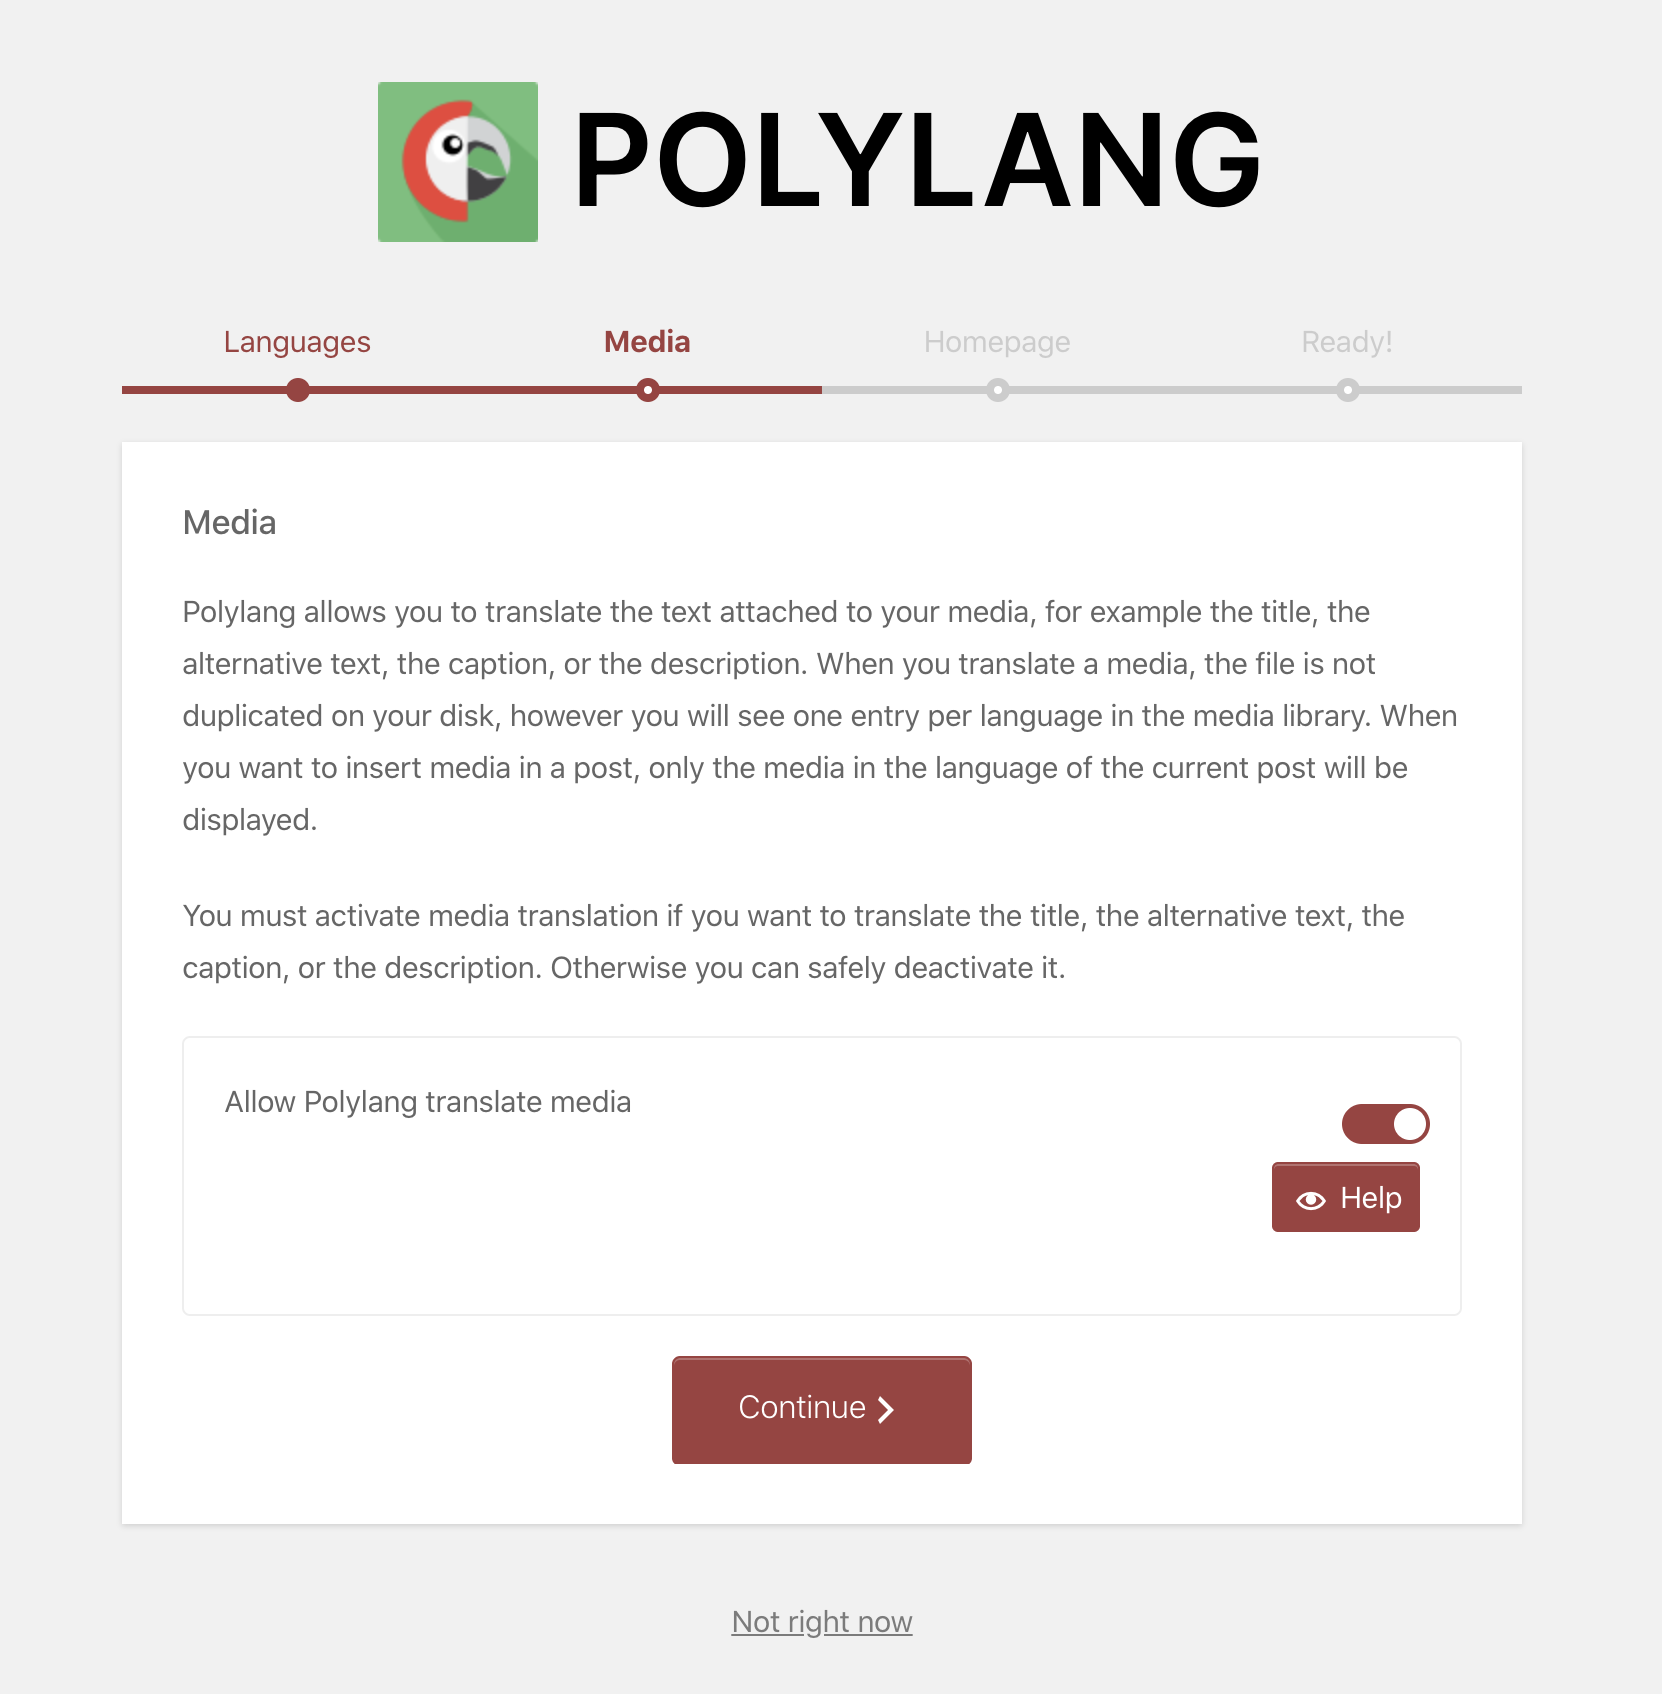
4. Media
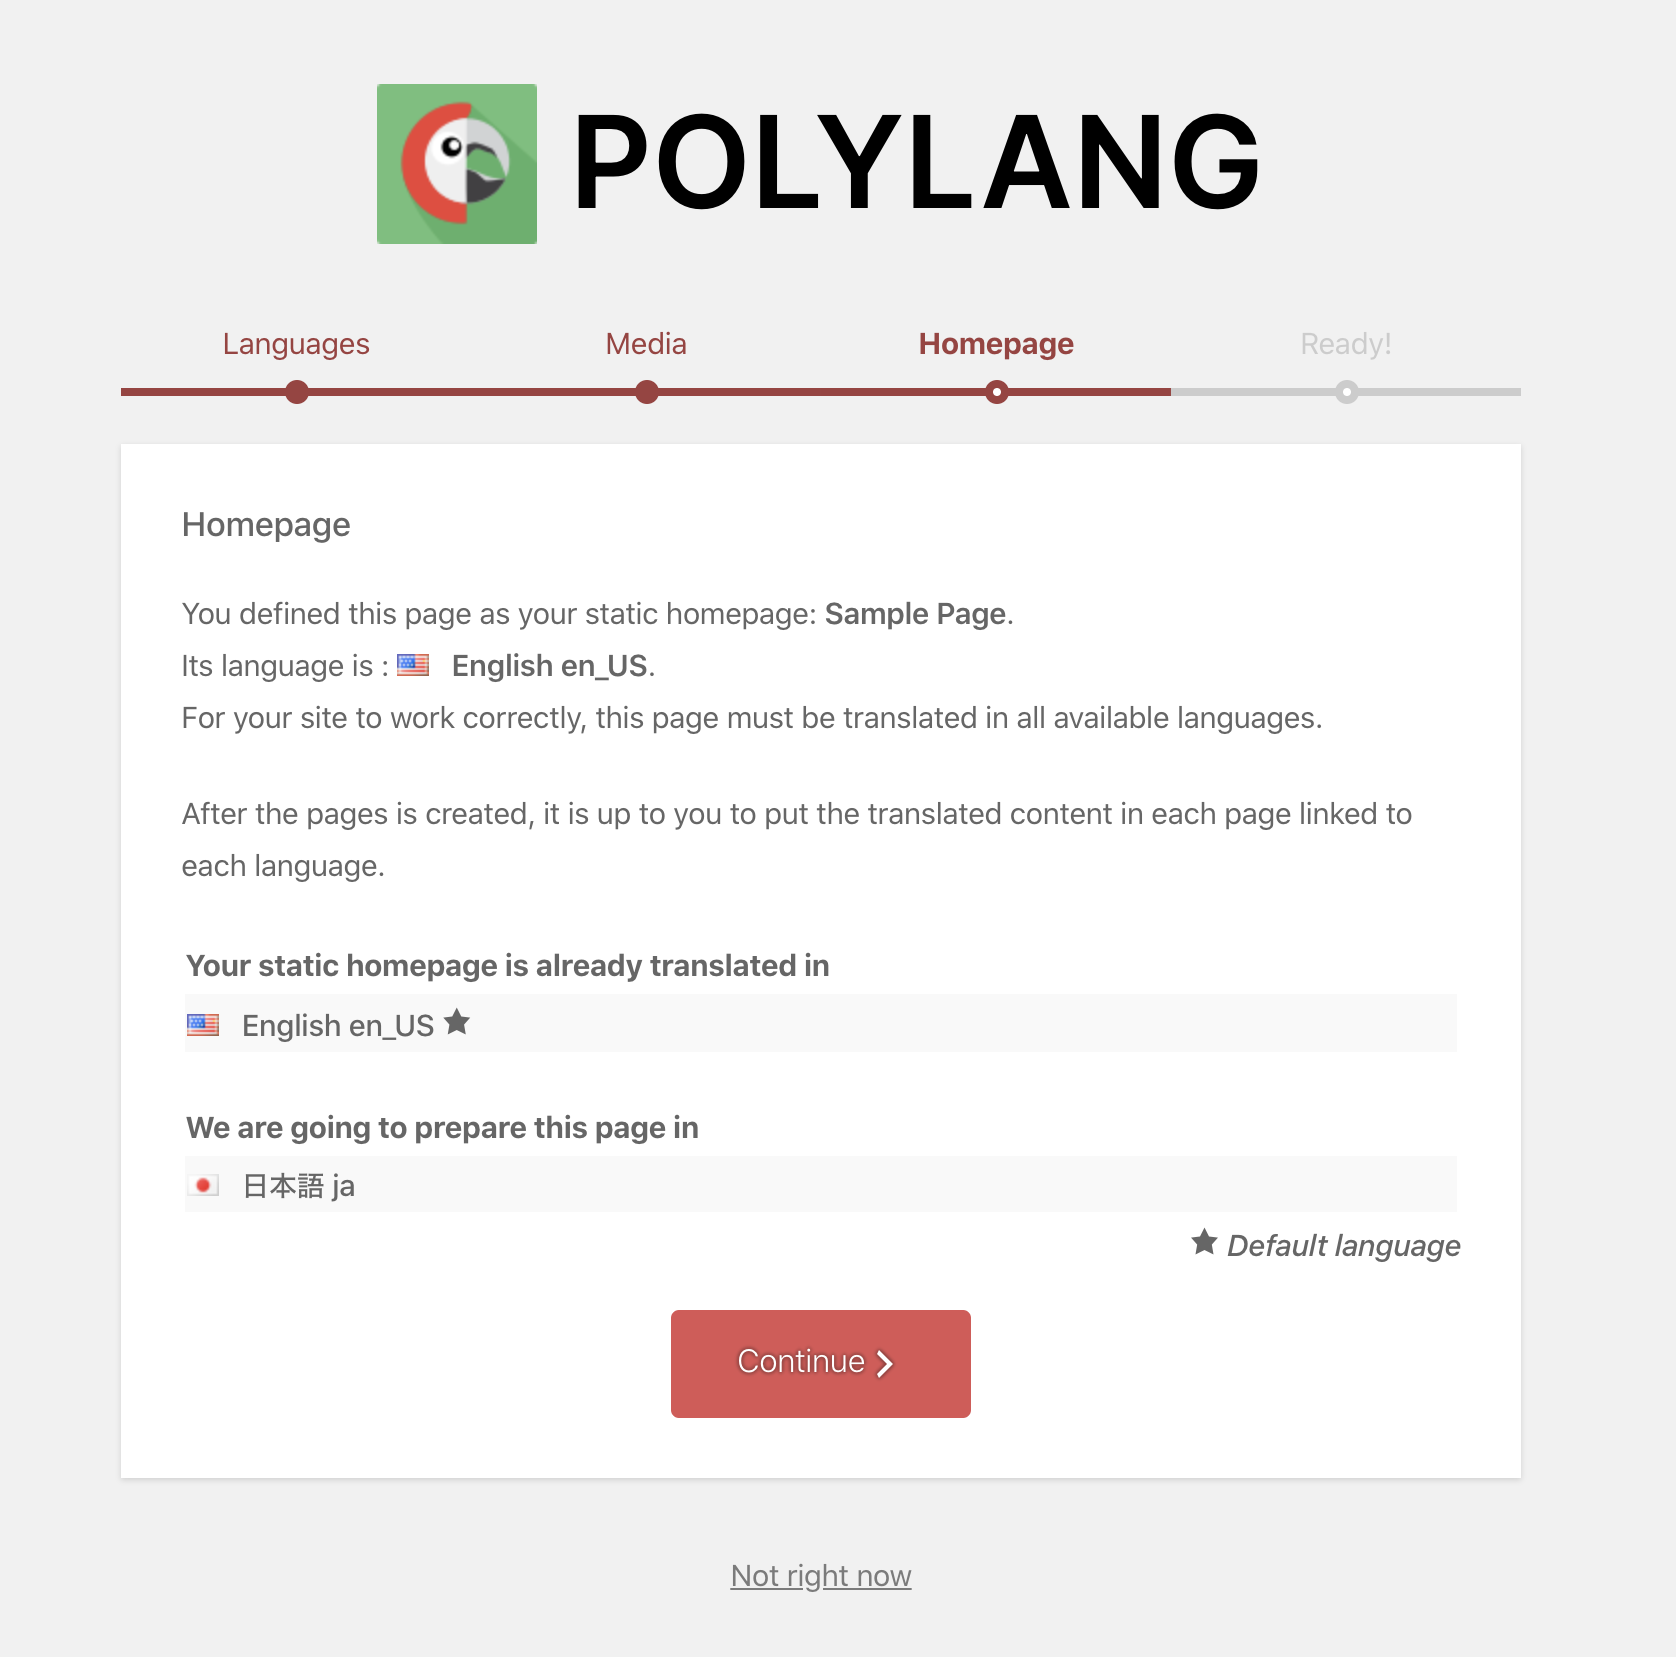
5. Set English is primary, Japanese secondary in this sample.
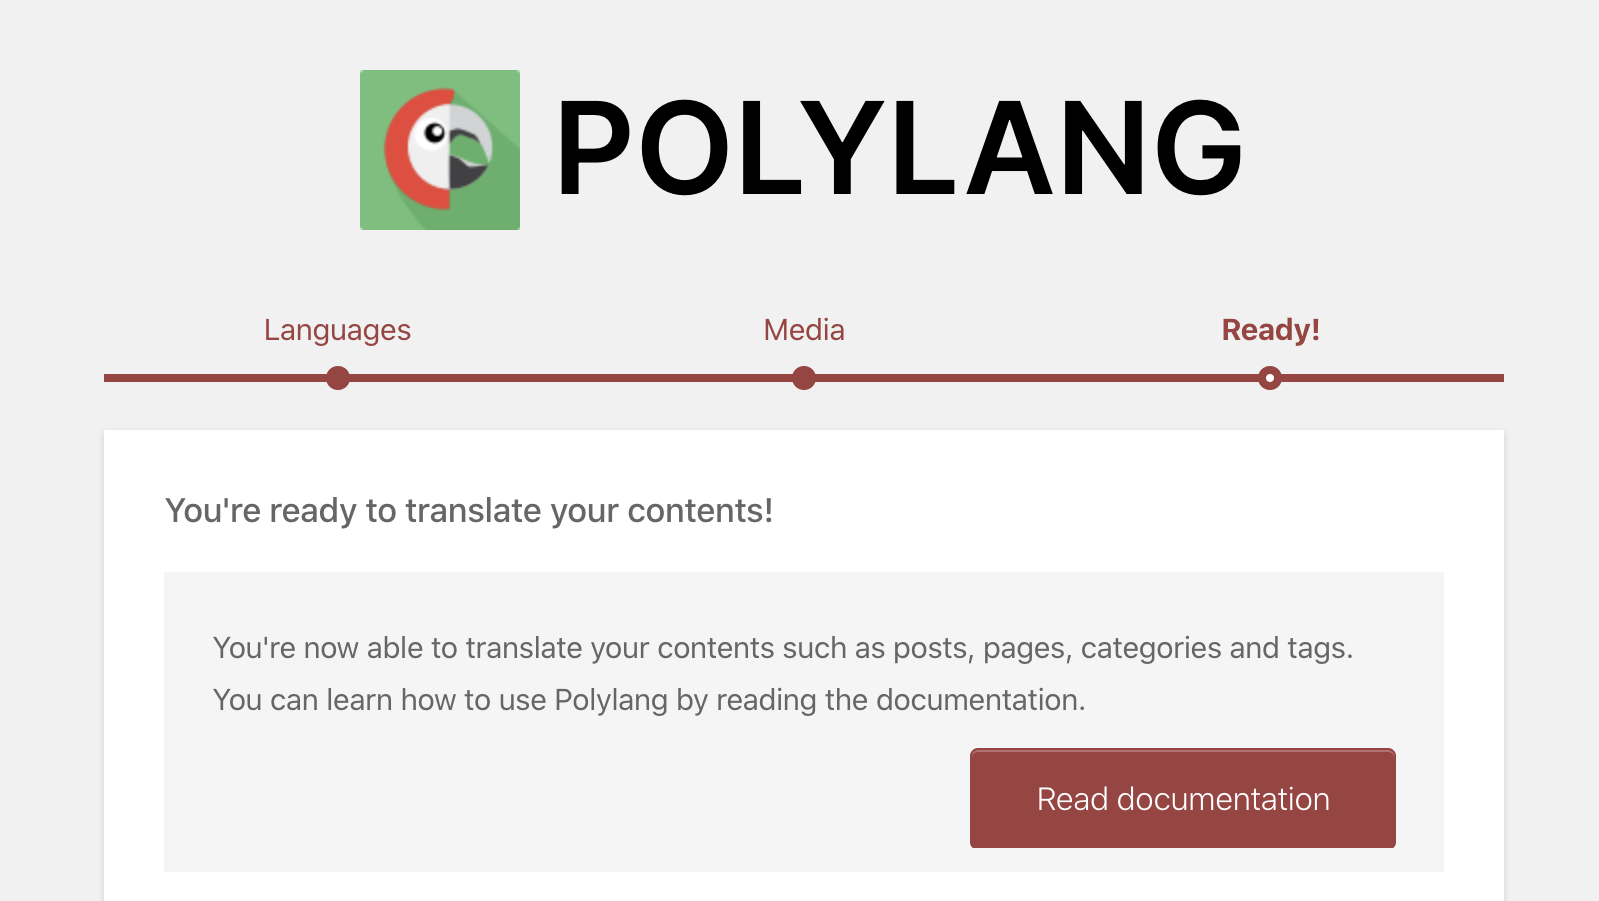
6. You’re almost ready
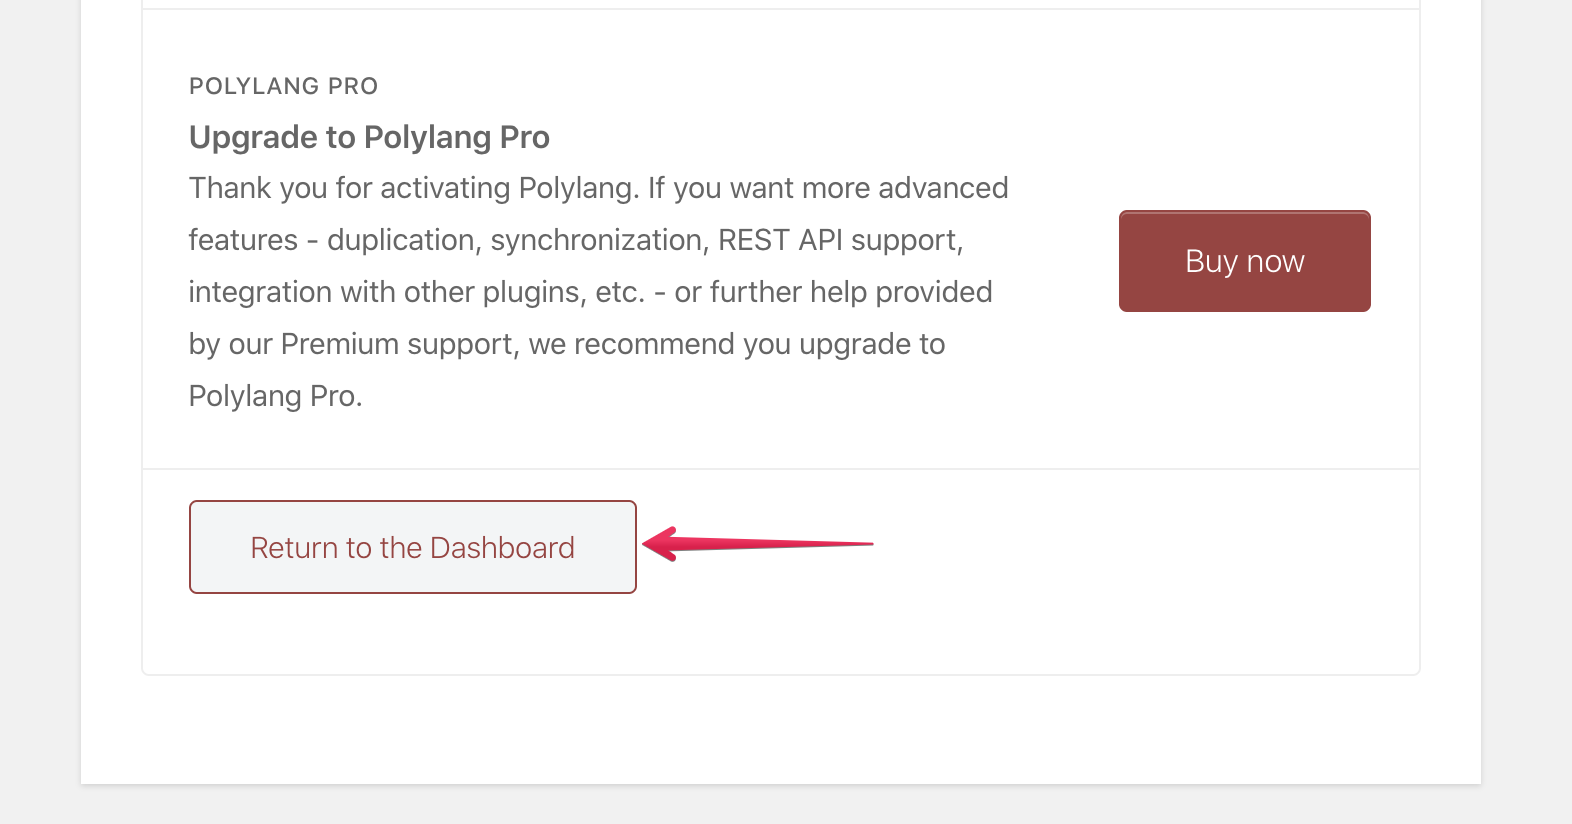
7. Scroll down to the bottom of the page, click [Return to the Dashboard]
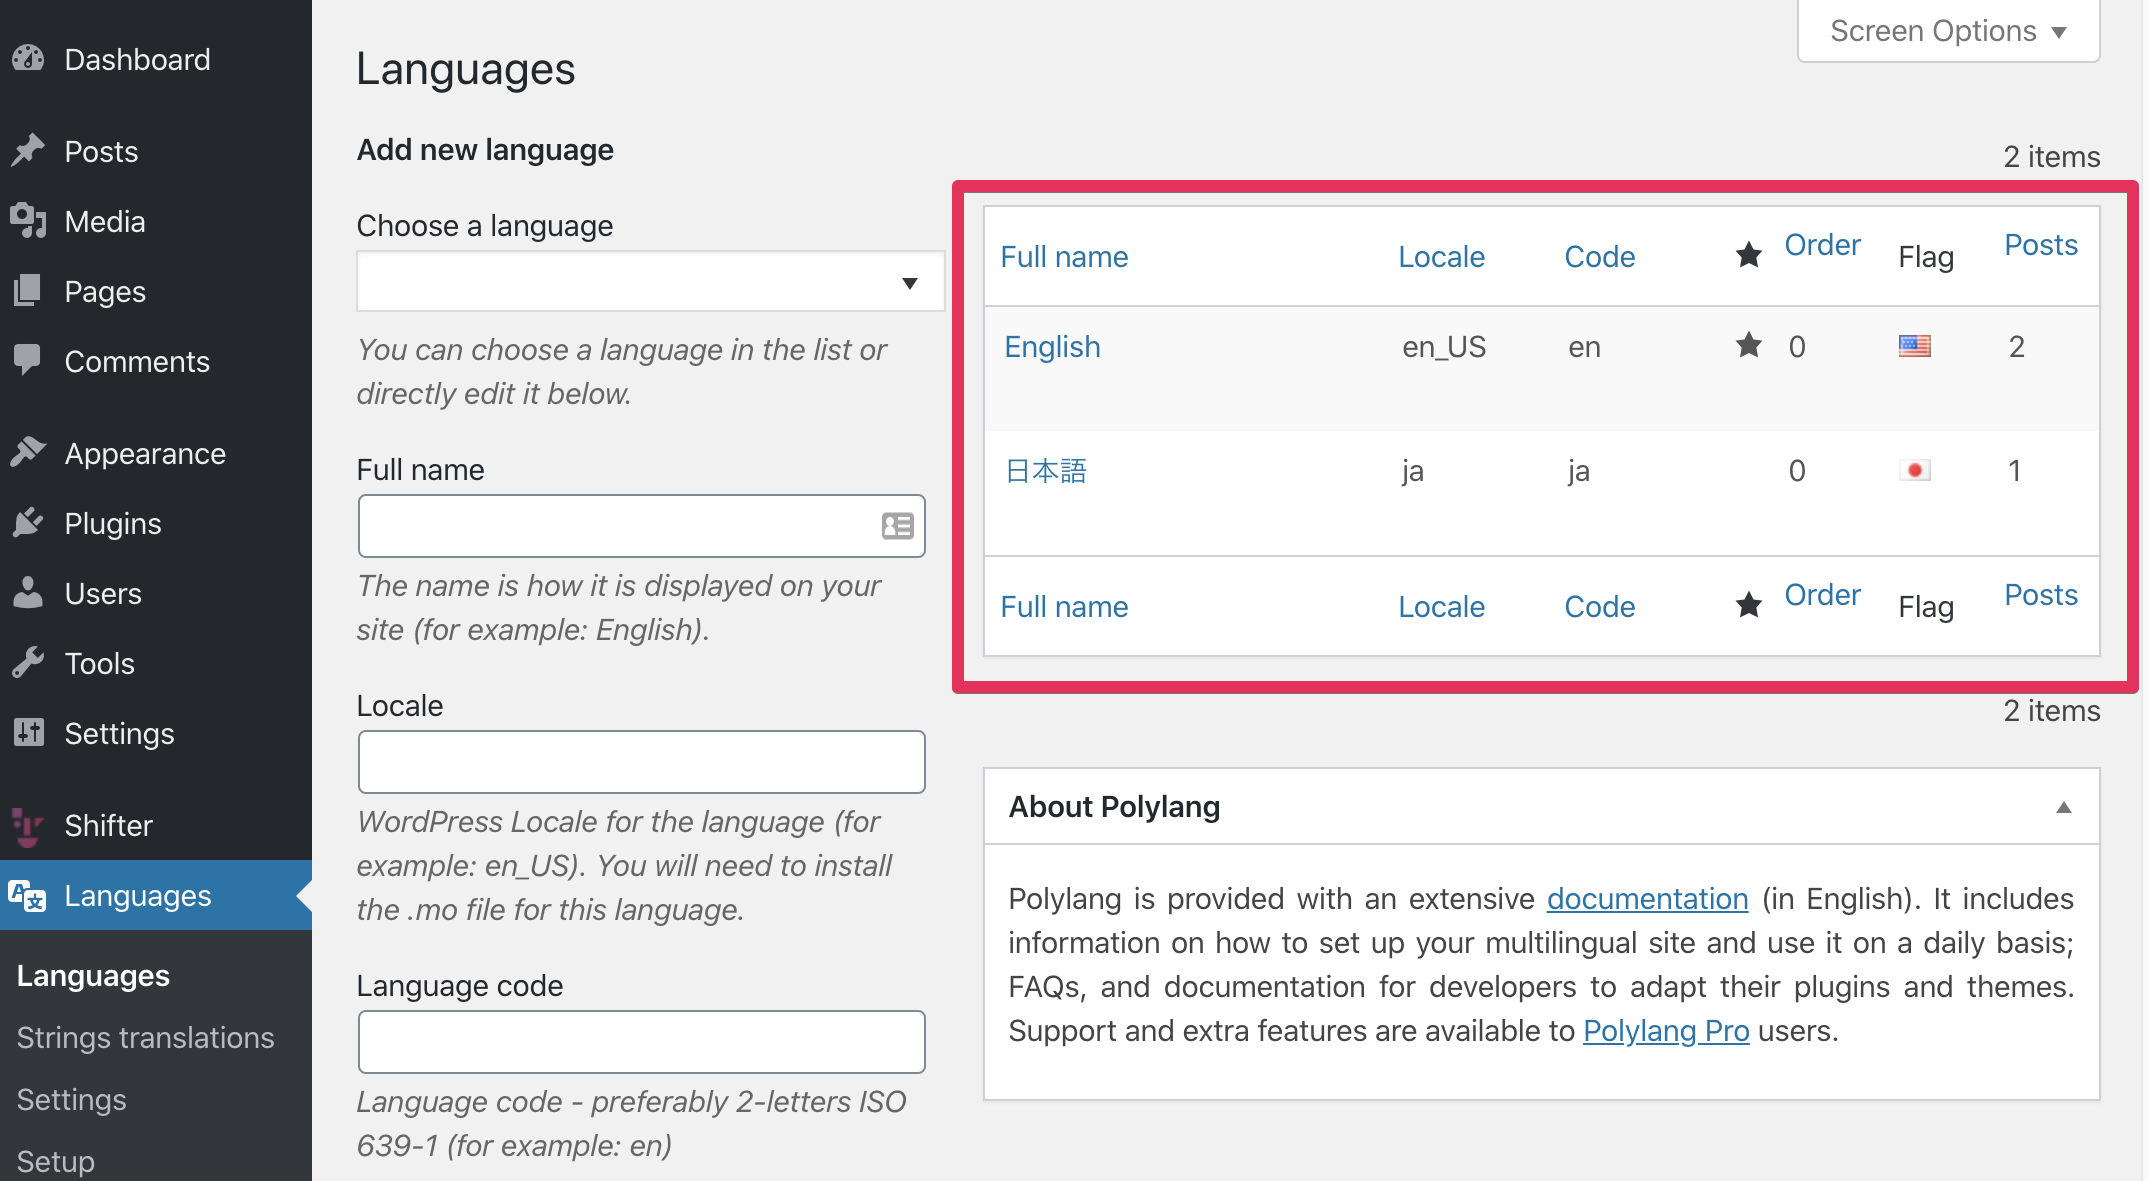
8. Check the language installed
9.Check URL modifications
Navigate to [Settings] menu
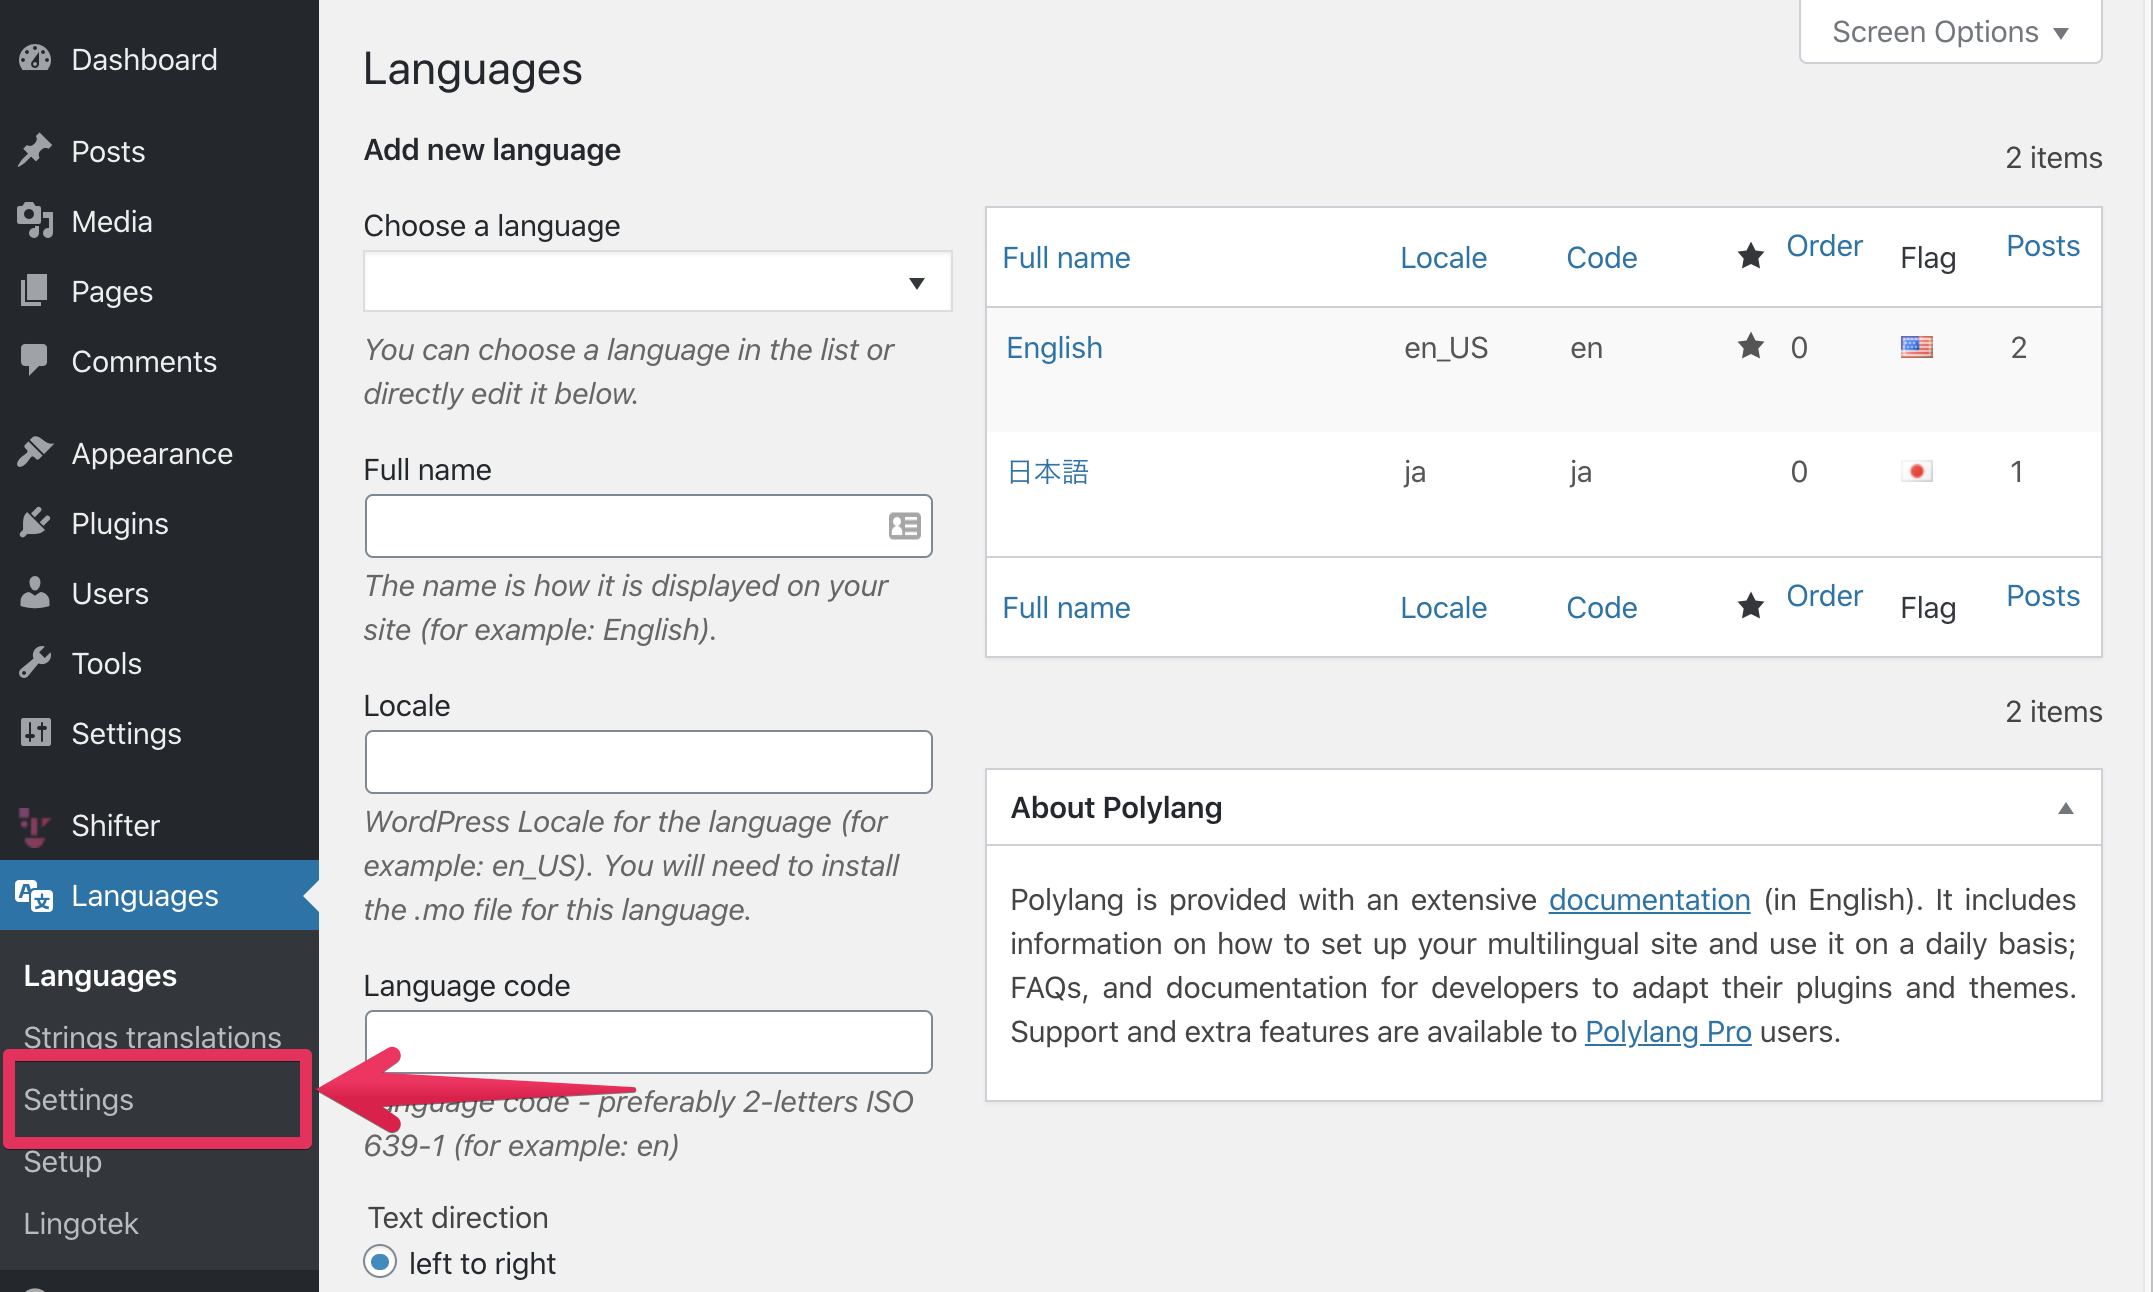
Click [Settings] under URL modifications
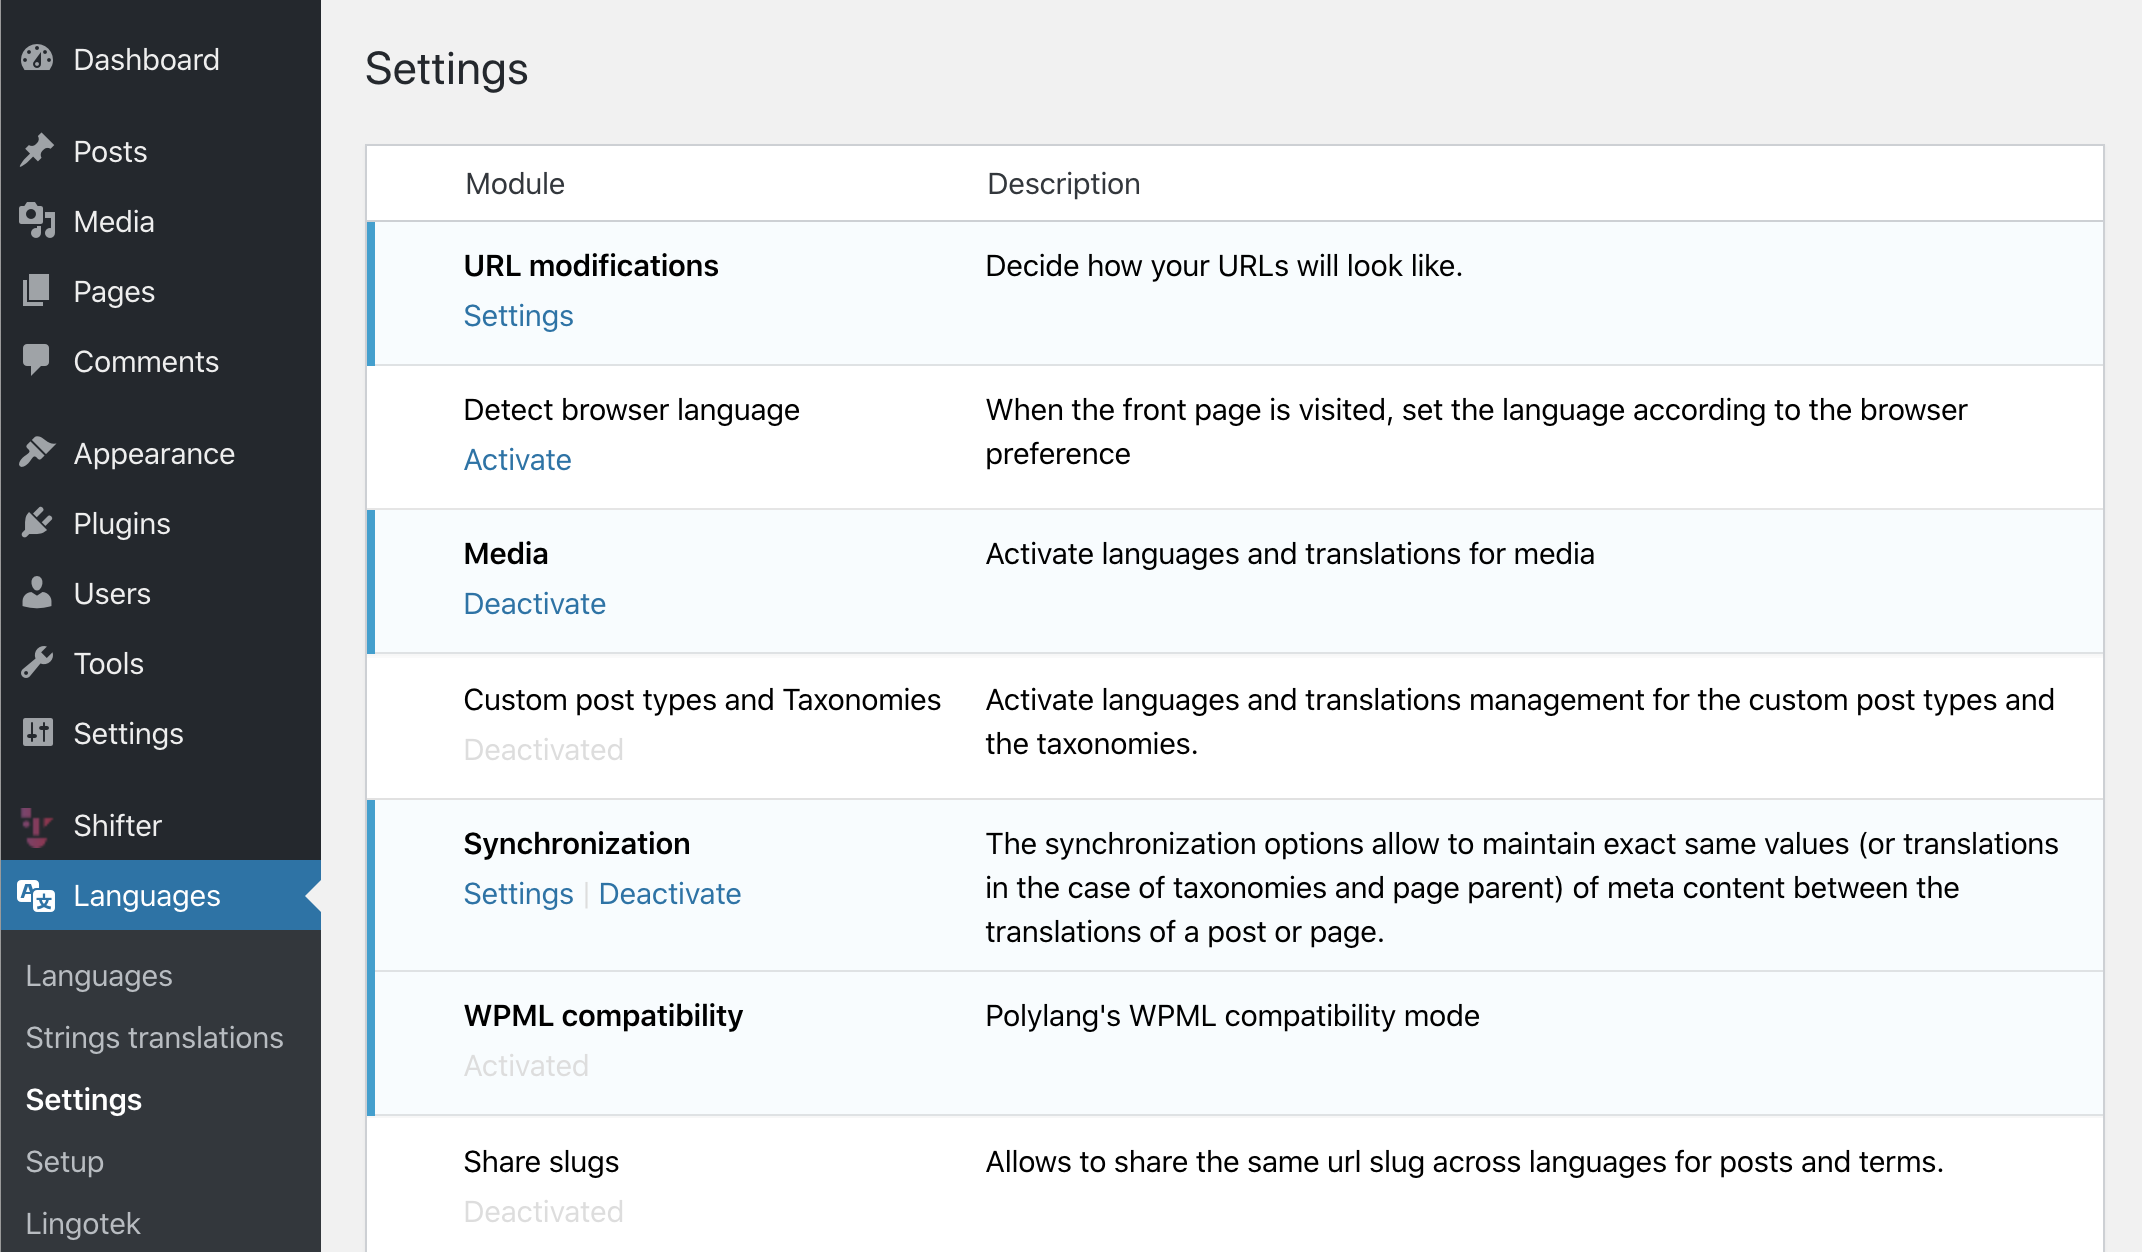
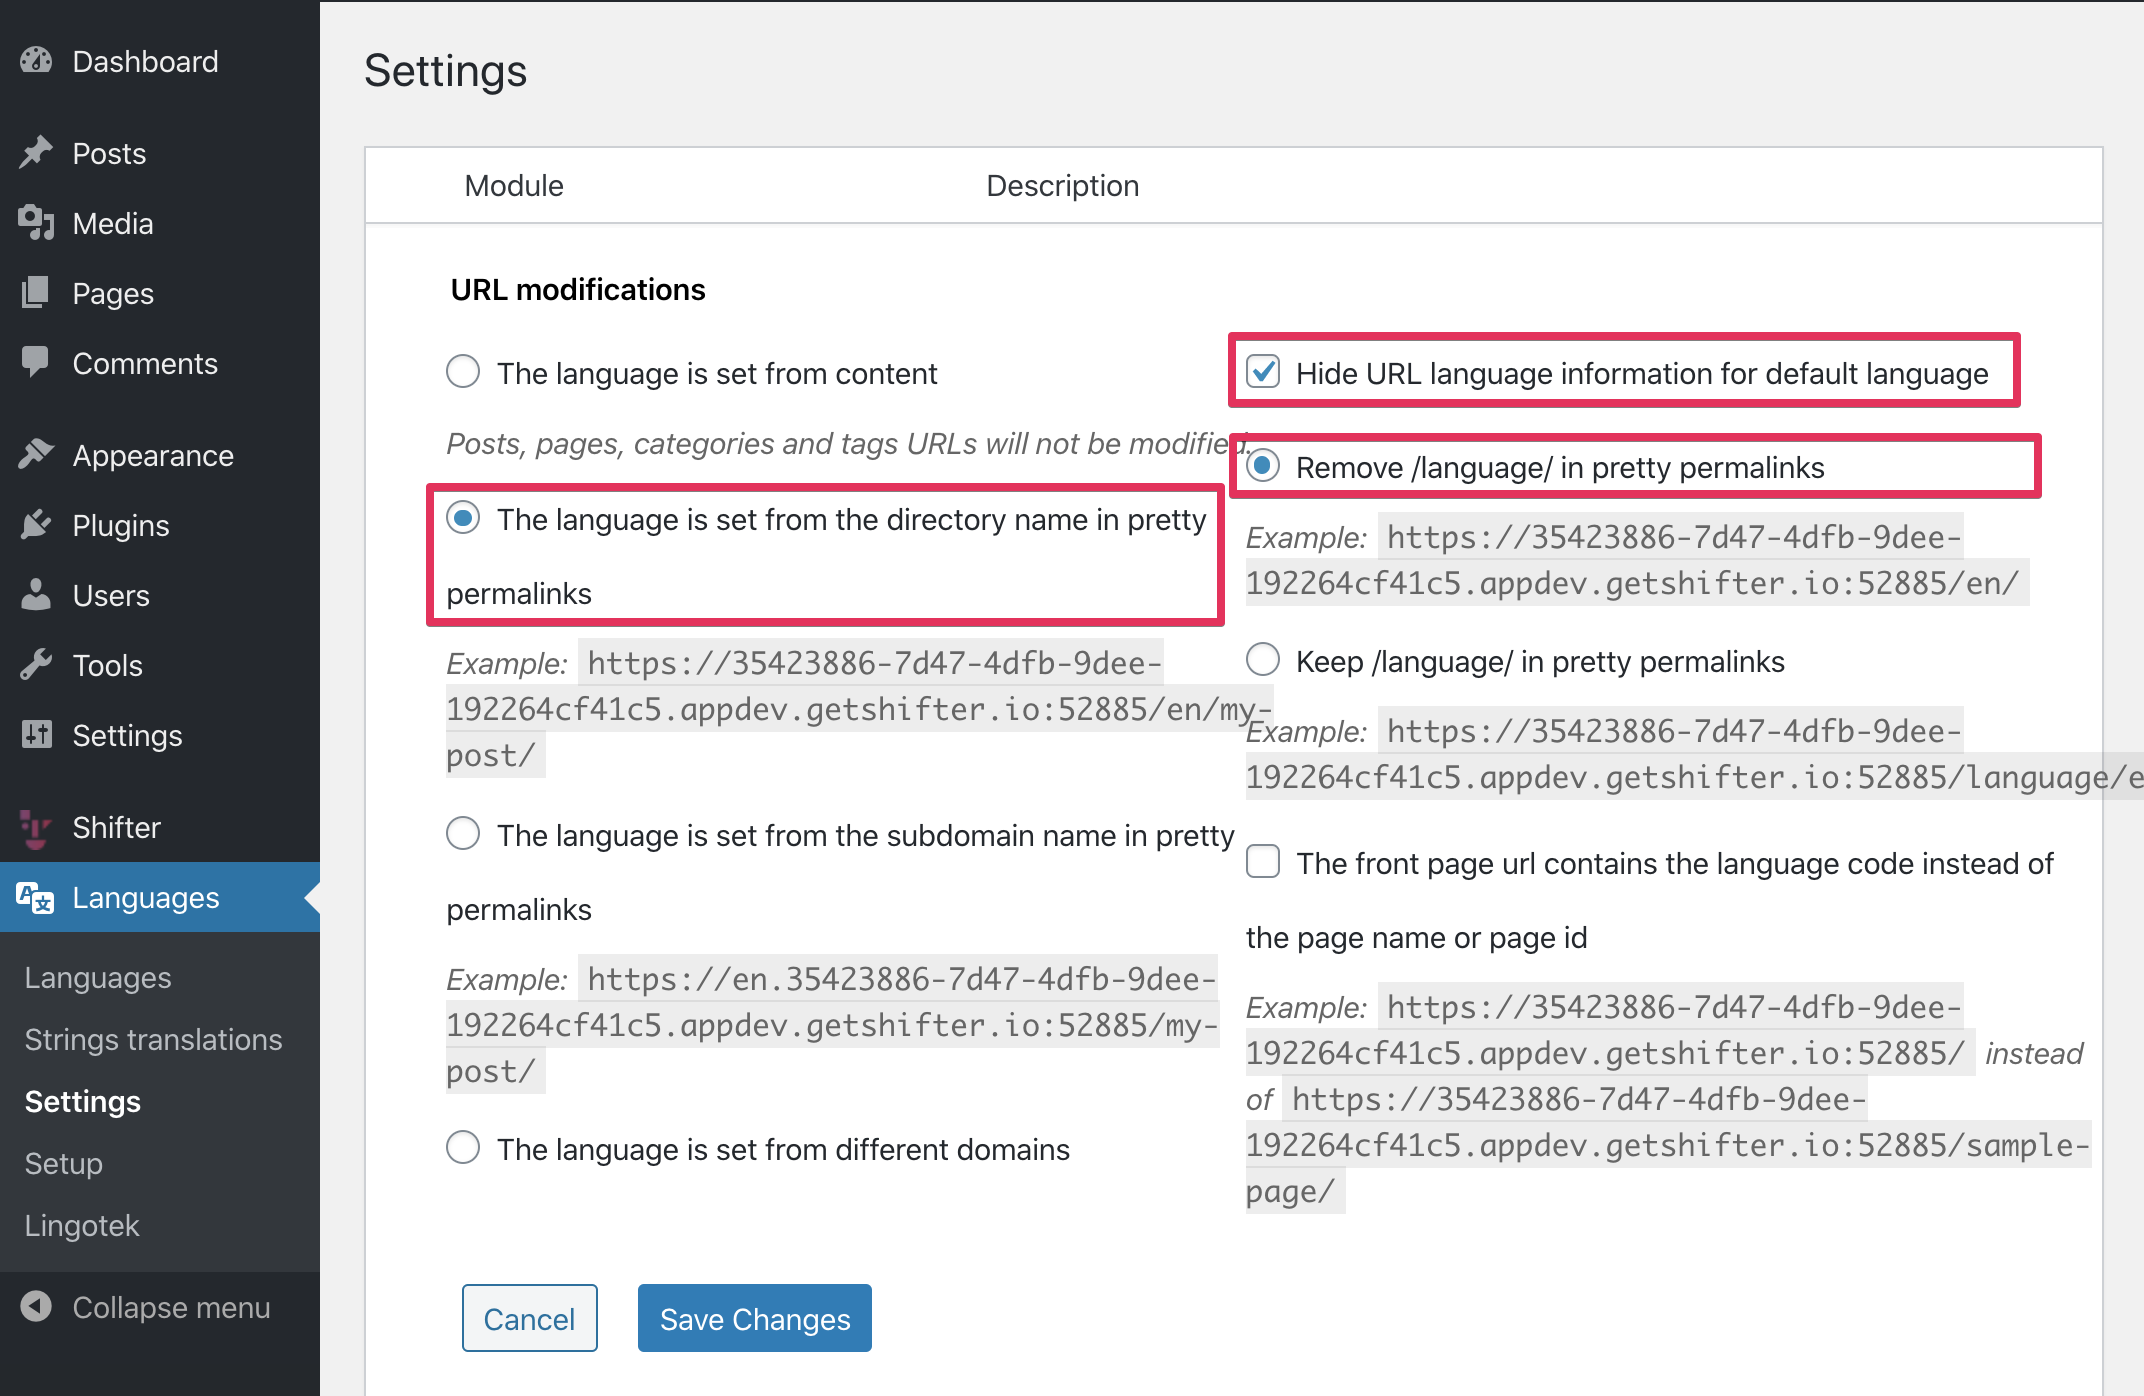
URL modifications
Keep all settings default.
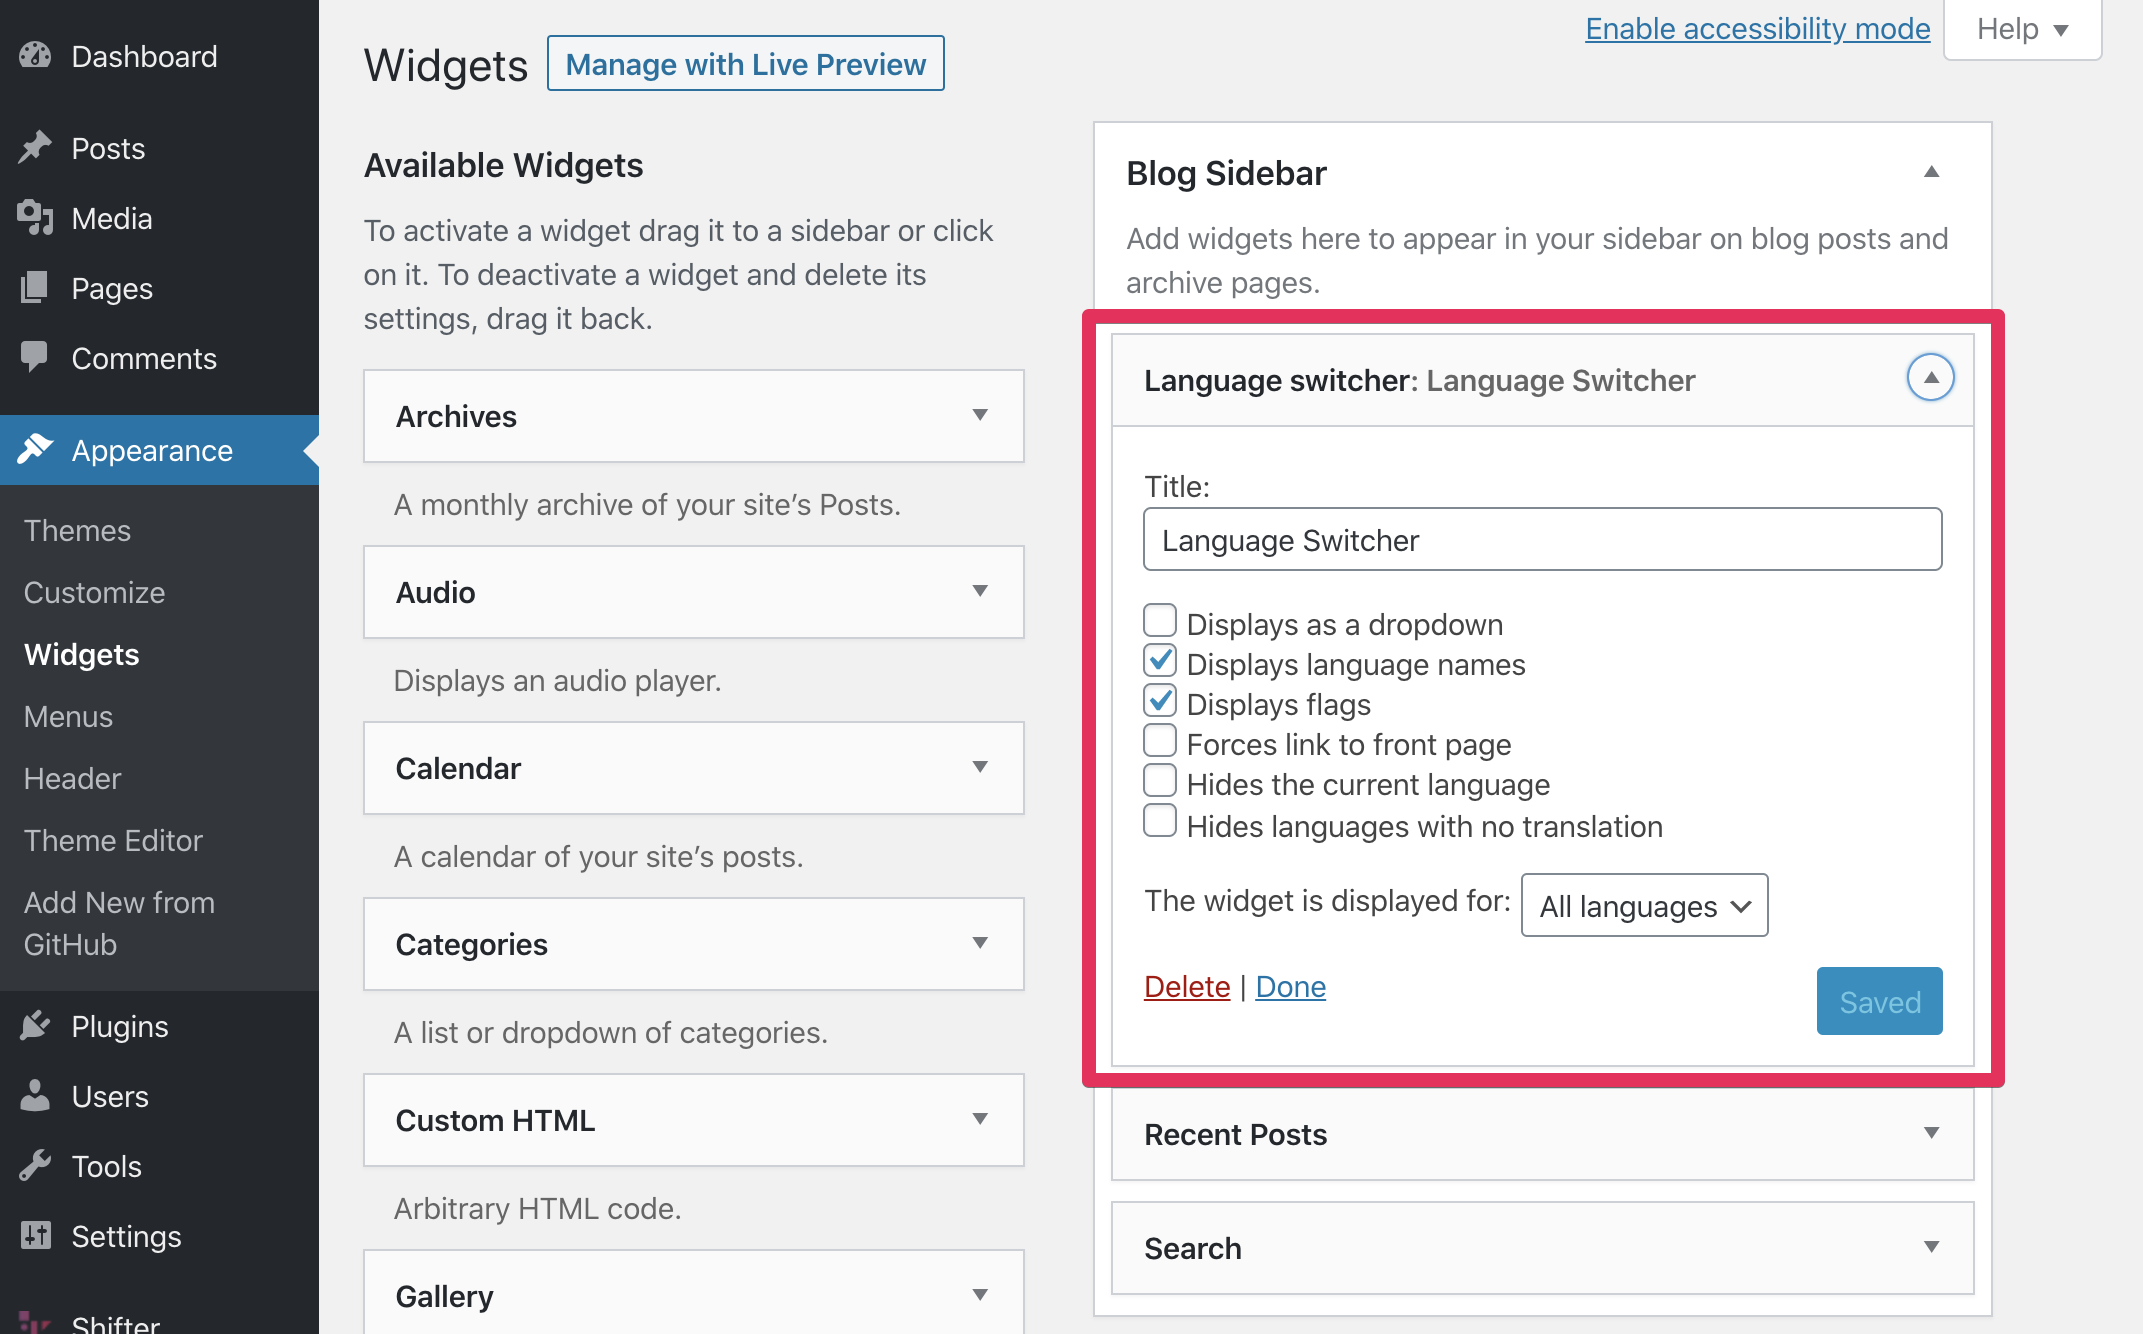
10. Set Language Switcher to theme’s widget
Navigate to Appearance to Widget

Make sure Language Switcher is added to Blog’s sidebar
C. Make some posts and publish
1. Add some posts in both languages.

2. Stop WordPress and generate an artifact to check ‘Language Switcher” works.
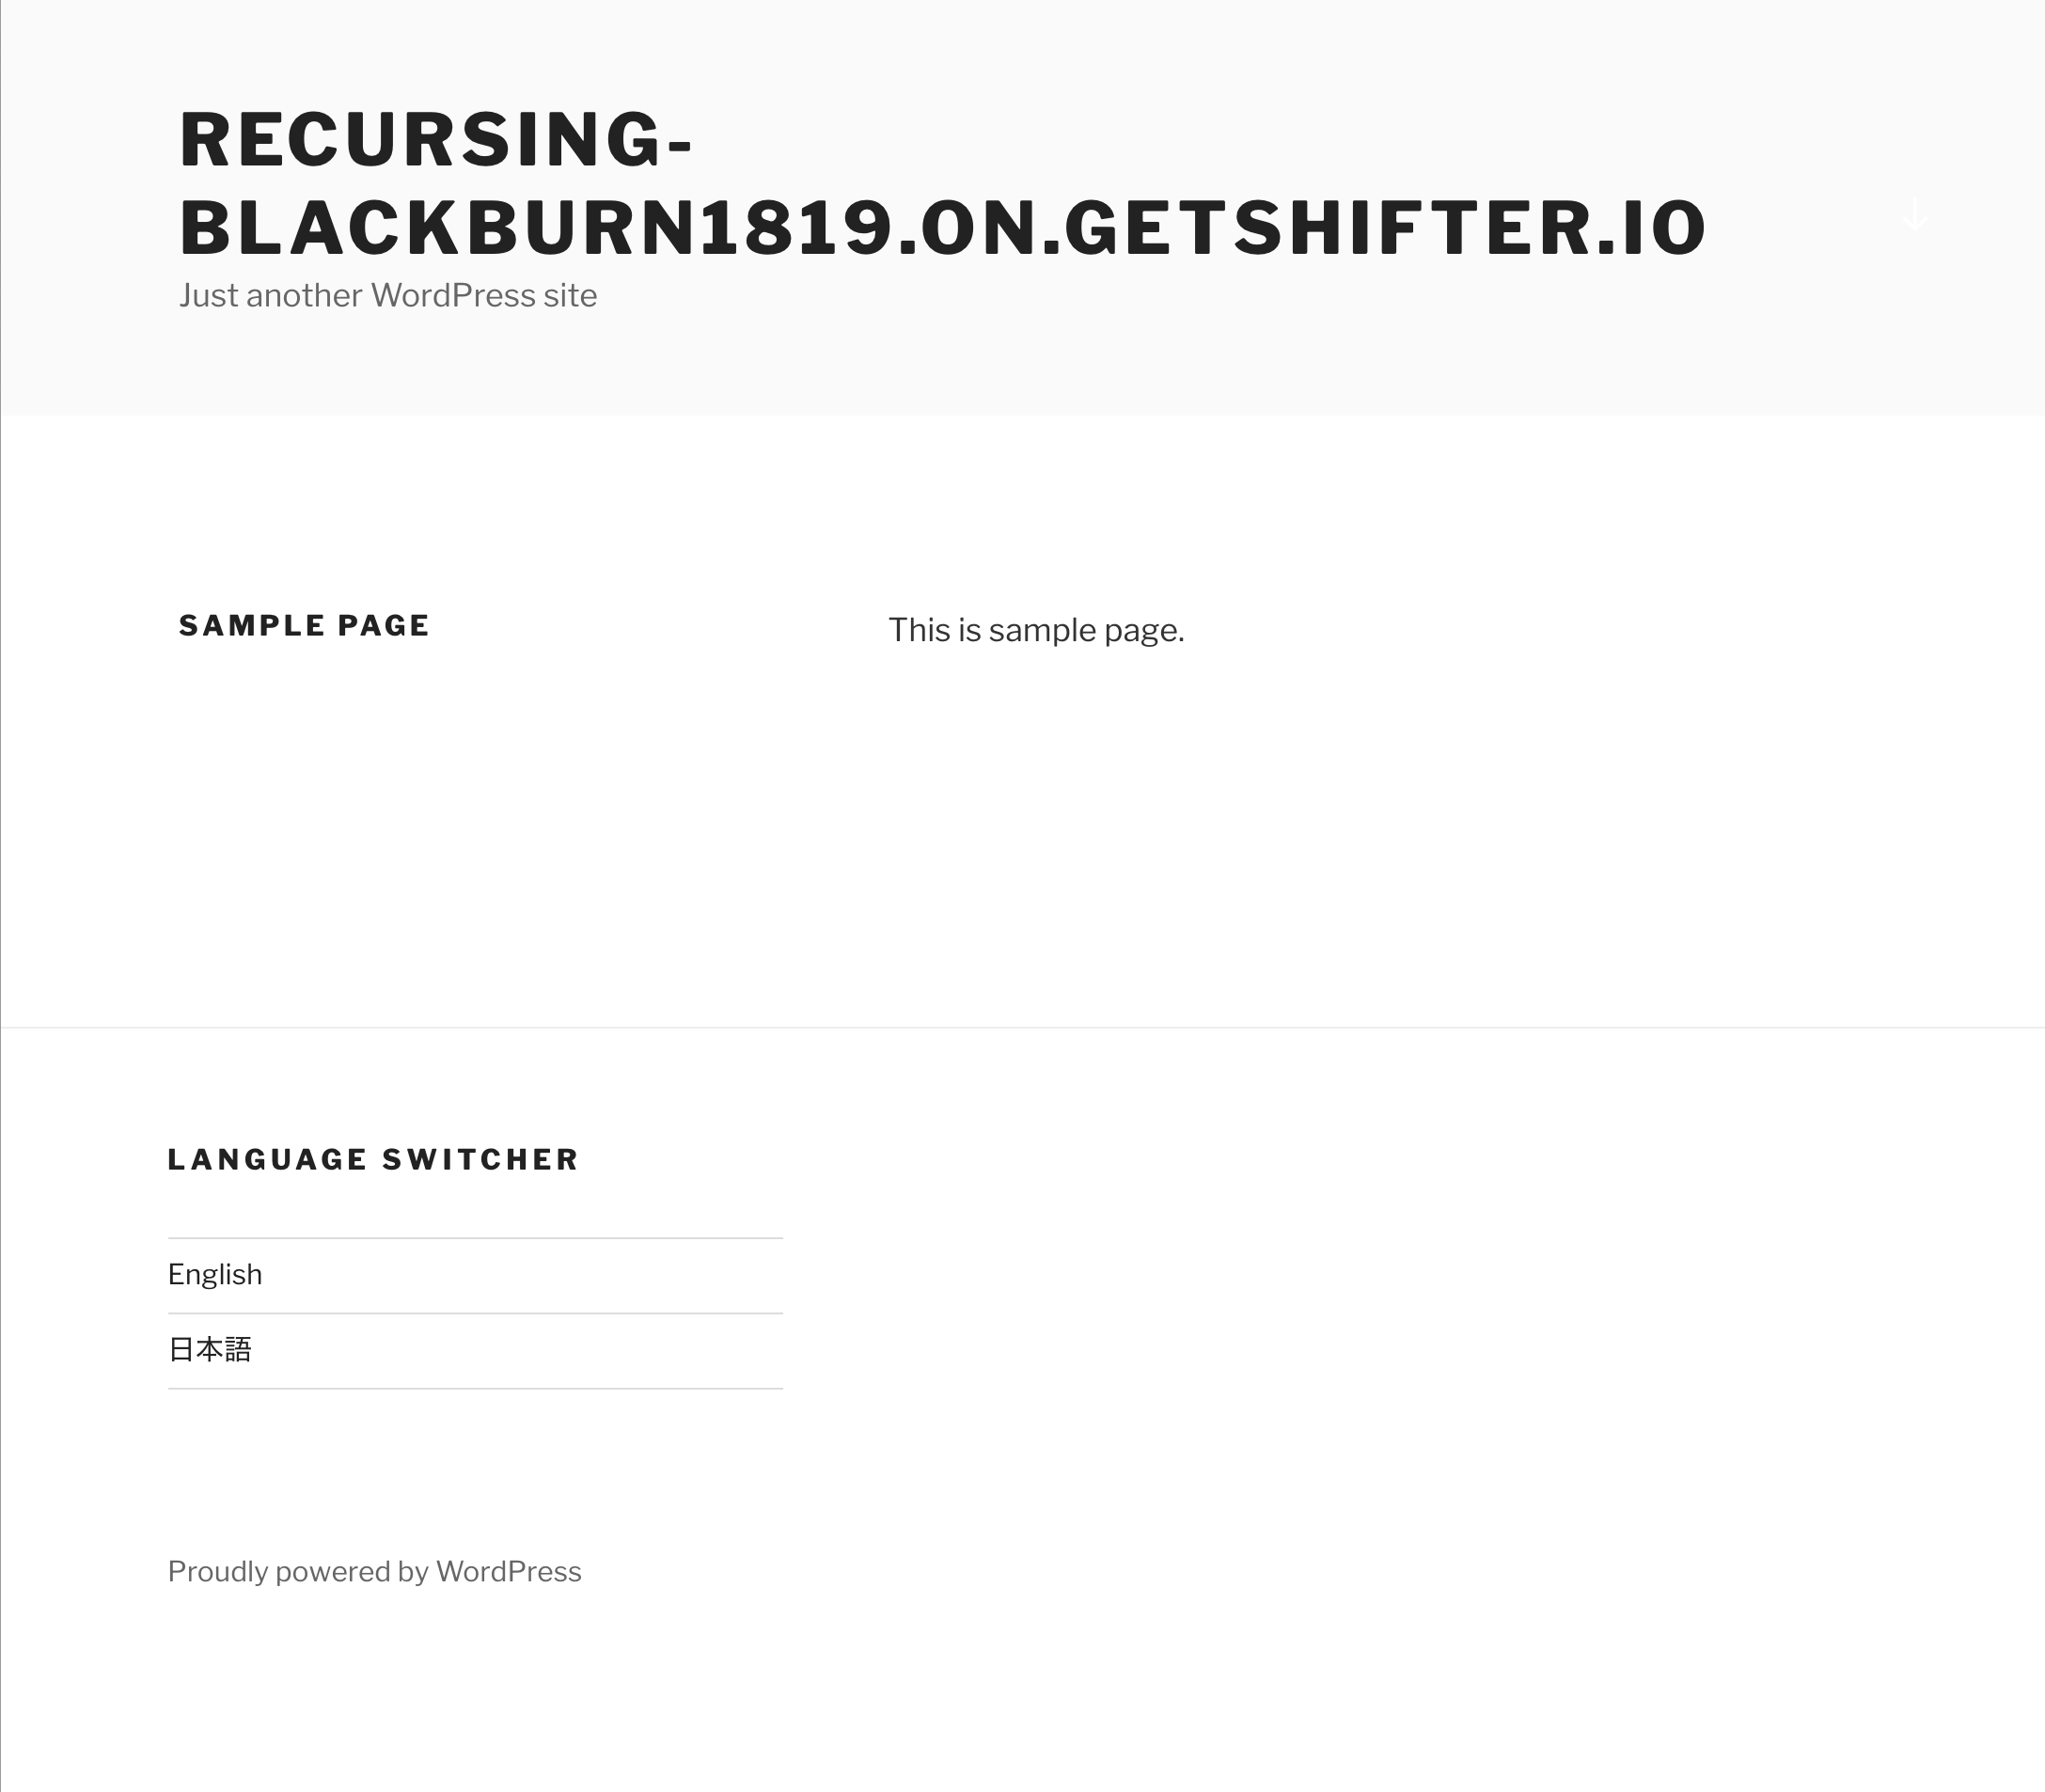
That’s all