By integrating Disqus into WordPress, you can get high-functioning and customizable comment pages for your website.
Step1: Create Disqus account
Access Sign-up to comment on Disqus, then create Disqus account.
After you sign up with an account, Disqus will ask:
-
“What would you like to do with Disqus?”
-
Select “I want to comment on sites.”

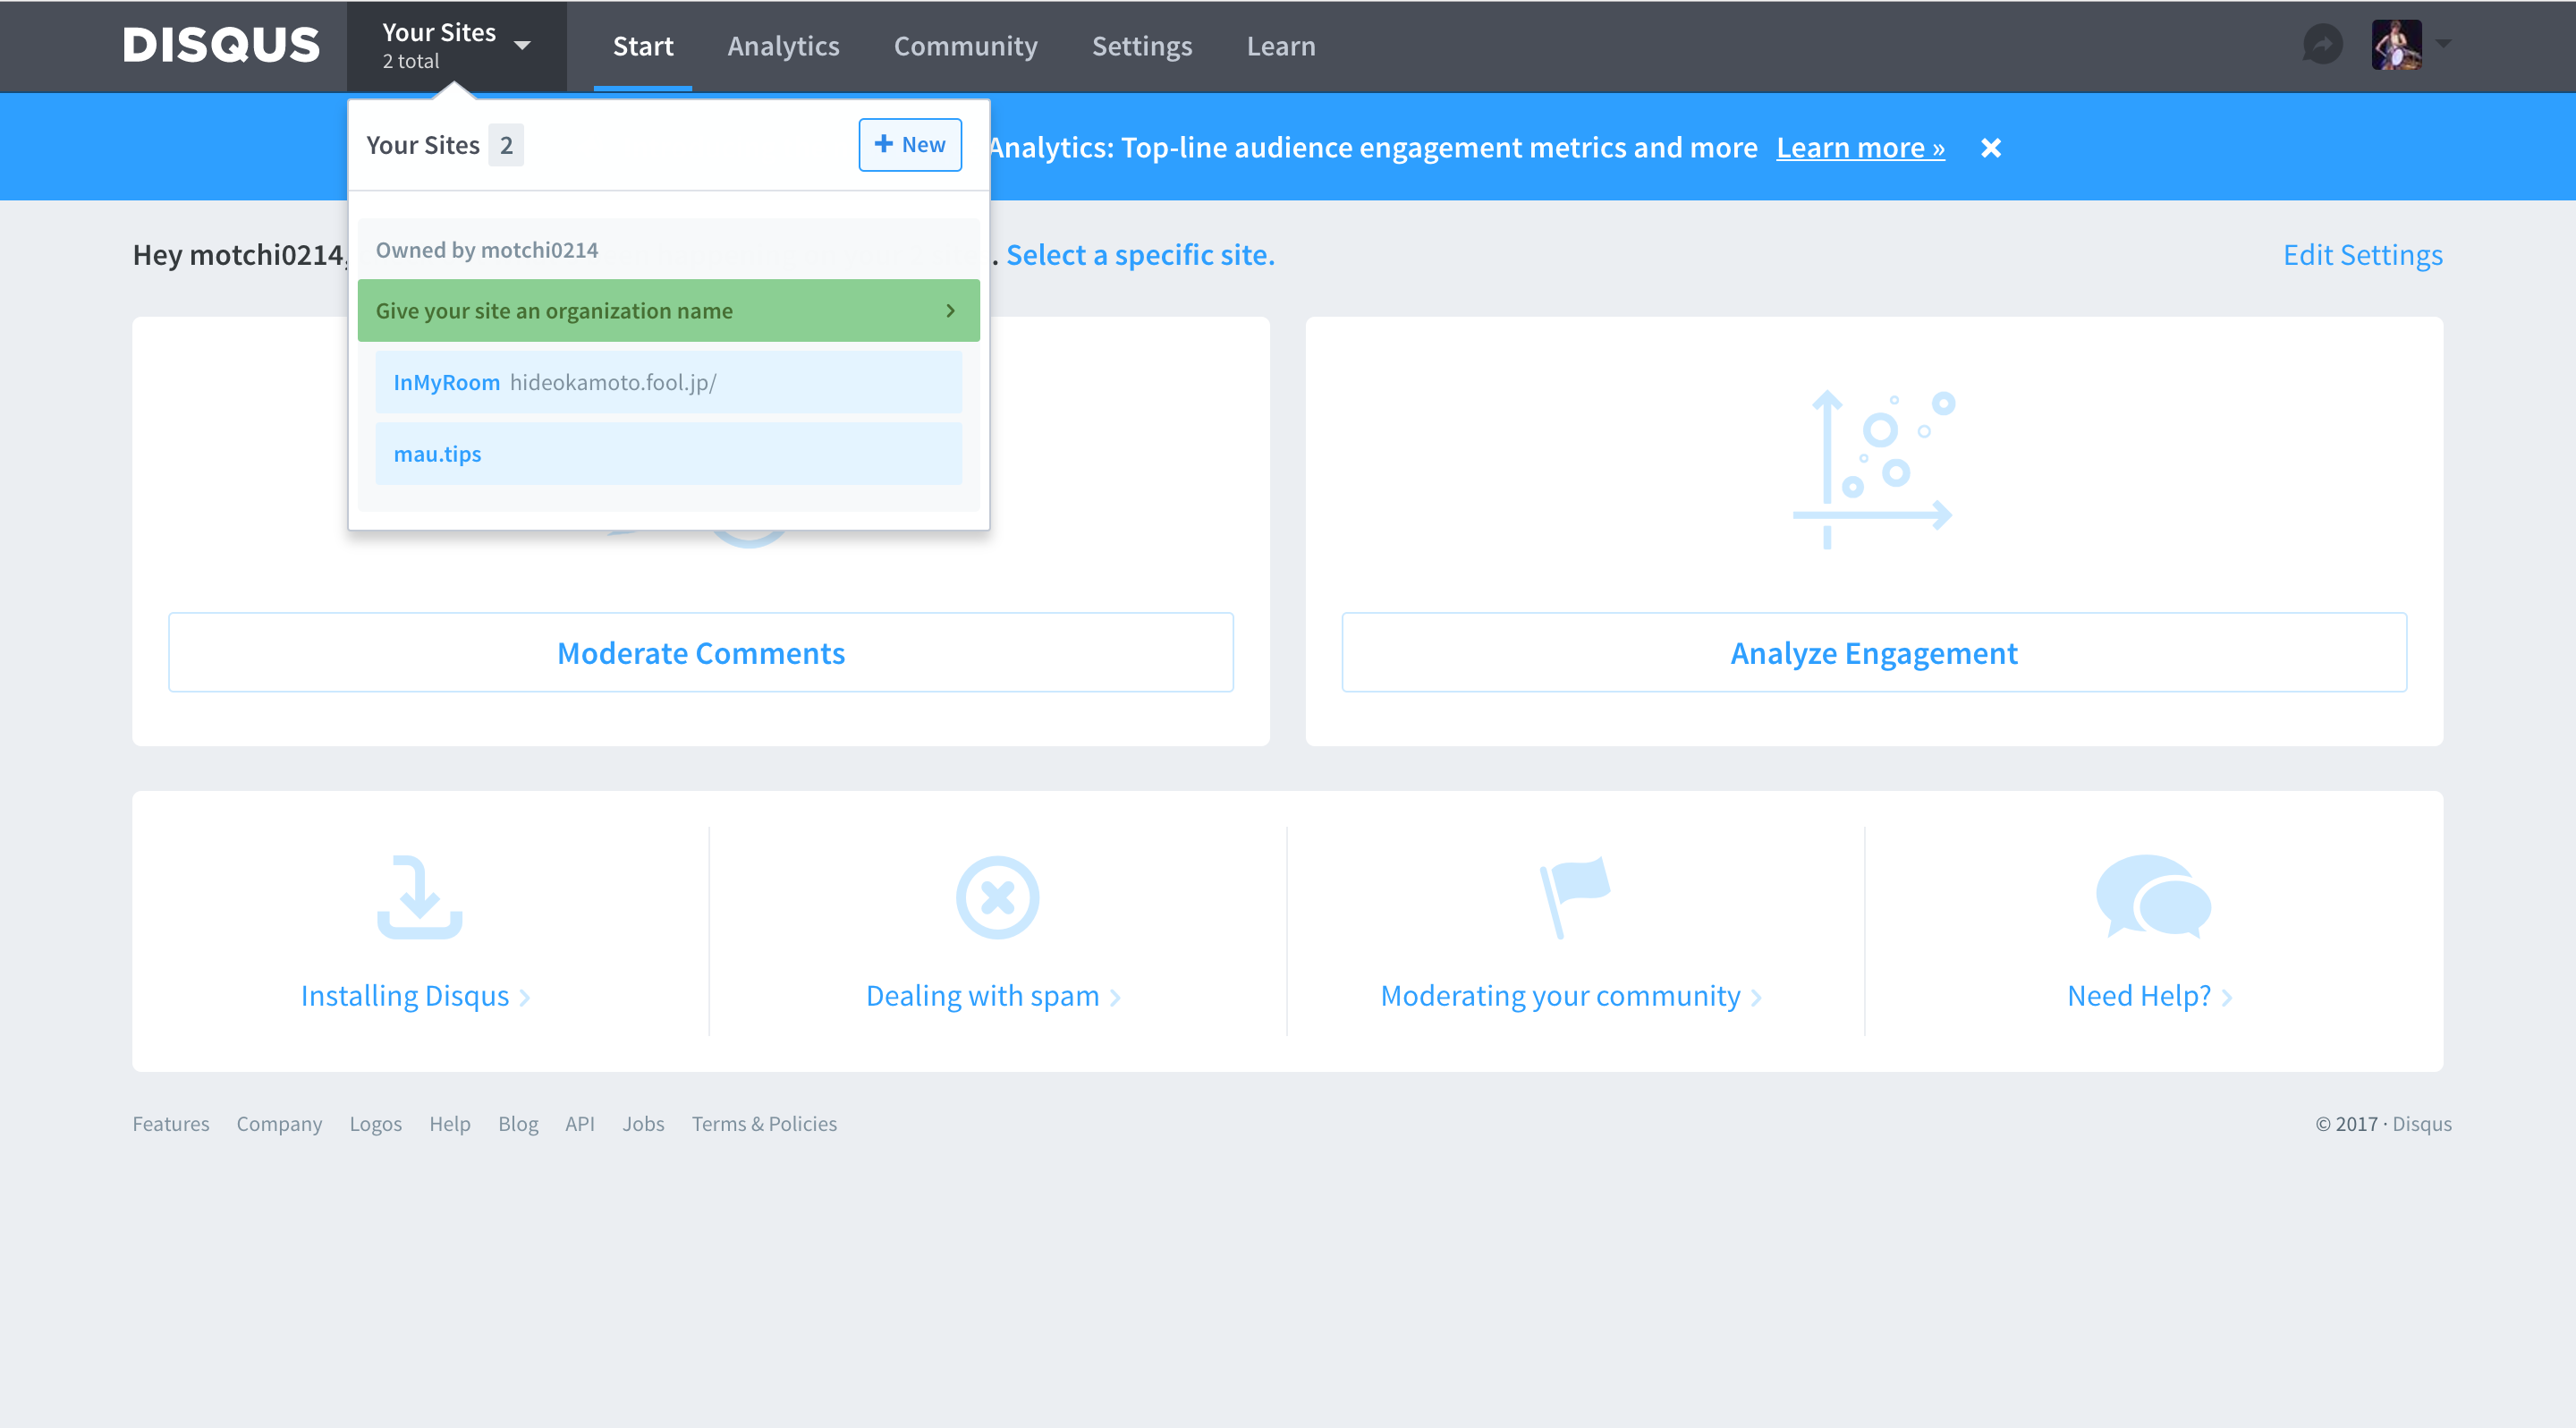
Go to Disqus’s dashboard, click [+ New] on [Your Sites]
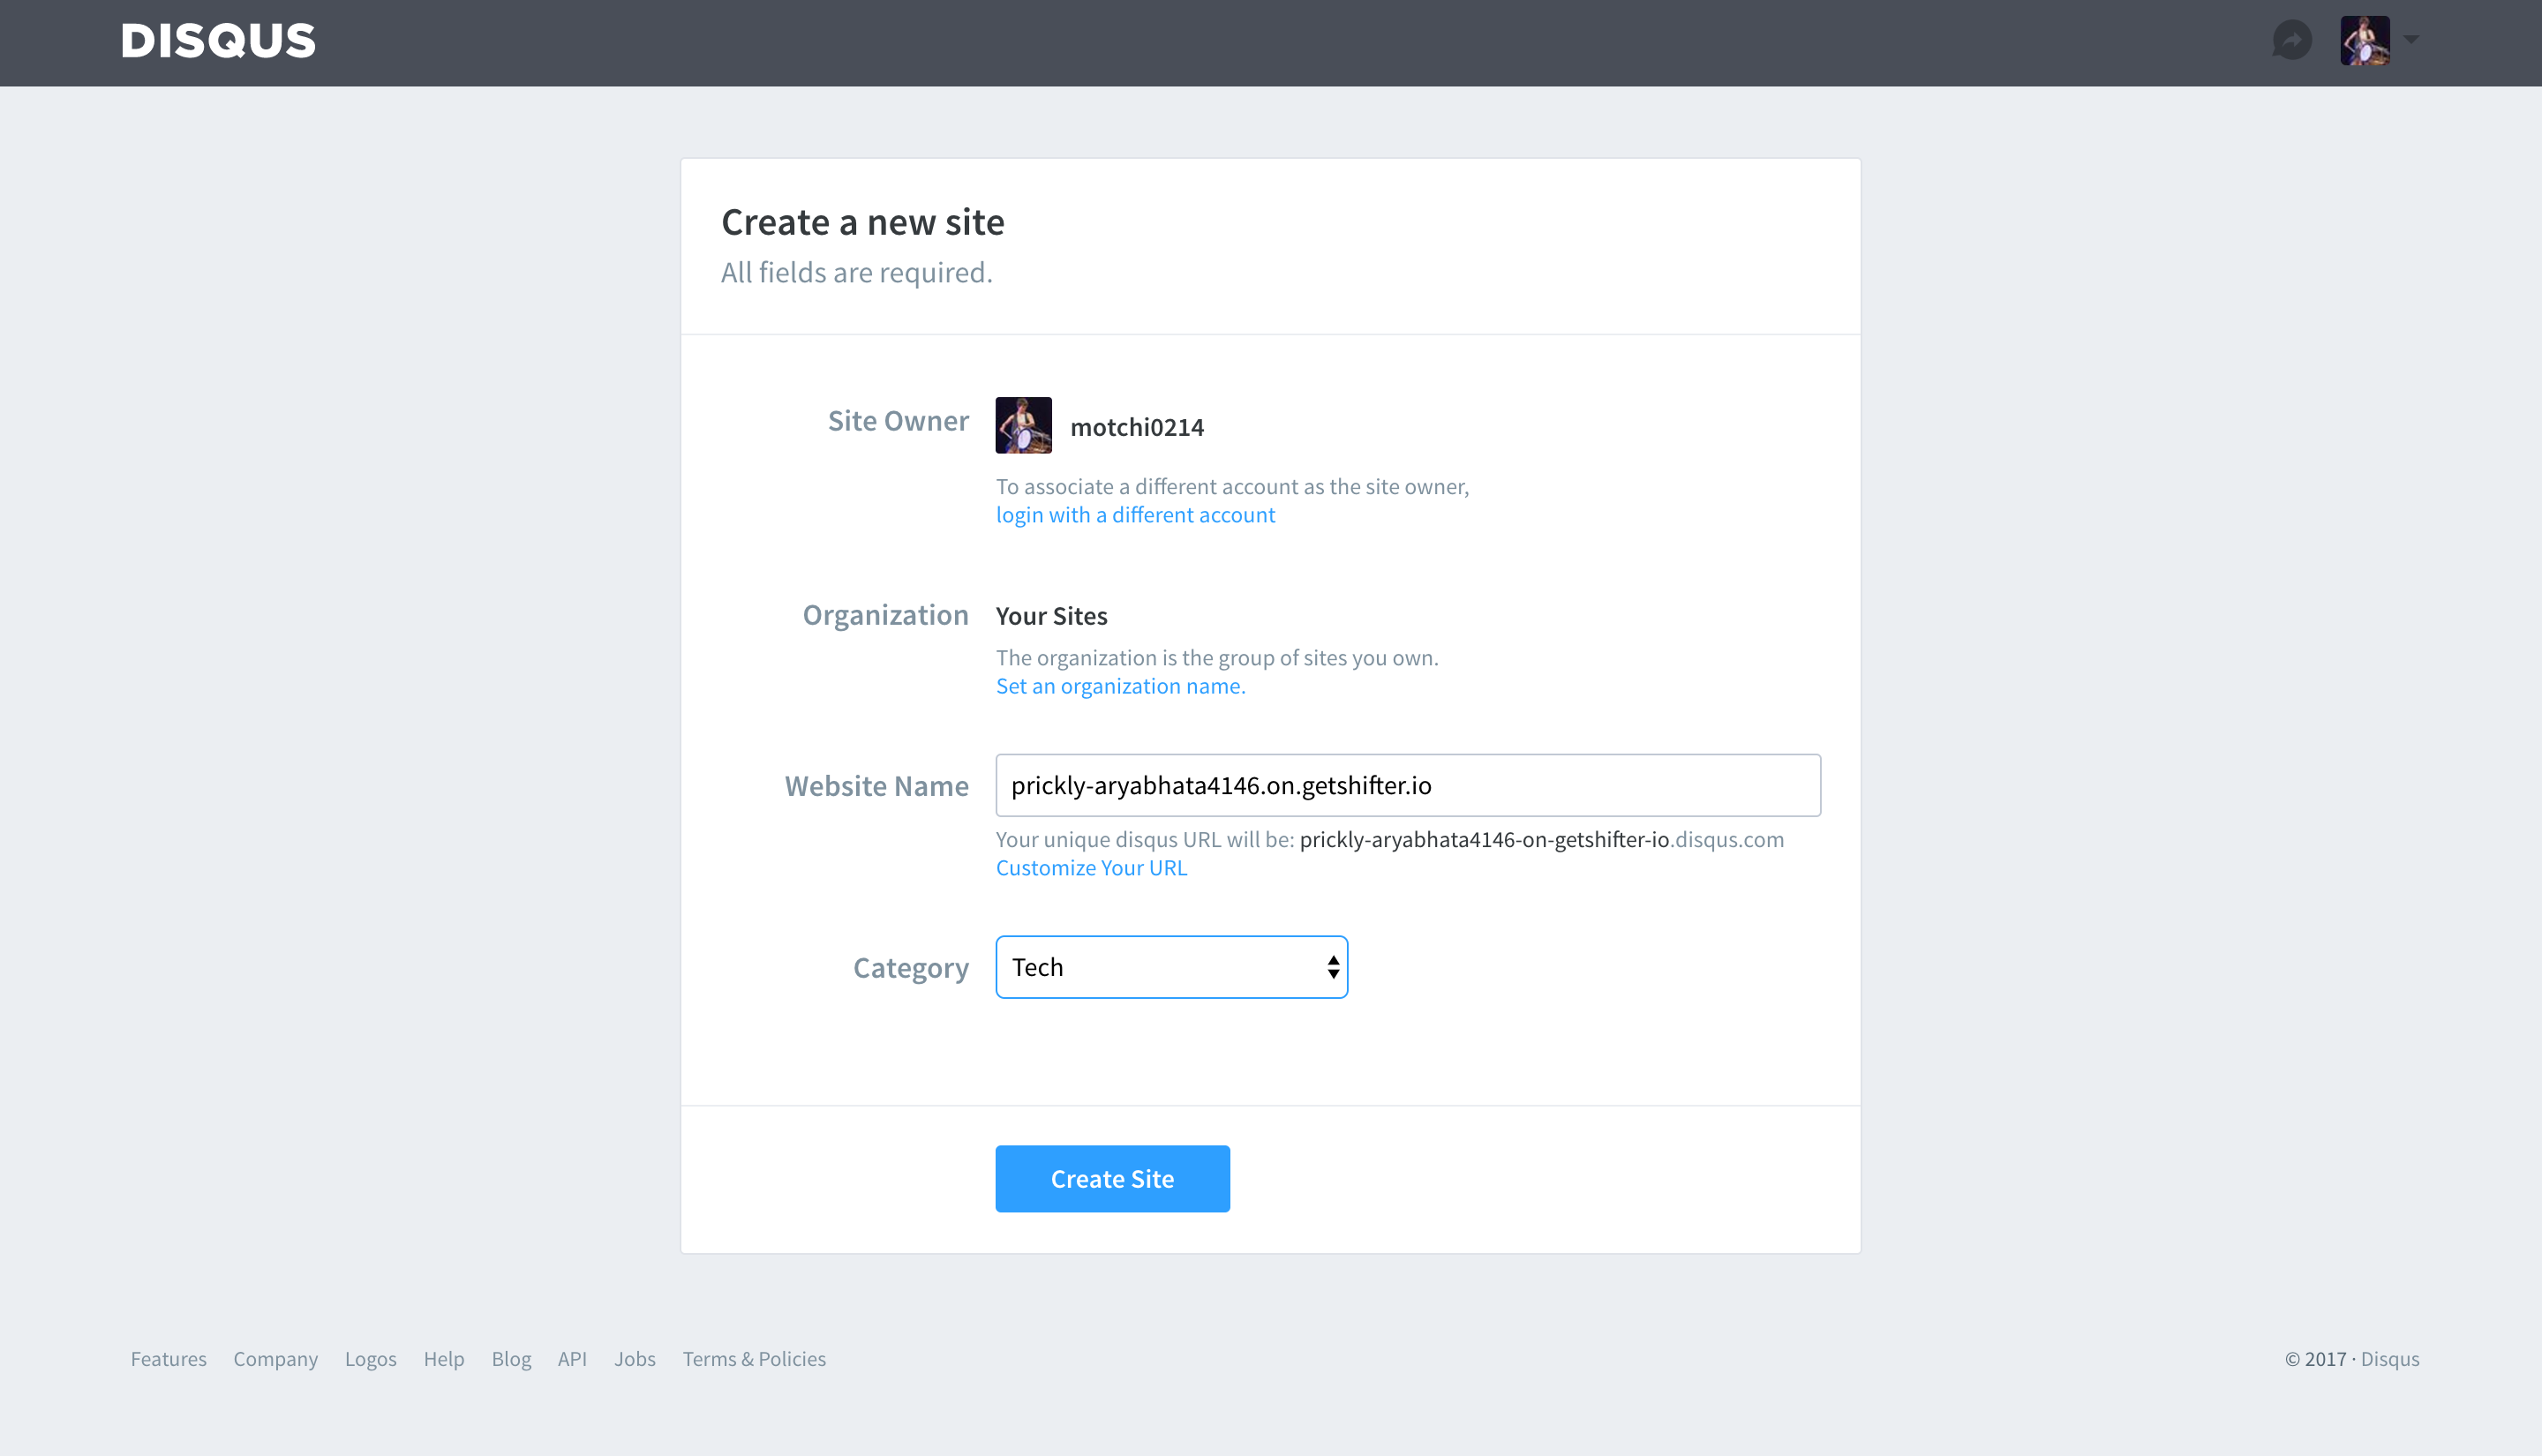
Fill in all fields. This information will connect your website to Disqus.
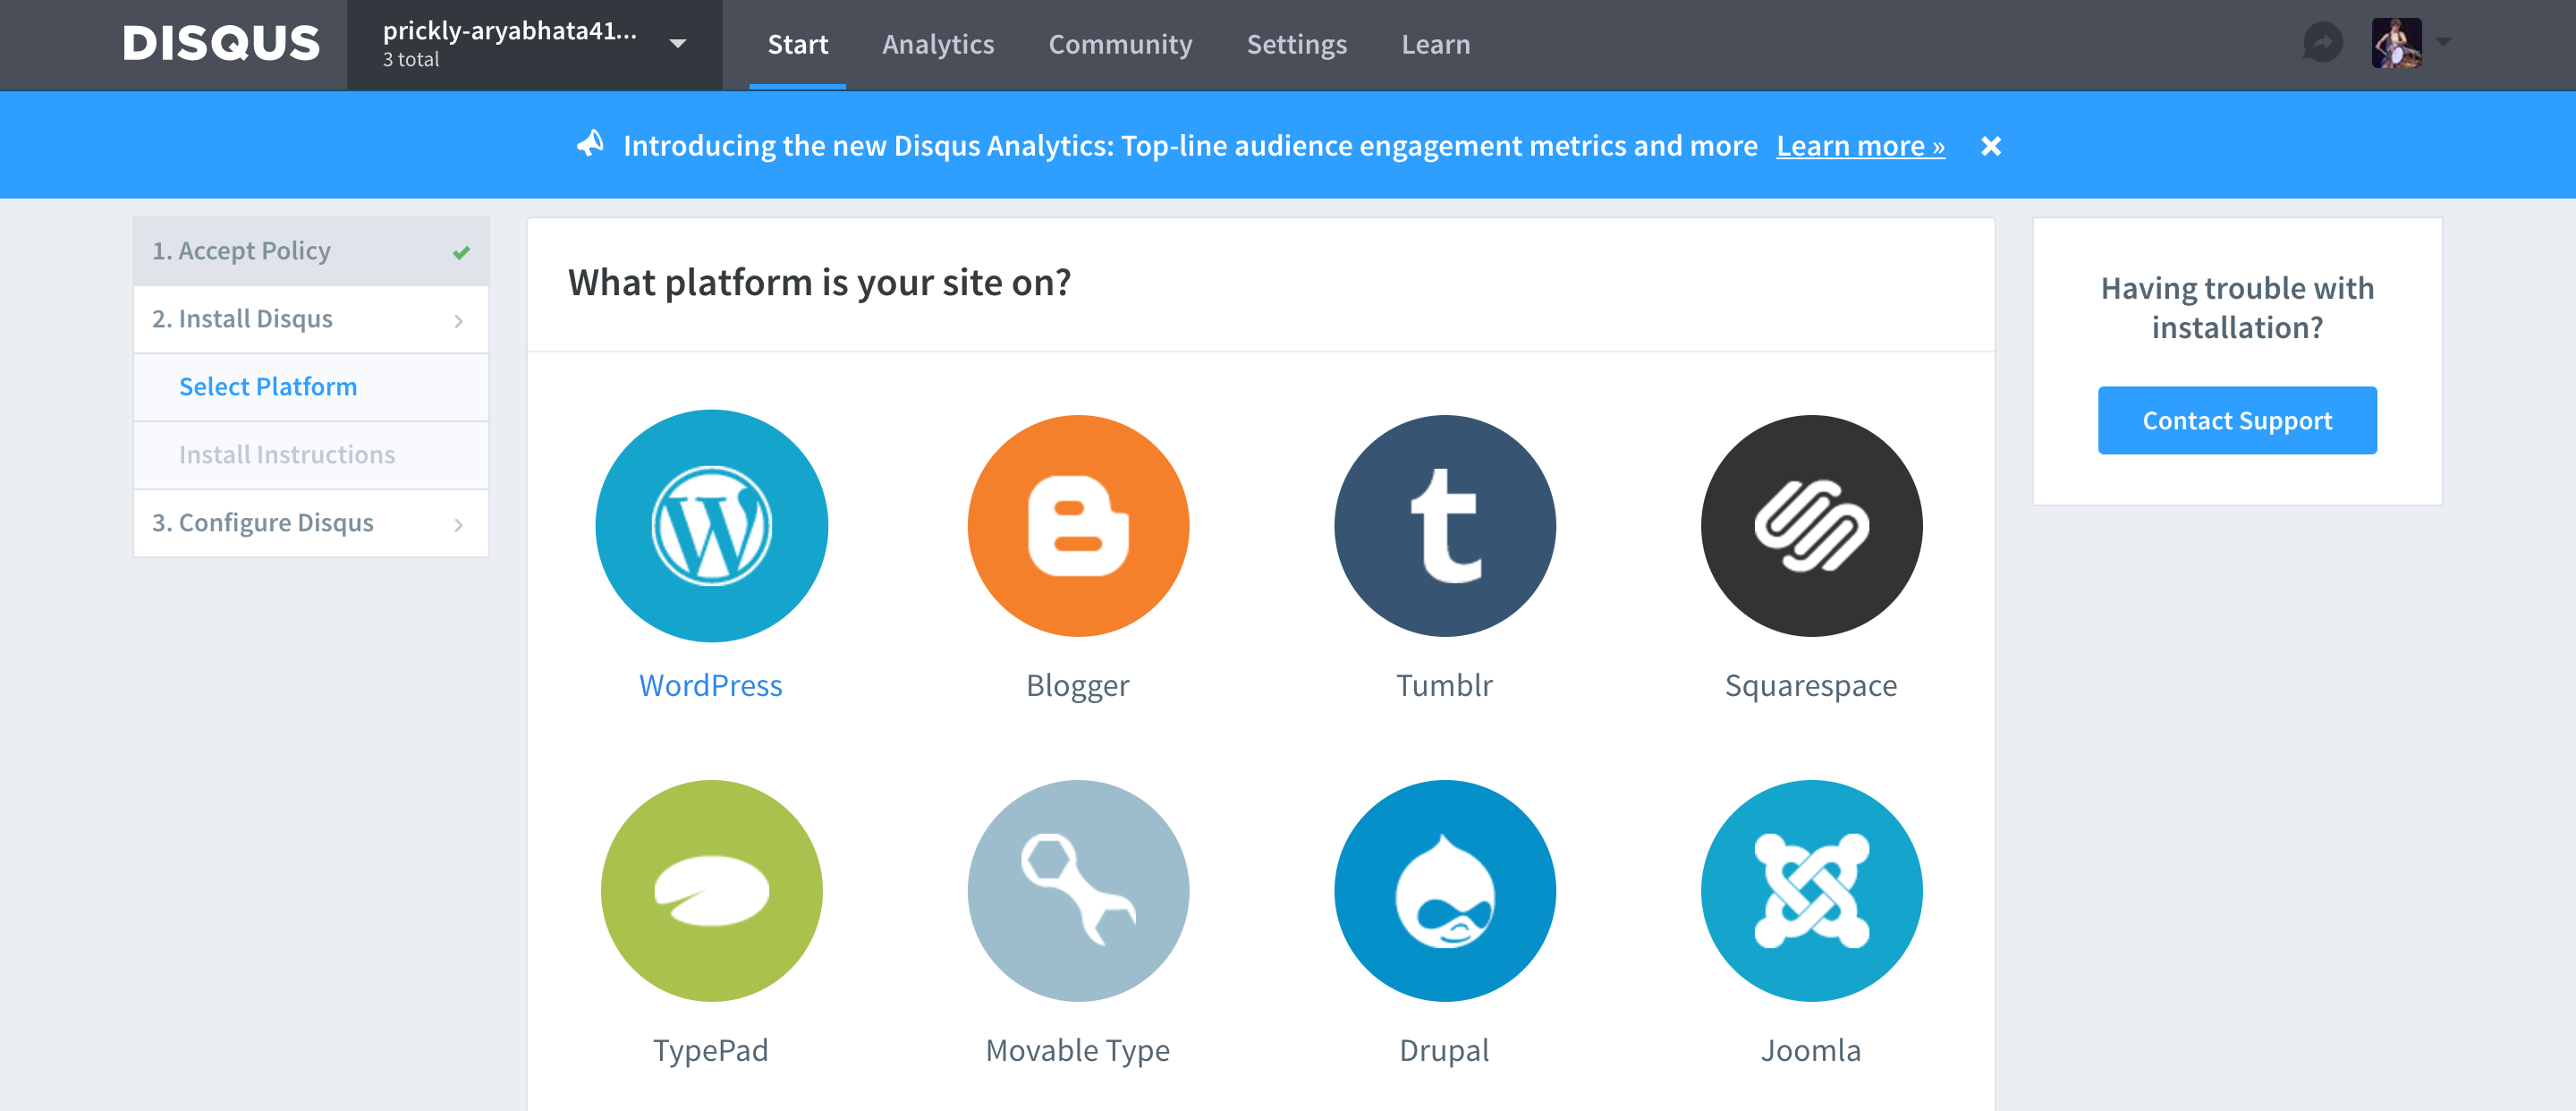
Choose “WordPress” for “What platform is your site on?”
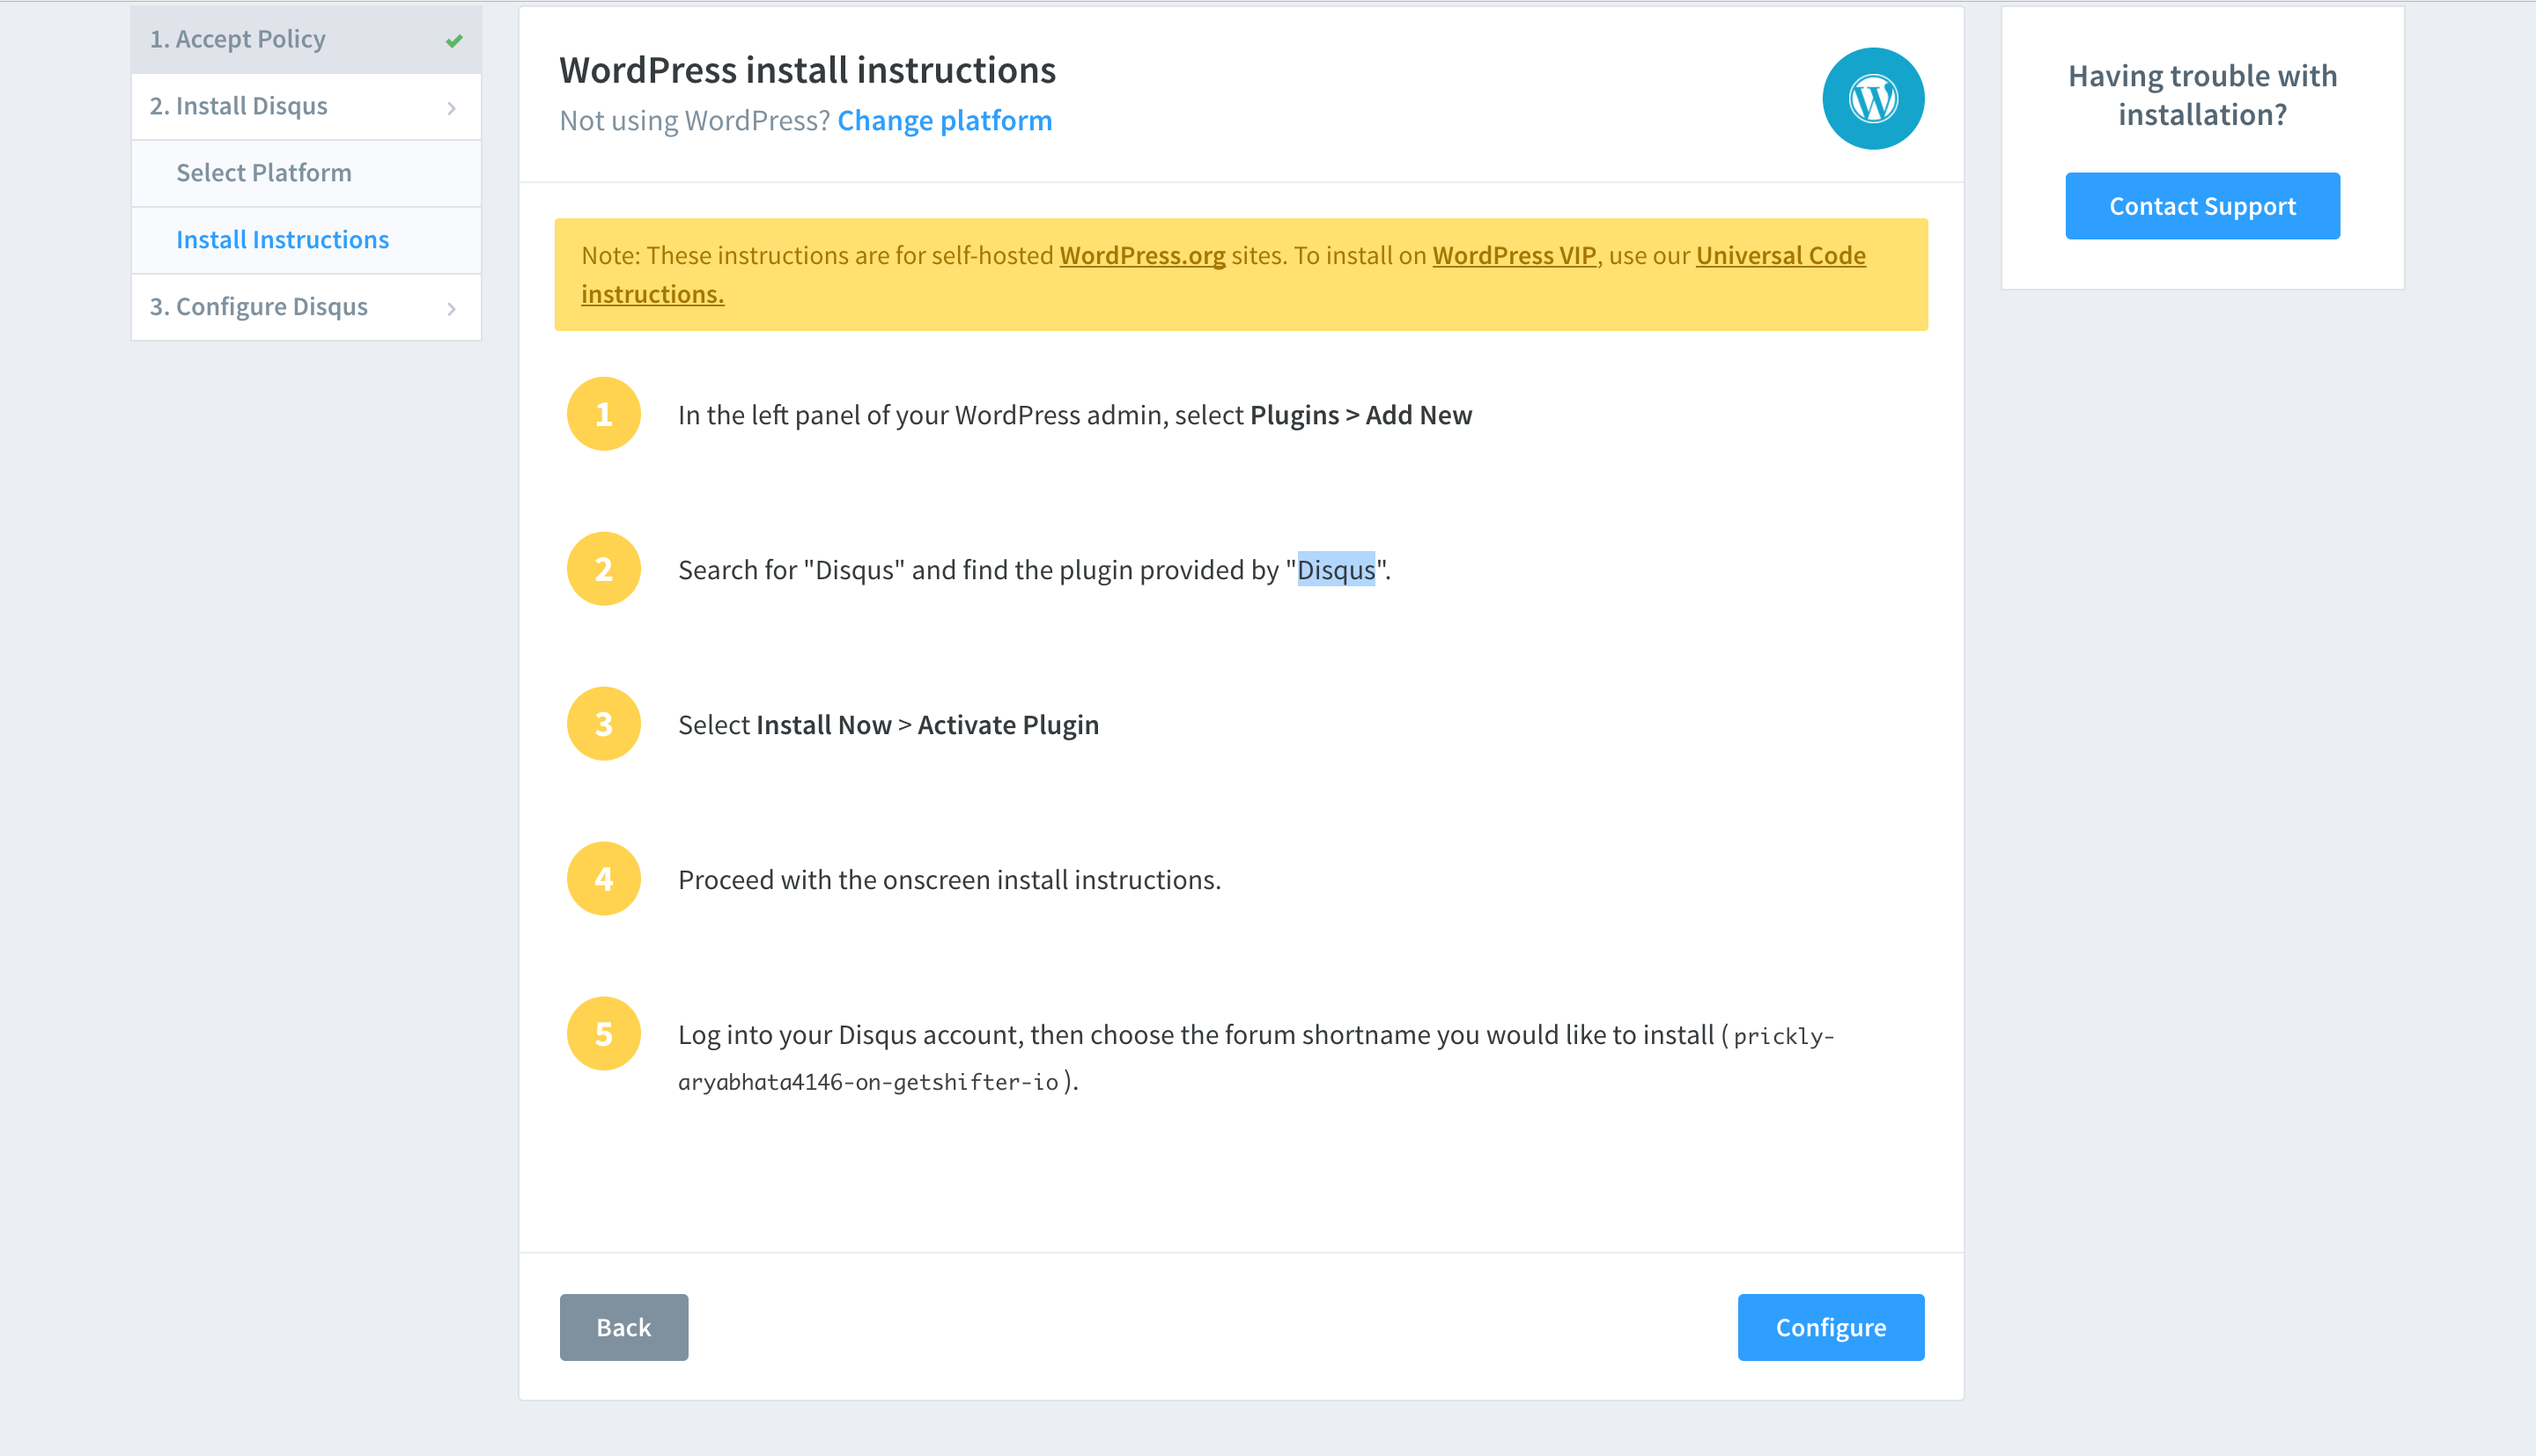
Disqus will show you how to install and set up its plugin on your WordpPress site. Let’s follow along.
Step2: Install and set up Disqus Integration plugin
Add the Disqus plugin to your WordPress site for comment system integration.
Search and install Disqus Comment System plugin.

Navigate [Disqus] on sidebar after activated it.
Then goto [Site Configuration] tab and click [Click to make changes] to unlock.
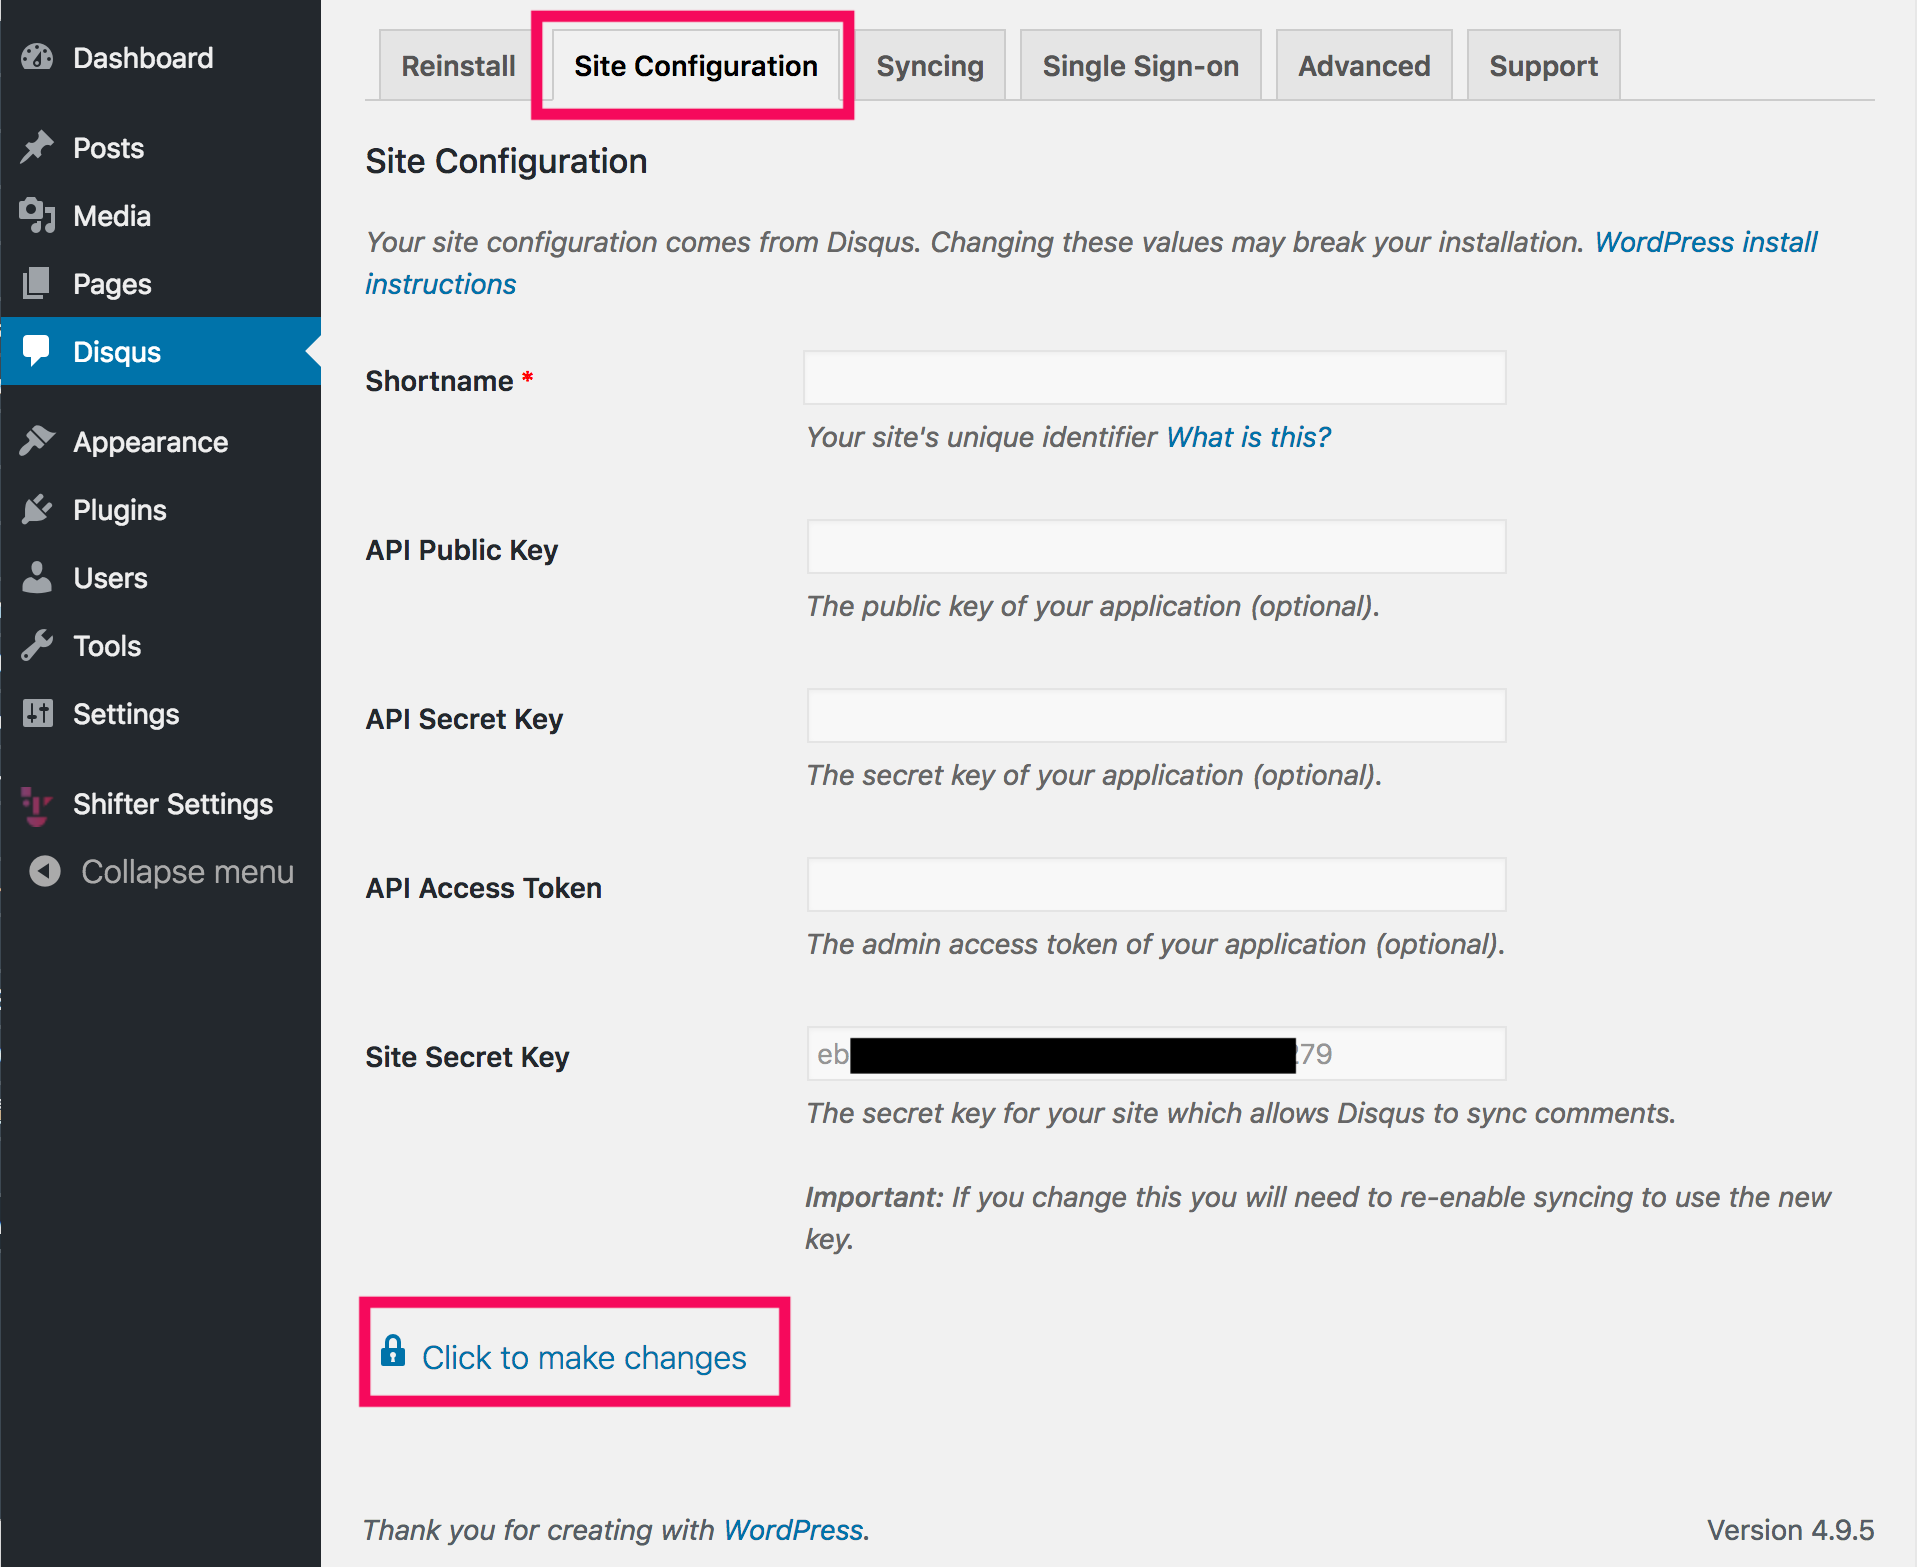
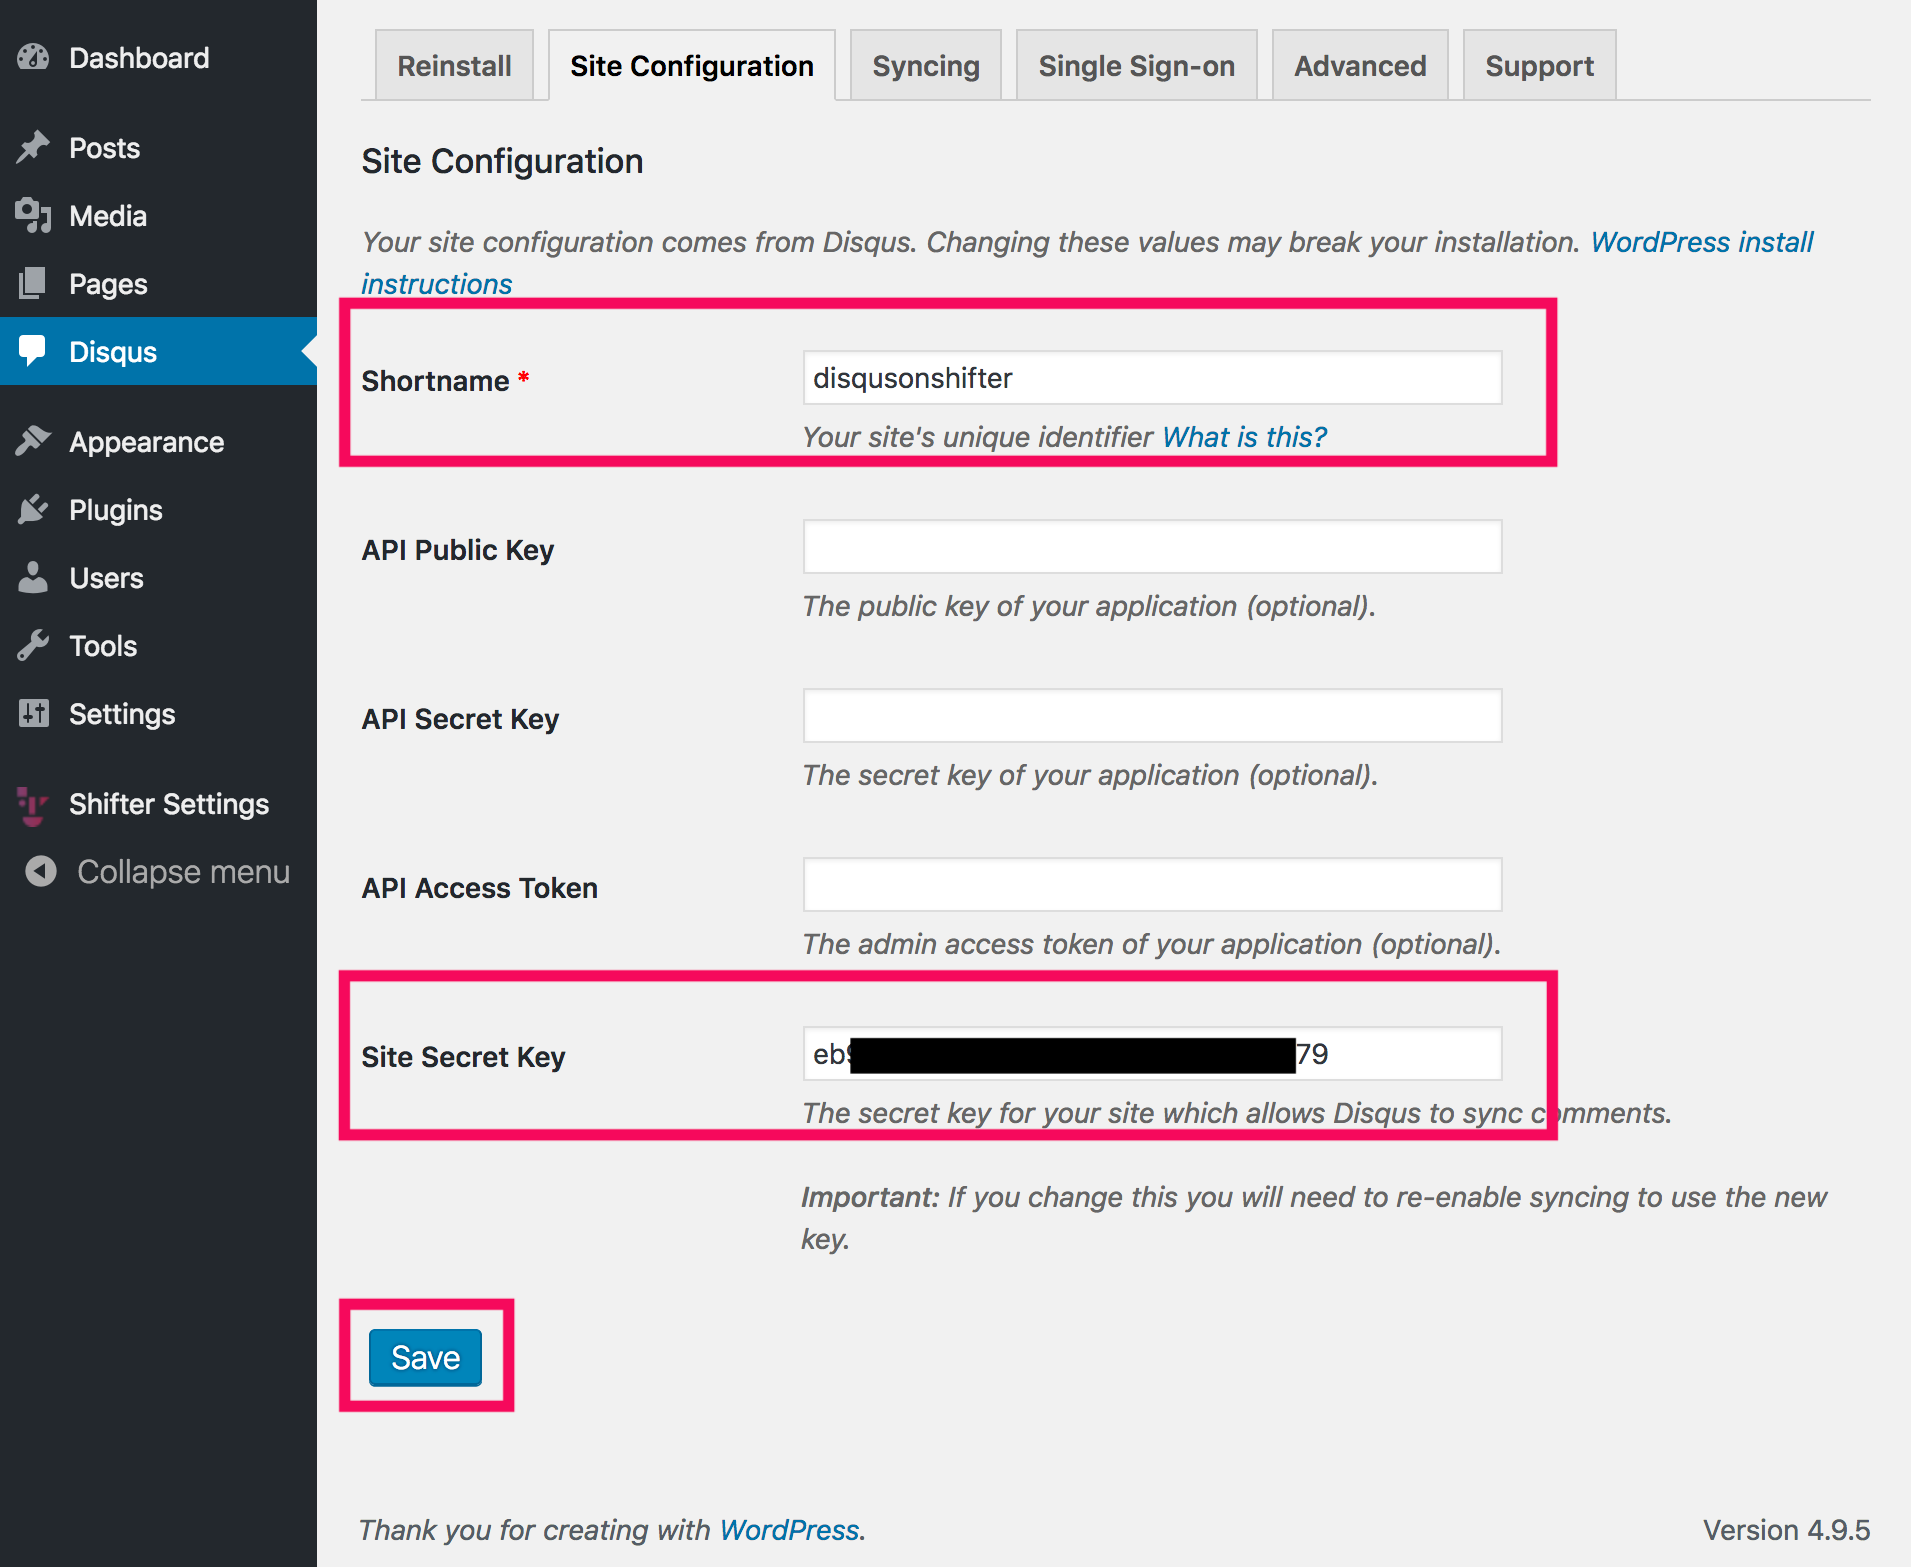
Input your site’s shortname ( https://help.disqus.com/installation/whats-a-shortname ).
Make sure [Site Secret] is filled with preset value and don’t change it.
Click [Save] to apply changes.
Disqus comment system on Shifter is ready.
Step3: Generate
Now let’s apply all your changes to your Shifter site and generate the new comments section.
Click [Stop App], then click [Generate].
Make sure the Disqus comment form appears in your generated site. That’s it!
