Enabling Previews
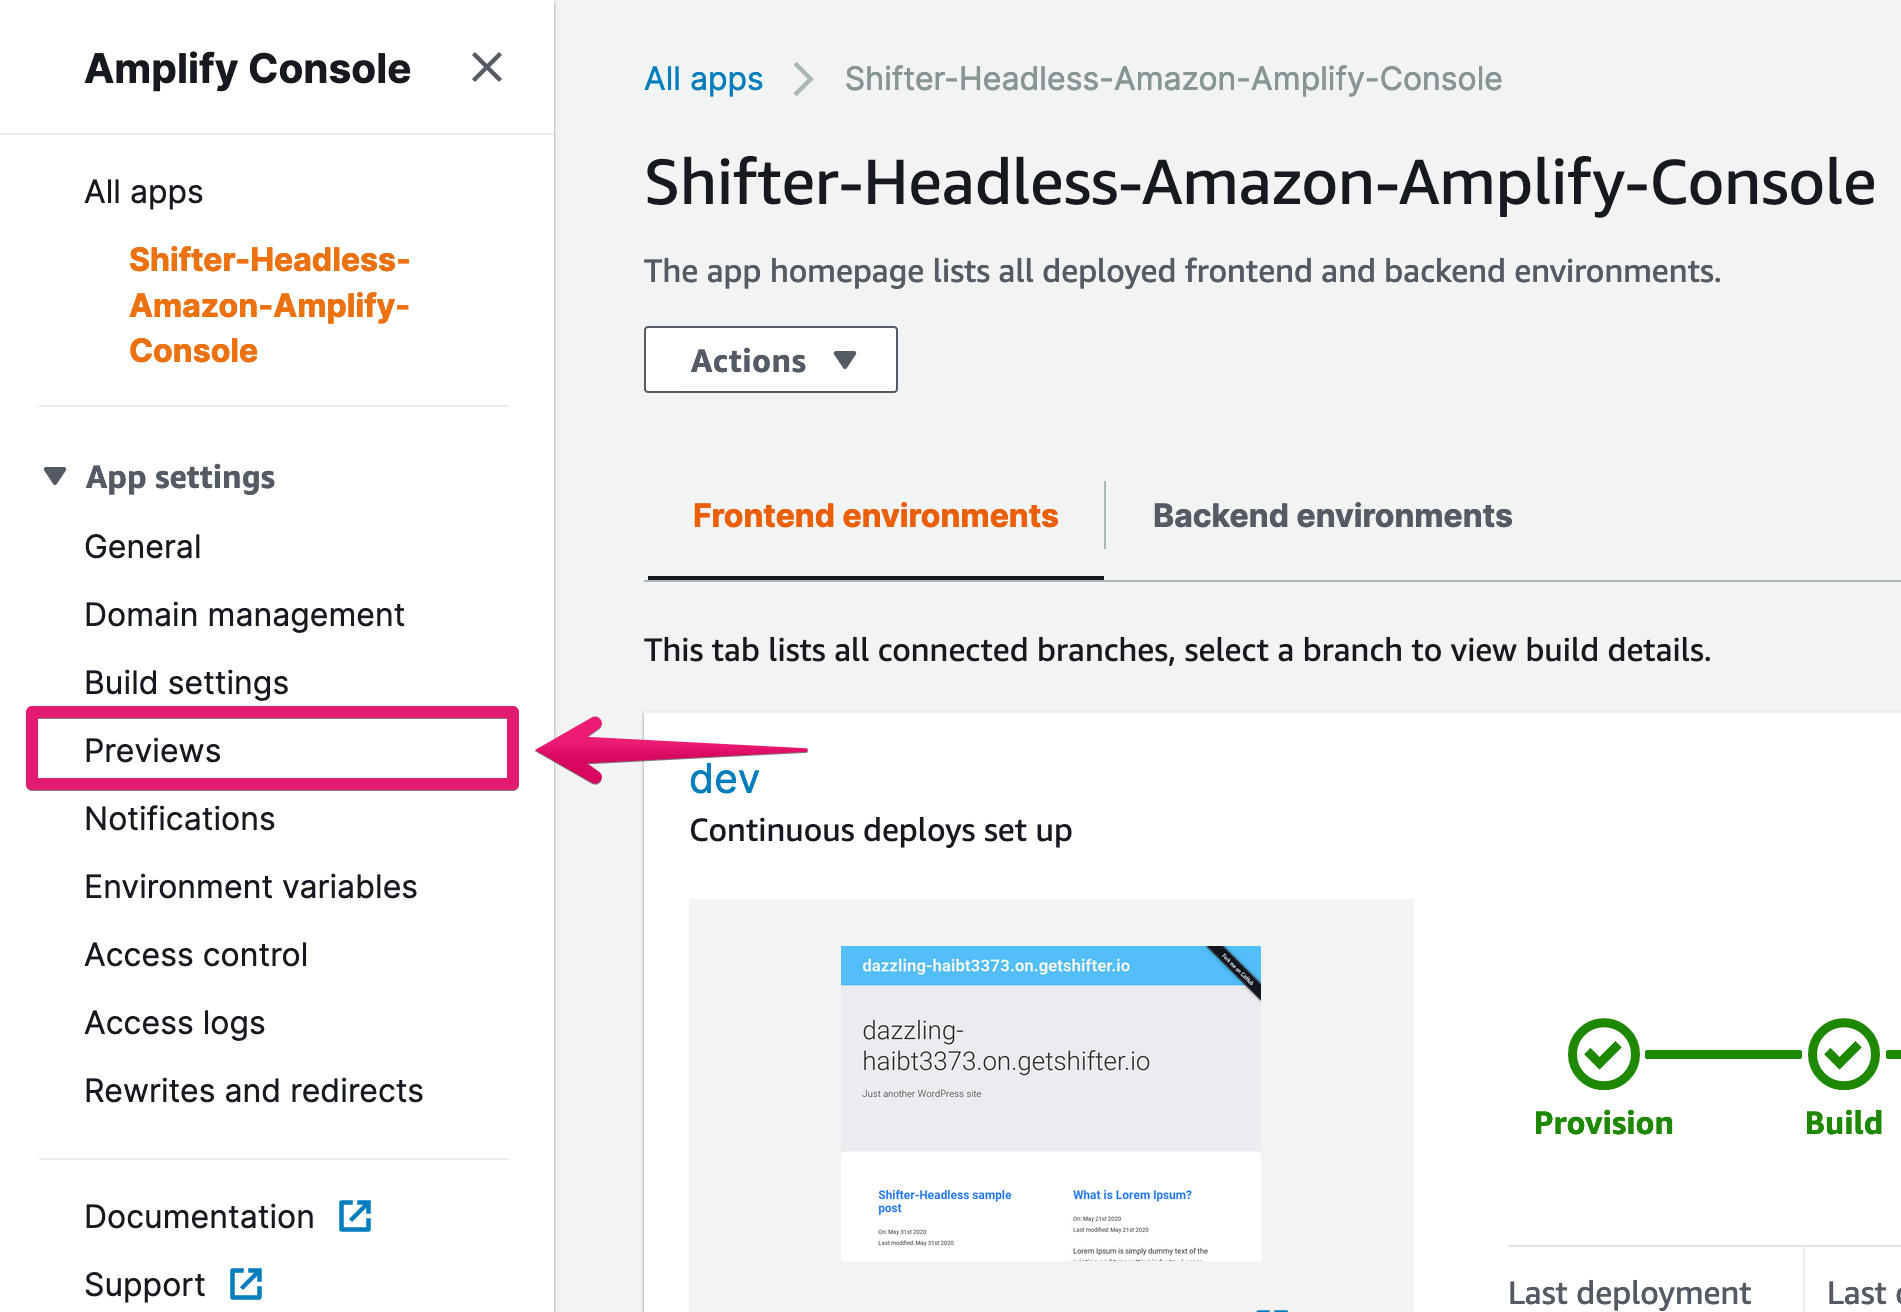
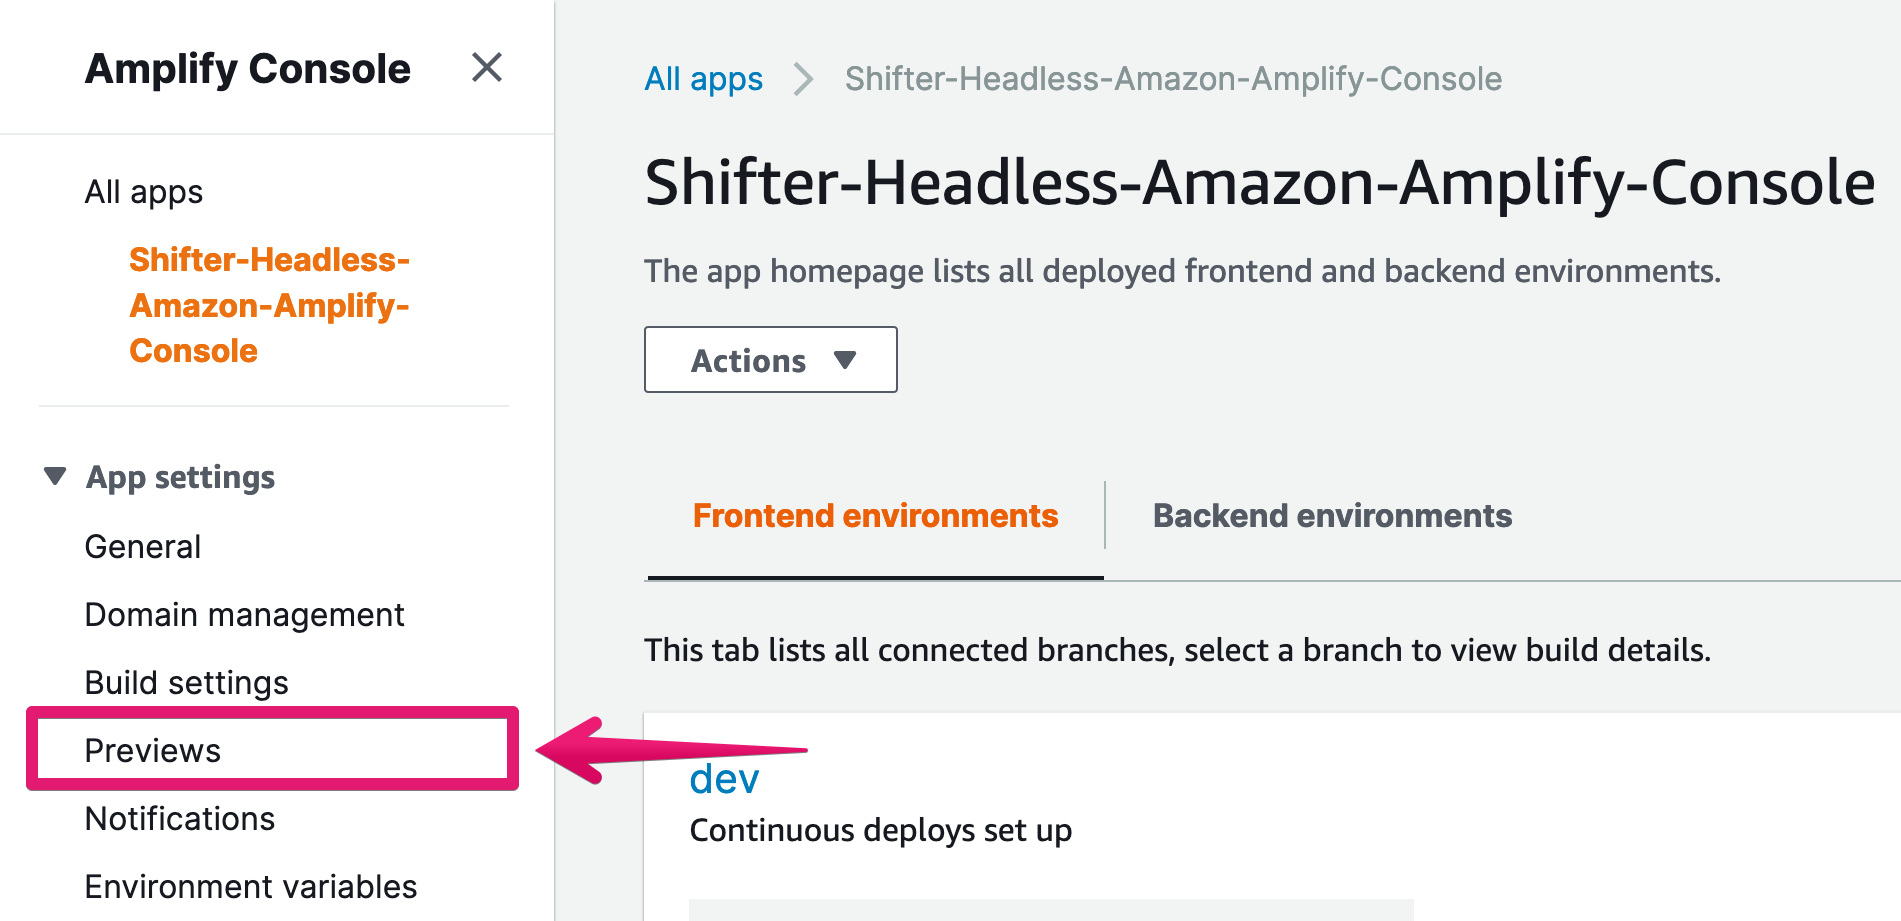
1. Navigate to Previews under App settings
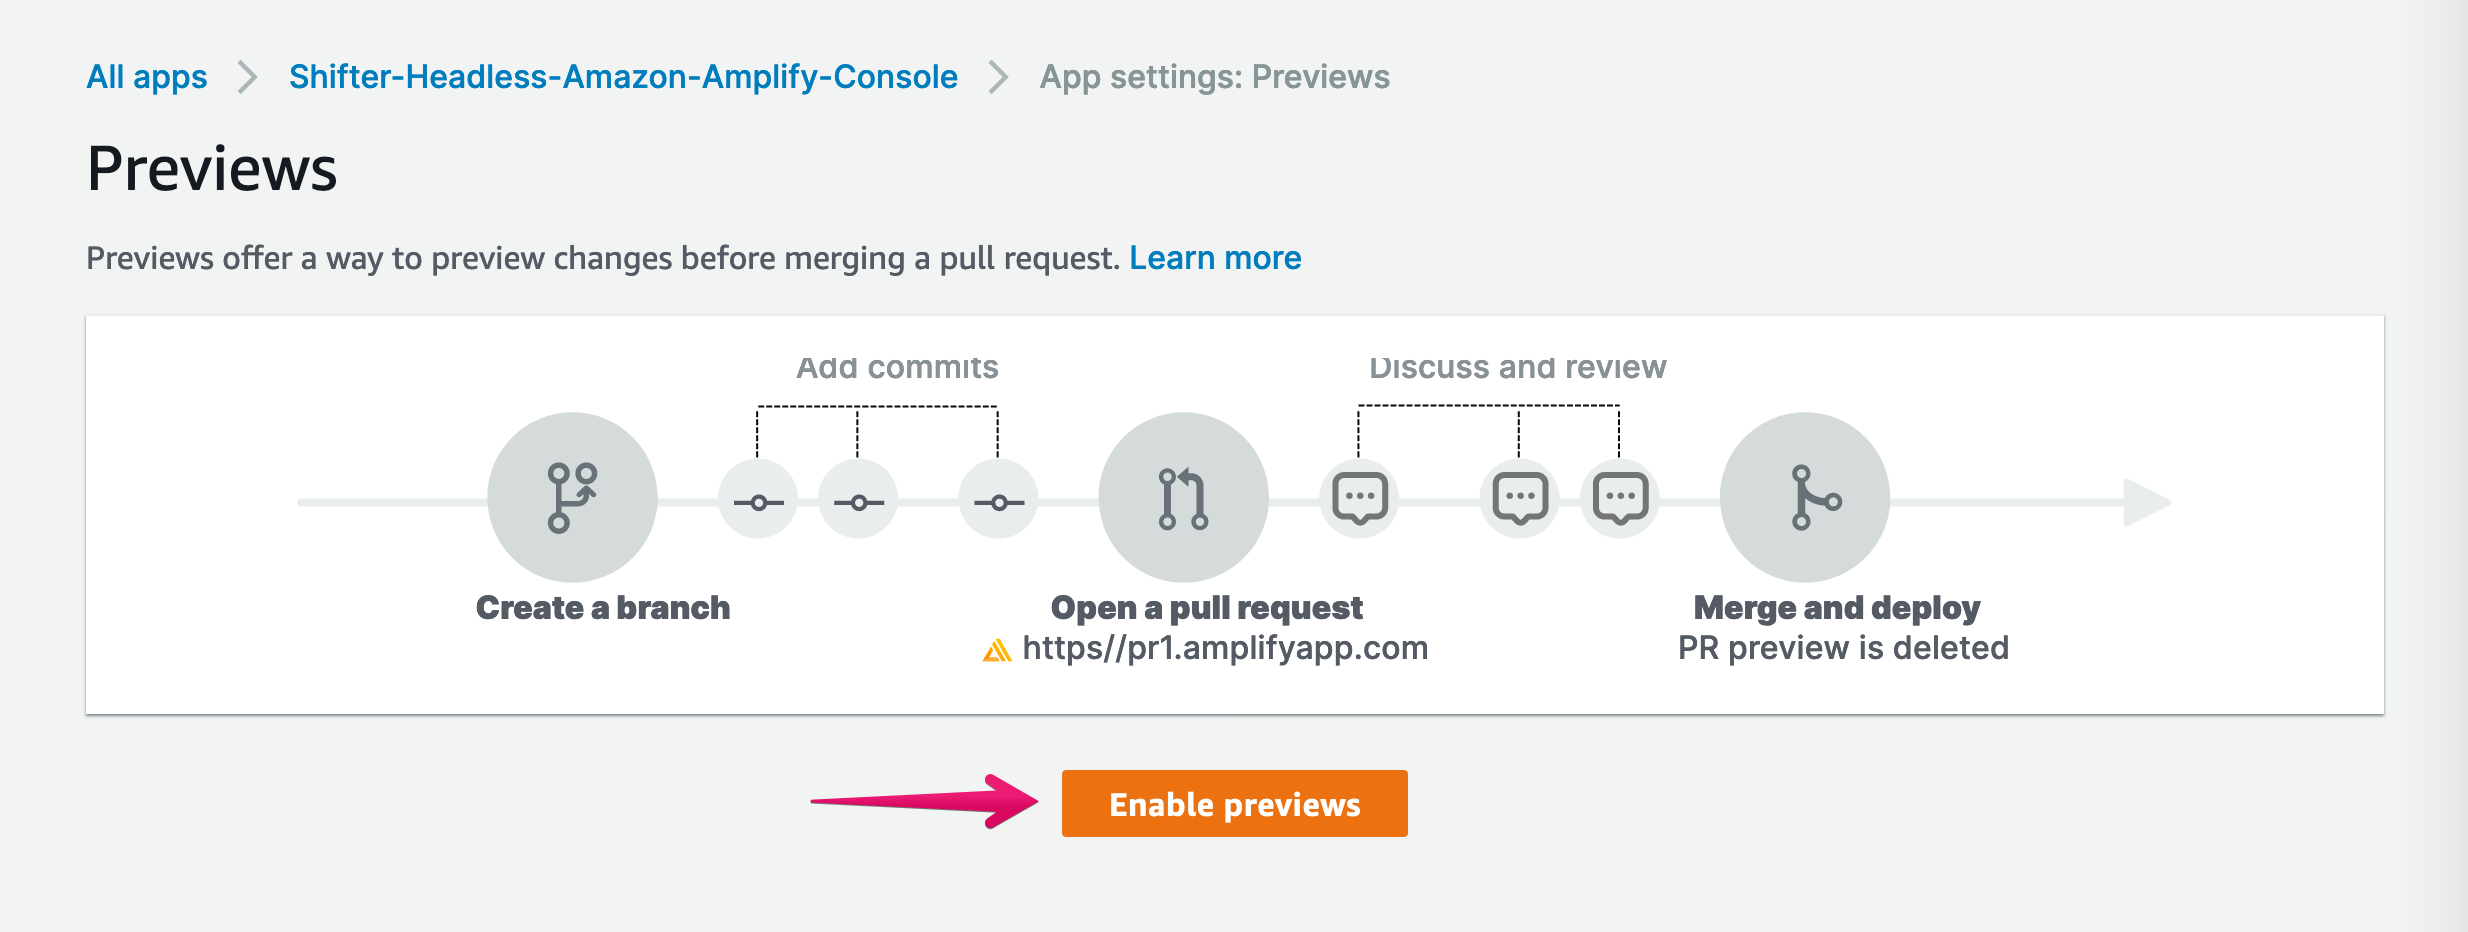
2. Click [Enable preview] button
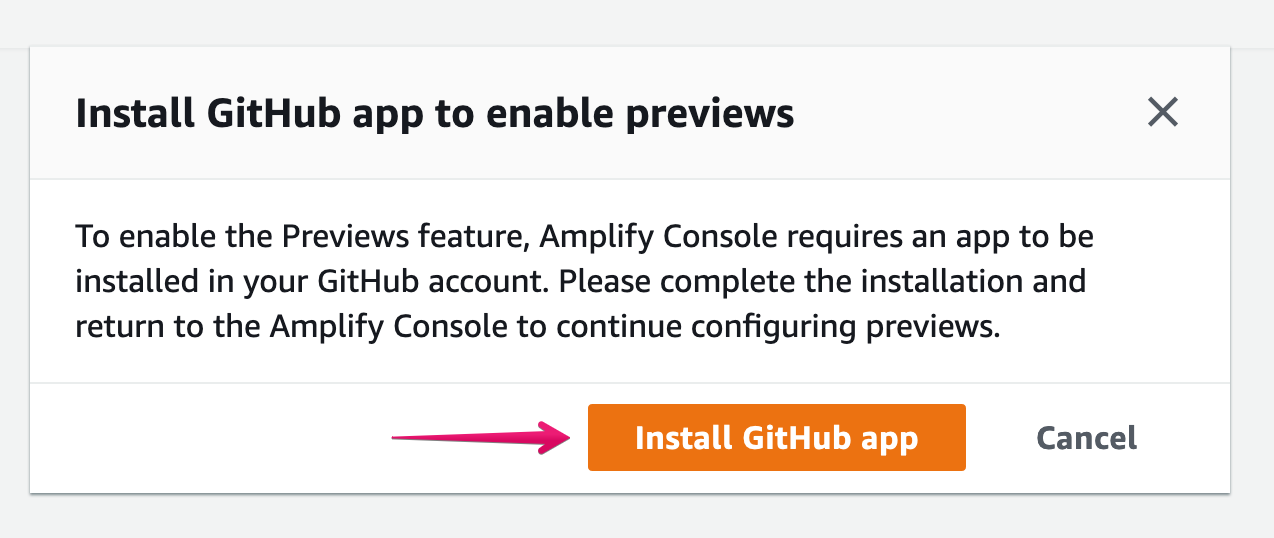
3. Click [Install GitHub app]
GitHub app is required for enabling this feature
4. Choose target All repository or specified and click [Install] button
We install a specified repository: Shifter-Headless-Amazon-Amplify-Console

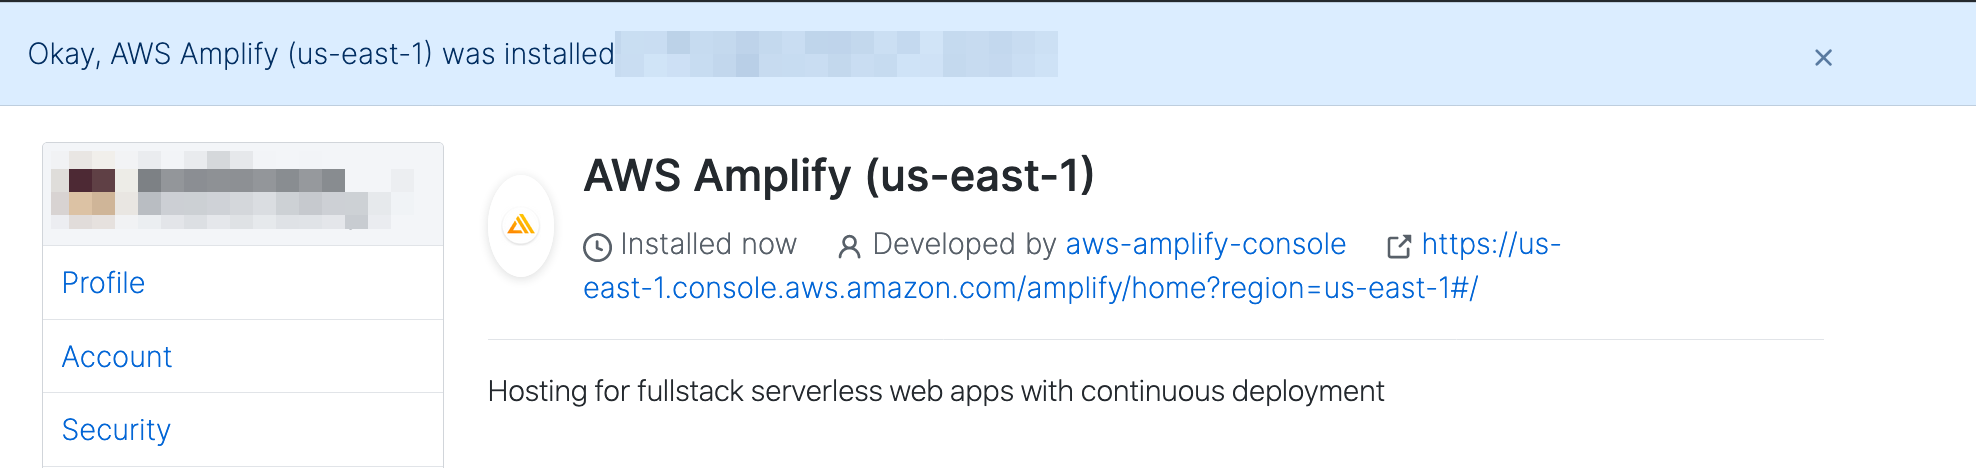
5. Now, the app is installed
6. Back to “App settings: Previews”
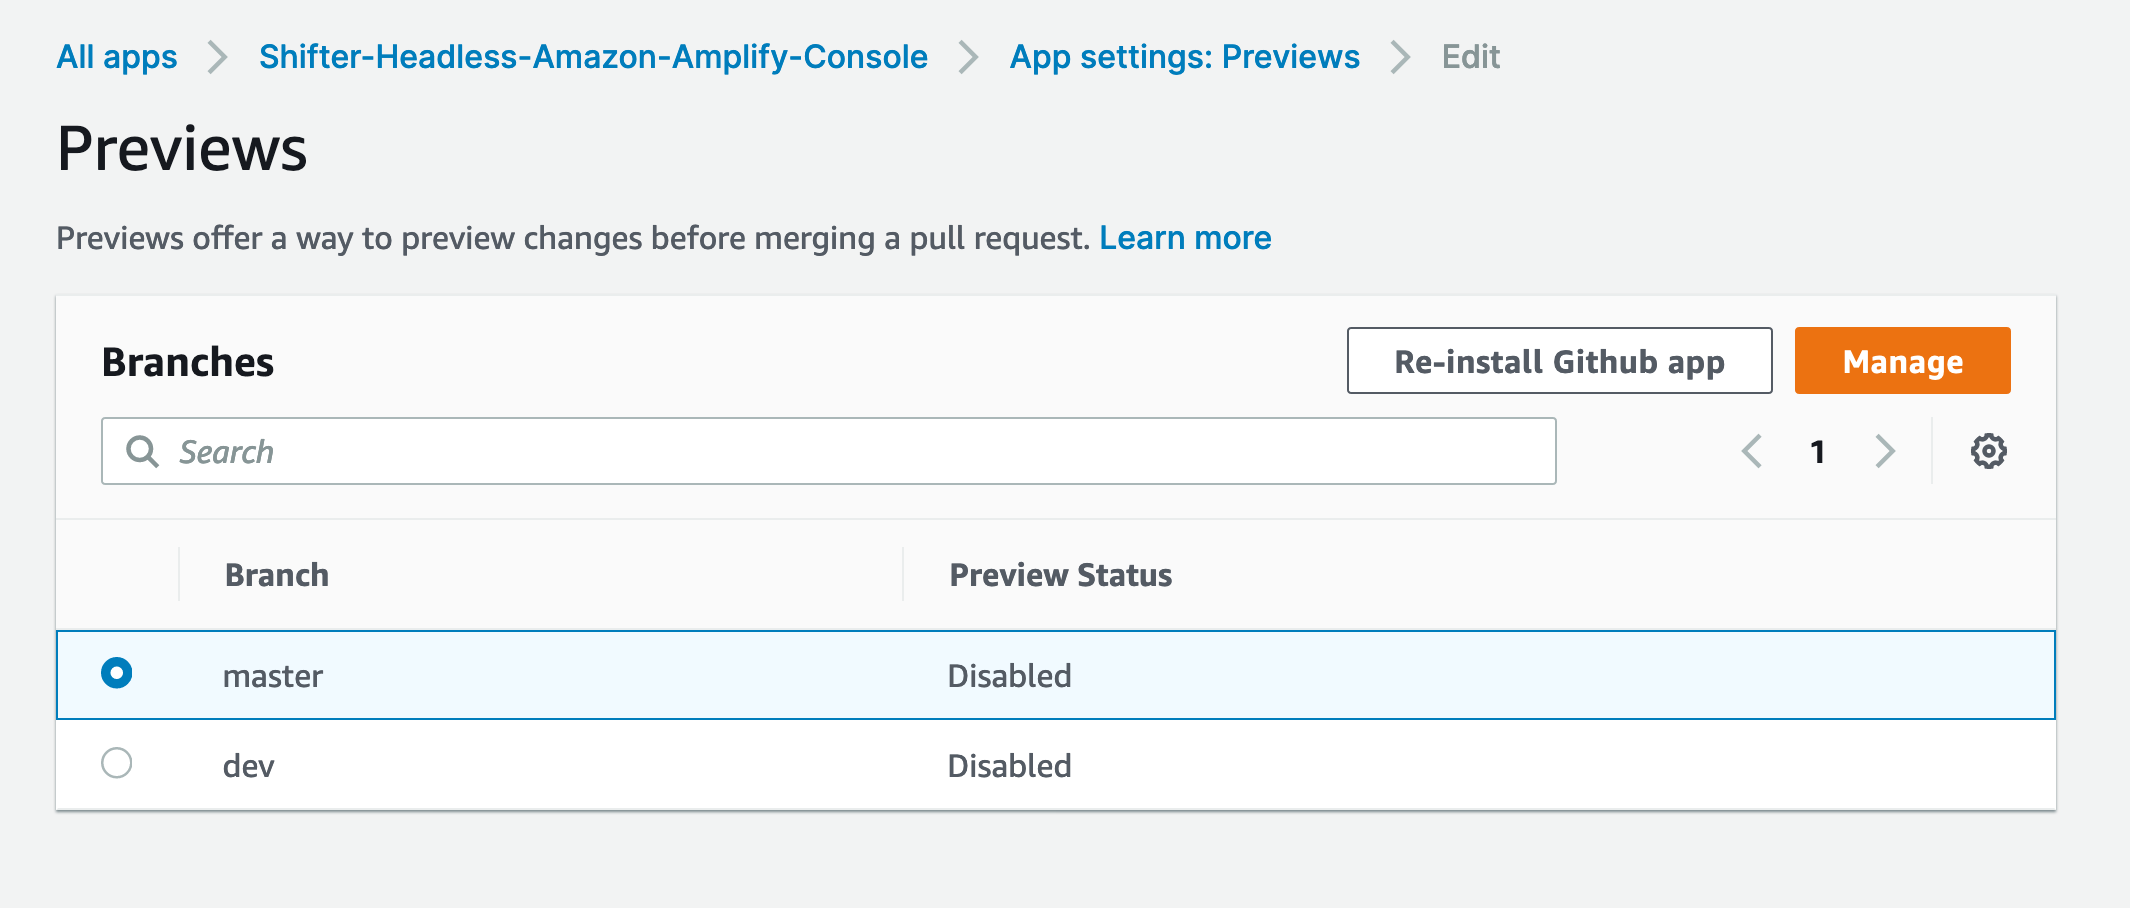
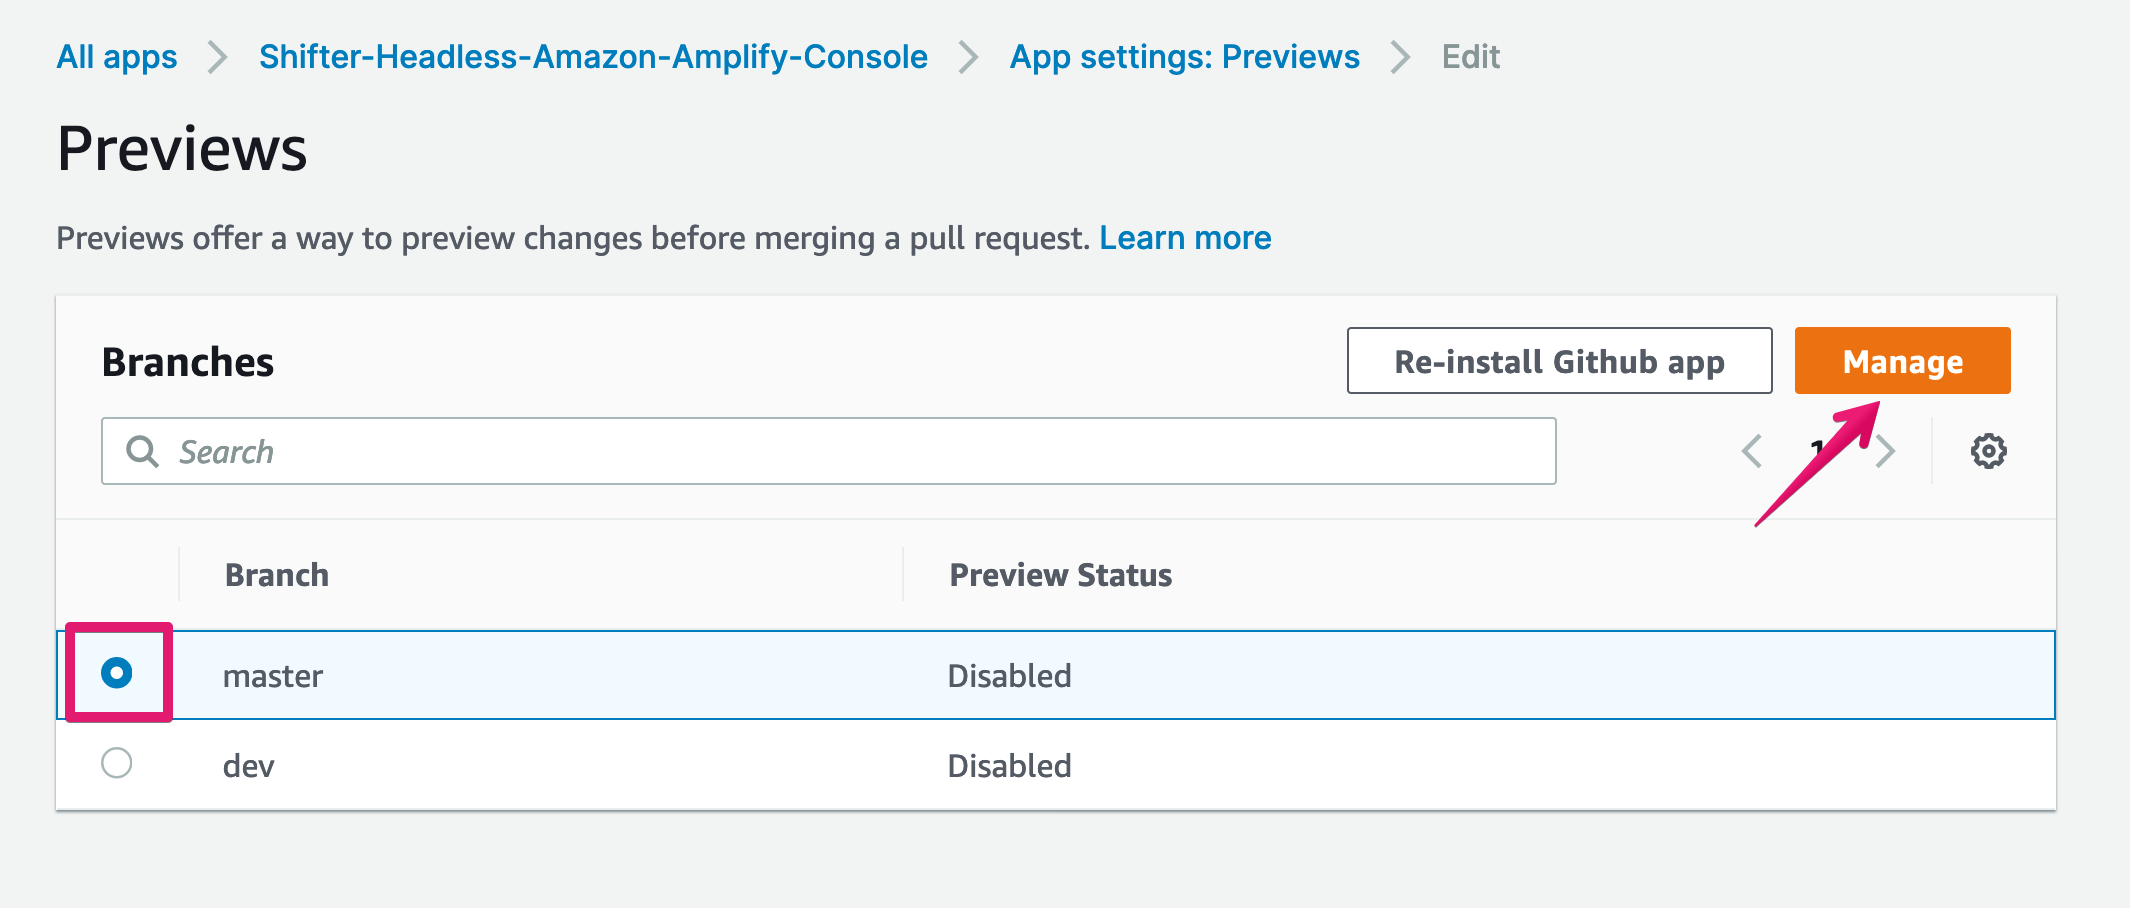
7. Choose branch enabling Preview, then click [Manage] button
We want to enable the feature on master branch
8. Modal will be appeared
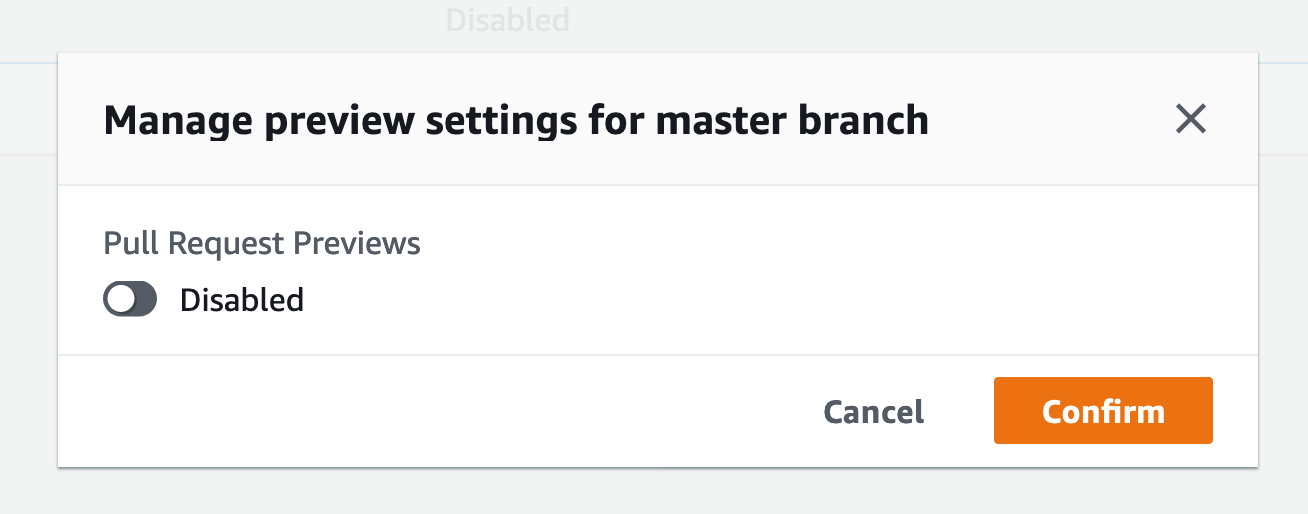
19. Click toggle switch to enable it, then click [Confirm] button
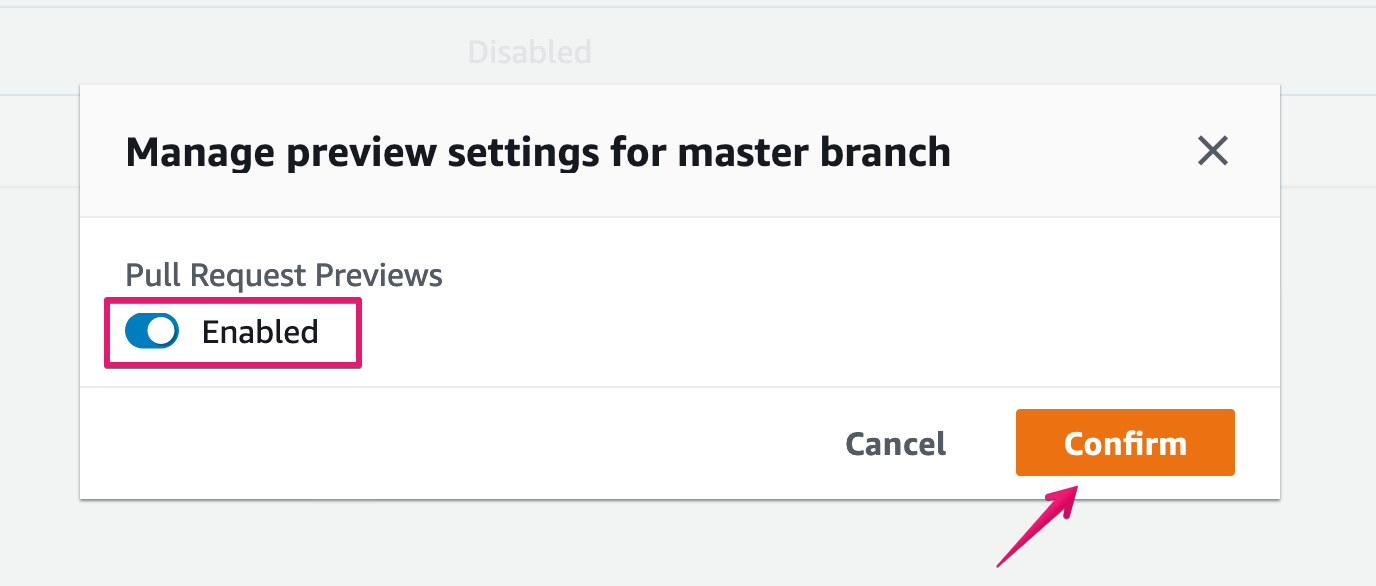
10. Make sure the Preview feature is enabled
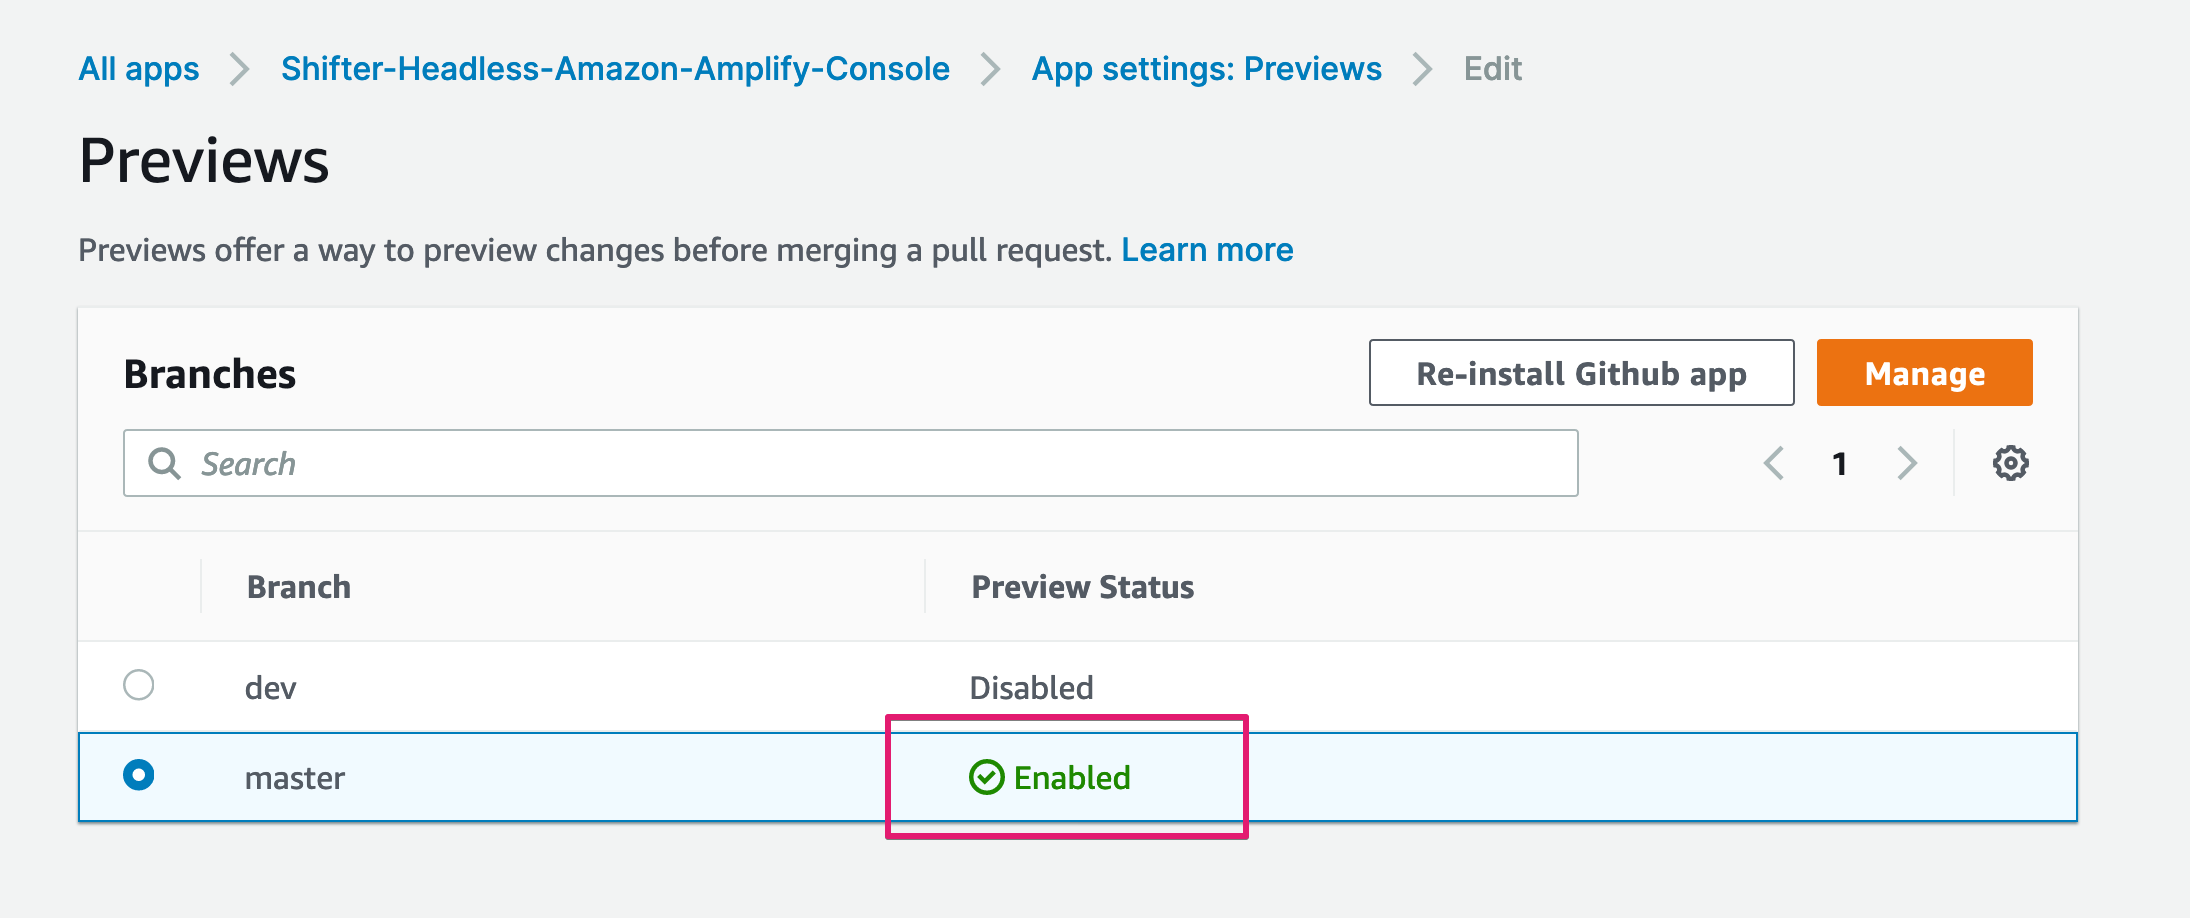
Now, we’re ready to Preview the pull request
Create PullRequest
1. Create new branch for pull request
$ git checkout -b my-first-branch origin/masterMake some changes, then push them.
$ git add .
$ git commit -m "some changes"
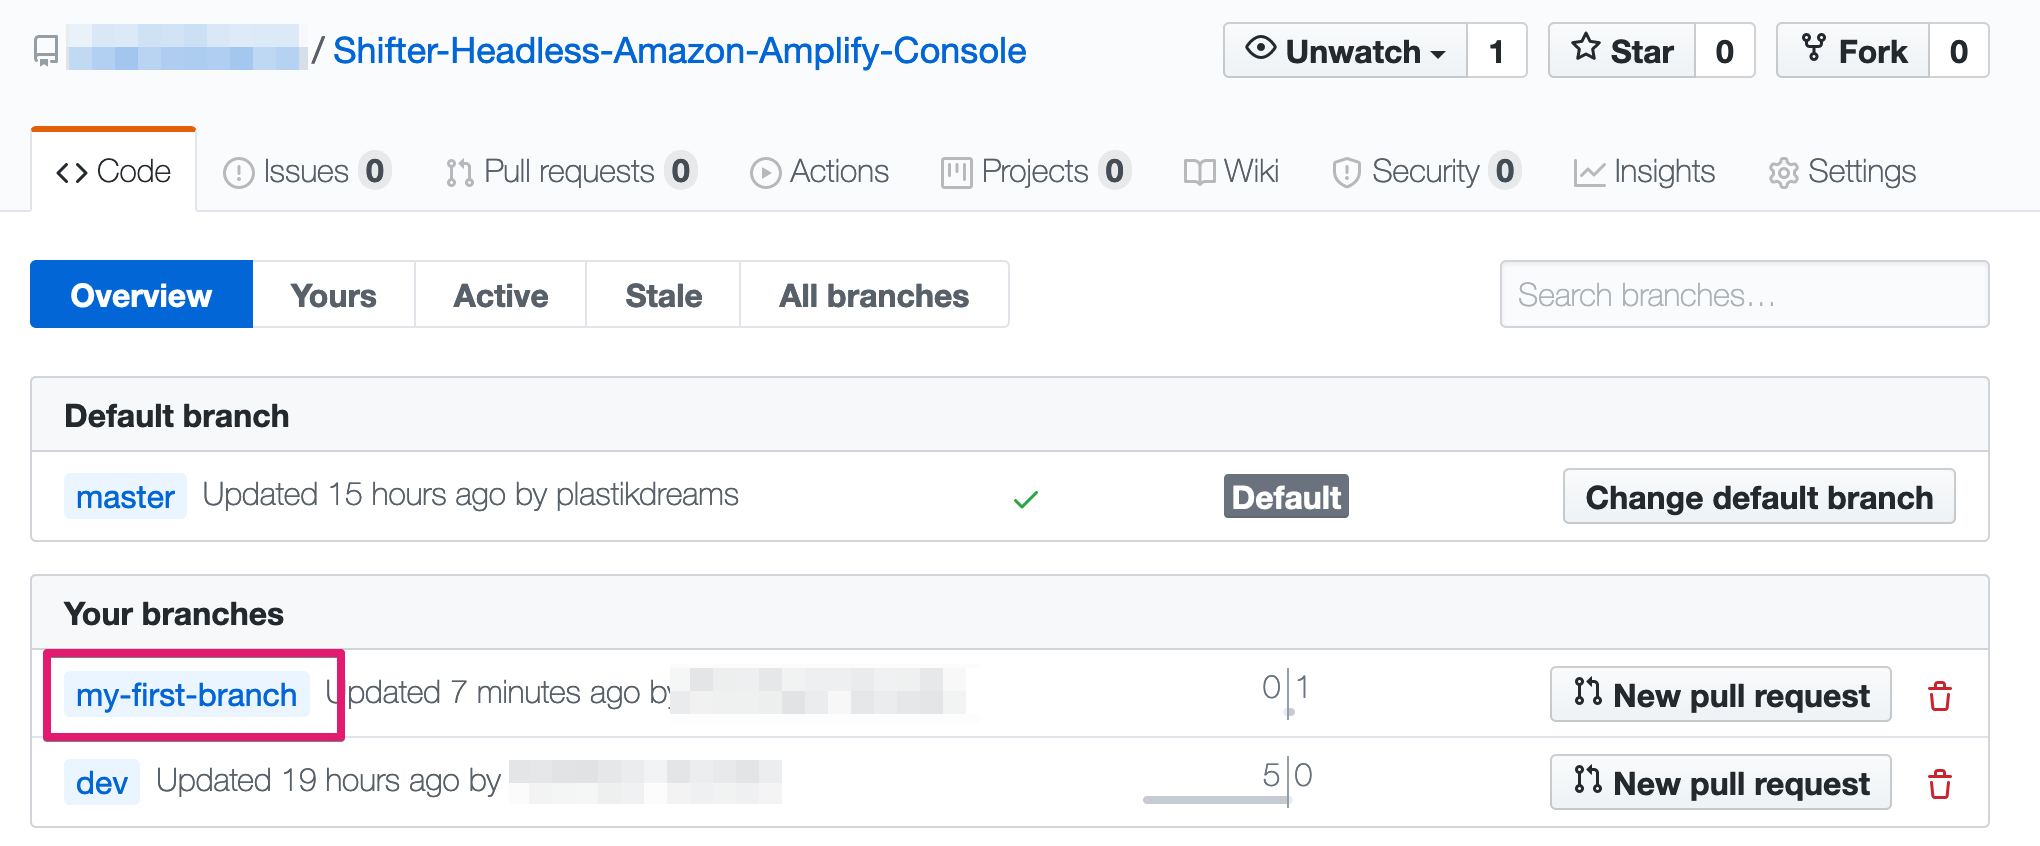
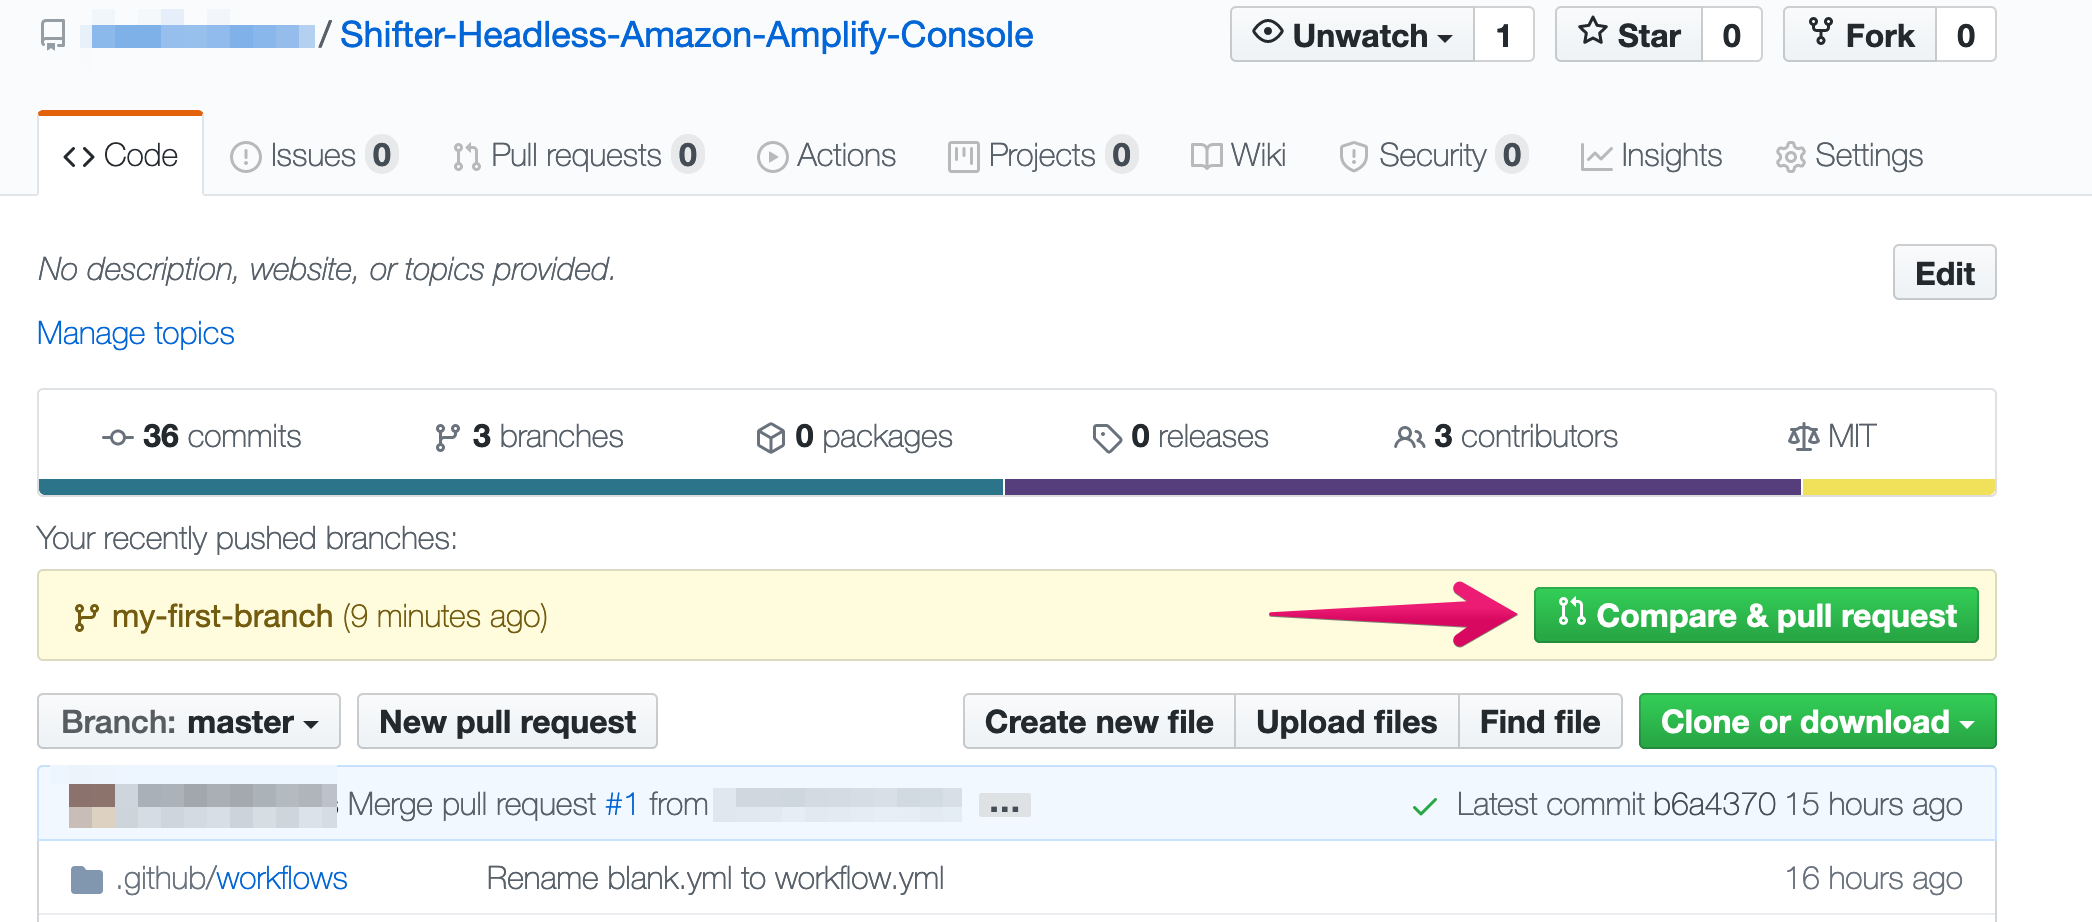
$ git push origin my-first-branch2. Make sure branch is created on GitHub
3. Click [Compare & pull request] button
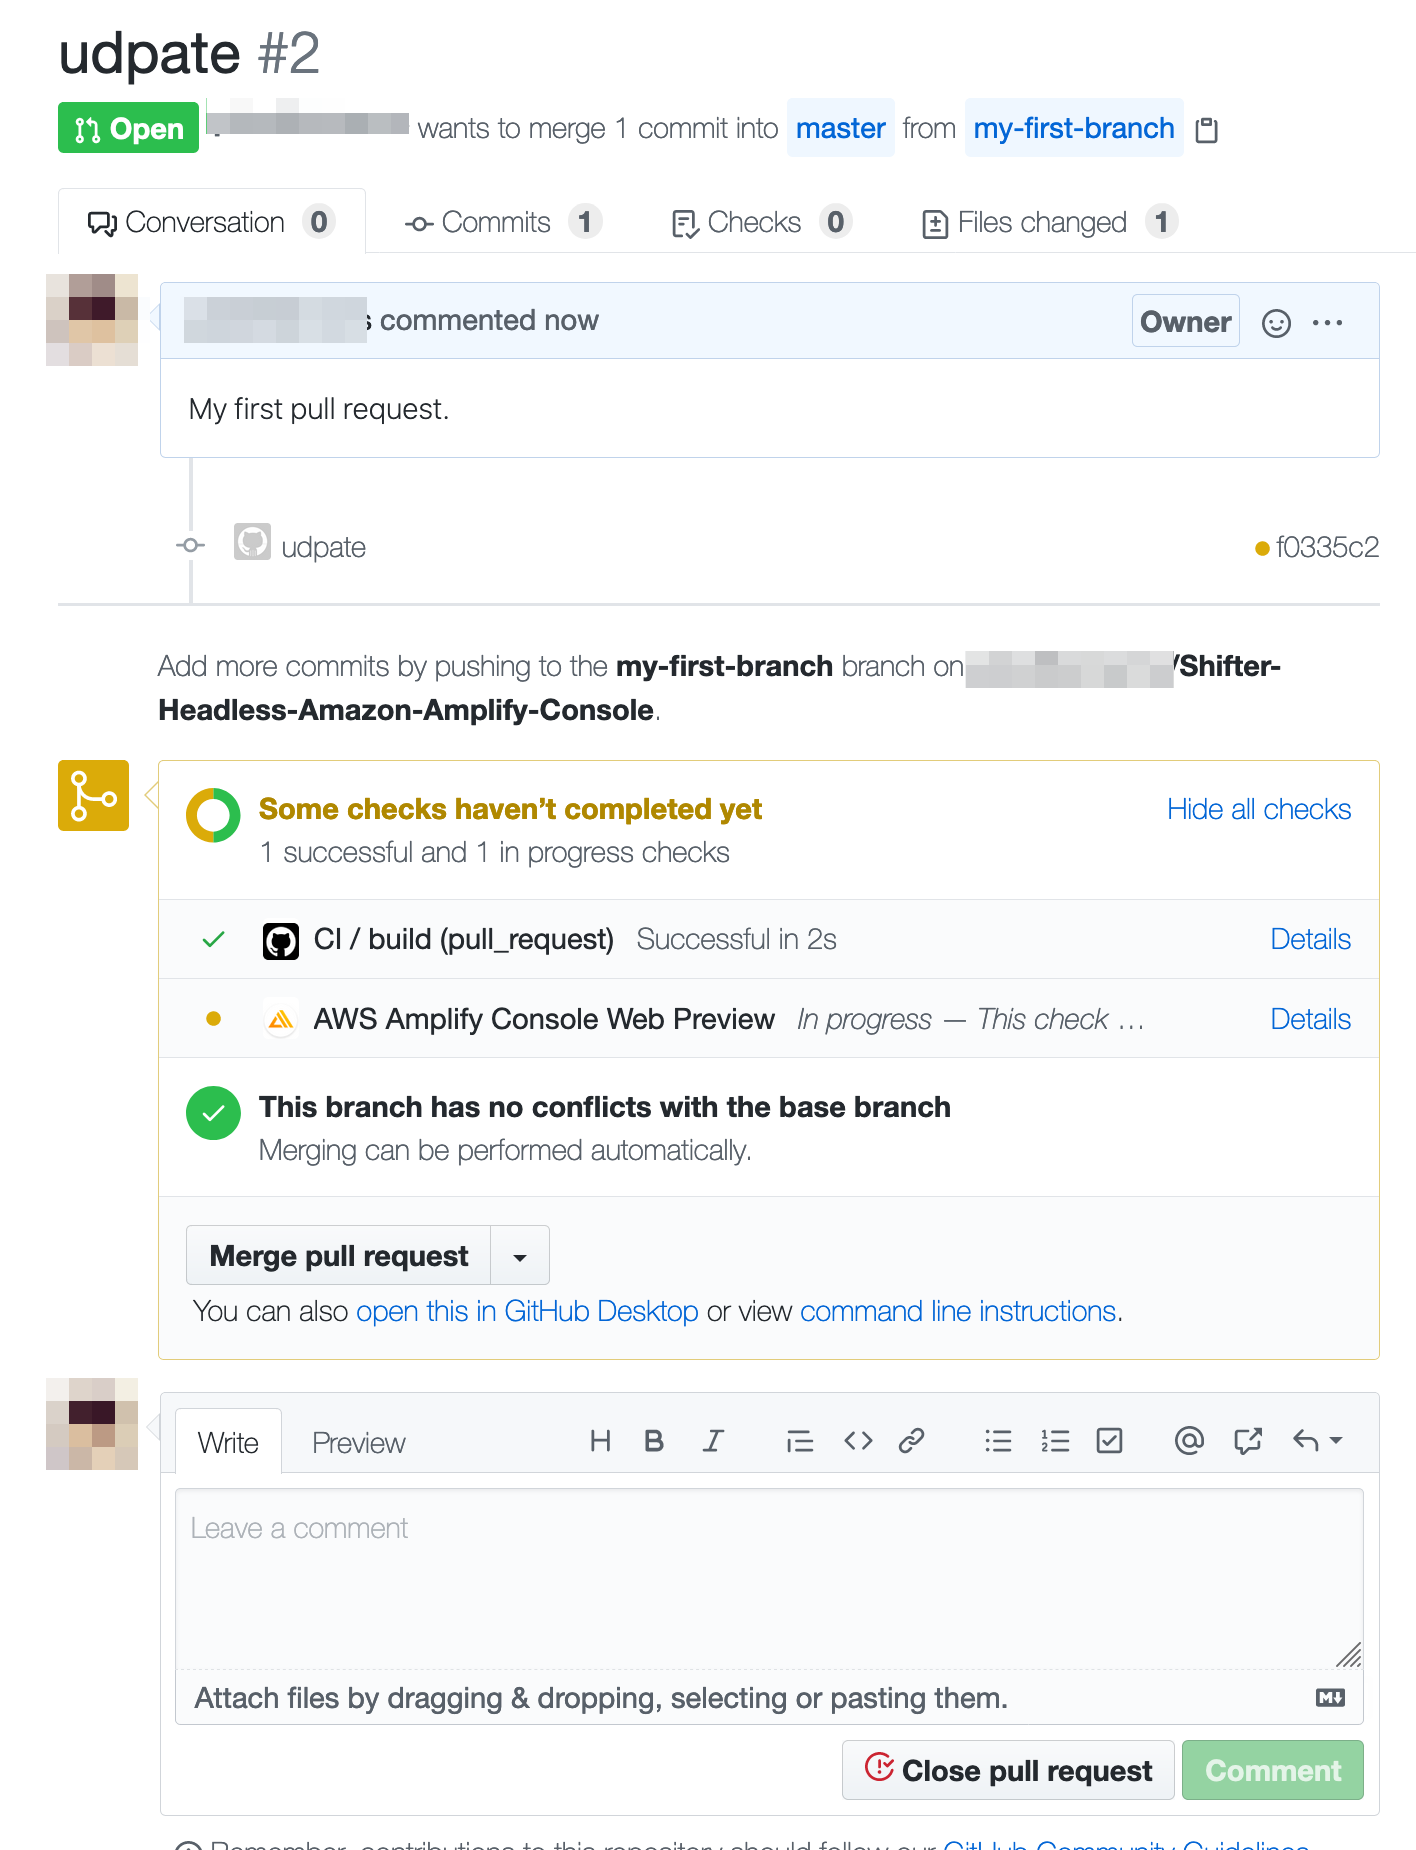
4. Click [Create pull request] button

5. Now, ready for merge
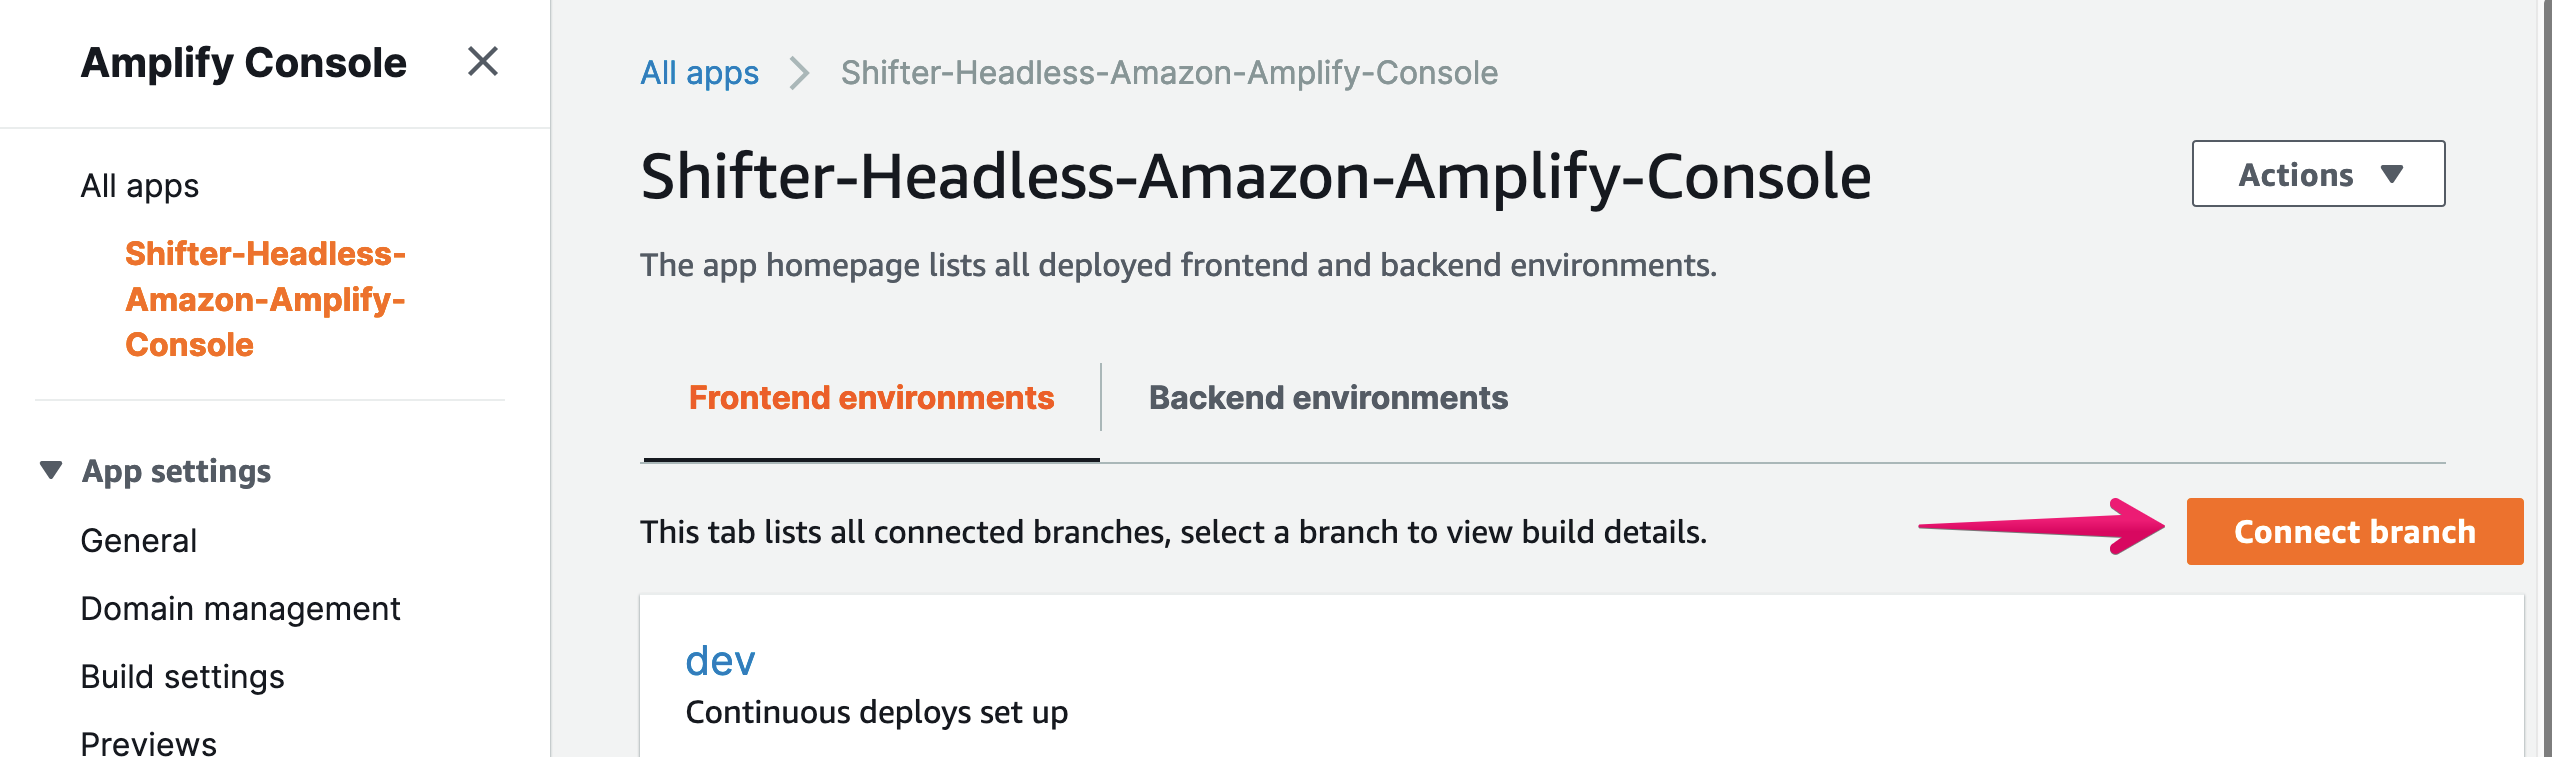
6. Connect new branch to your app
After pushing new branch to GitHub, click [Connect branch]
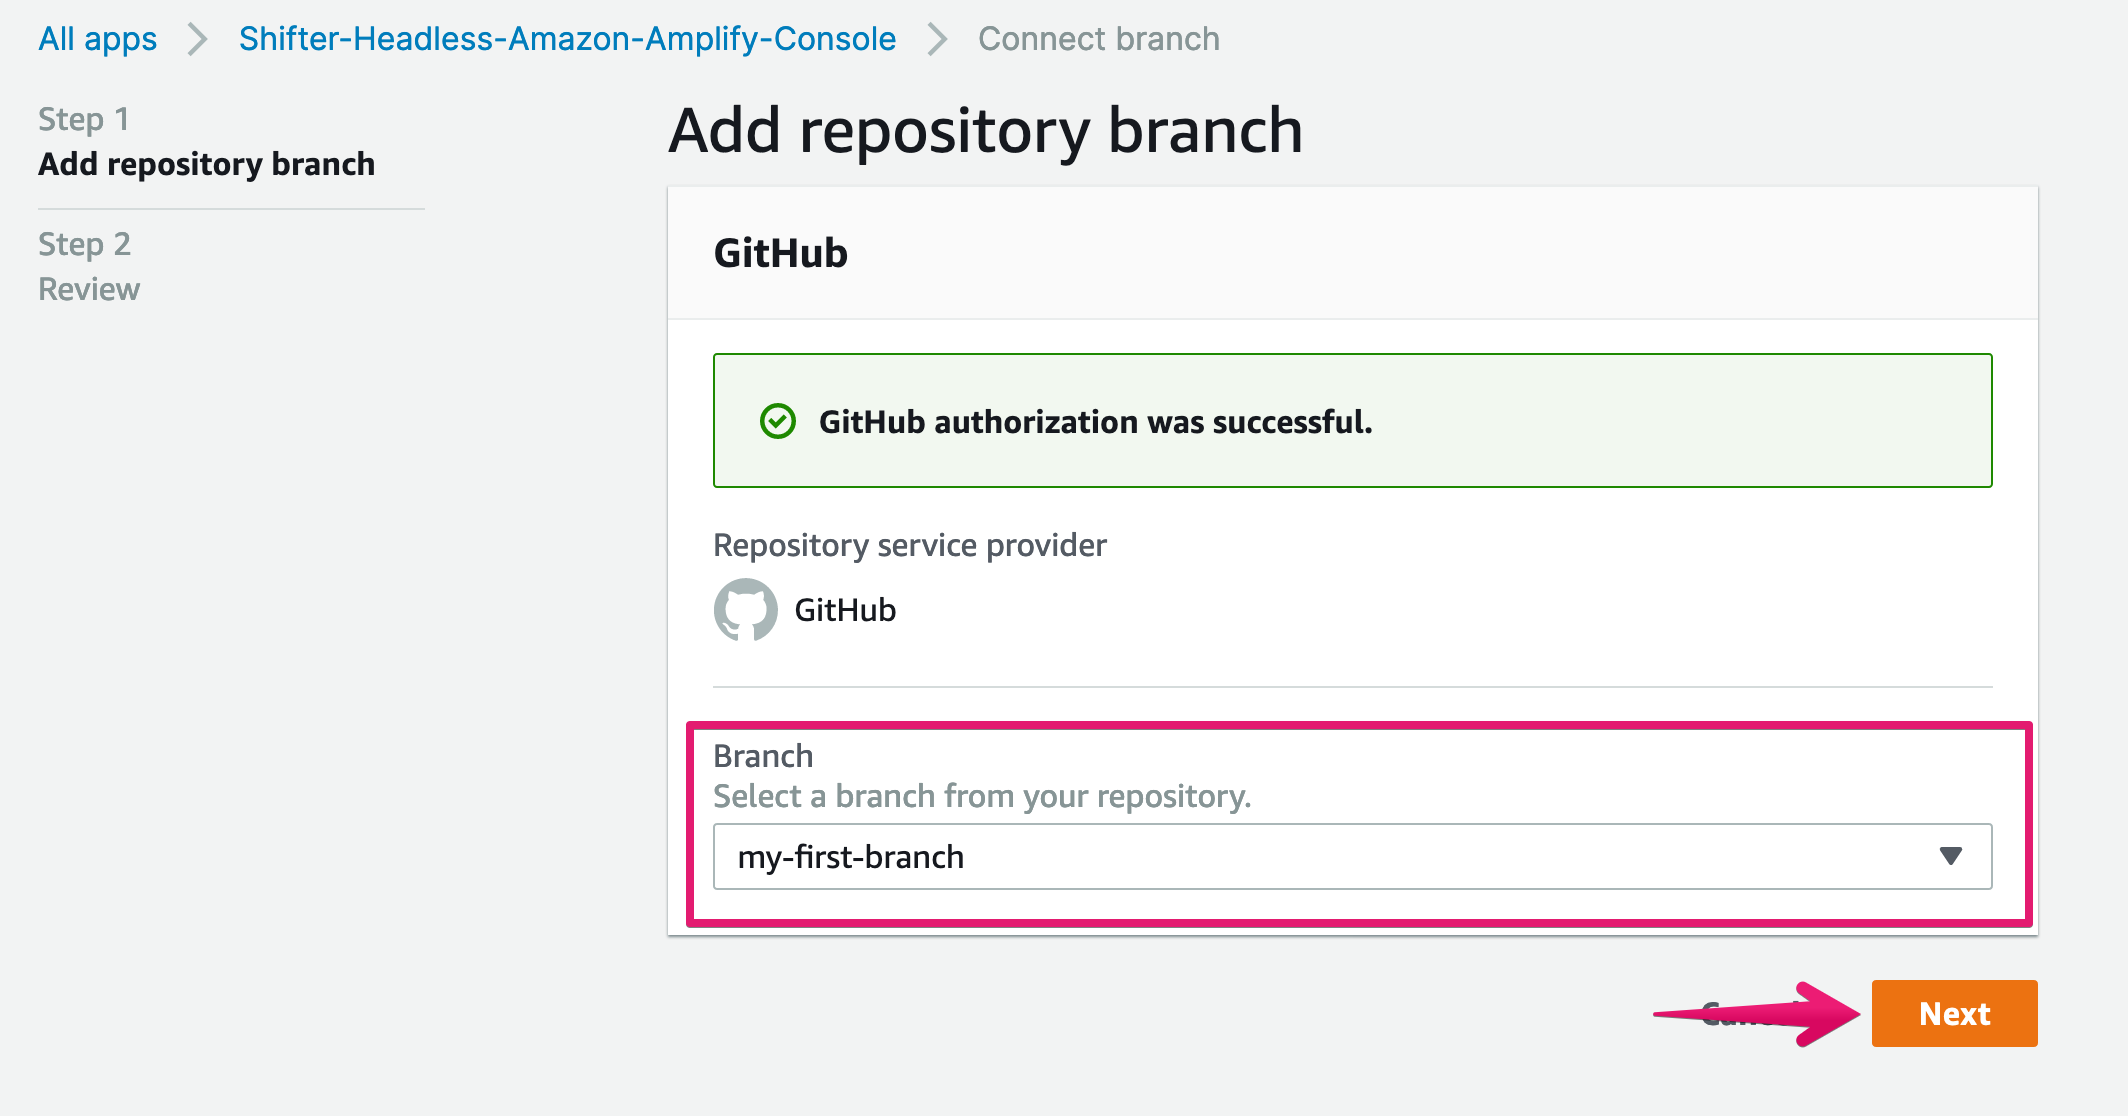
8. Choose branch and click [Next] button
my-first-branch is the newly added
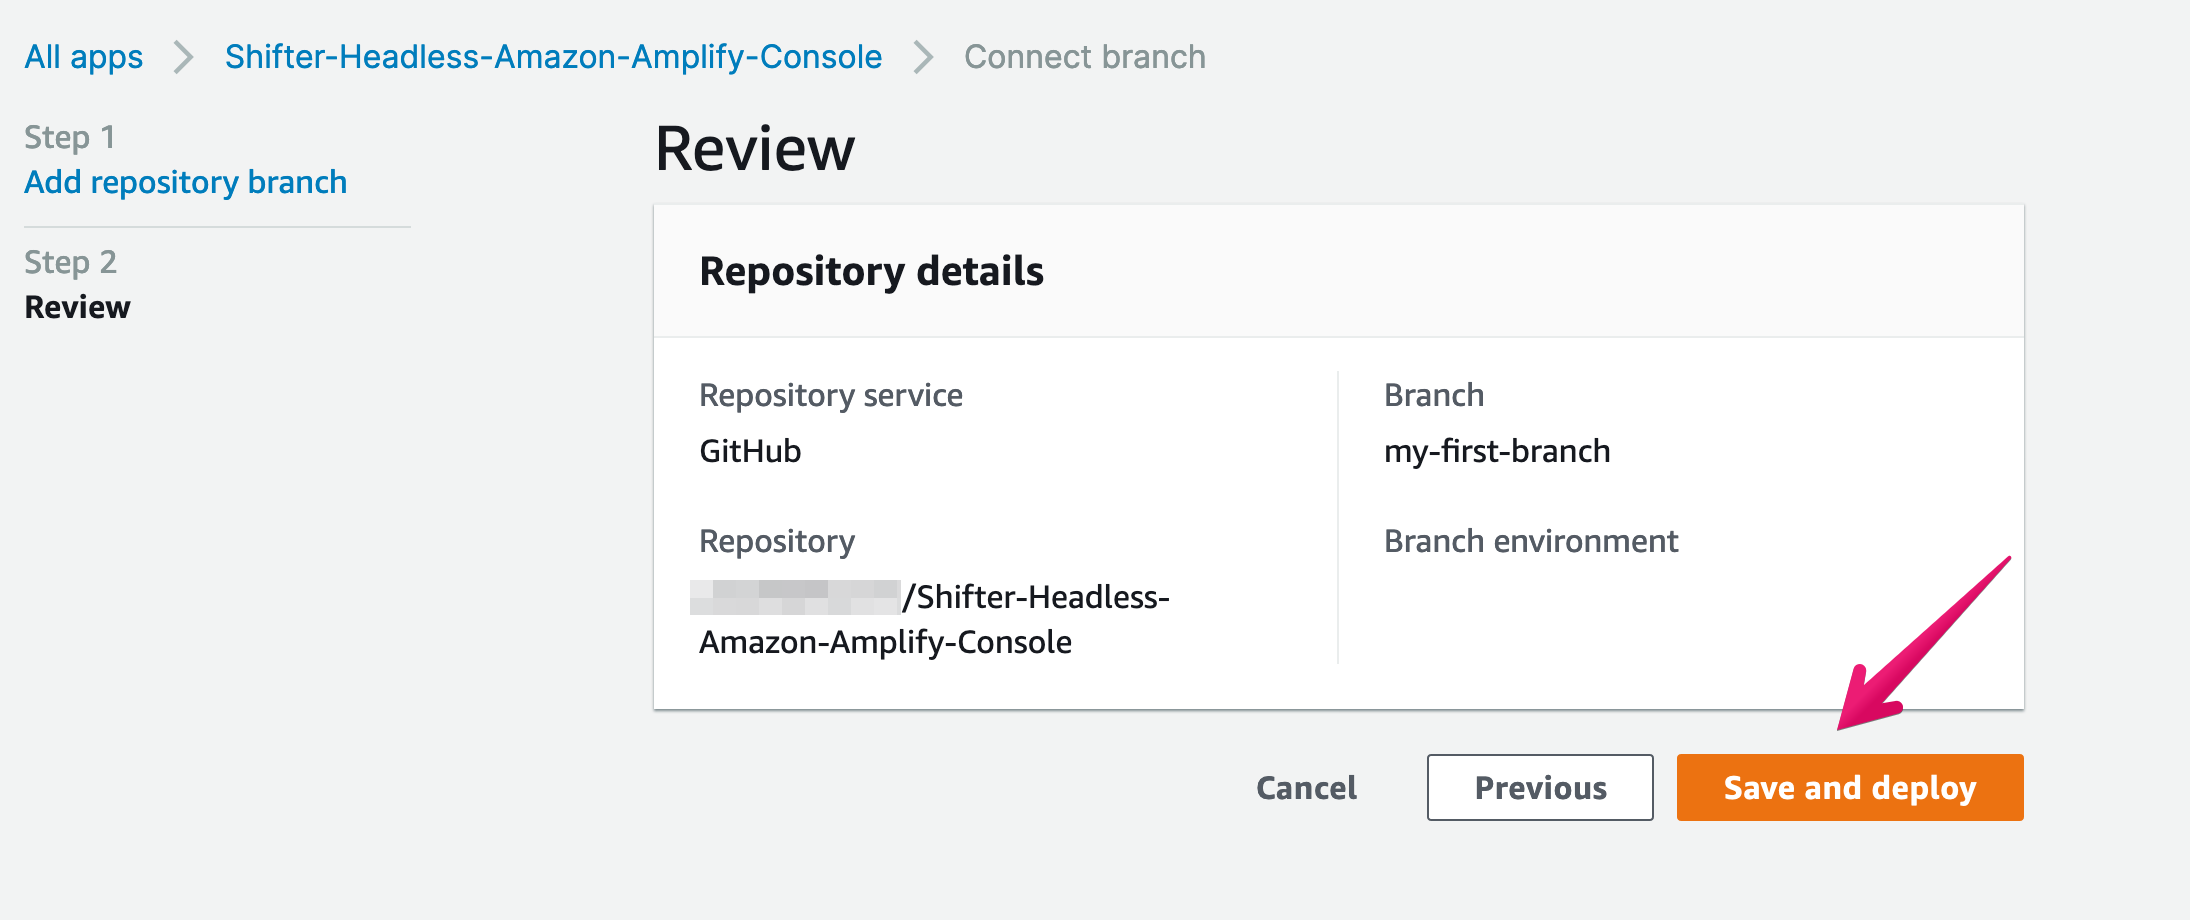
79. Click [Save and deploy] button
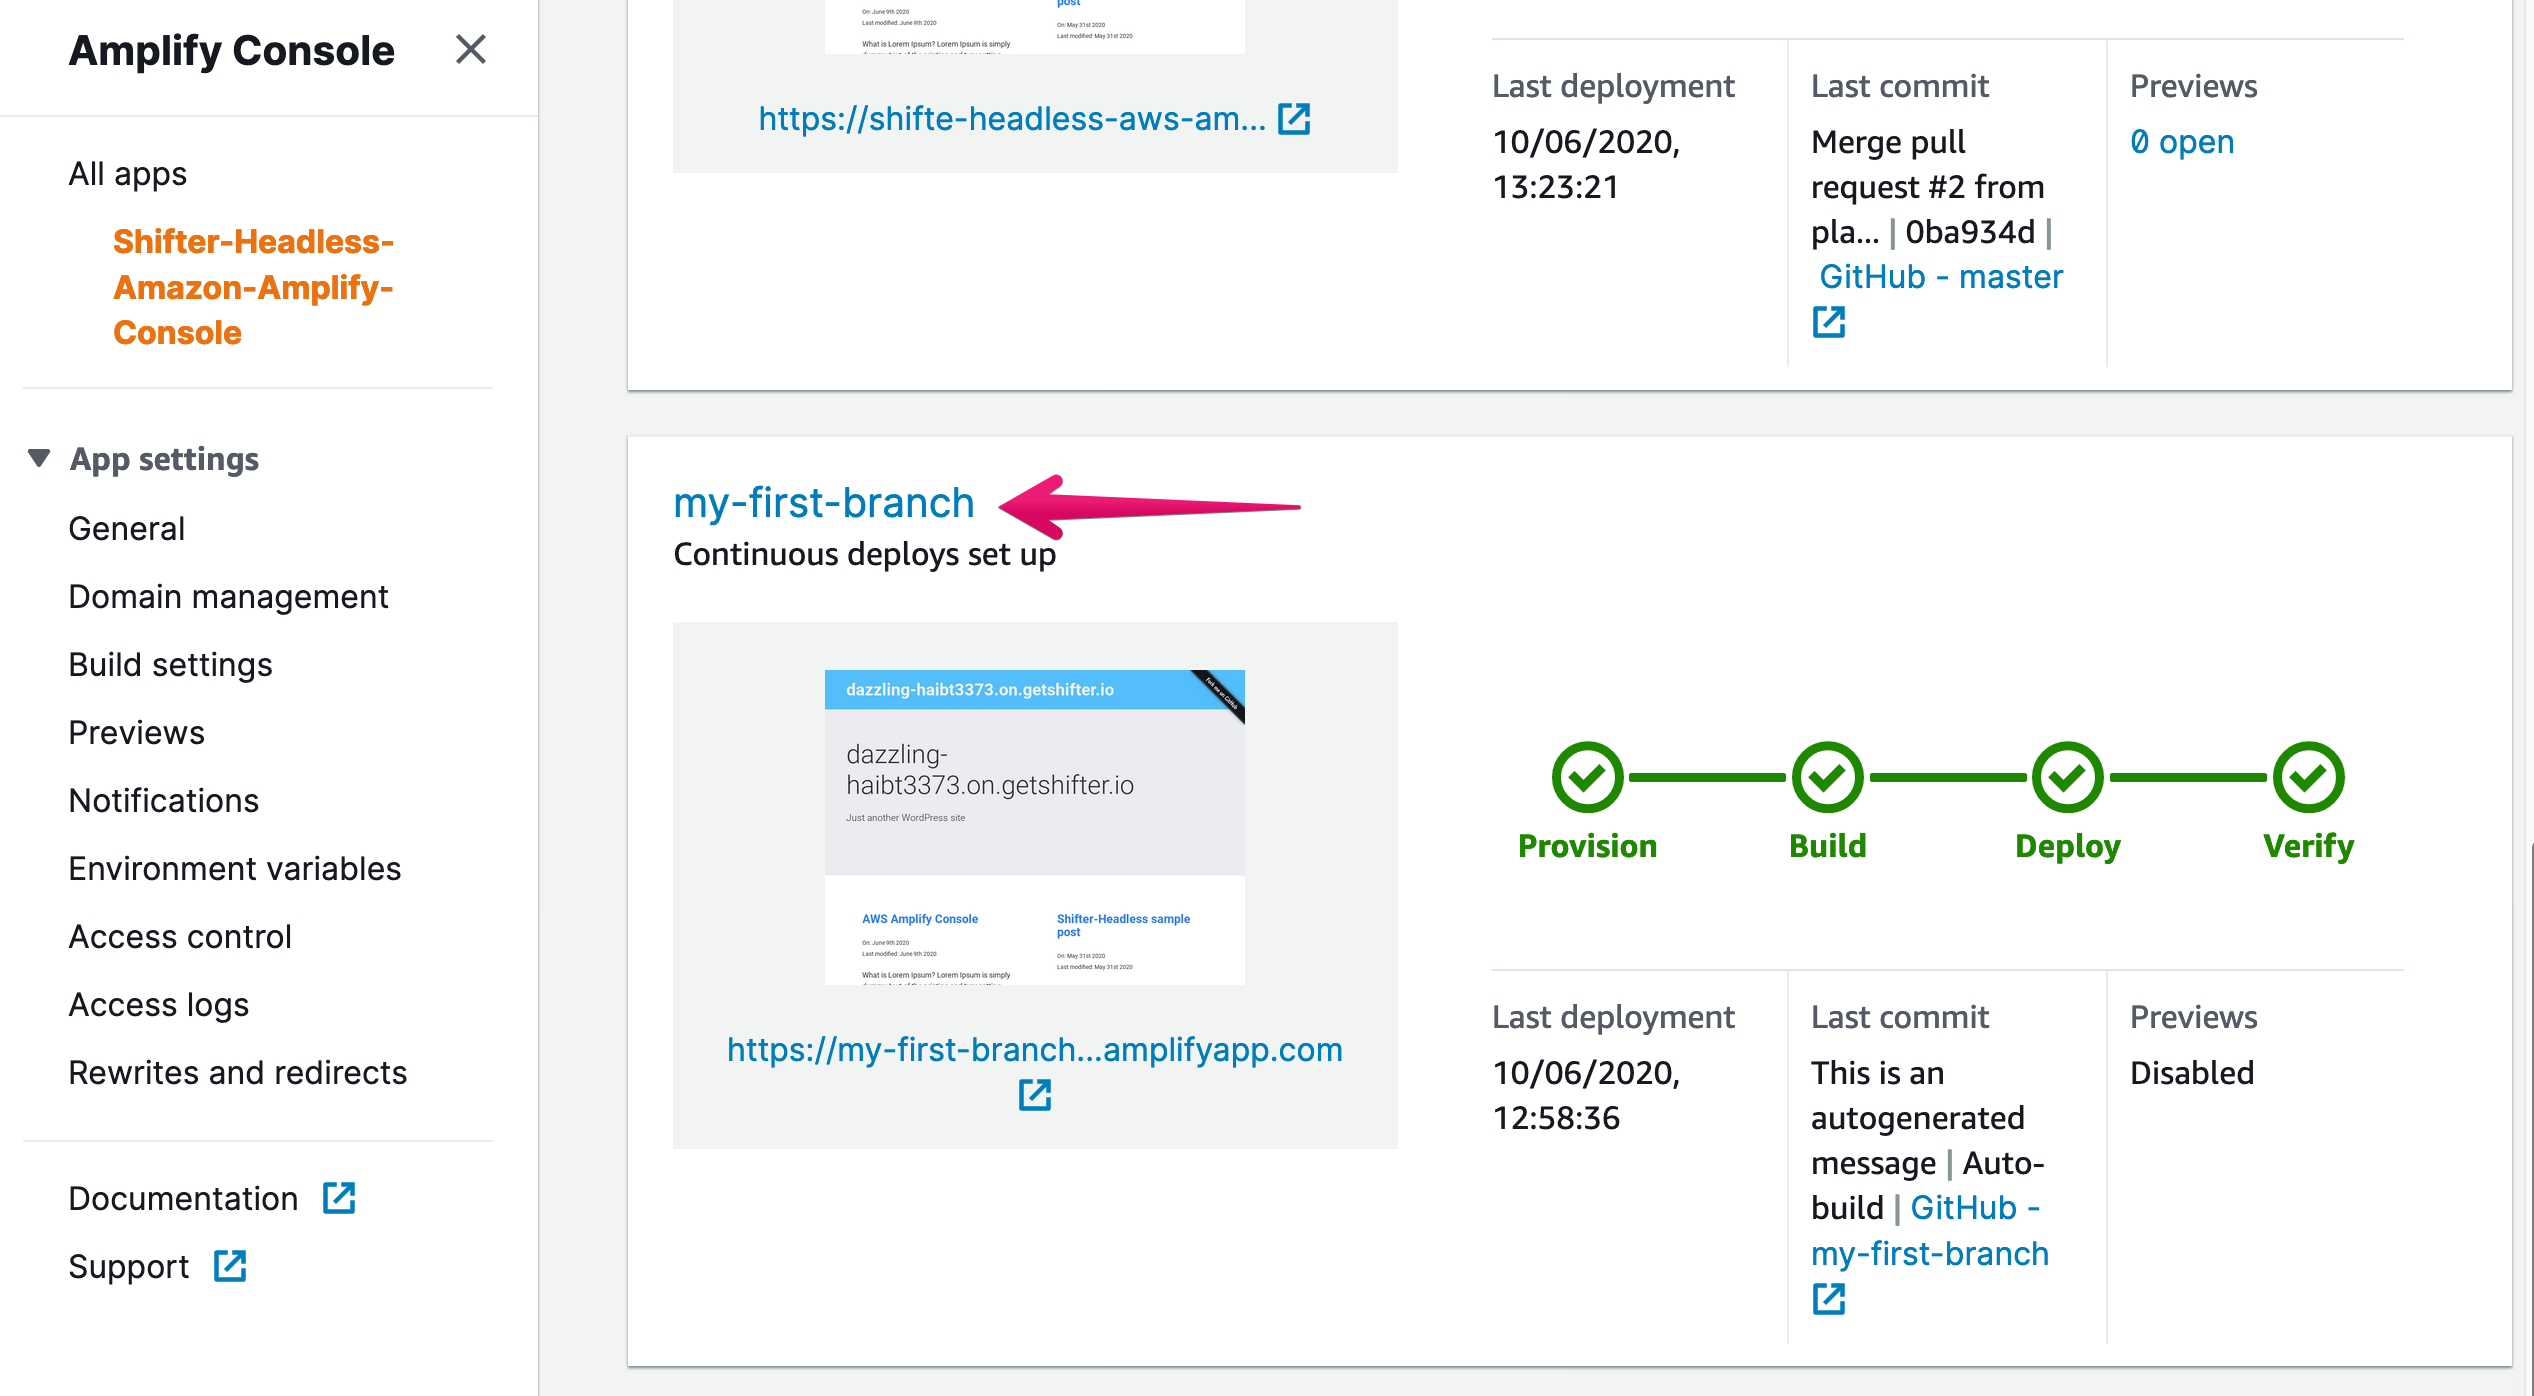
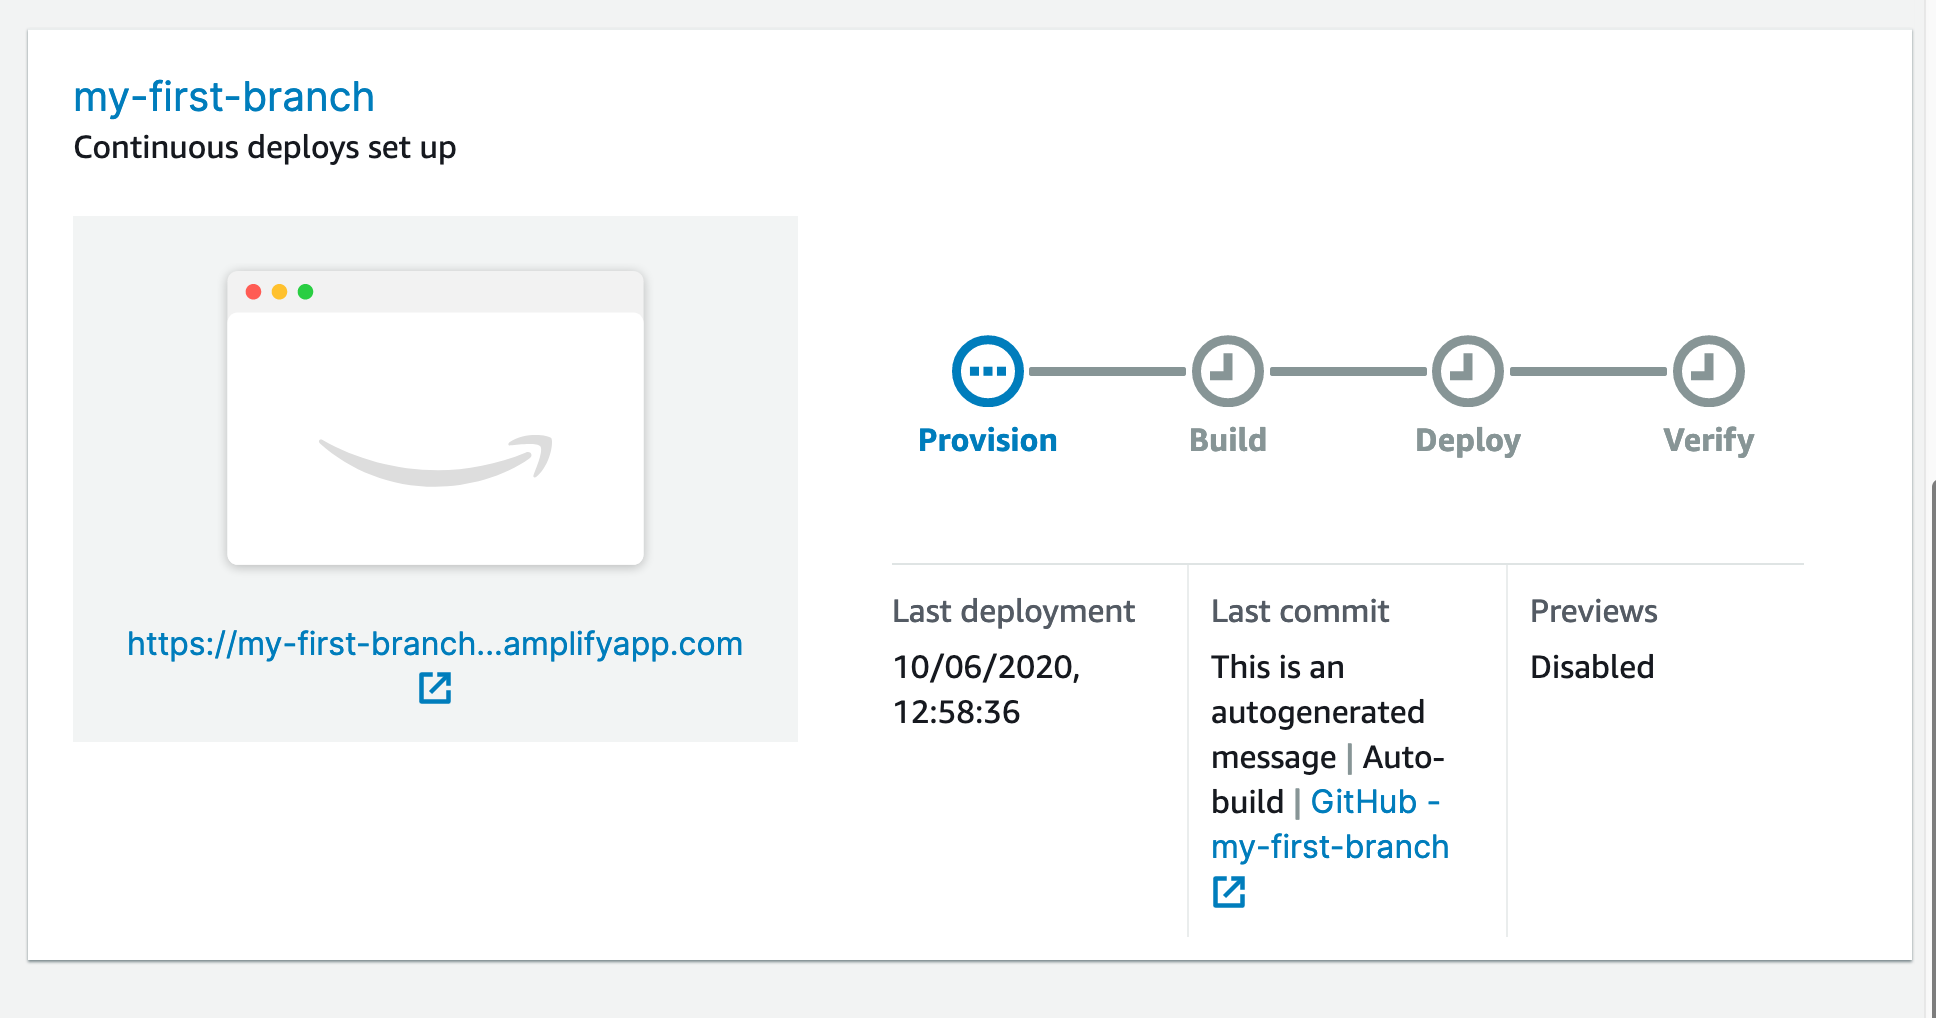
10. Now Amplify is working
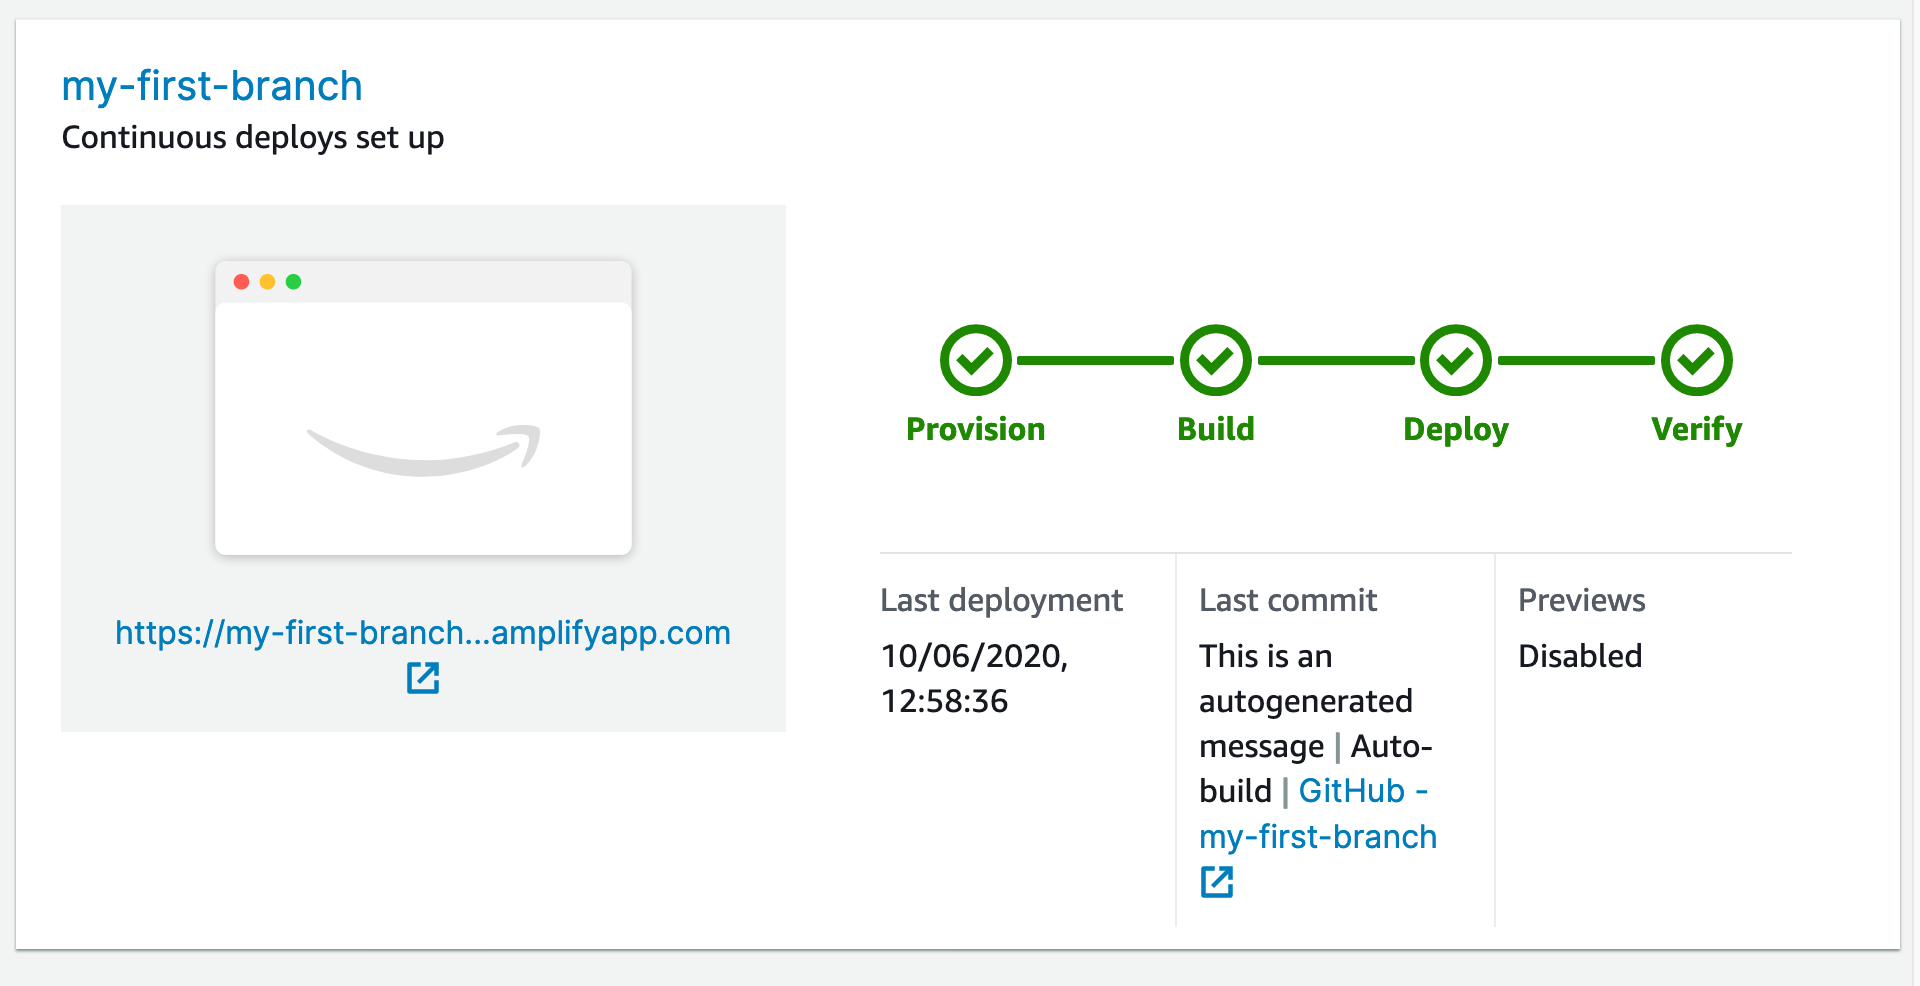
11. …… and deployed
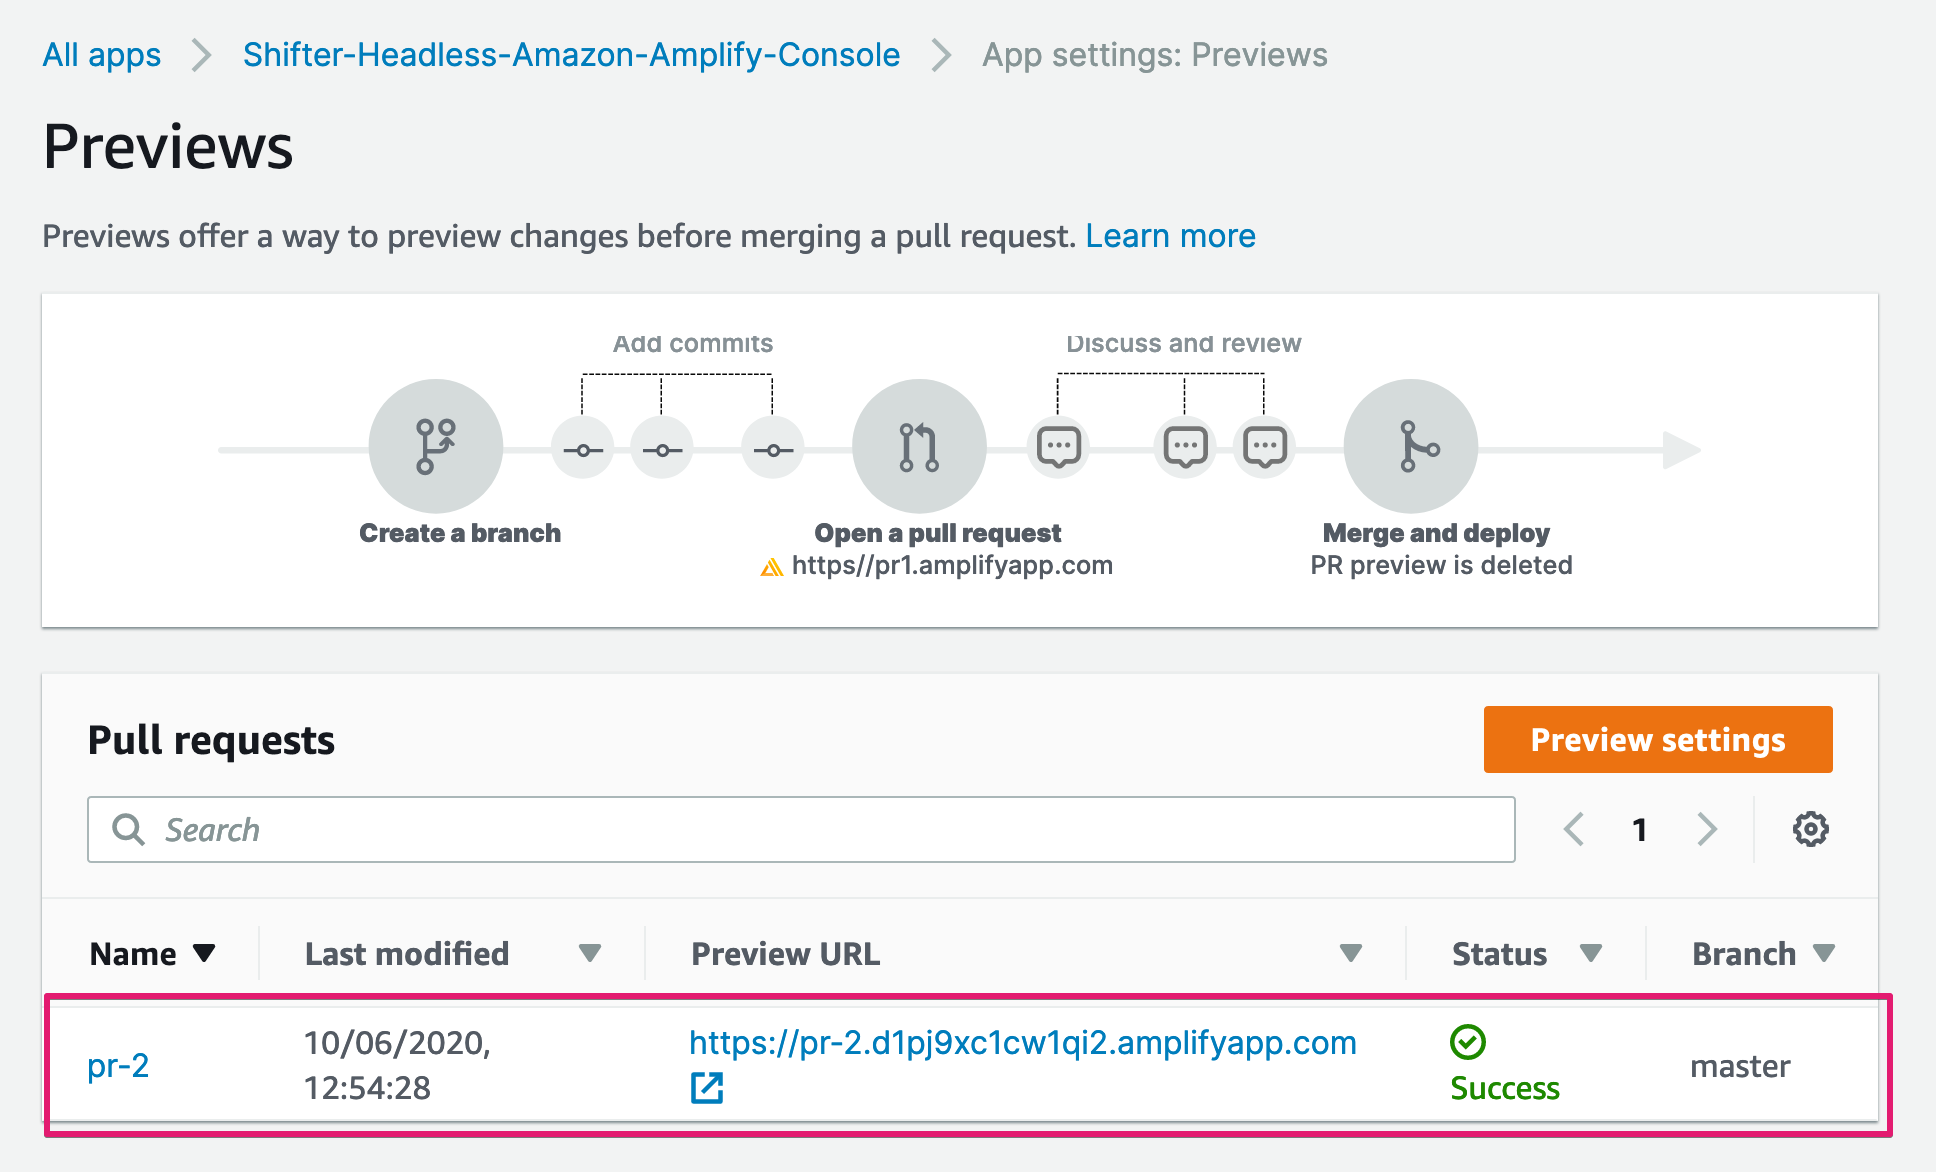
12. Navigate to Previews
13. Now Preview URL for created pull request is available
Click provided Preview URL and make sure changes are applied for your app.
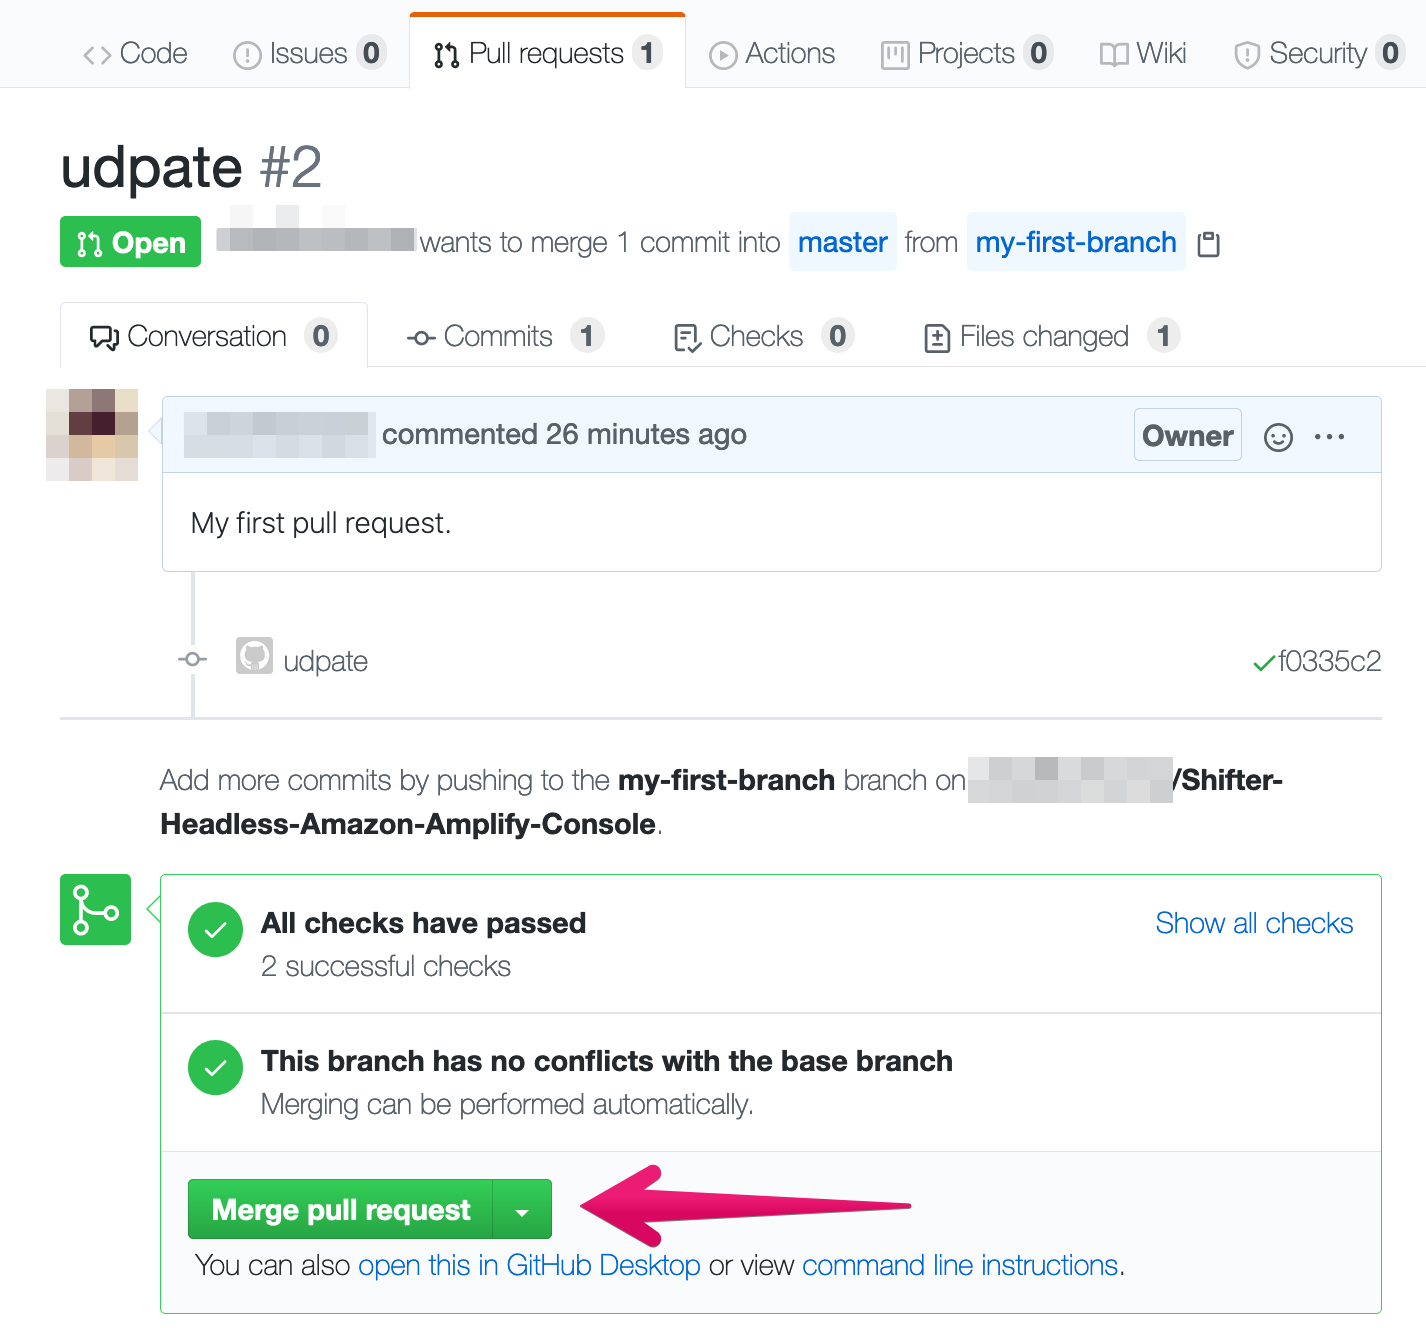
Merge pull request and deploy changes
1. Back to GitHub and click [Merge pull request] button
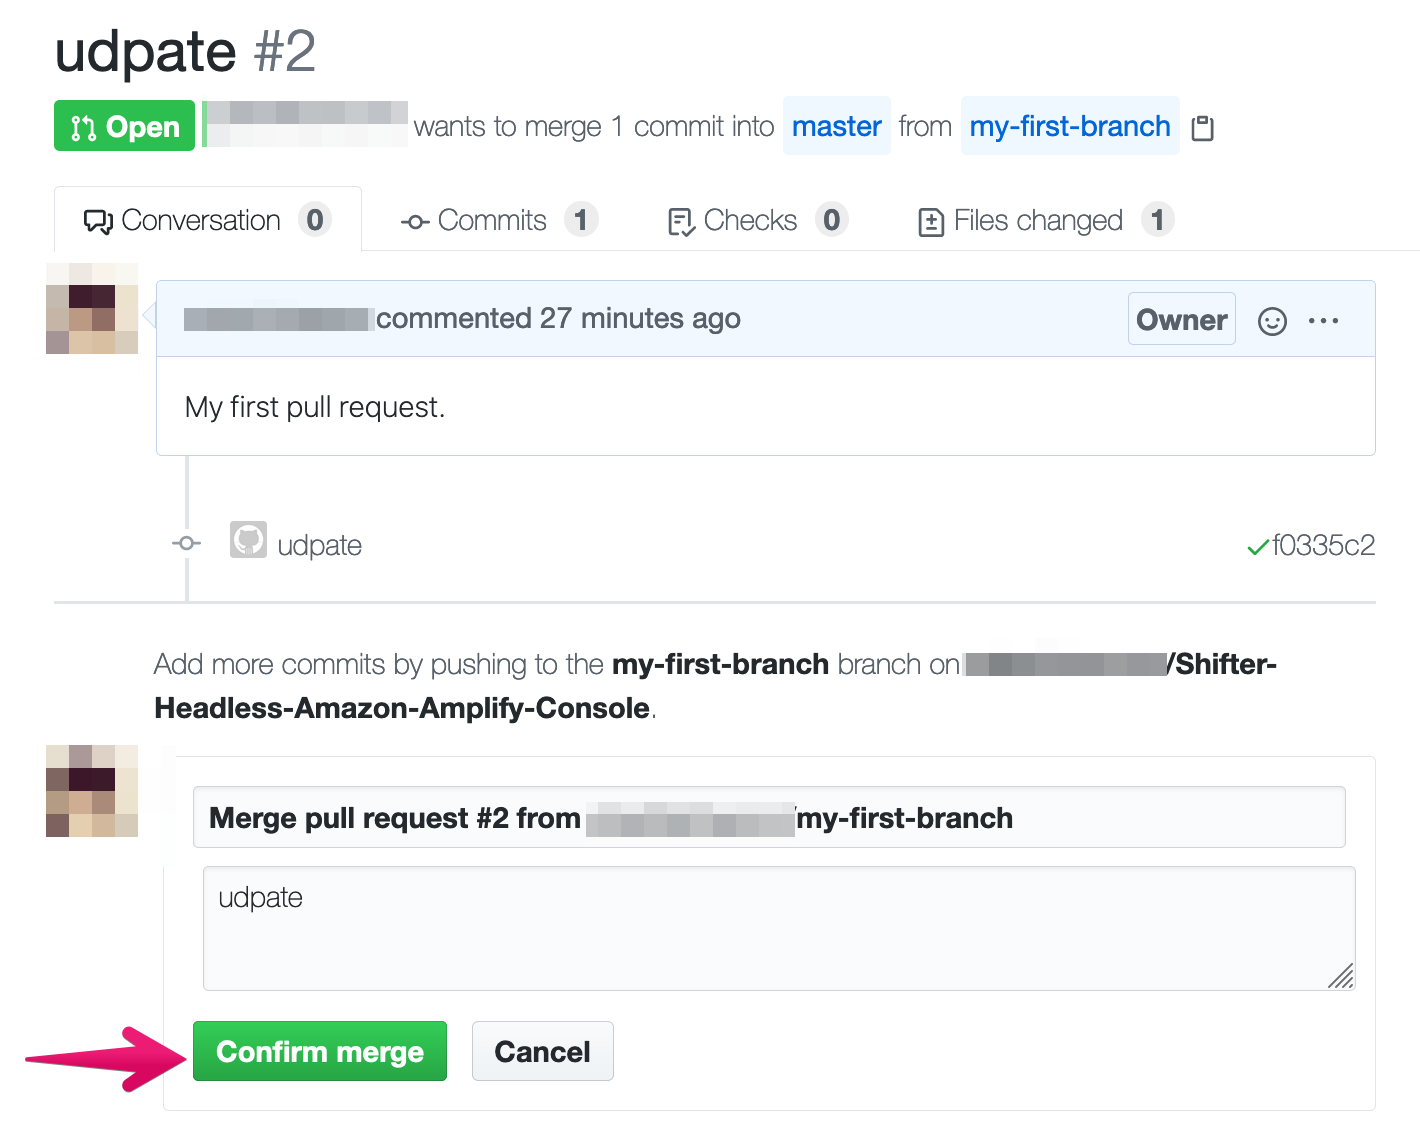
2. … and confirm it
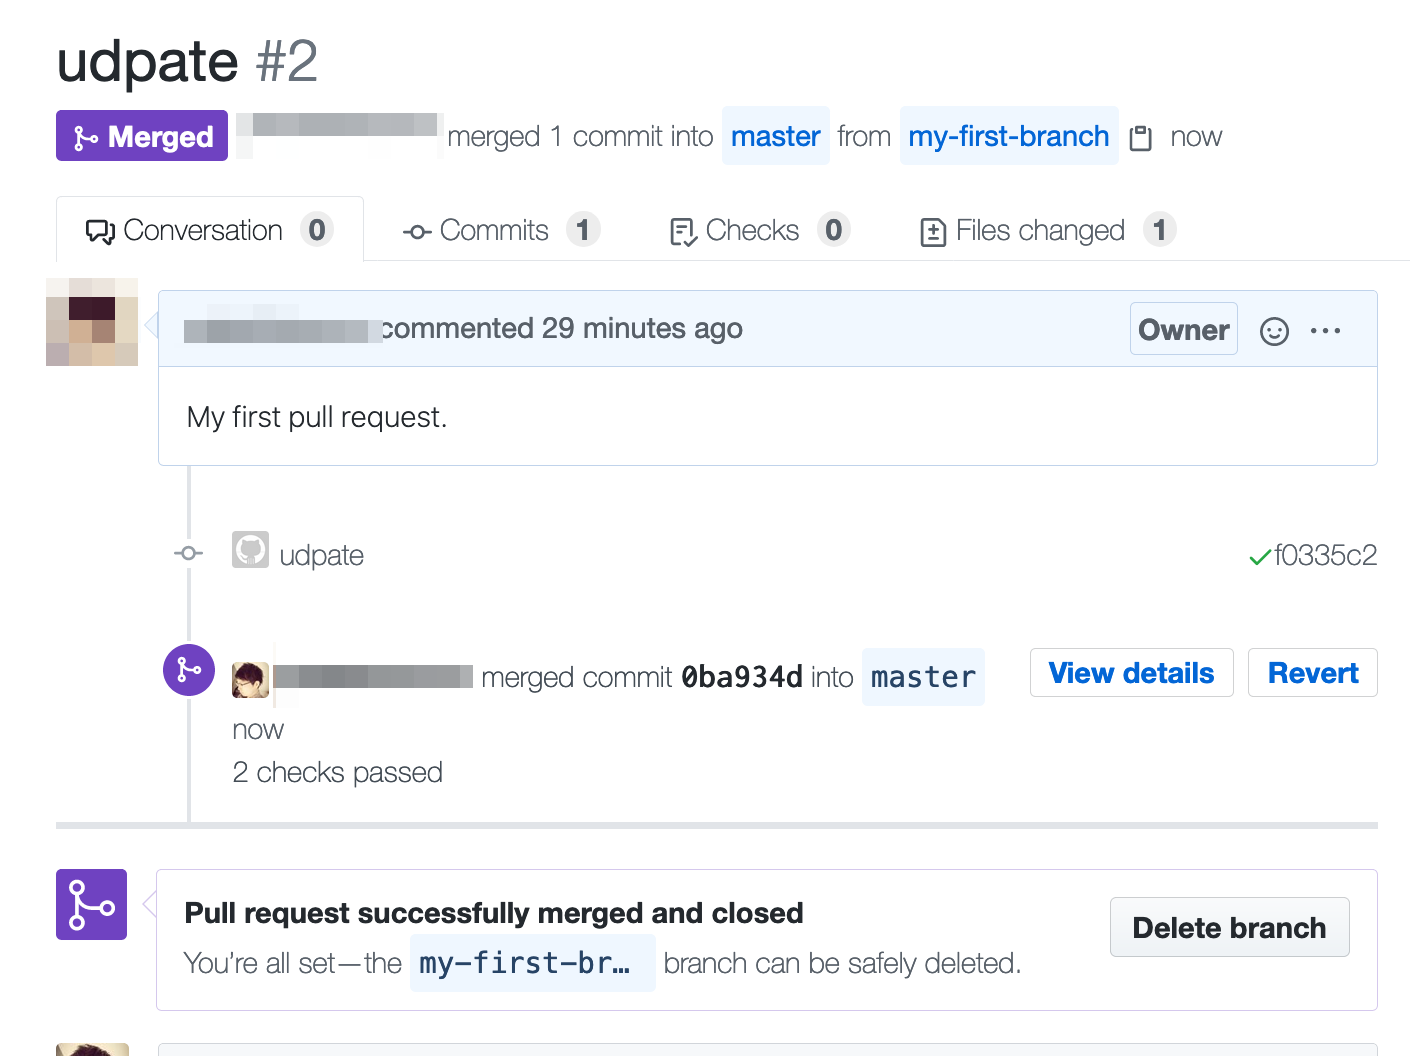
3. Merging
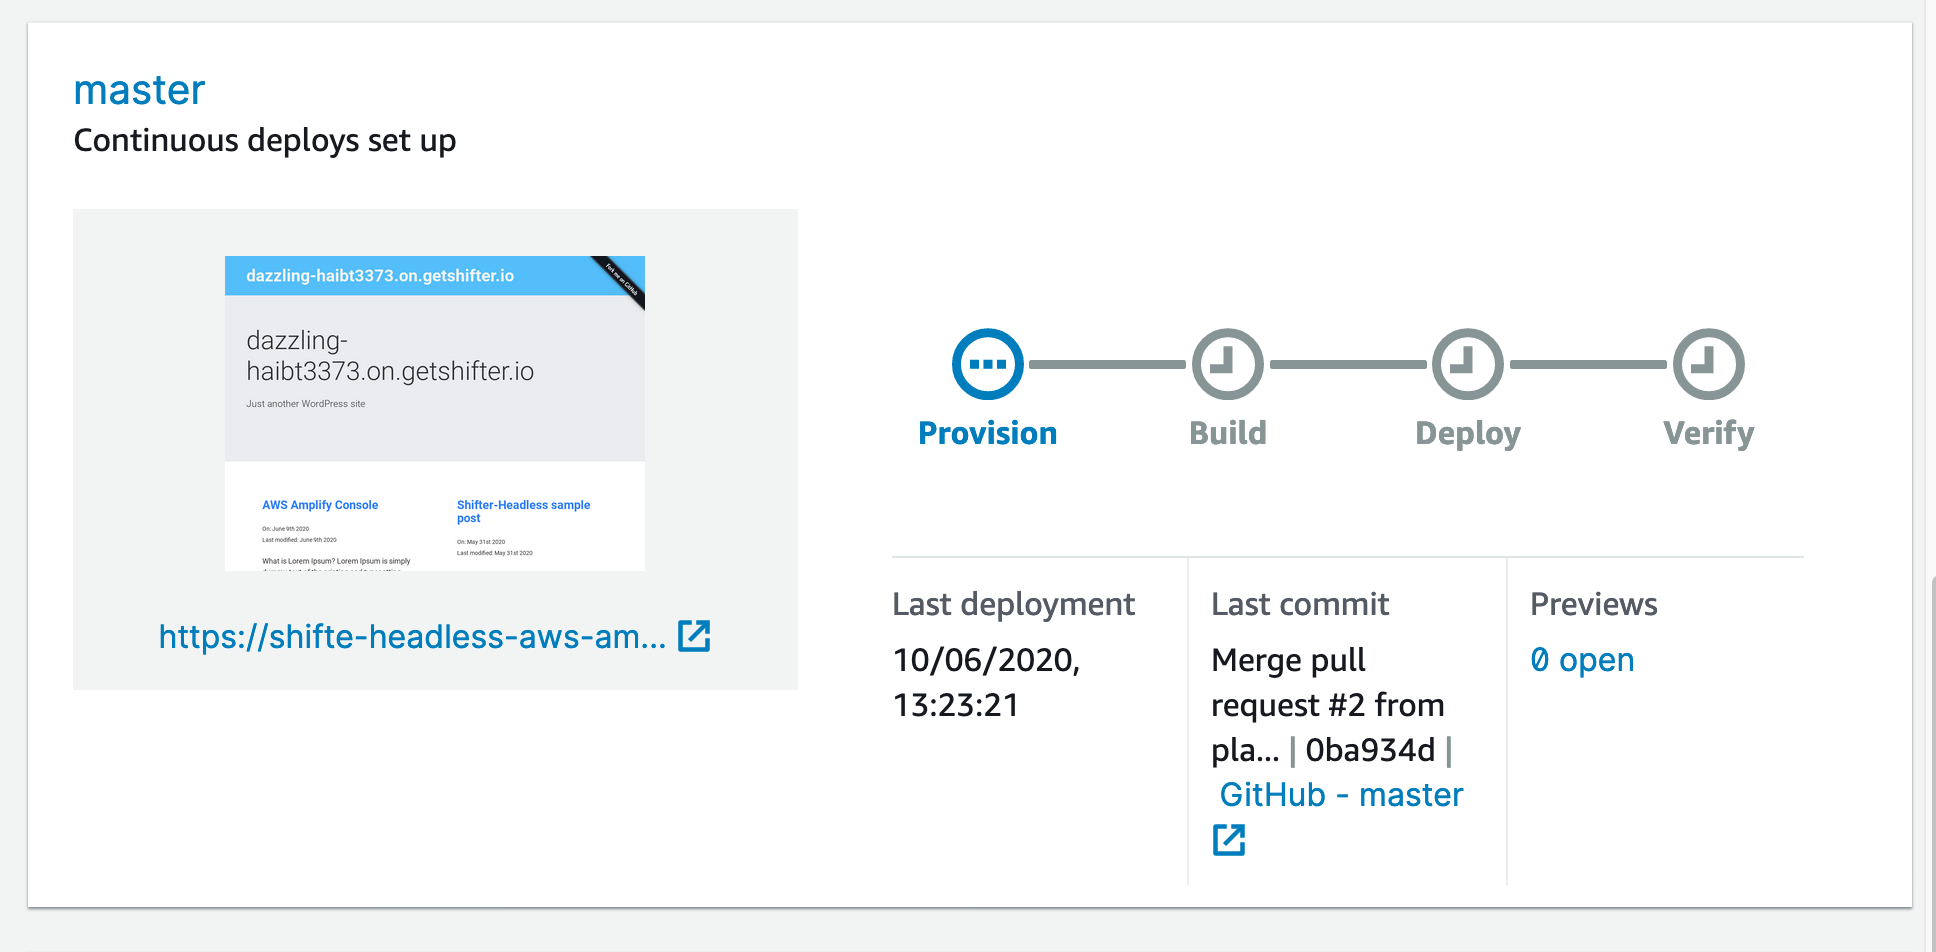
4. Back to Amplify Console and confirm merging
Now building changes on master
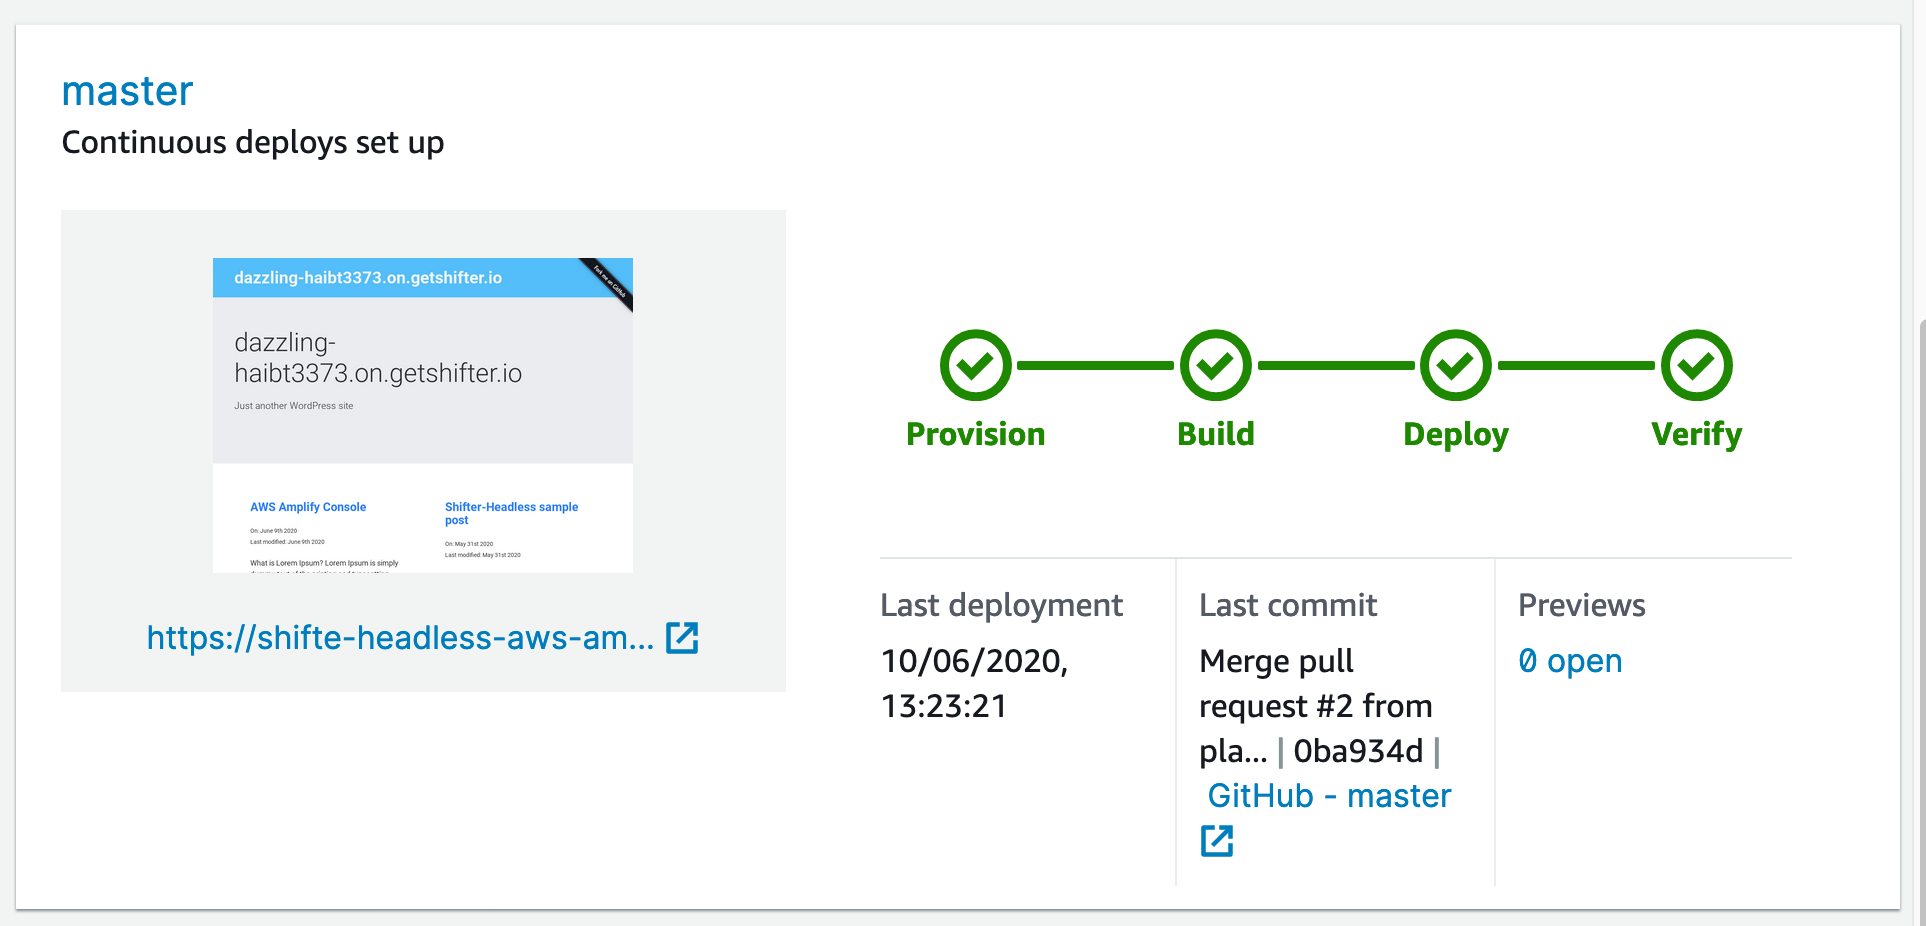
5. Now deployed!
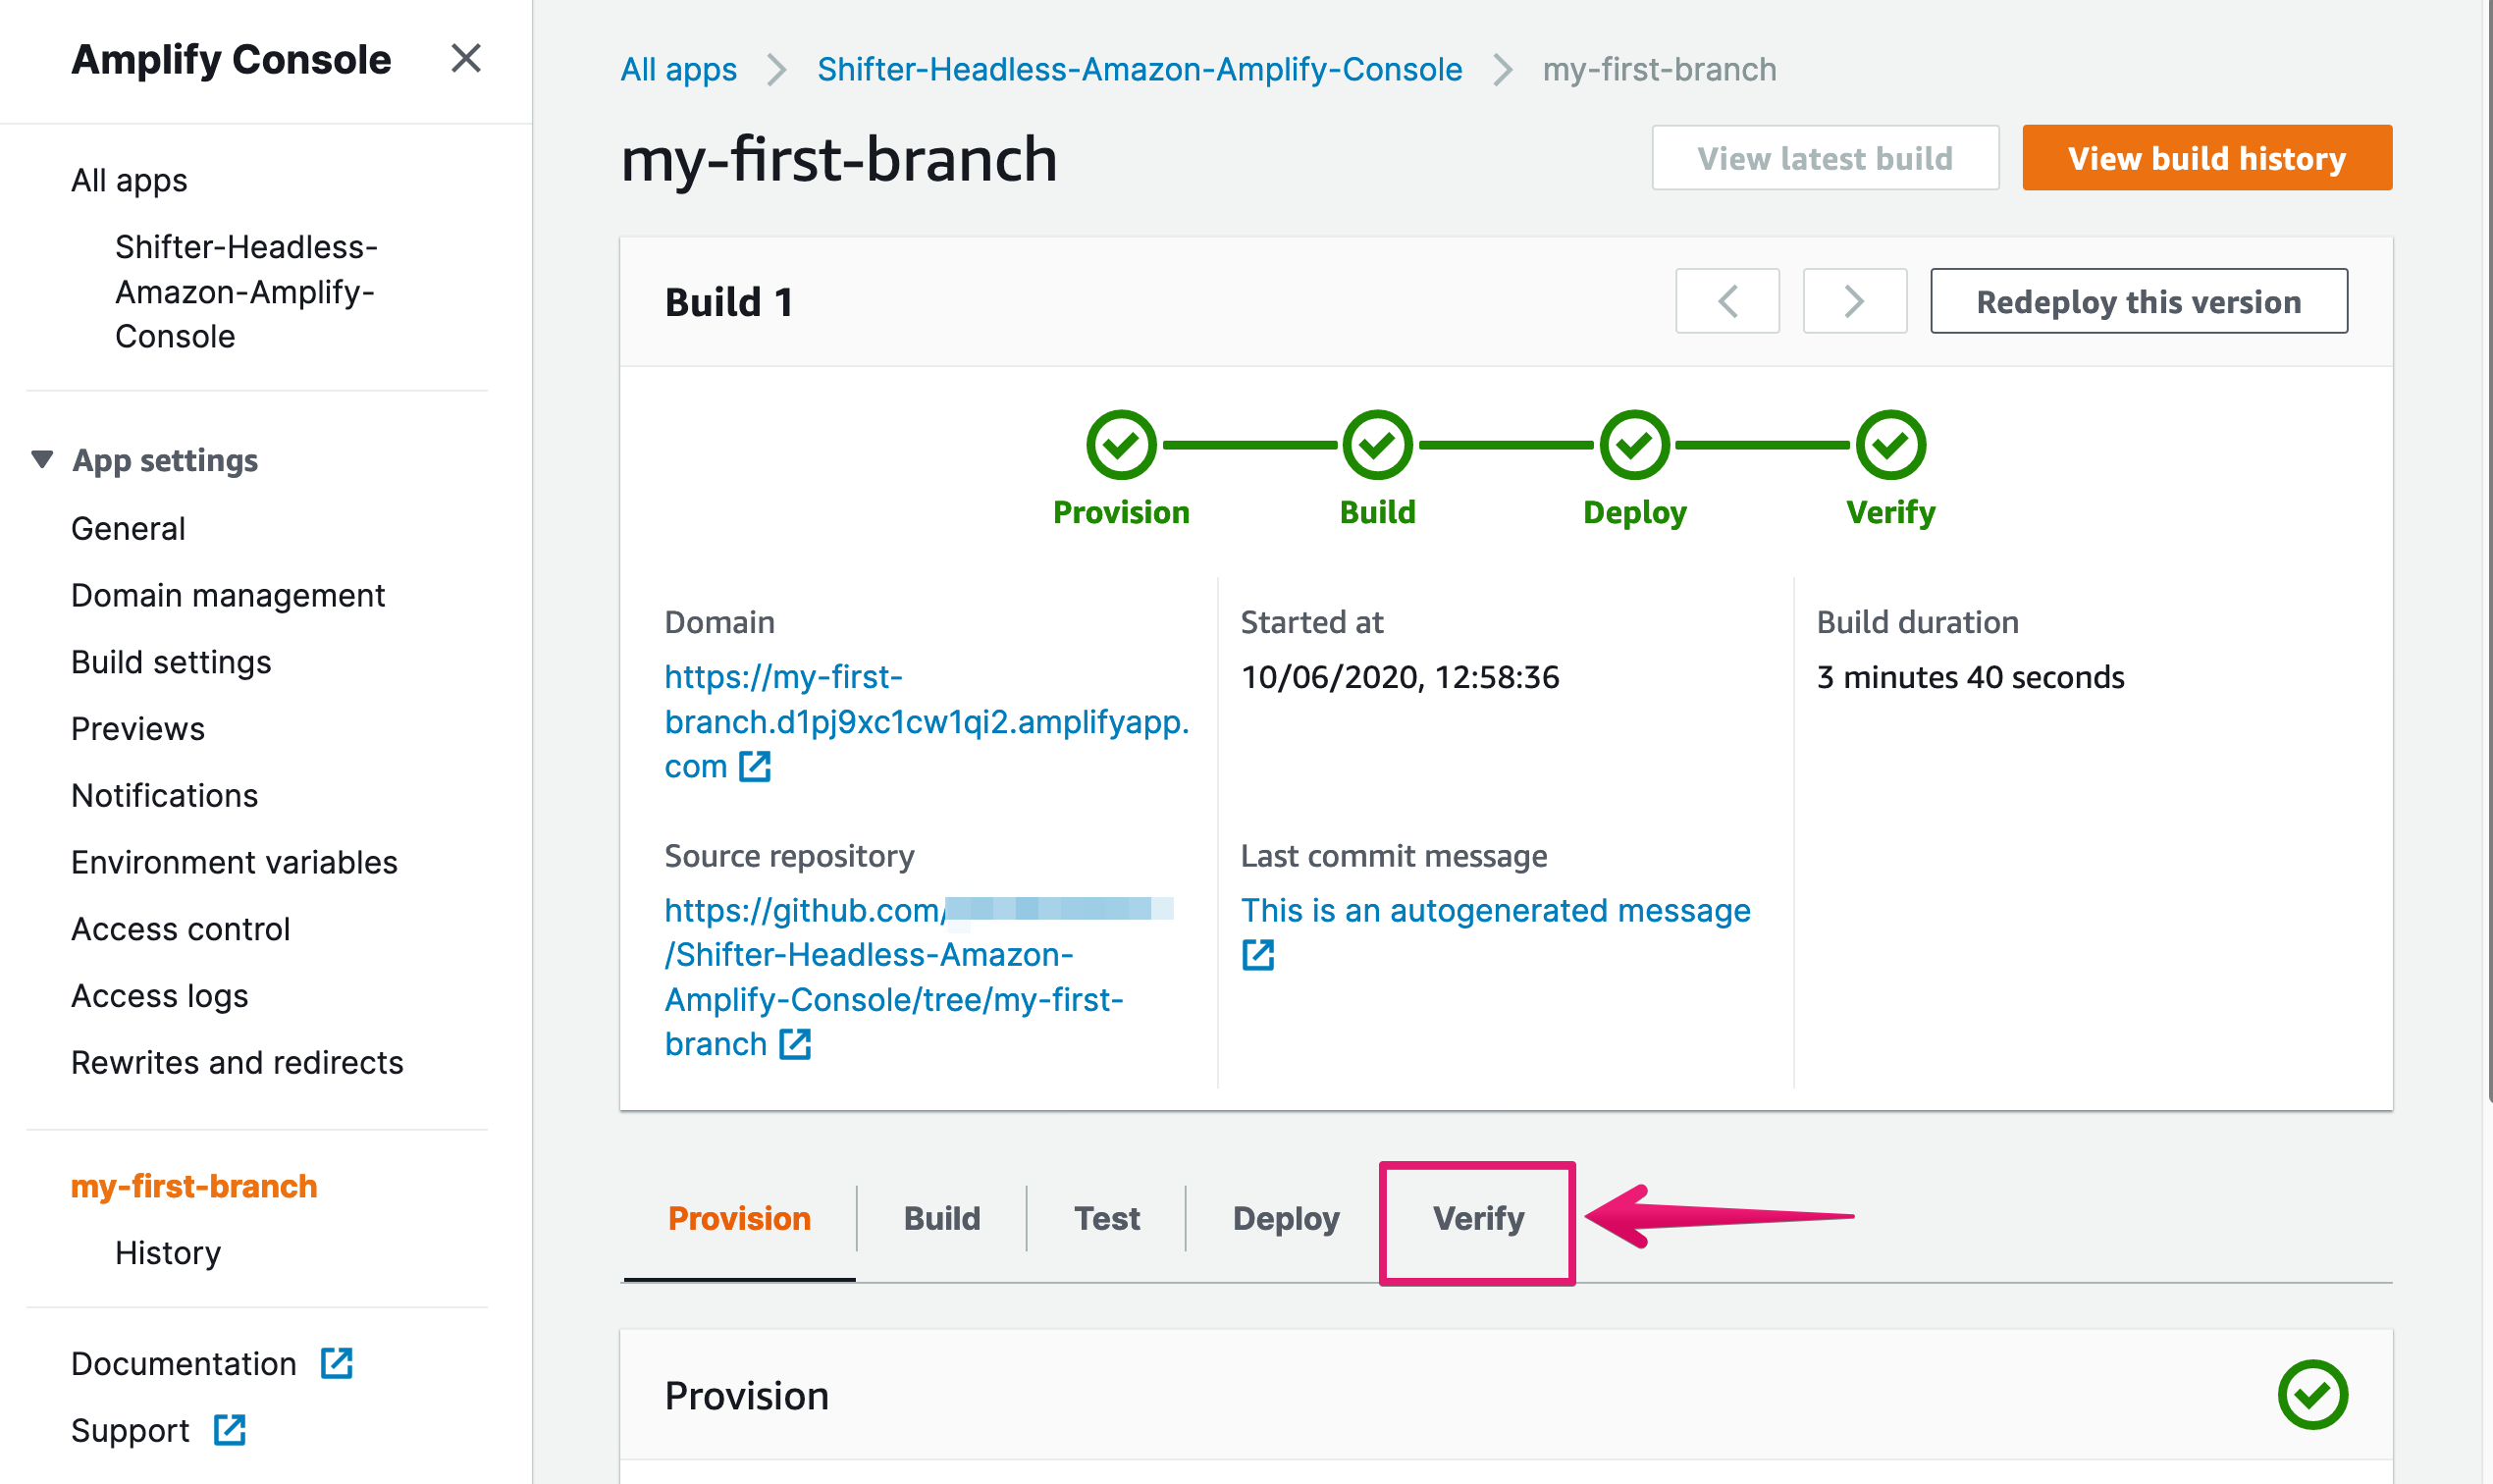
Tips
You can preview some automated generated screenshots of your app home page with headless Chrome by clicking [Verify] tab on your app.