Requirements
-
Shifter Headless site
-
GitHub repository
-
AWS account
Install “Gatsby CLI” and dependencies
npm install -g gatsby-cliRefer to Gatsby’s official document Quick Start for more details.
Boot up a Shifter Headless Site
1. Login to Shifter Headless dashboard
https://go.getshifter.io/admin/headless/
2. Start Headless WordPress
For more details, refer to another support document How to start Shifter Headless WordPress up.
3. Create any contents by logging in to WordPress with your admin URL
We use theme unit test file in this document.
You can download it directly here: https://raw.githubusercontent.com/WPTRT/theme-unit-test/master/themeunittestdata.wordpress.xml
4. Copy WordPress URL
Remove “/wp-admin/” from the URL
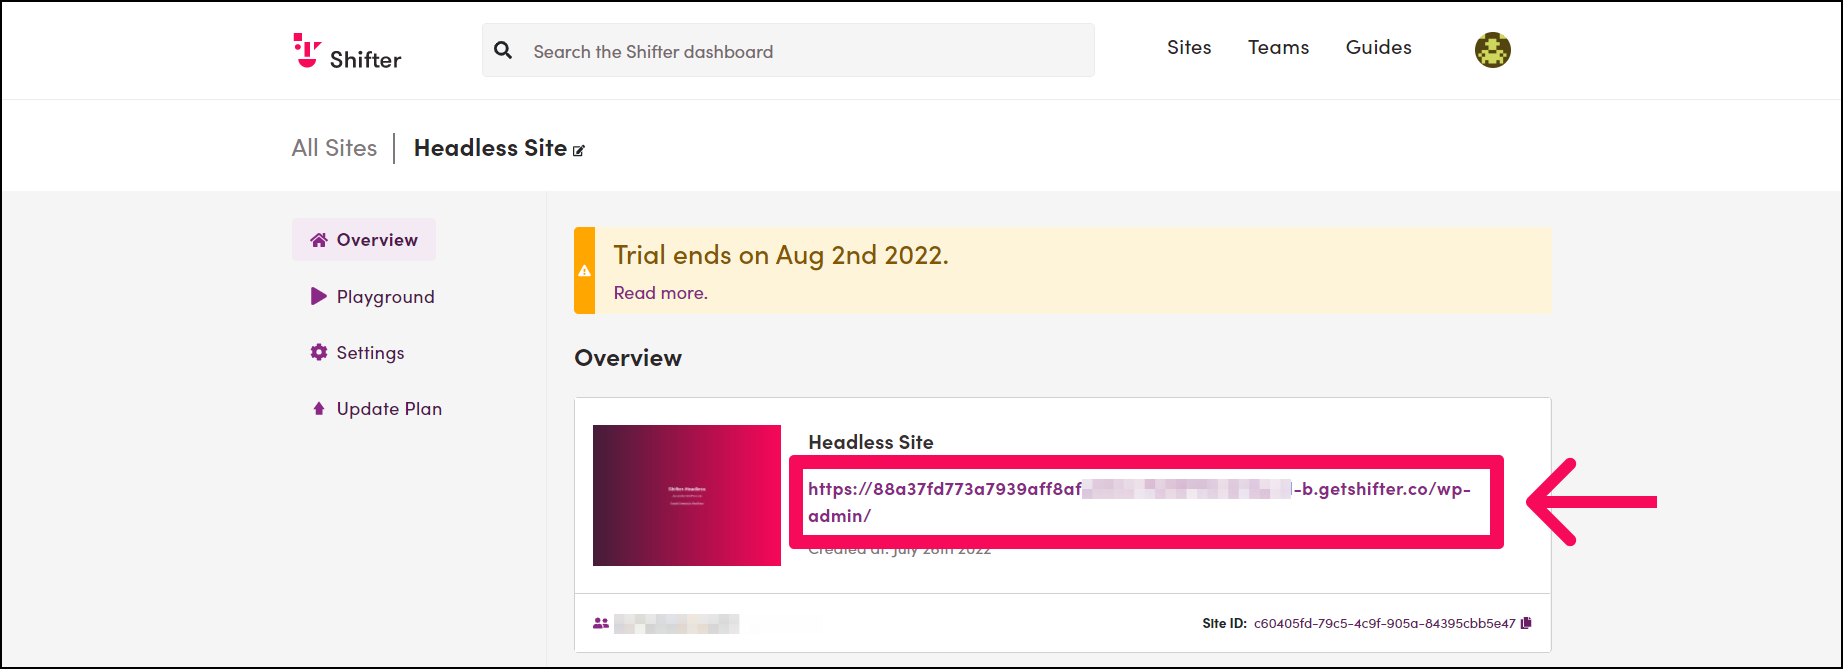
5. Keep WordPress running
Create a GitHub repository to publish
1. Login to GitHub
2. Navigate to Create a new repository
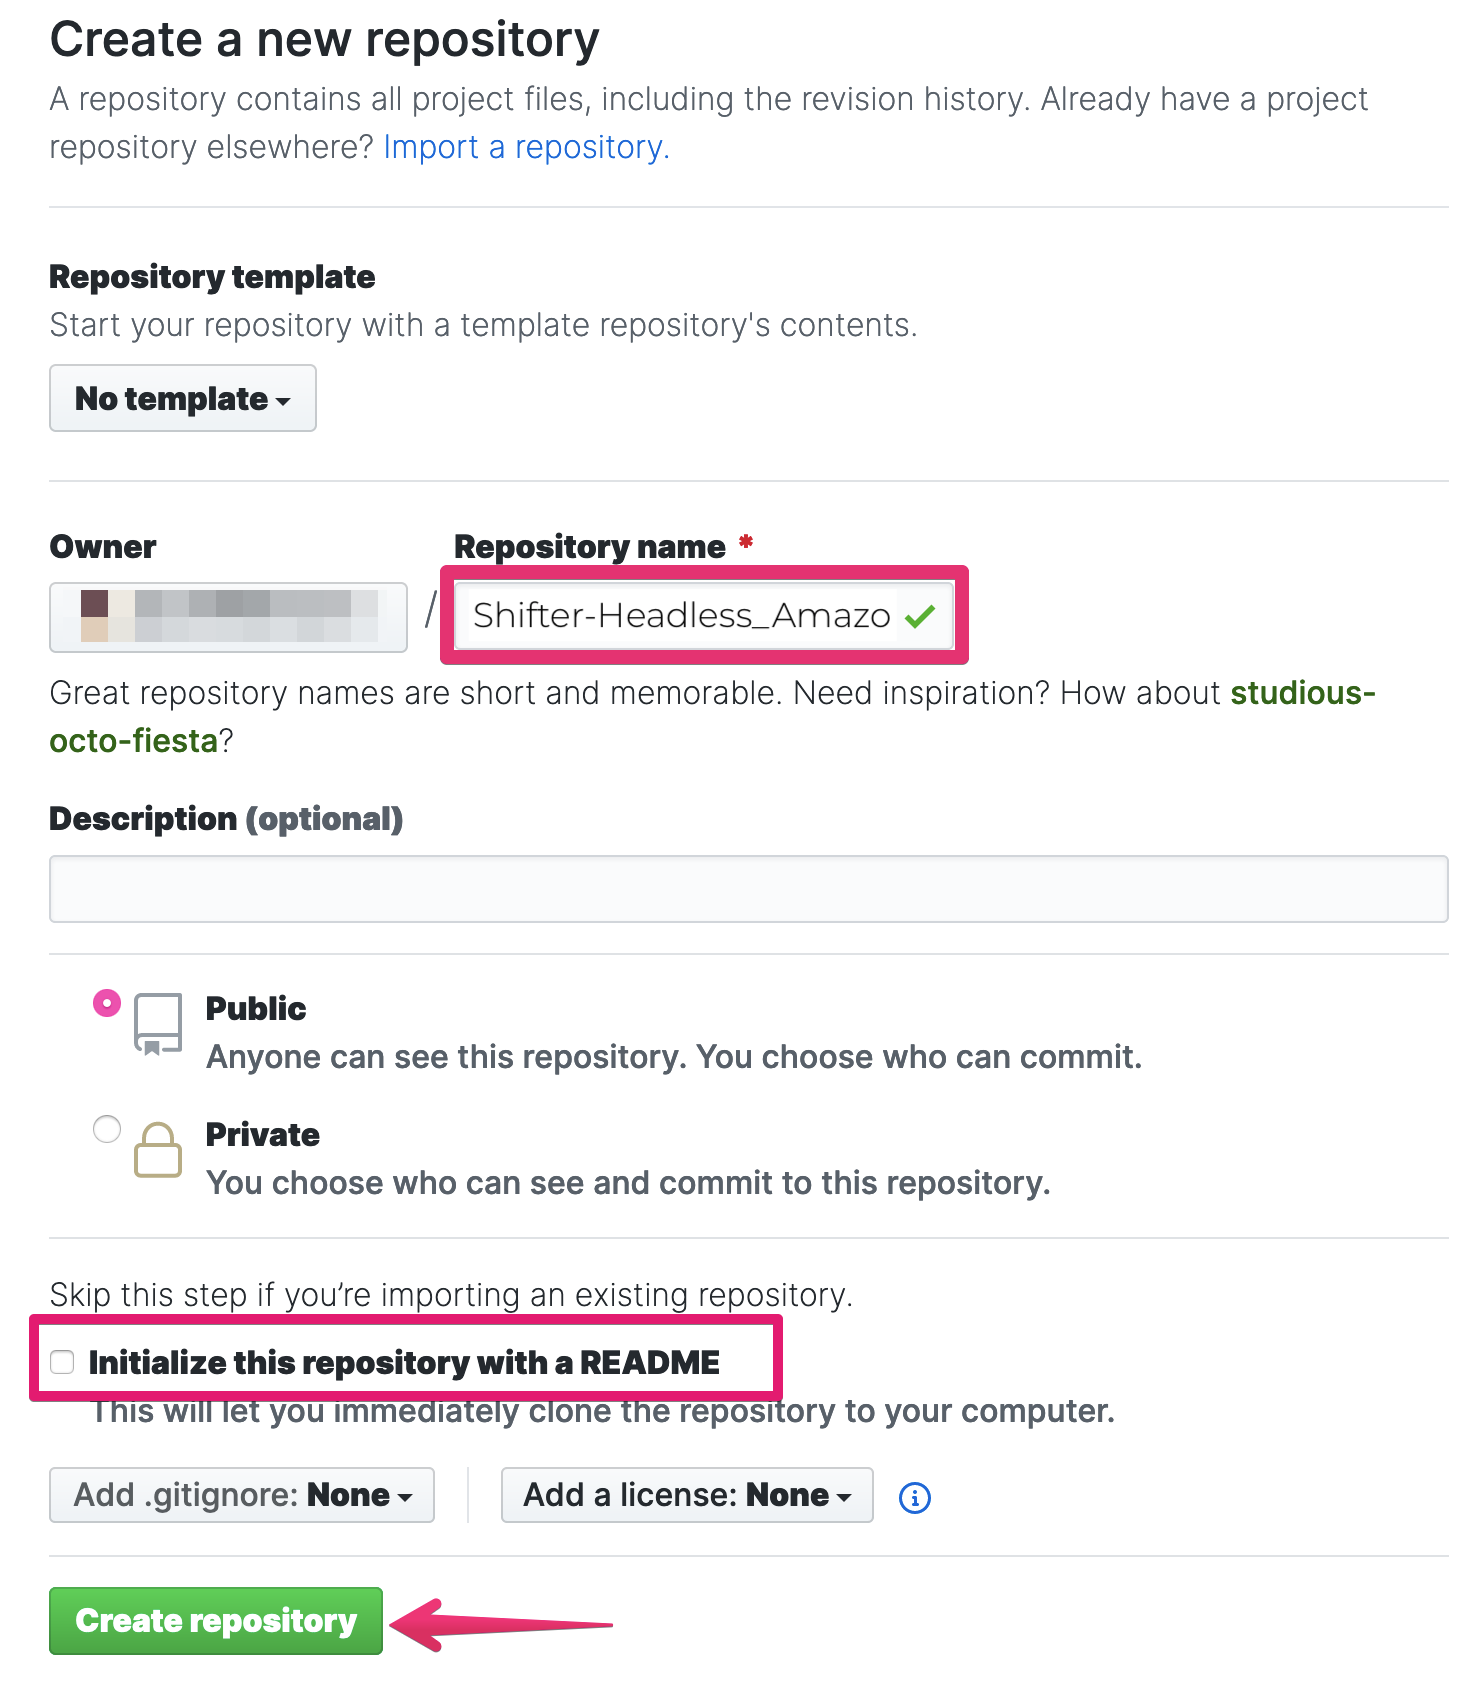
3. Fill in required fields and click [Create repository]
Repository name: Shifter-Headless_Amazon-Amplify-Console
4. Copy your created repository’s URL
In this document, this is the woking repository URL is git@github.com:YOUR-GITHUB-USERNAME/Shifter-Headless-Amazon-Amplify-Console.git

5. Clone to local
$ git clone git@github.com:YOUR-GITHUB-USERNAME/Shifter-Headless-Amazon-Amplify-Console.git ./Shifter-Headless-Amazon-Amplify-Console
Set up AWS Amplify Console
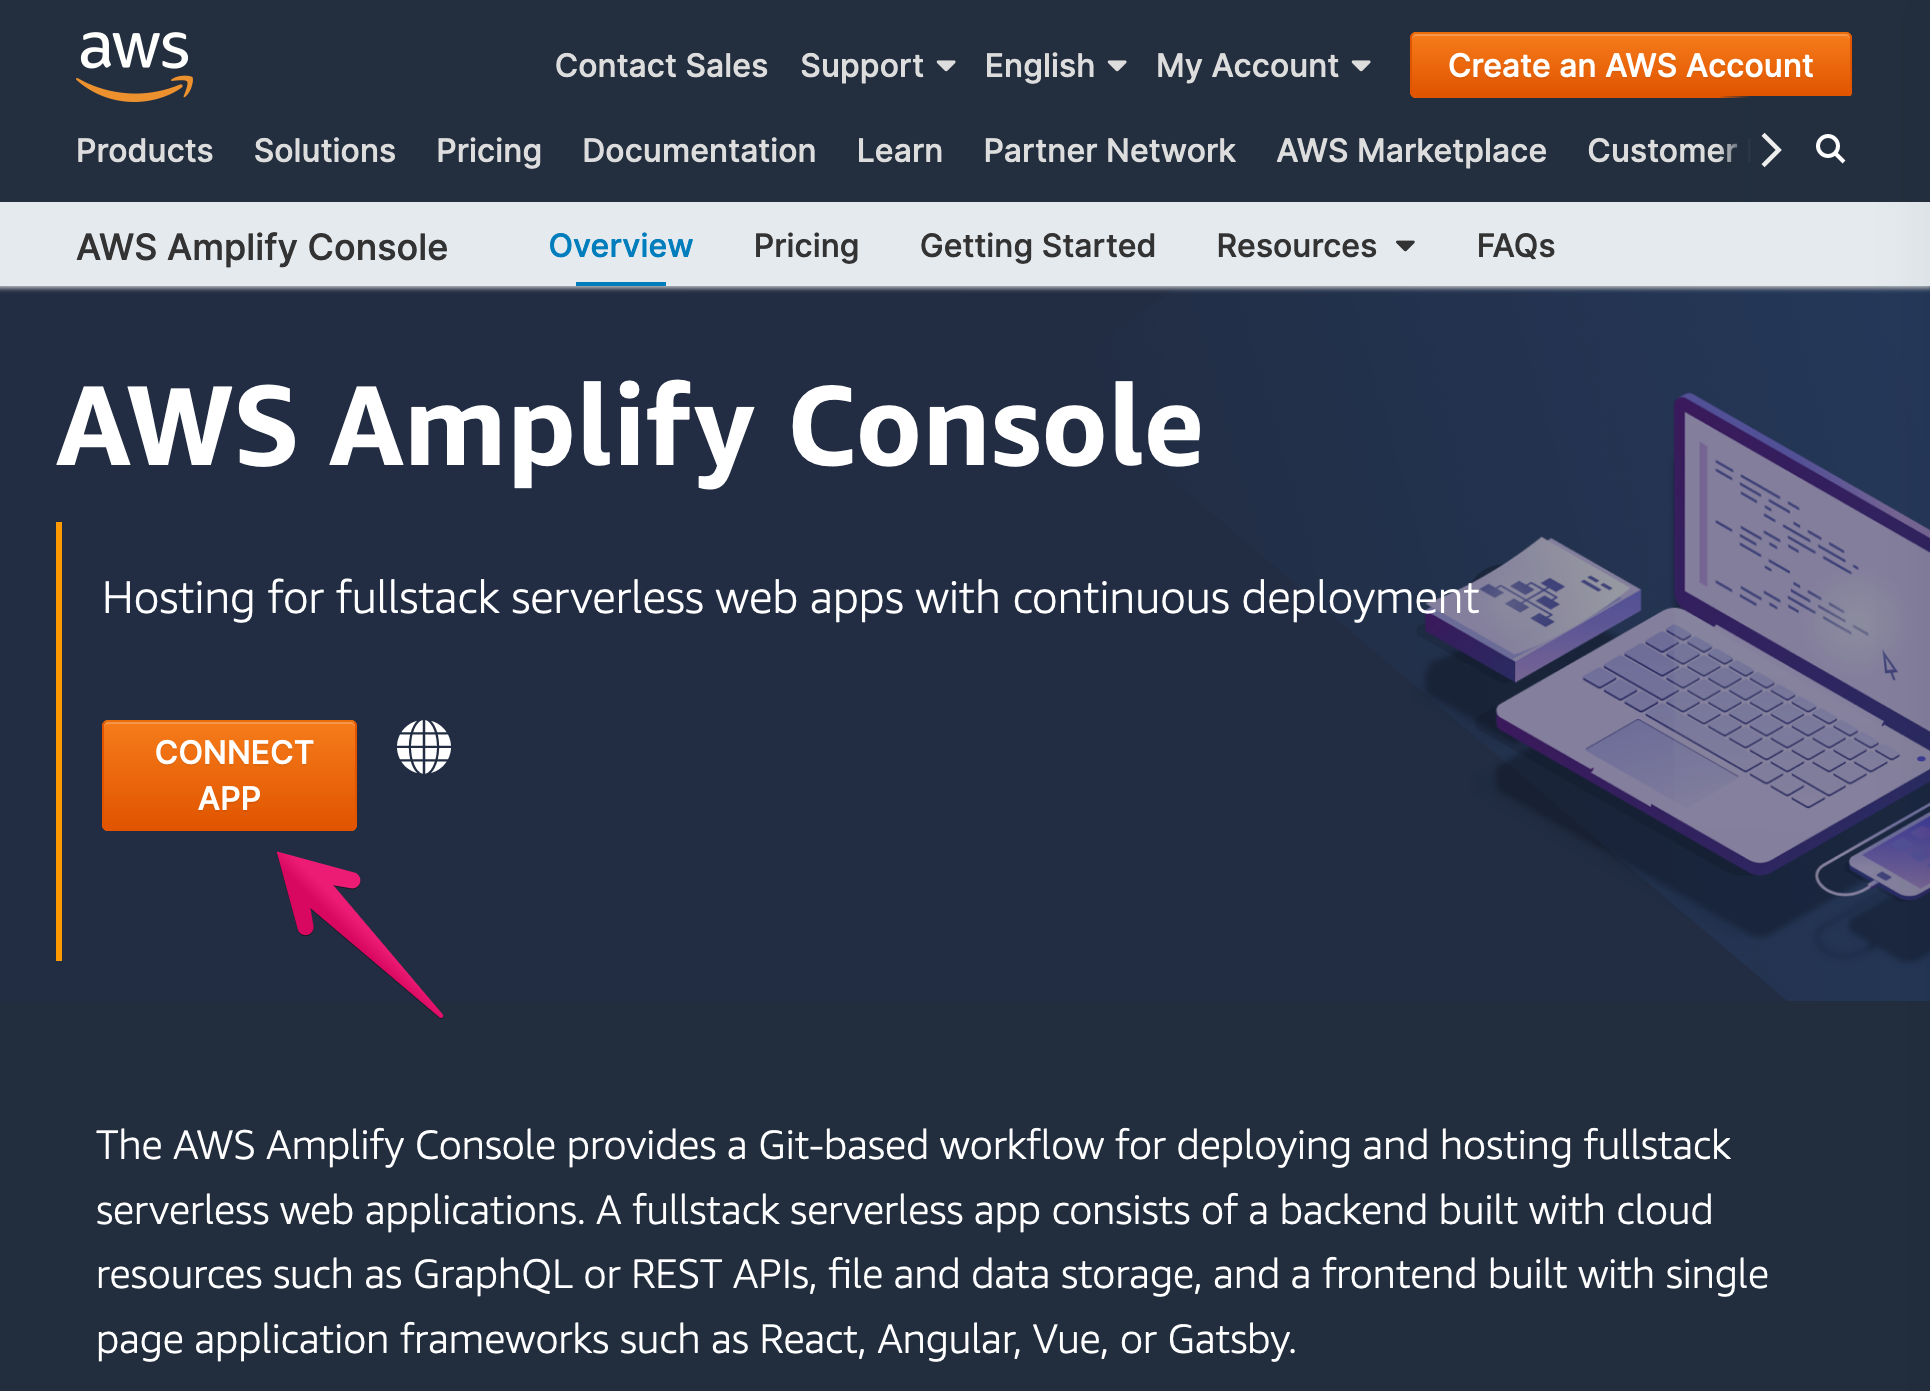
1. Click [CONNECT APP] to login to AWS console
2. Sign in to AWS Console
3. Choose Git service and click [Continue] button
We use GitHub in this document.
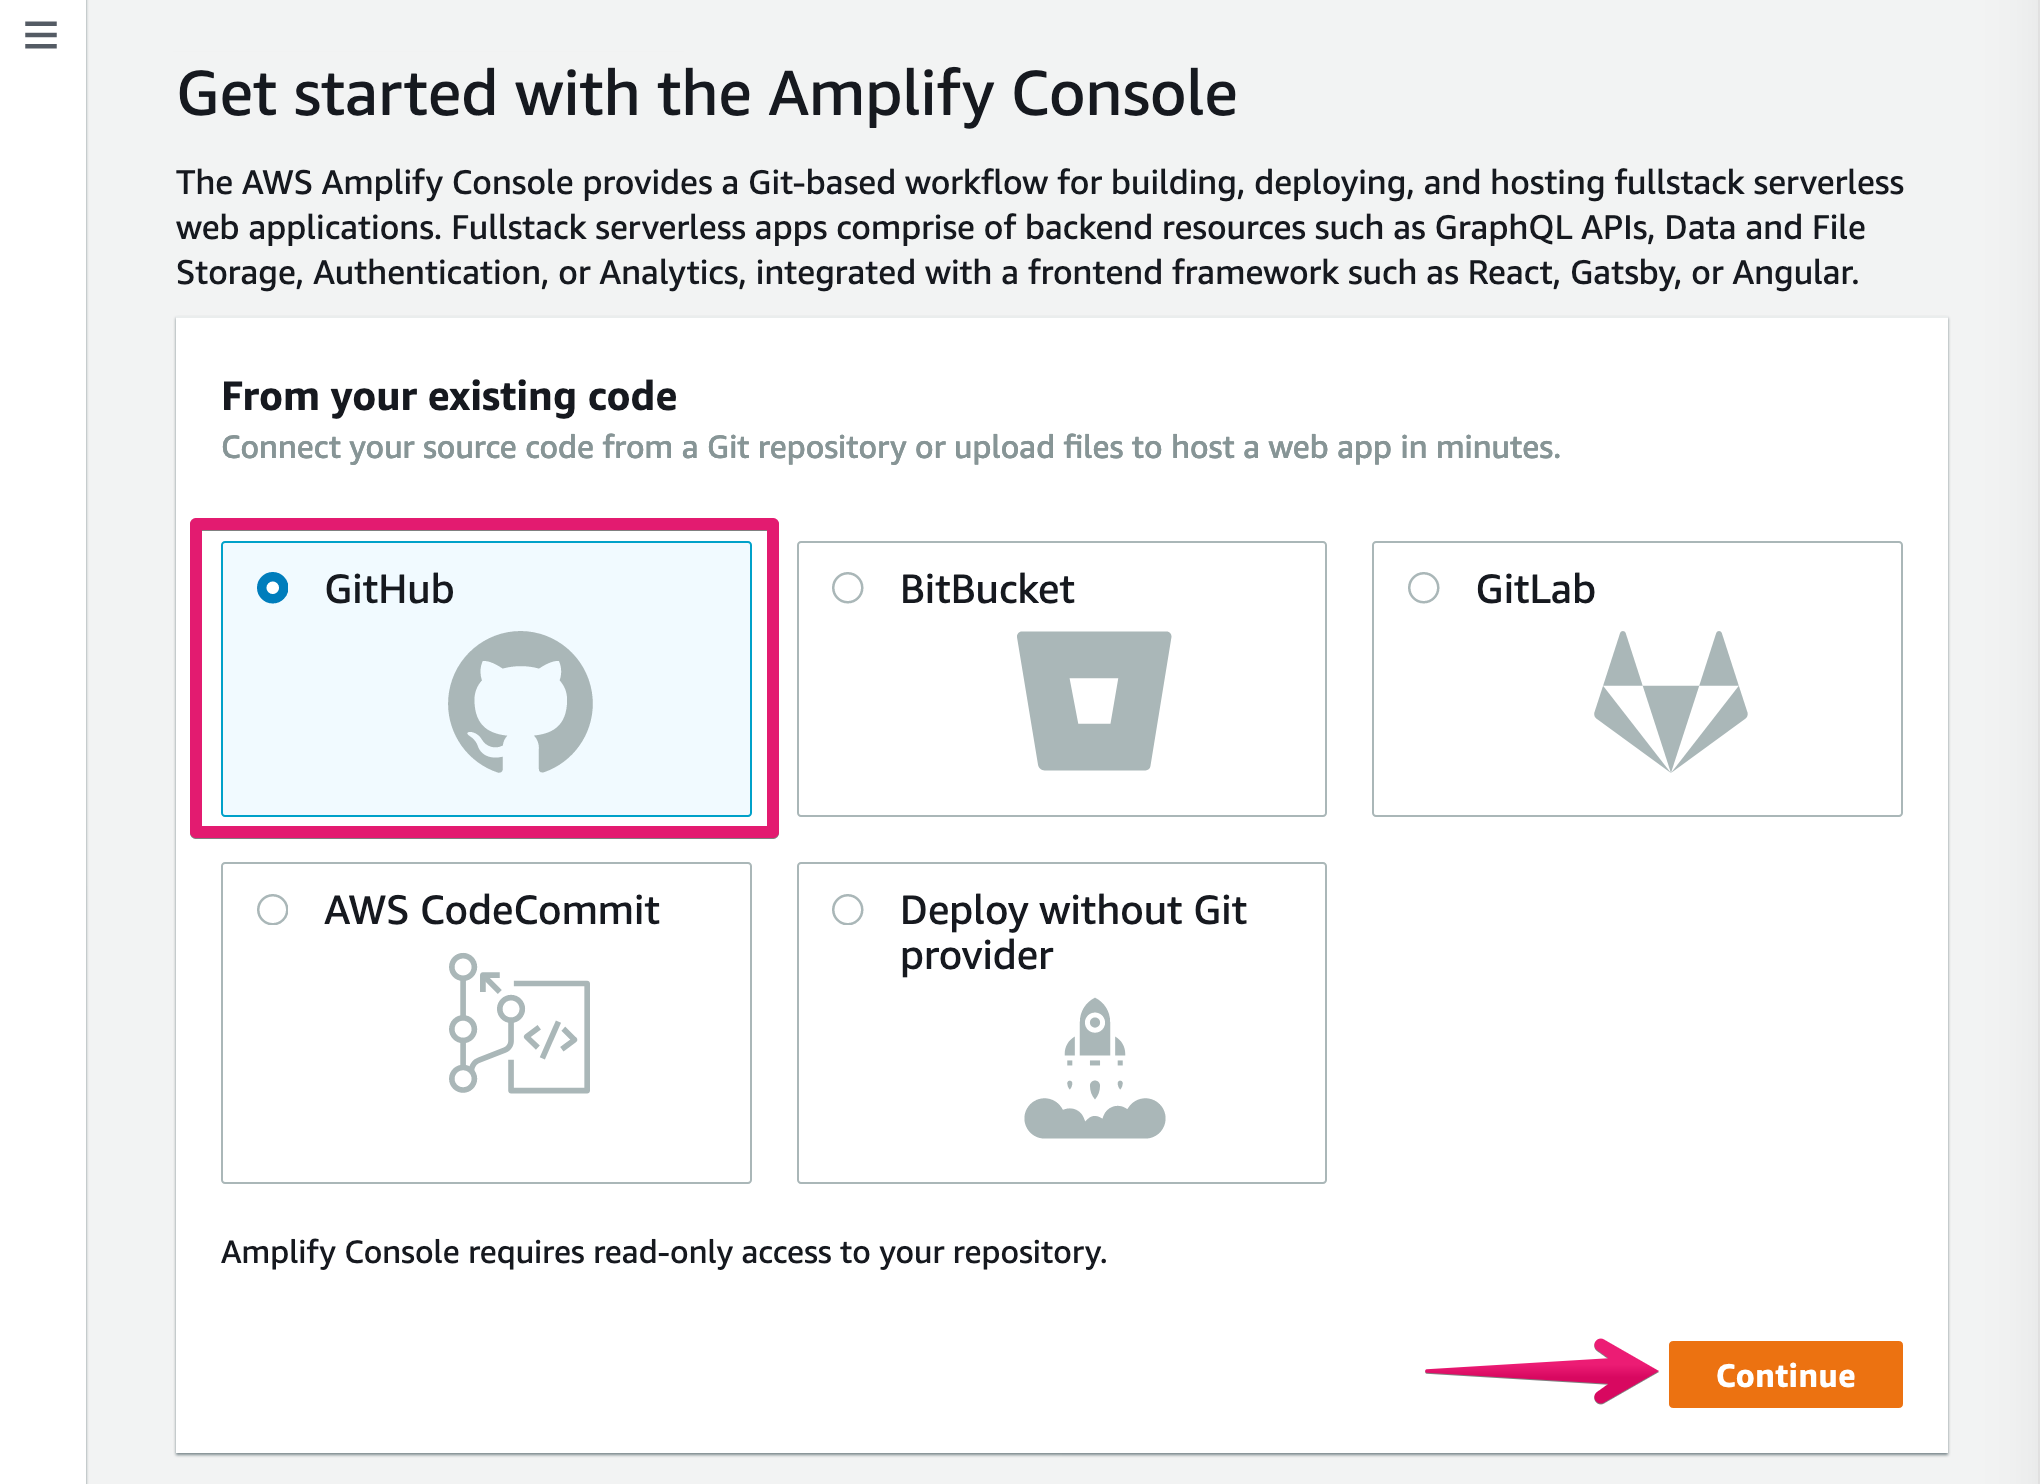
4. Click [Authorize aws-amplify-console] button to continue
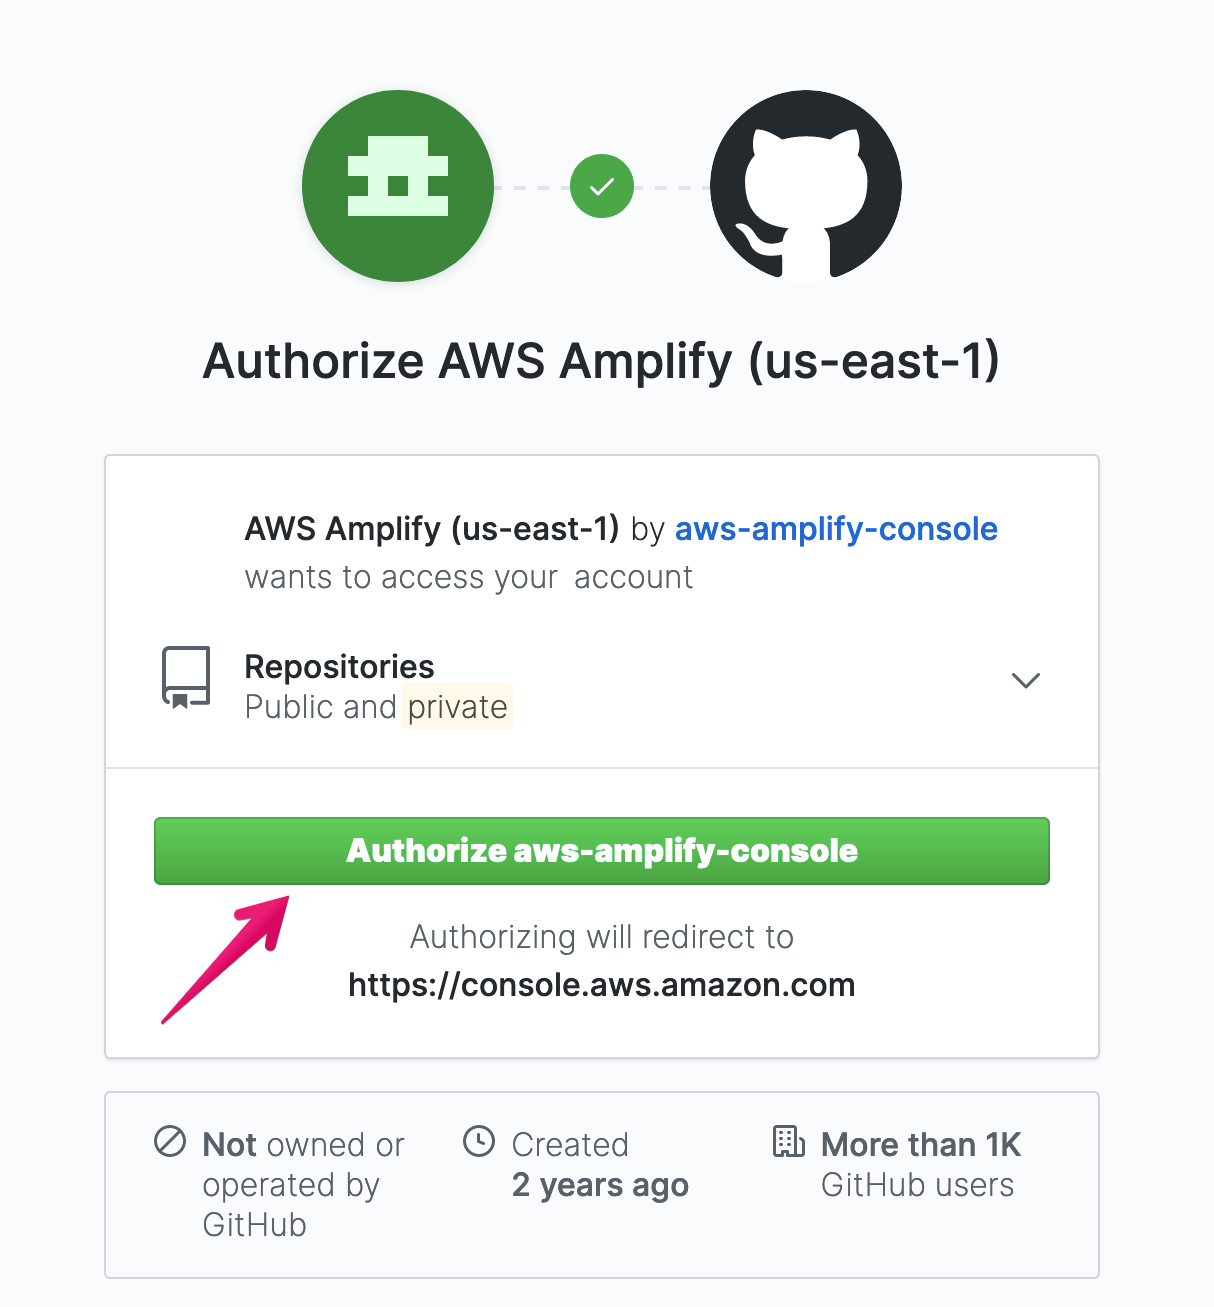
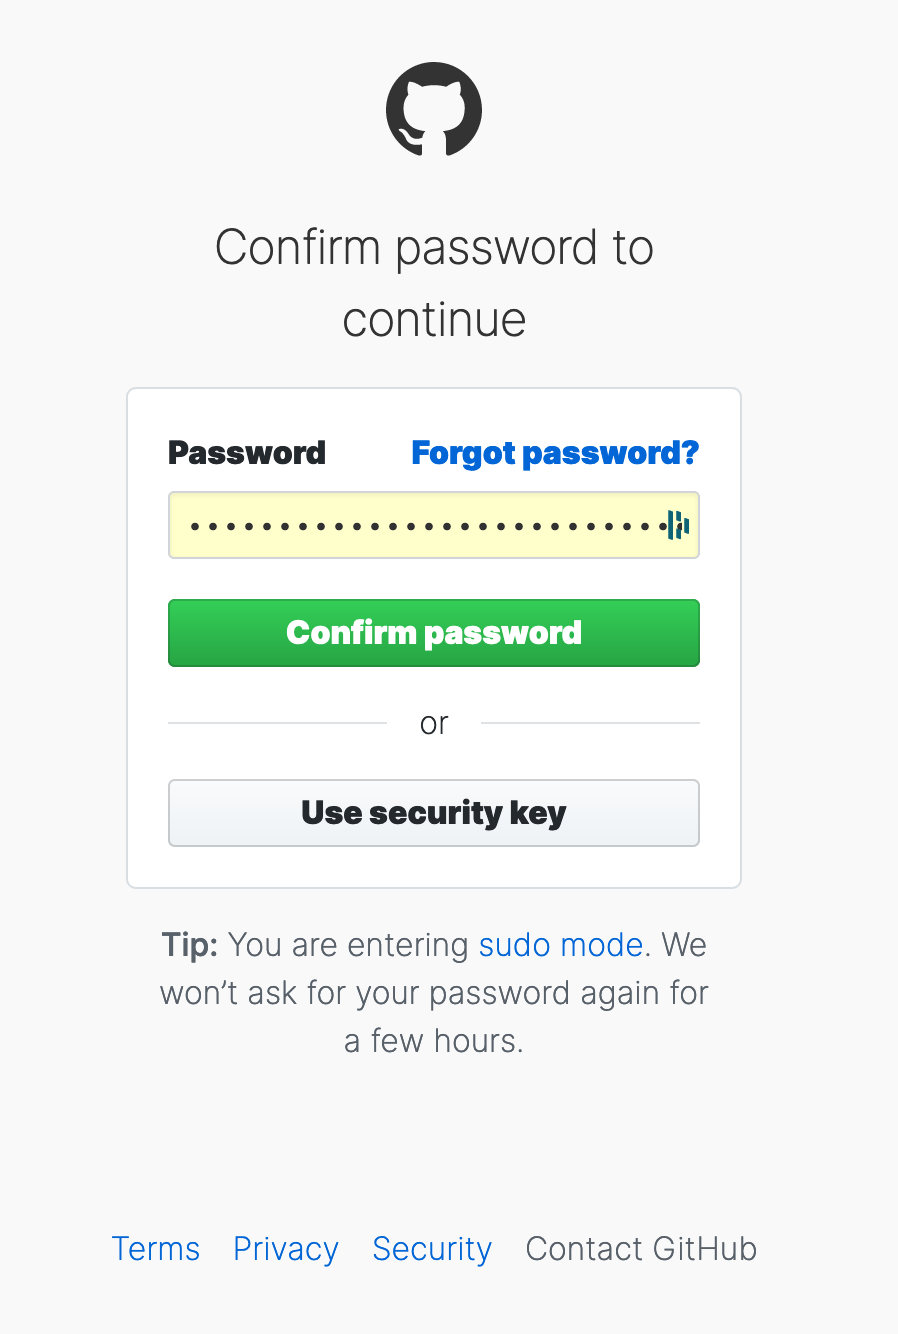
5. Fill in password and click [Confirm password]
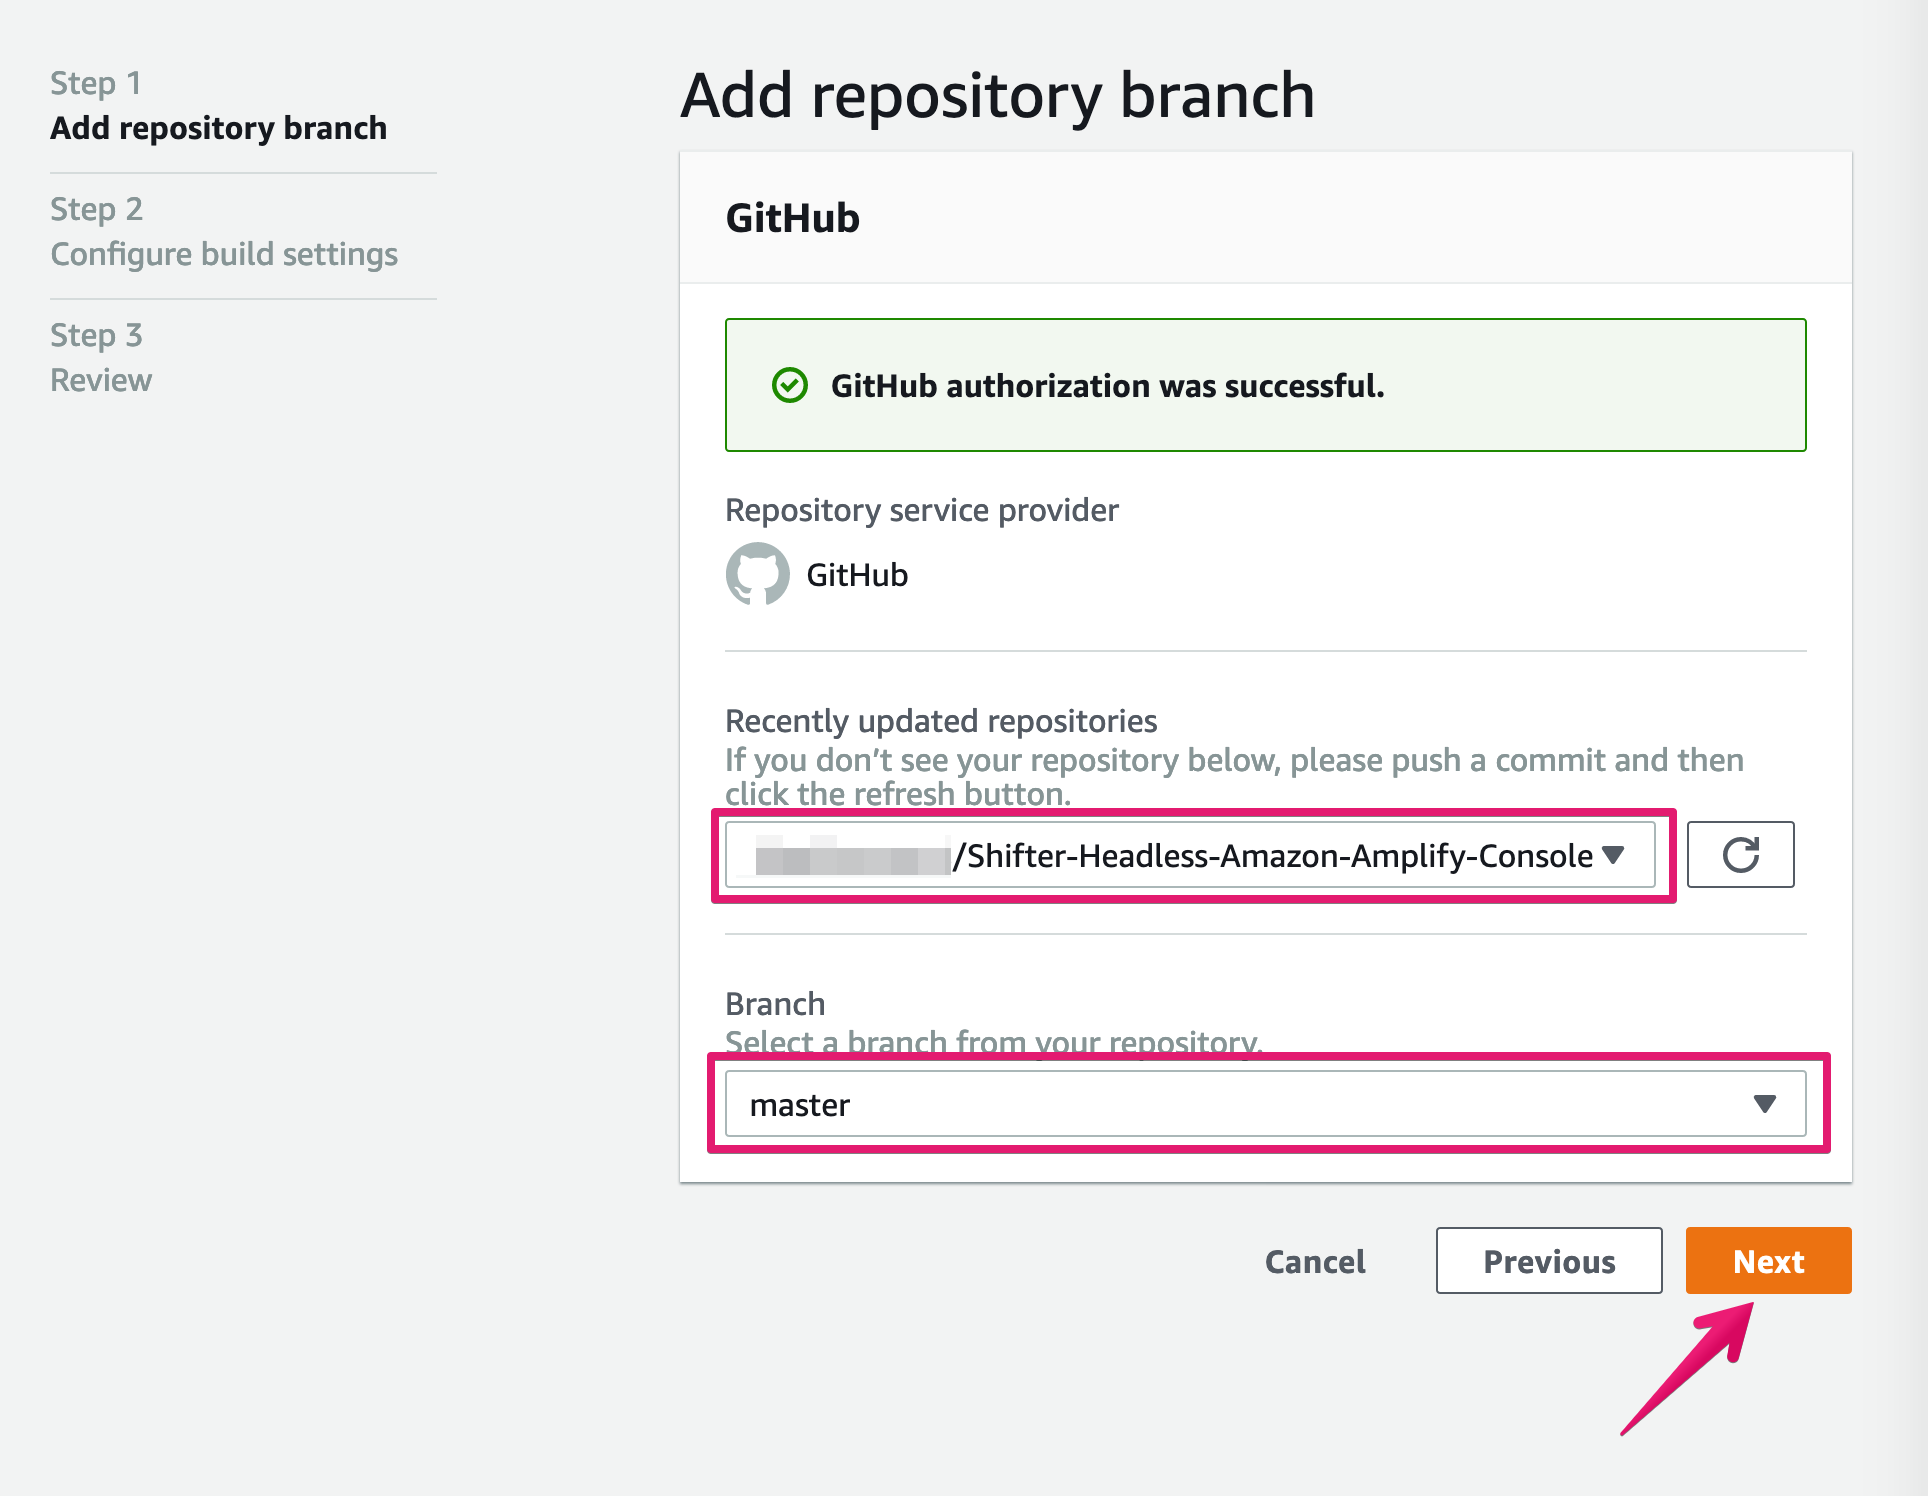
6. Add repository branch and click [Next] button.
Repository: Shifter-Headless_Amazon-Amplify-Console
Branch: master
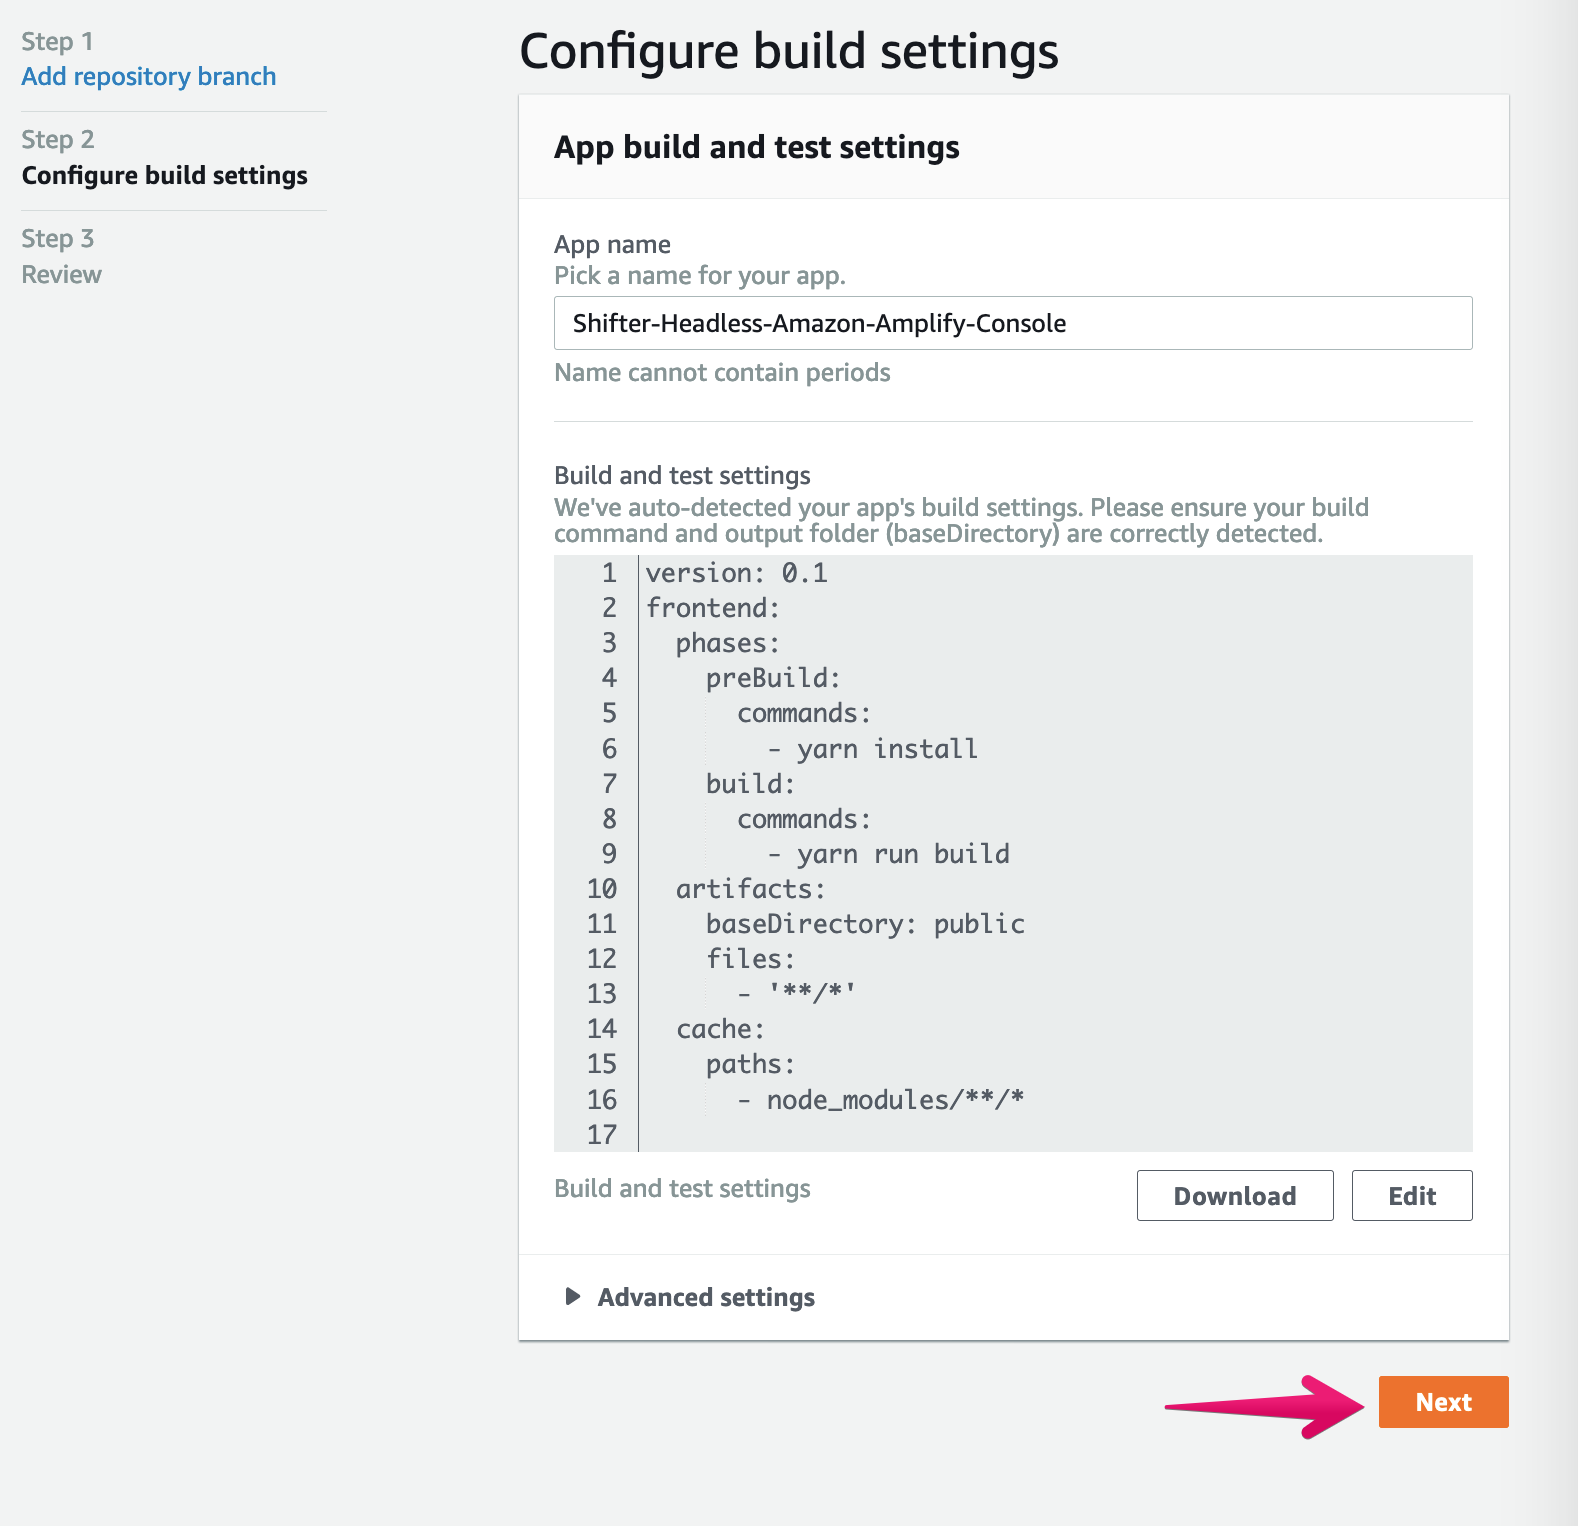
7. Configure build settings and click [Next] to continue
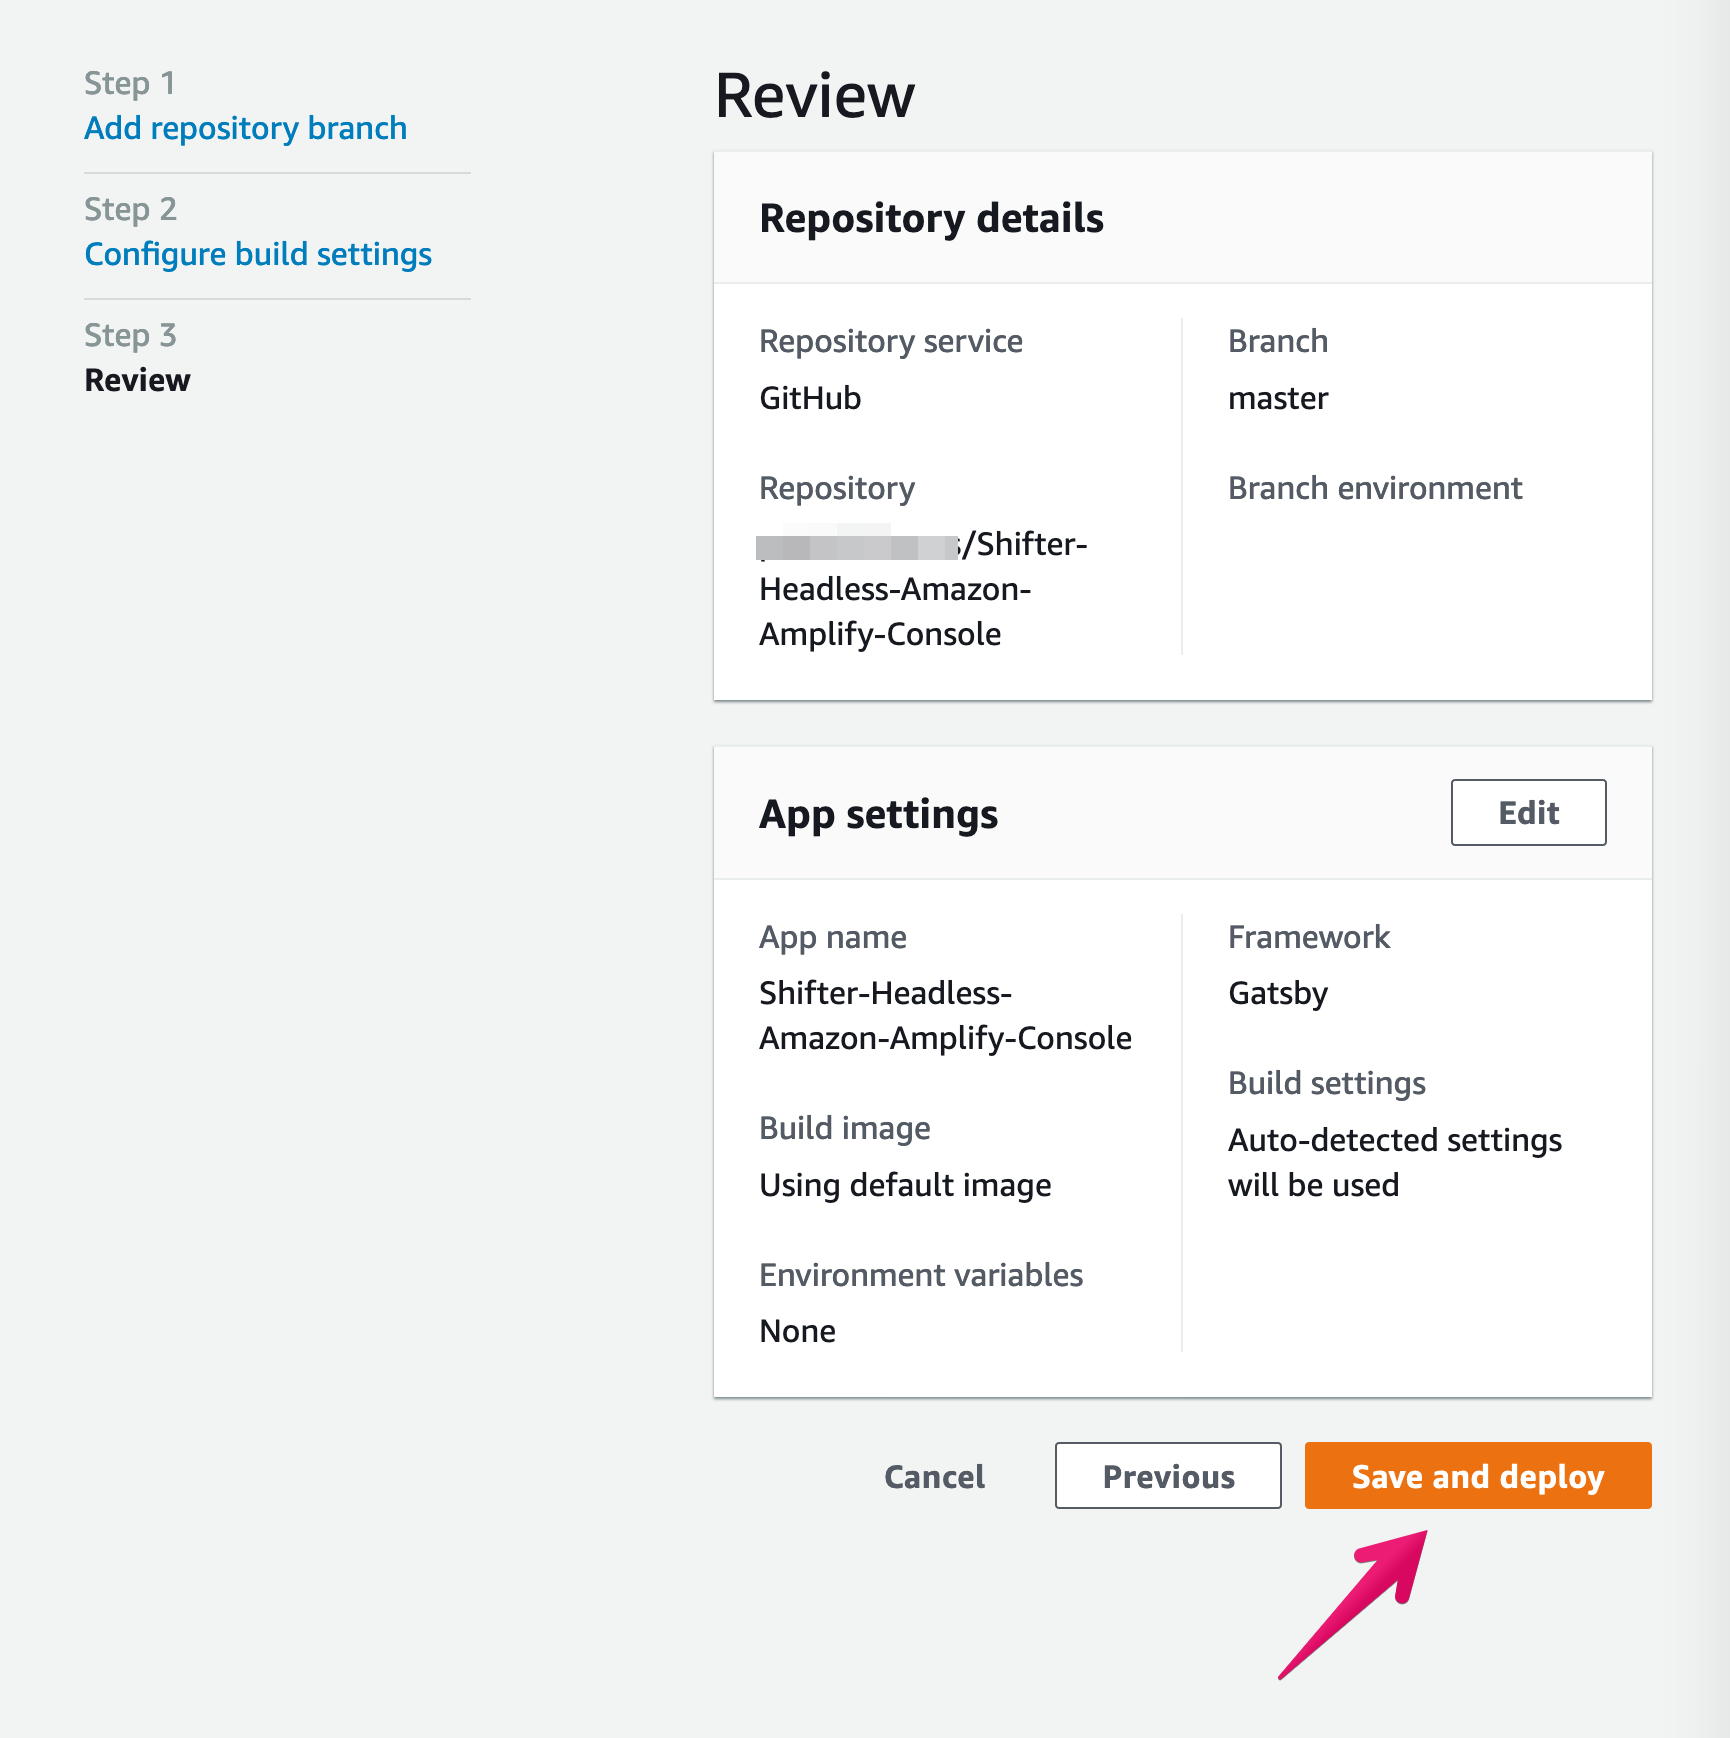
8. Click [Save and deploy]
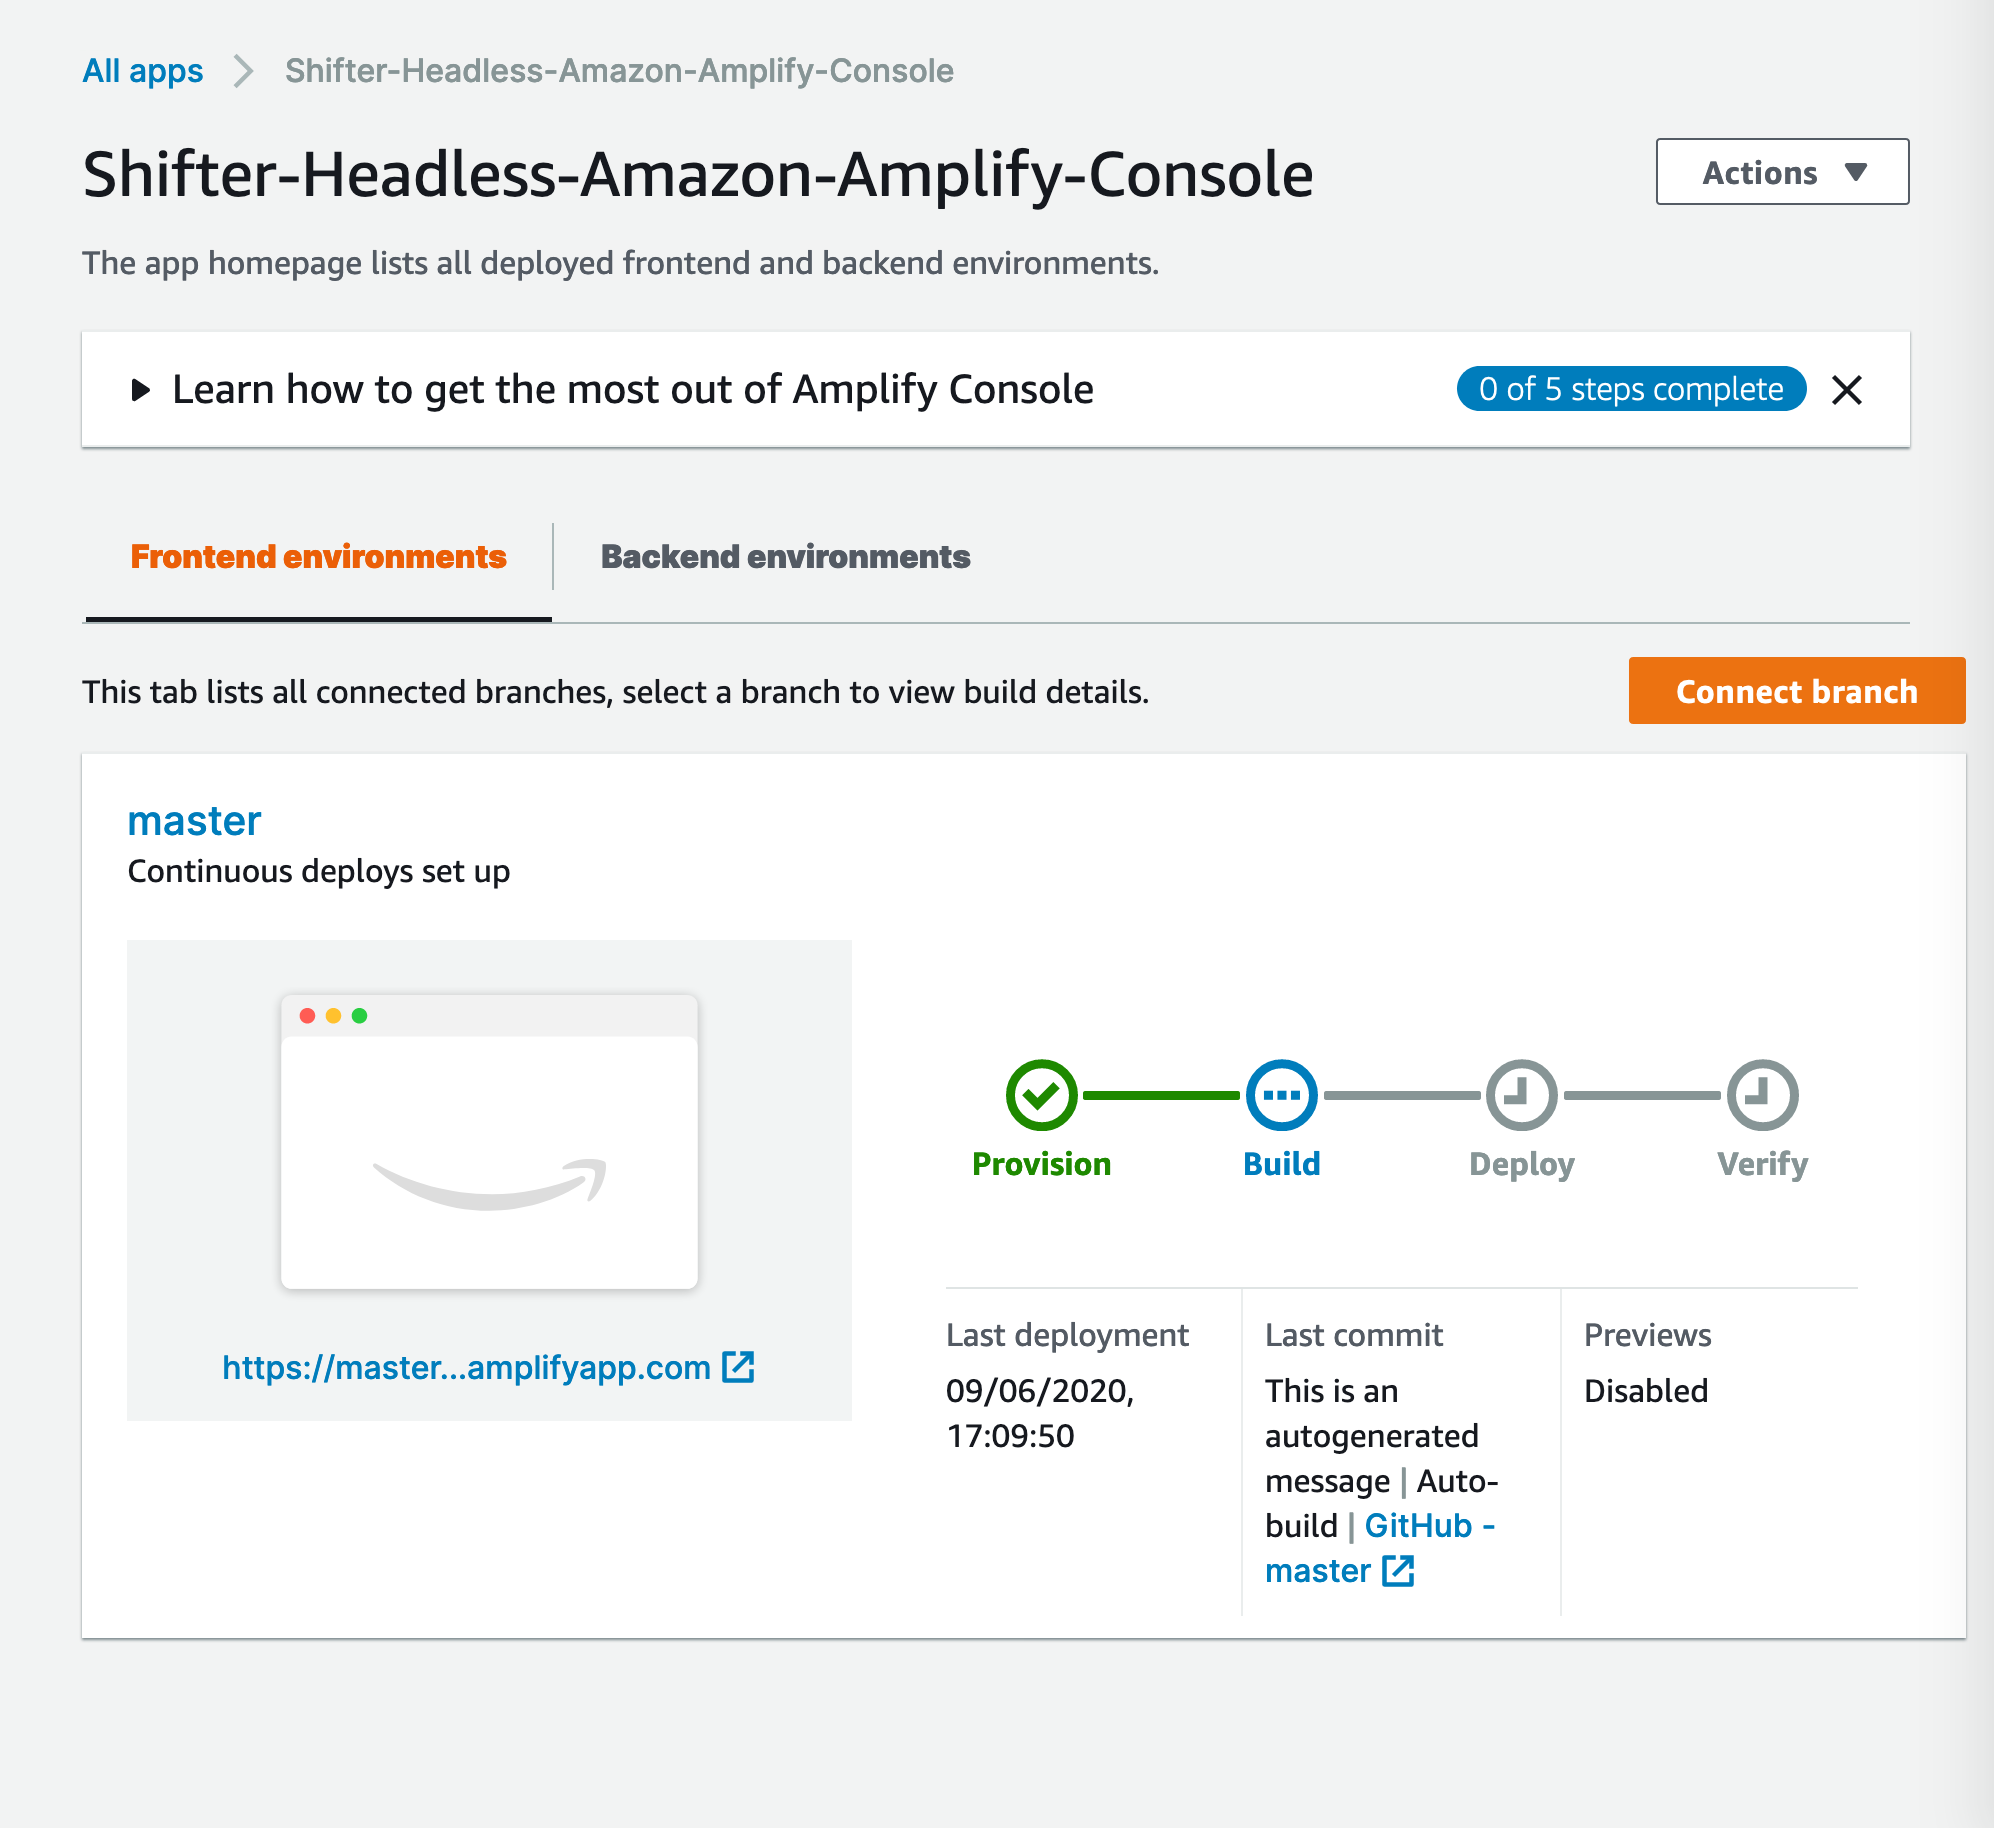
9. Actions has been Installed and now initial building has started
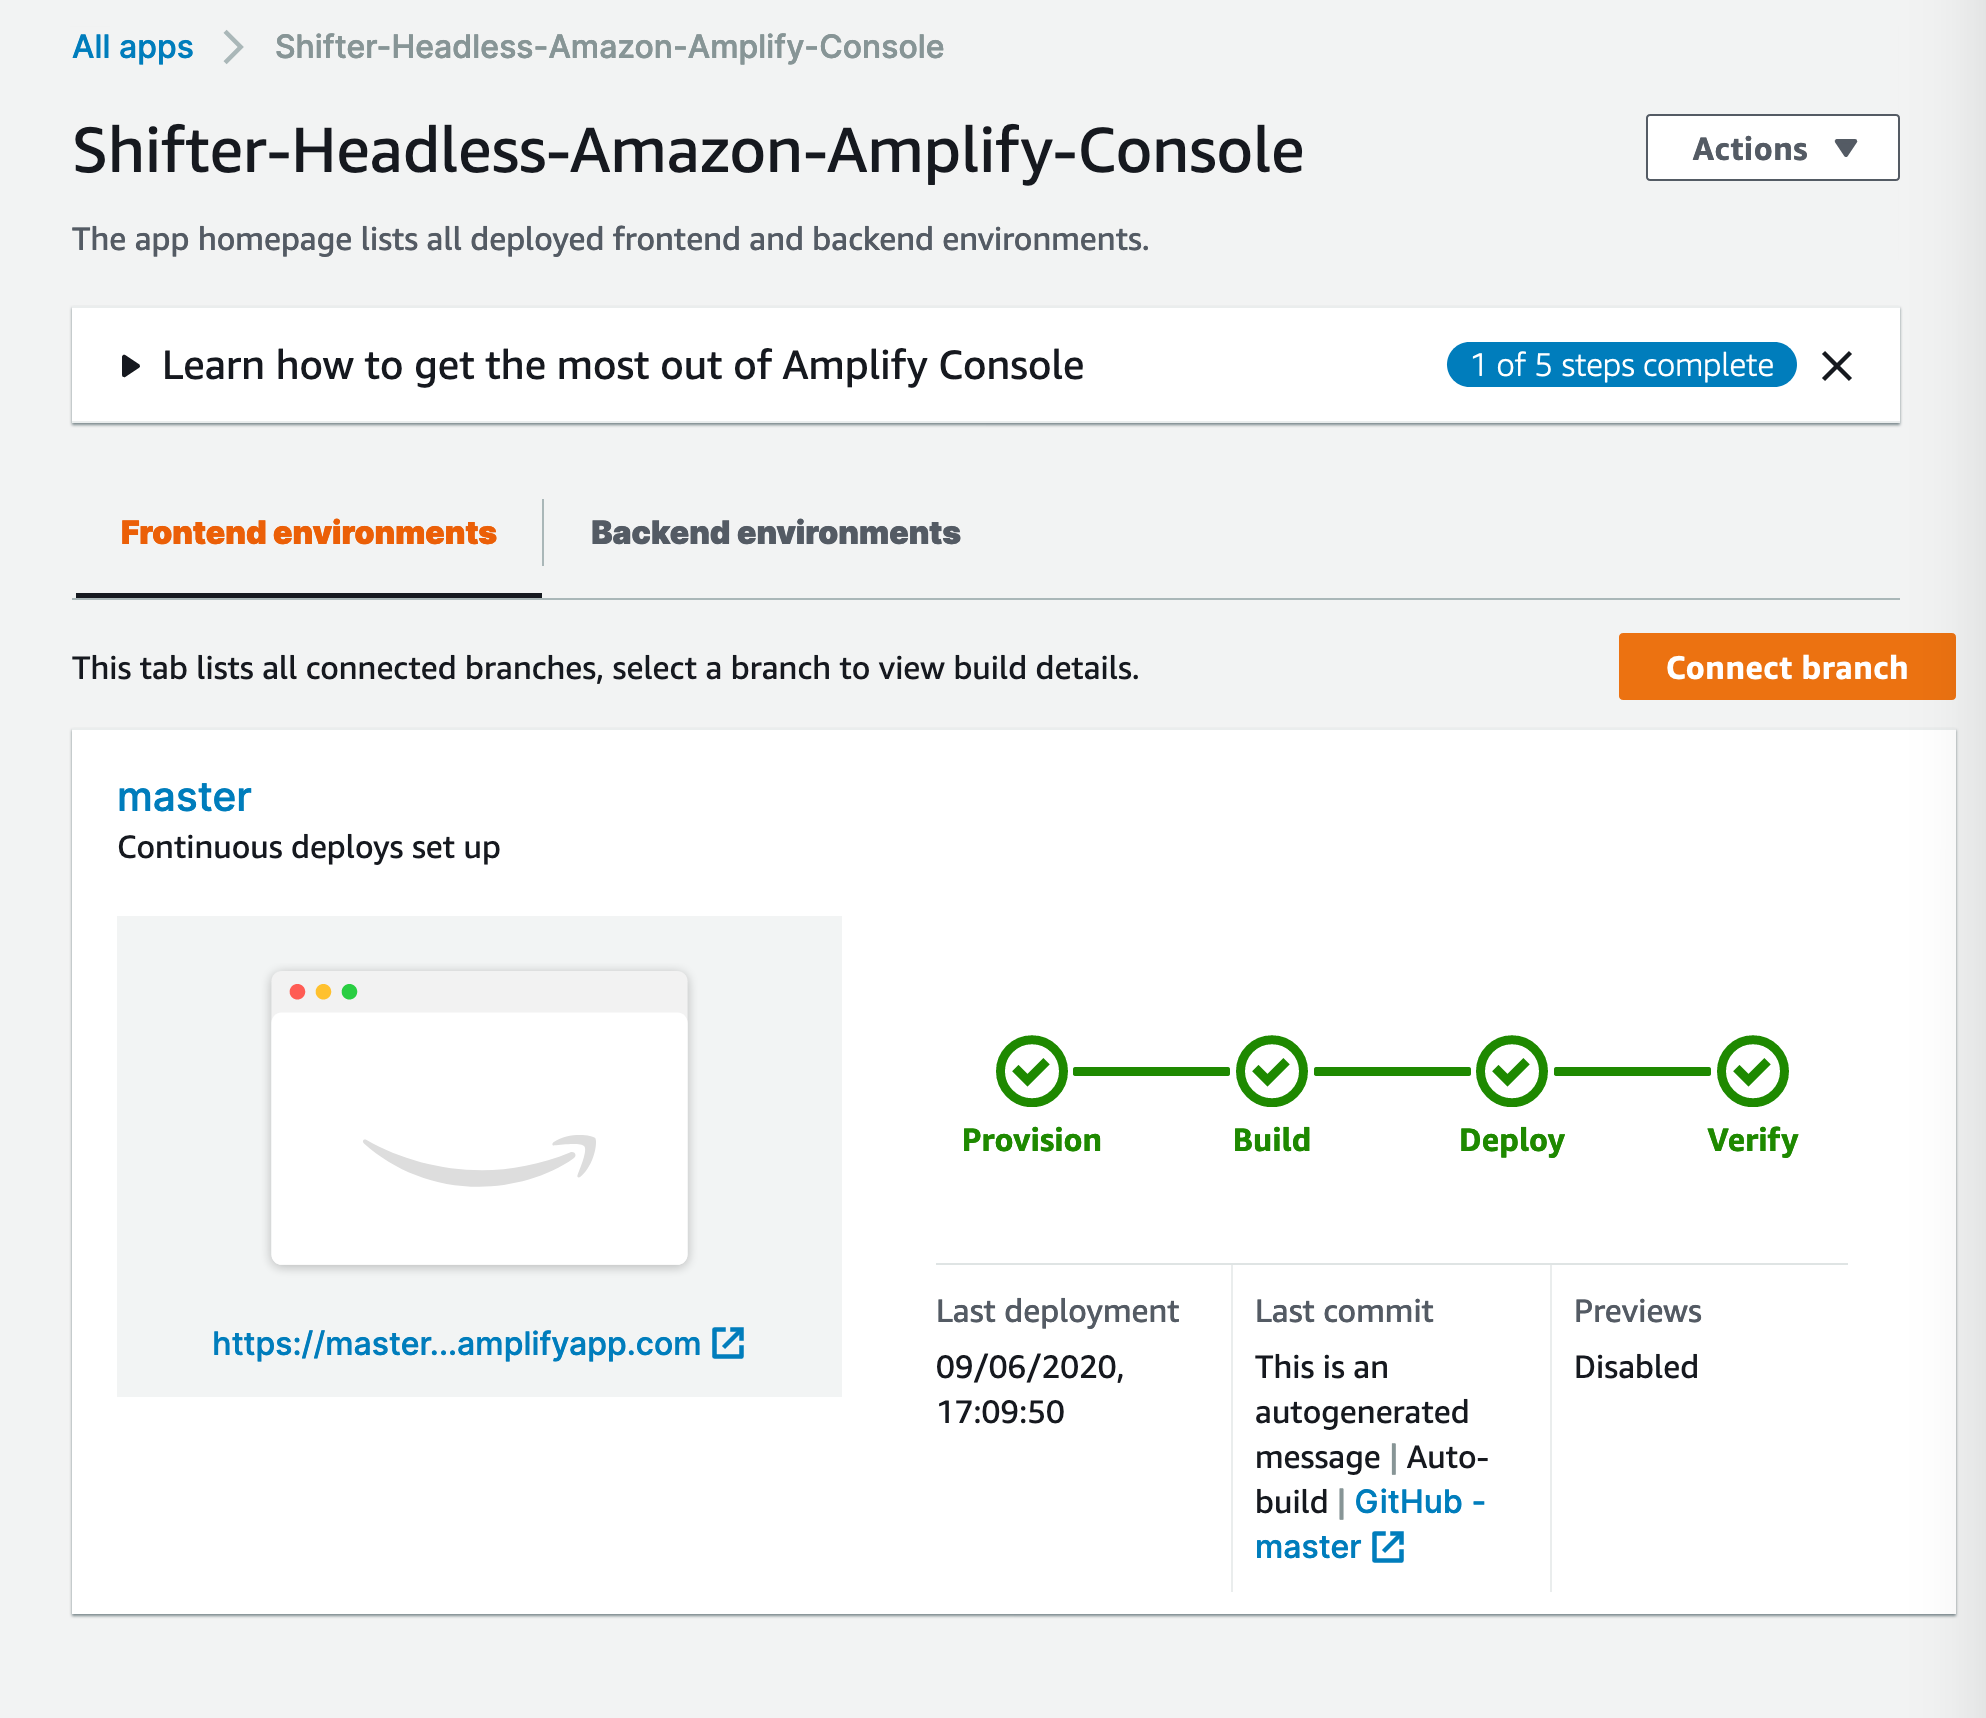
10. Initial build is successful
Working with the Gatsby starter kit
1. Copy URL of our starter kit repository (getshifter/gatsby-starter-wordpress-typescript)
https://github.com/getshifter/gatsby-starter-wordpress-typescript
2. Download it to local
In this document, copy files to ~/Shifter-Headless-Amazon-Amplify-Console/ directory.
$ gatsby new Shifter-Headless-Amazon-Amplify-Console https://github.com/getshifter/gatsby-starter-wordpress-typescript

info Creating new site from git: https://github.com/getshifter/gatsby-starter-wordpress-typescript.git
Cloning into 'atsby-starter-wordpress-typescript'...

info Initialising git in atsby-starter-wordpress-typescript
Initialized empty Git repository in /Users/YOURNAME/Shifter-Headless-Amazon-Amplify-Console.git/
info Create initial git commit in Shifter-Headless-Amazon-Amplify-Console
info
Your new Gatsby site has been successfully bootstrapped. Start developing it by running:
cd Shifter-Headless-Amazon-Amplify-Console
gatsby develop
3. Edit gatsby-config.js with a text editor or vi command
You need to update some values:
3-1. Rewrite baseURL in line 23 to your WordPress URL without https://
baseUrl: "YOUR-WORDPRESS-URL.getshifter.co",3-2. [Optional] Rewrite searchAndReplaceContentUrls section
From
// Search and Replace Urls across WordPress content.
// searchAndReplaceContentUrls: {
// sourceUrl: "https://central.wordcamp.org",
// replacementUrl: "https://localhost:8000",
// },
to
// Search and Replace Urls across WordPress content.
searchAndReplaceContentUrls: {
sourceUrl: "https://YOUR-WORDPRESS-URL.getshifter.co"",
// replacementUrl: "https://localhost:8000",
},
And save changes.
4. Run “gatsby develop” command to boot the server and check contents
$ gatsby develop

[......]

-> wordpress__POST fetched : 40
-> wordpress__PAGE fetched : 19

[......]

You can now view Shifter-Headless-Amazon-Amplify-Console in the browser.
⠀
http://localhost:8000/
⠀
View GraphiQL, an in-browser IDE, to explore your site's data and schema
⠀
http://localhost:8000/___graphql
⠀
Note that the development build is not optimized.
To create a production build, use gatsby build
⠀
success Building development bundle - 12.461s
5. Access the provided URL with a web browser
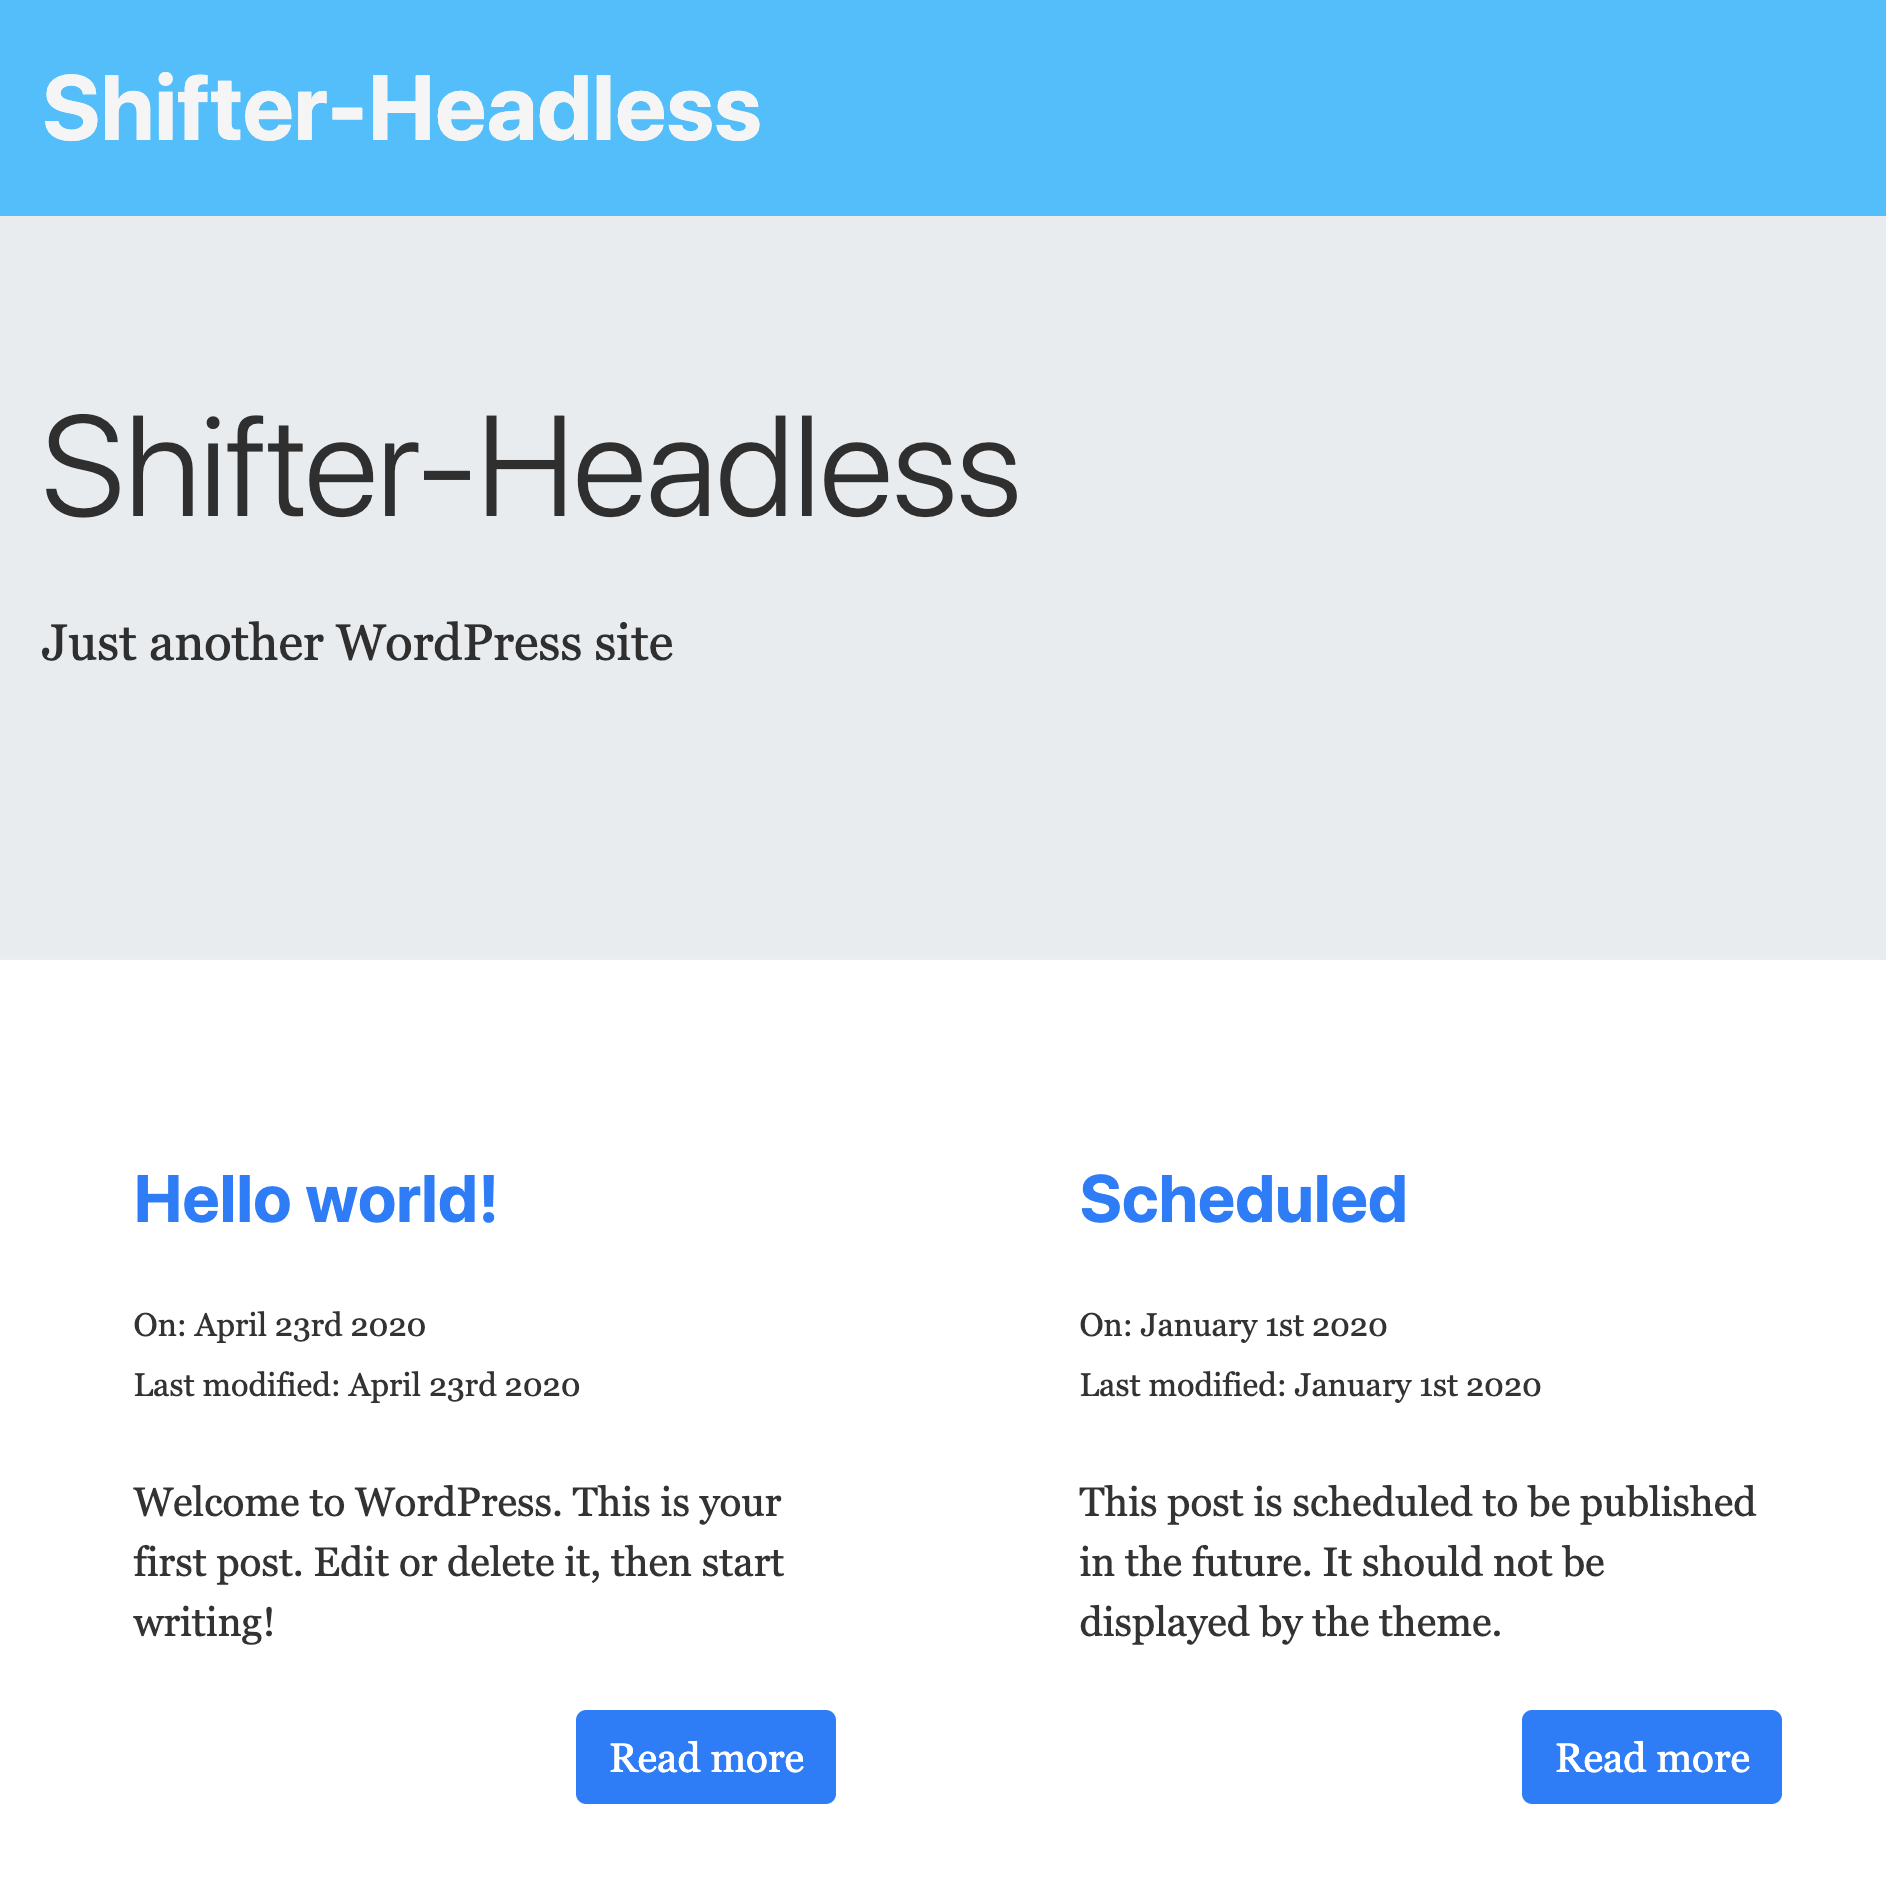
Open http://localhost:8000/ with Firefox, GoogleChrome, Edge or anything else, then you’ll get a sample page:
6. Hit [Ctrl] with [C] key to stop the local server
7. Build static files for publishing
Run gatsby build command, your contents which are generated to static files into public directory.
$ gatsby build

success open and validate gatsby-configs - 0.032s
success load plugins - 2.378s

[.....]
⠀
info Generated public/sw.js, which will precache 6 files, totaling 236235 bytes.
The following pages will be precached:
/offline-plugin-app-shell-fallback/index.html
success onPostBuild - 0.077s
info Done building in 56.884 sec
8. Add your GitHub’s URL as remote URL to the configuration file
$ git add remote origin git@github.com:YOUR-GITHUB-USERNAME/Shifter-Headless-Amazon-Amplify-Console.git9. … and commit your files
$ git add .
$ git commit -m "My first Gatsby's website with AWS Amplify Console"
$ git push origin/master

Enumerating objects: 53, done.
Counting objects: 100% (53/53), done.
Delta compression using up to 16 threads
Compressing objects: 100% (49/49), done.
Writing objects: 100% (53/53), 265.62 KiB | 1.74 MiB/s, done.
Total 53 (delta 5), reused 0 (delta 0), pack-reused 0
remote: Resolving deltas: 100% (5/5), done.
To github.com:YOUR-GITHUB-USERNAME/Shifter-Headless-Amazon-Amplify-Console.git
10. Make sure your repository has been updated
Access your repository: https://github.com/YOUR-GITHUB-USERNAME/Shifter-Headless-Amazon-Amplify-Console
Get the deployed site on AWS Amplify Console
1. Back to AWS Amplify Console
Check the deploying process
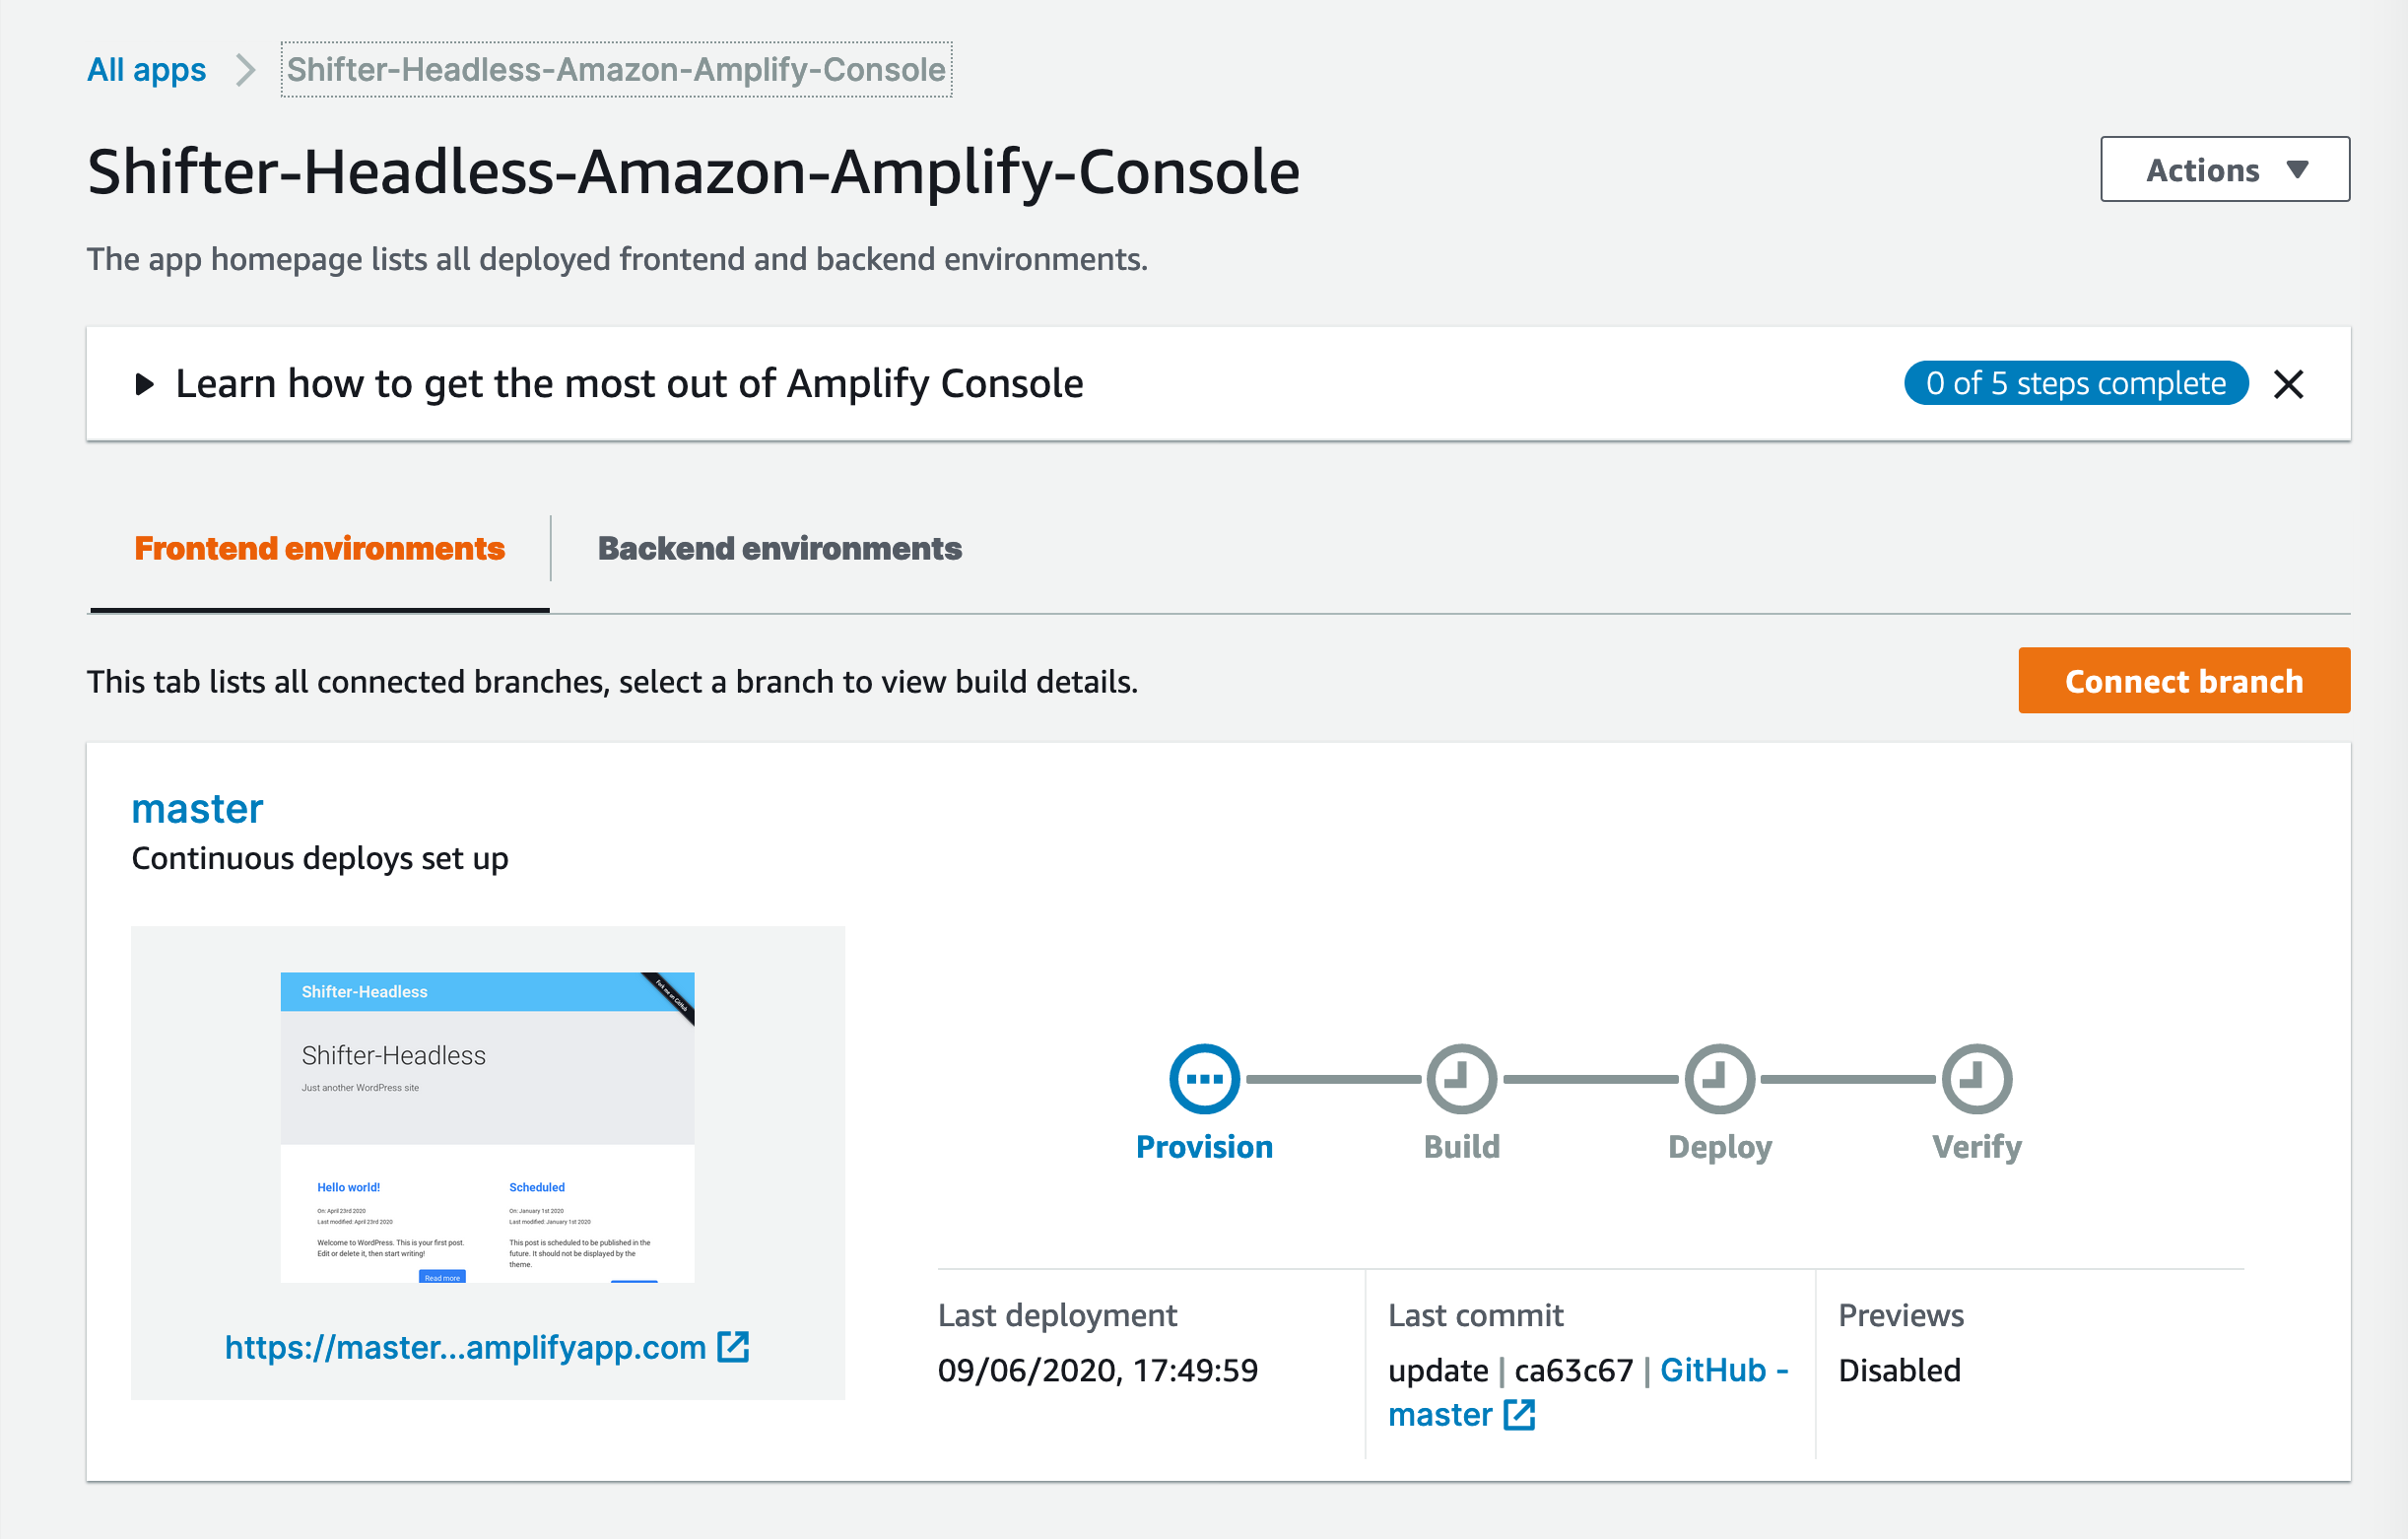
2. … Build and deployment is finished
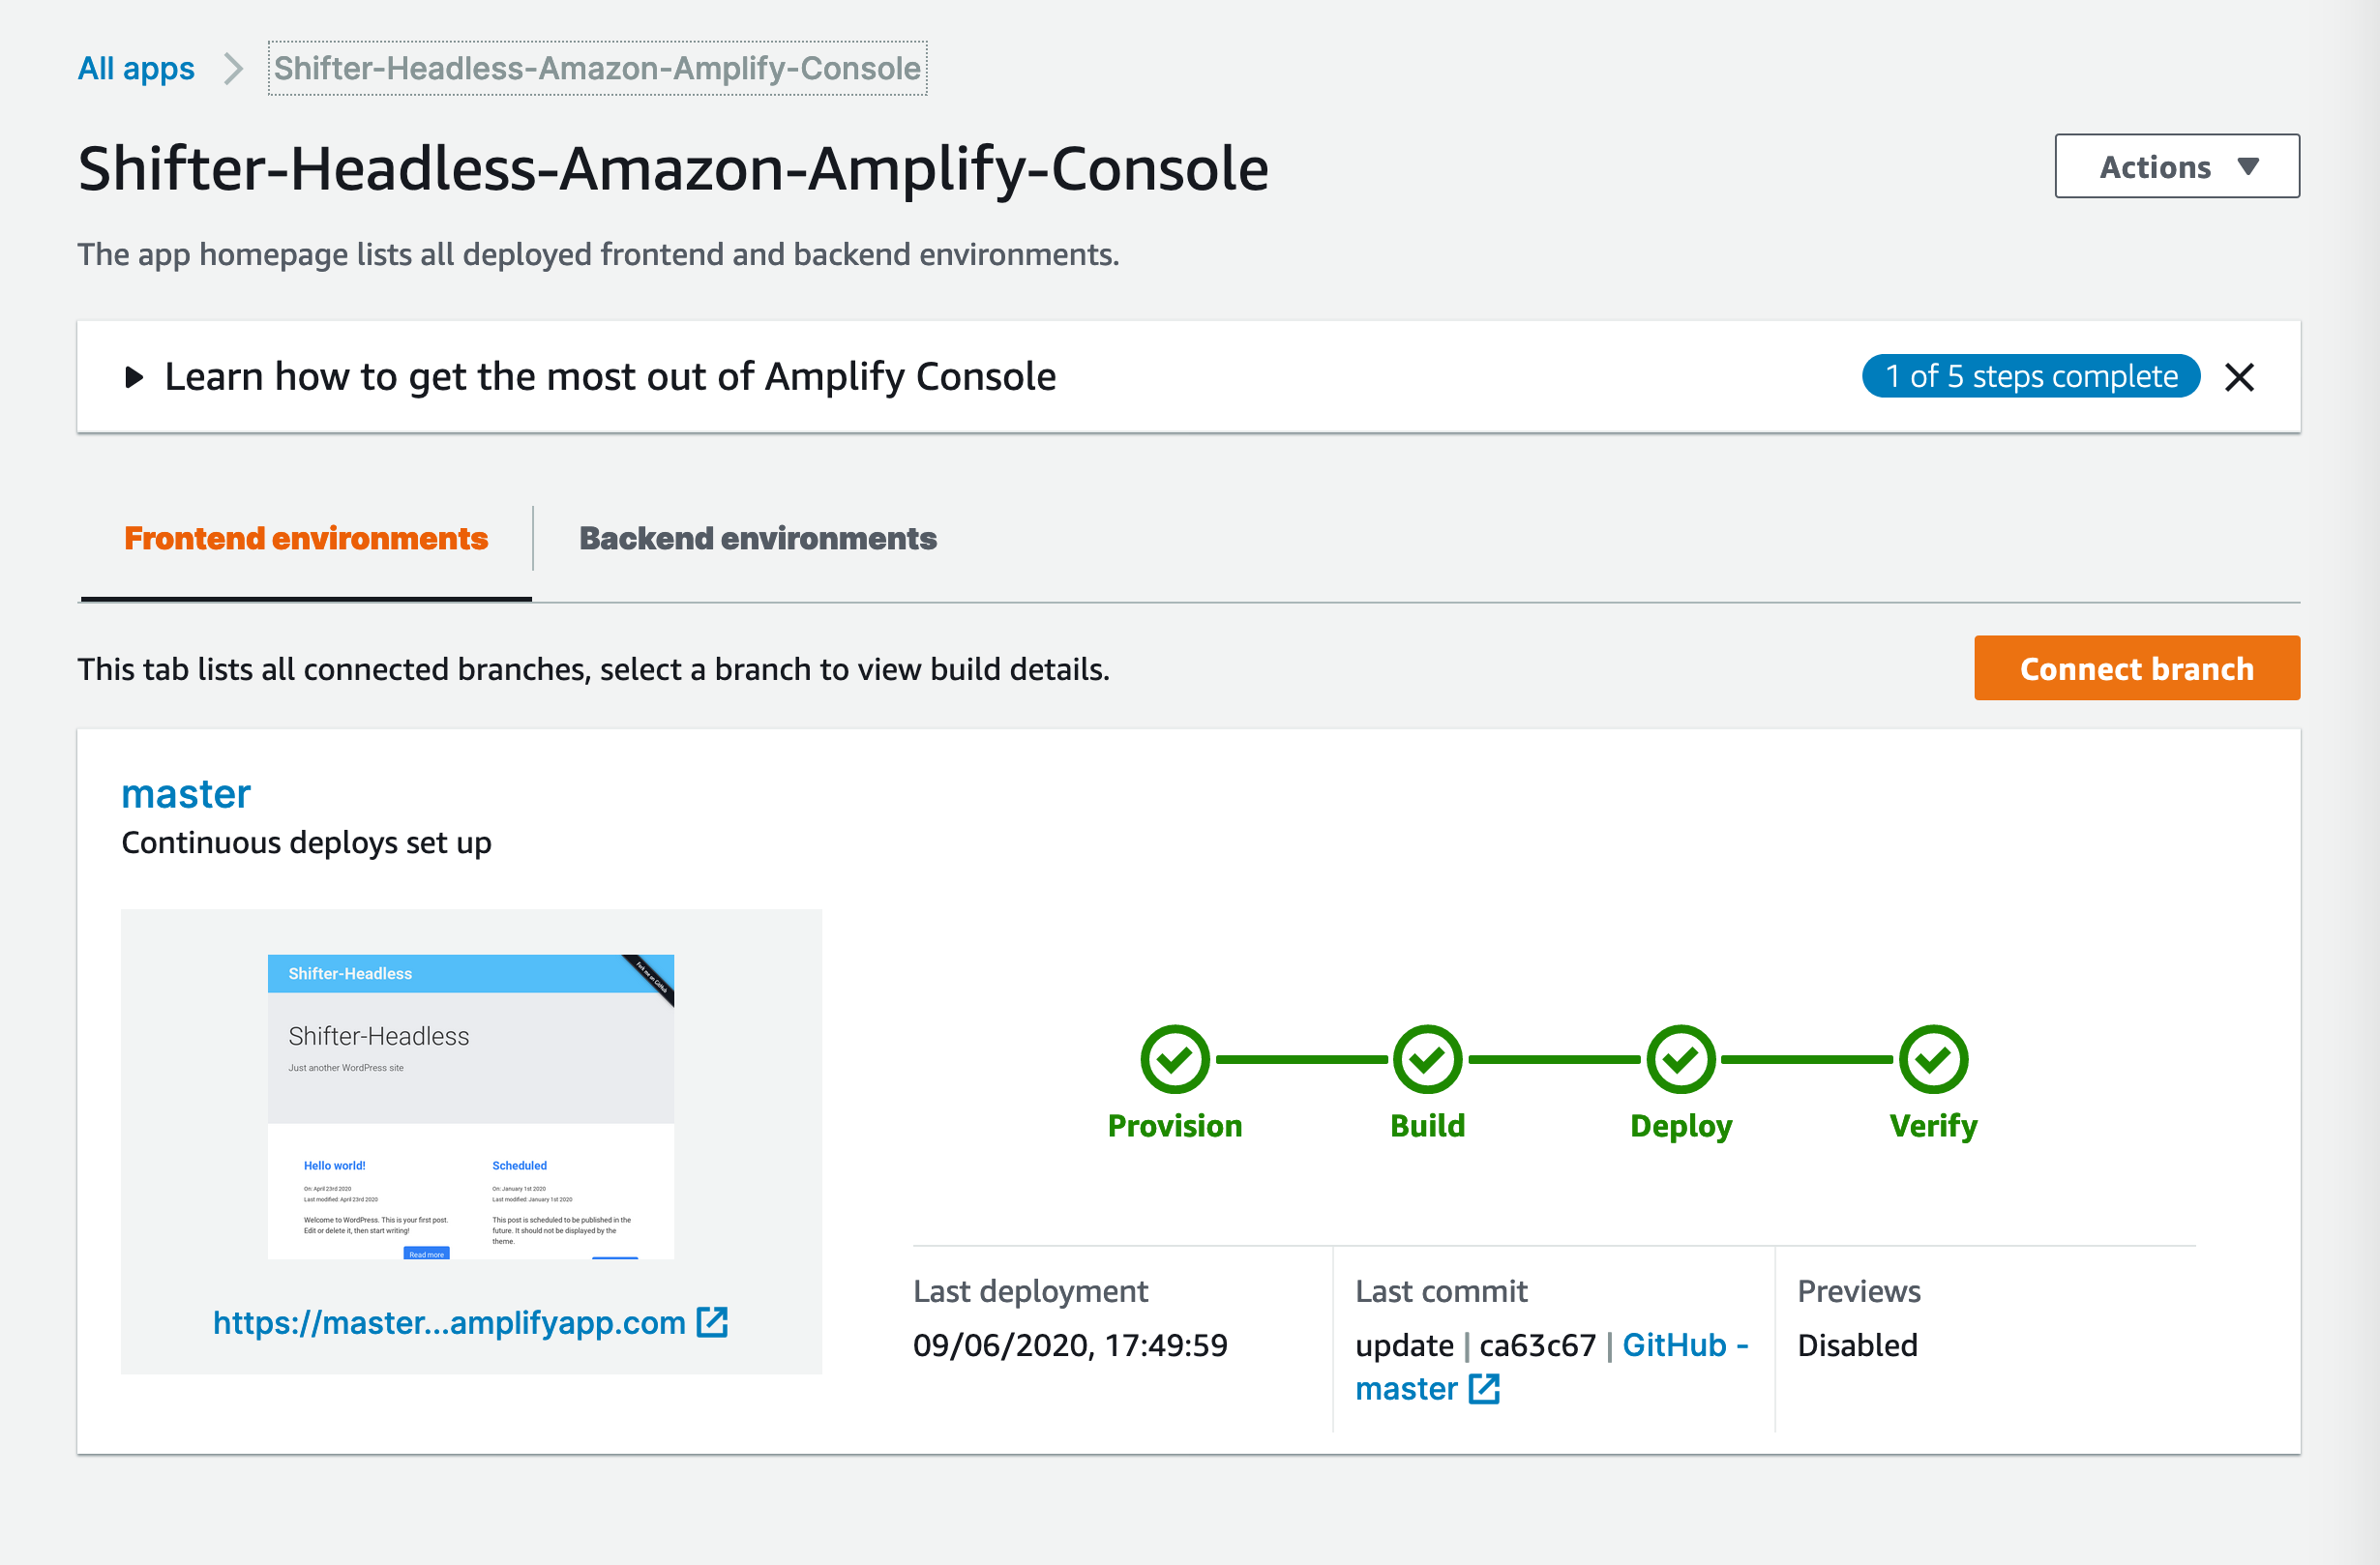
3. Click [Actions] pulldown menu, then click [View app setting]
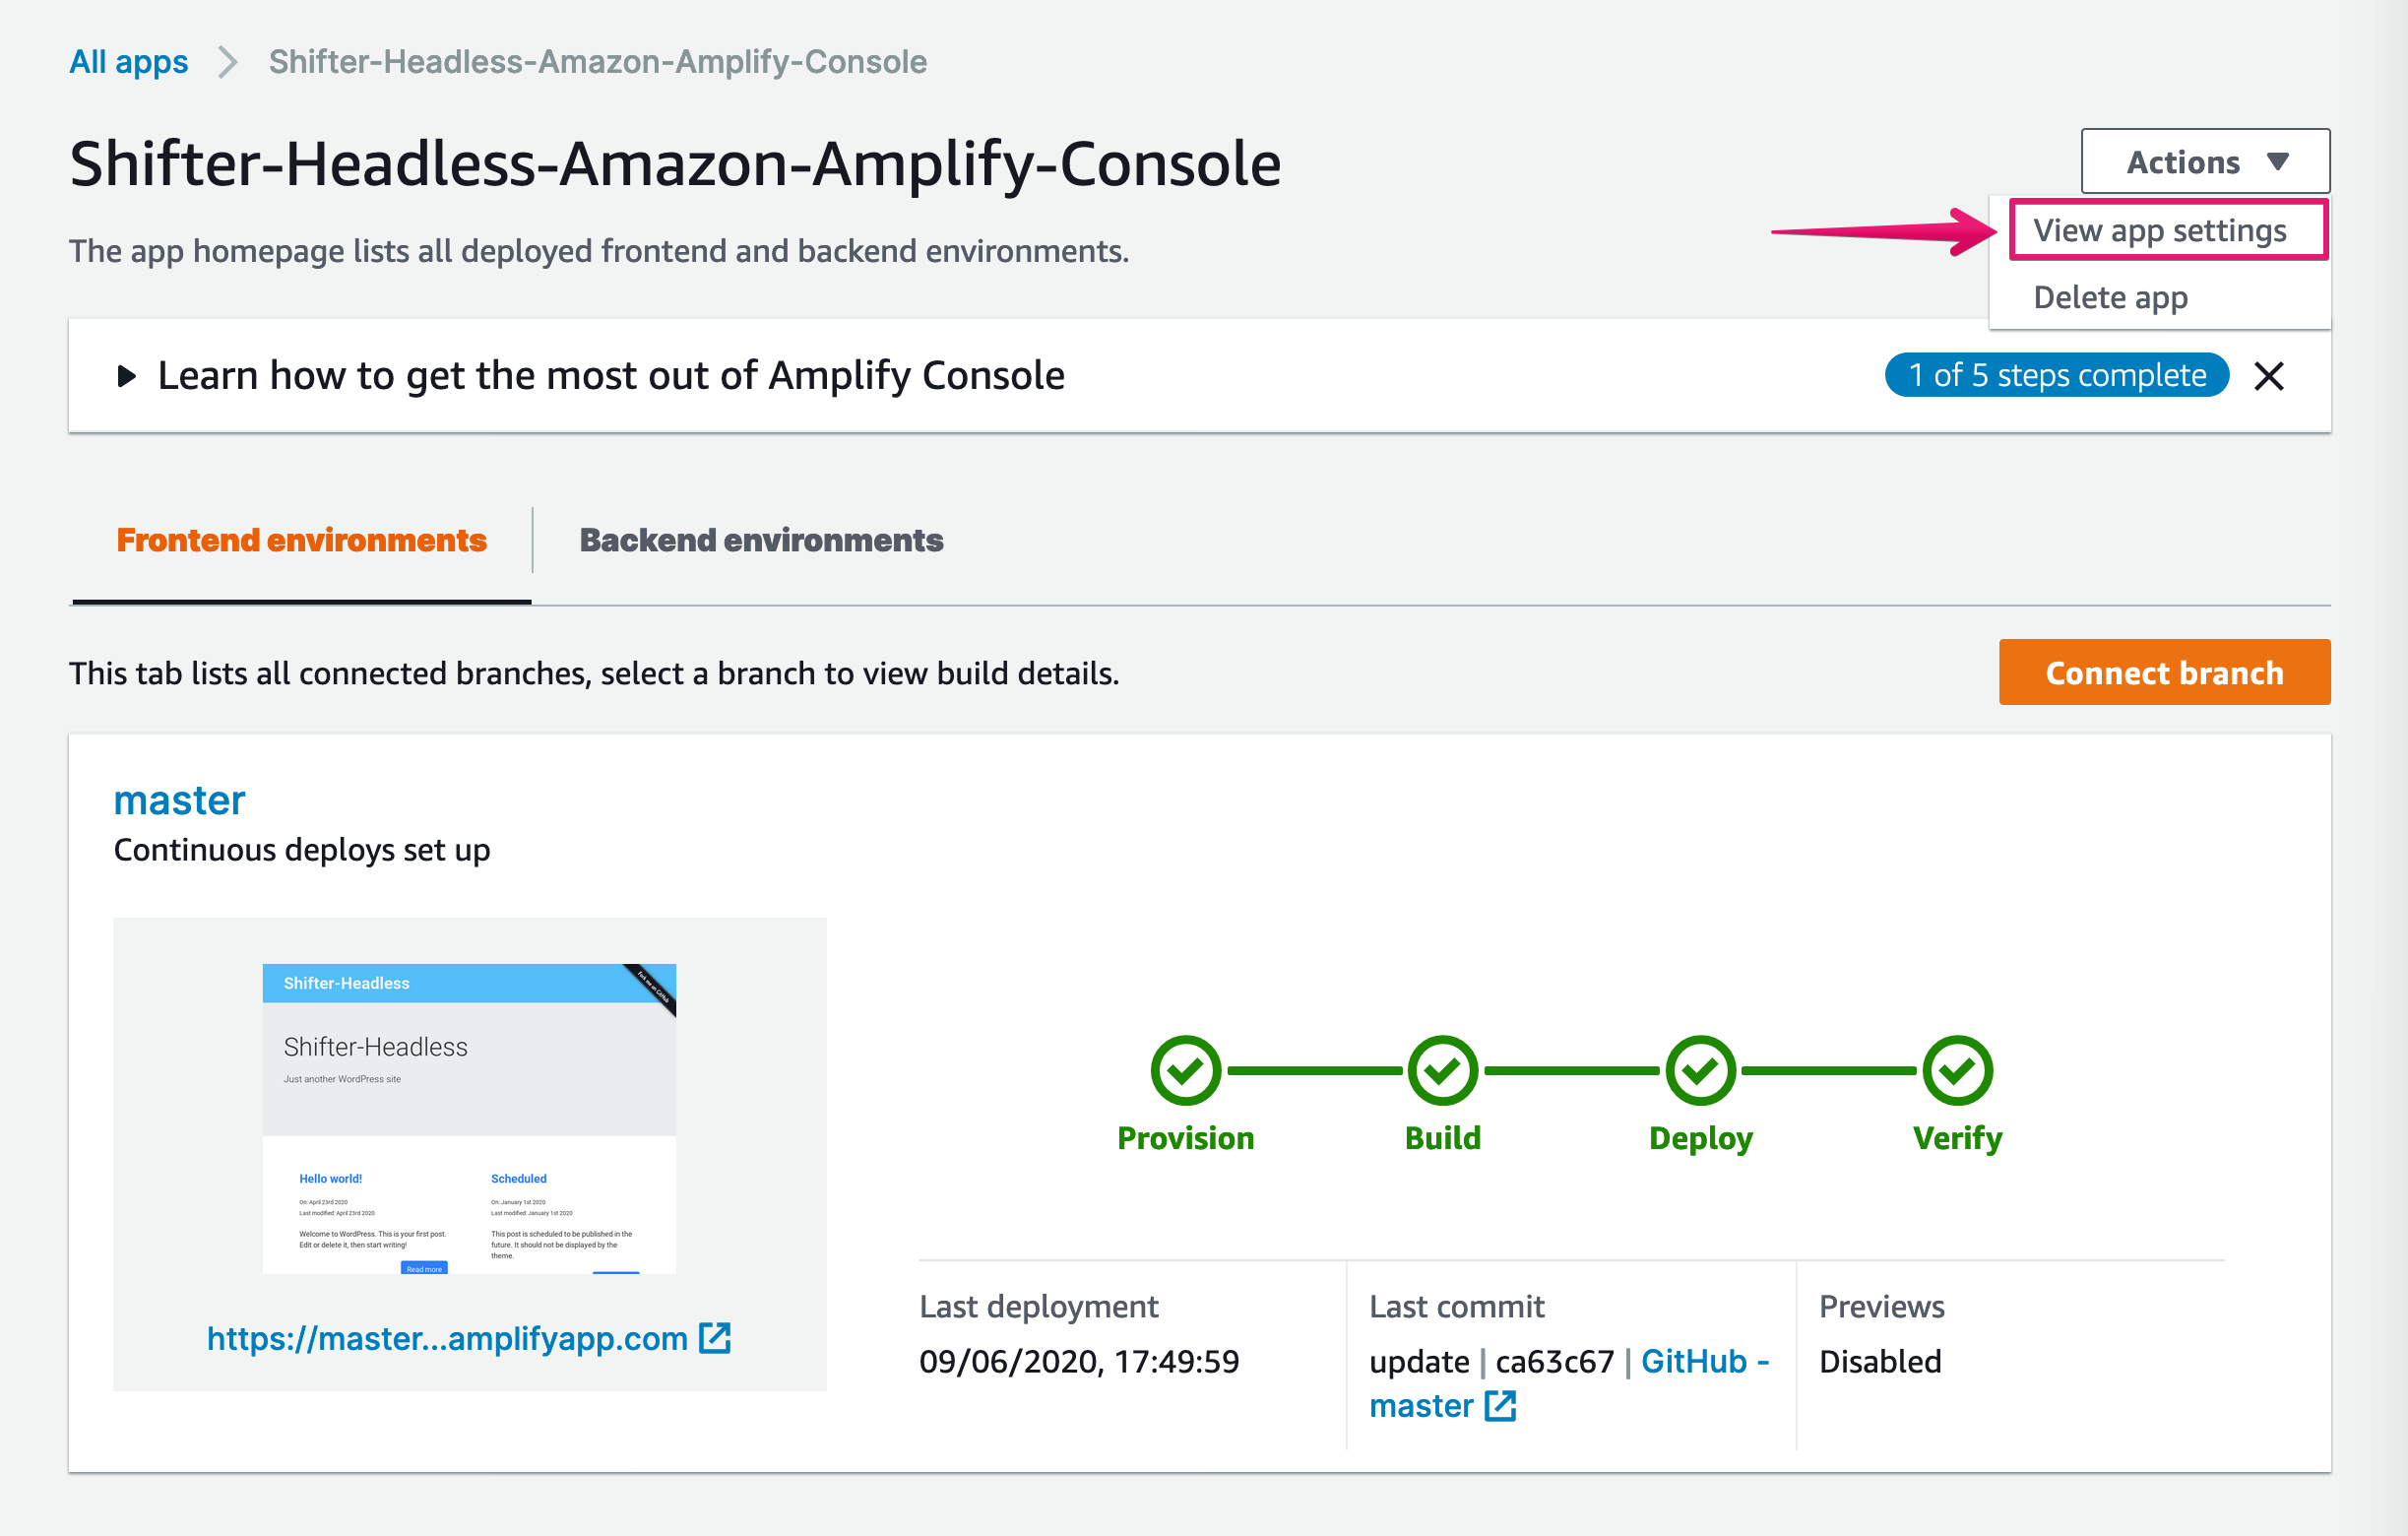
4. Click [Production branch URL] to view build results
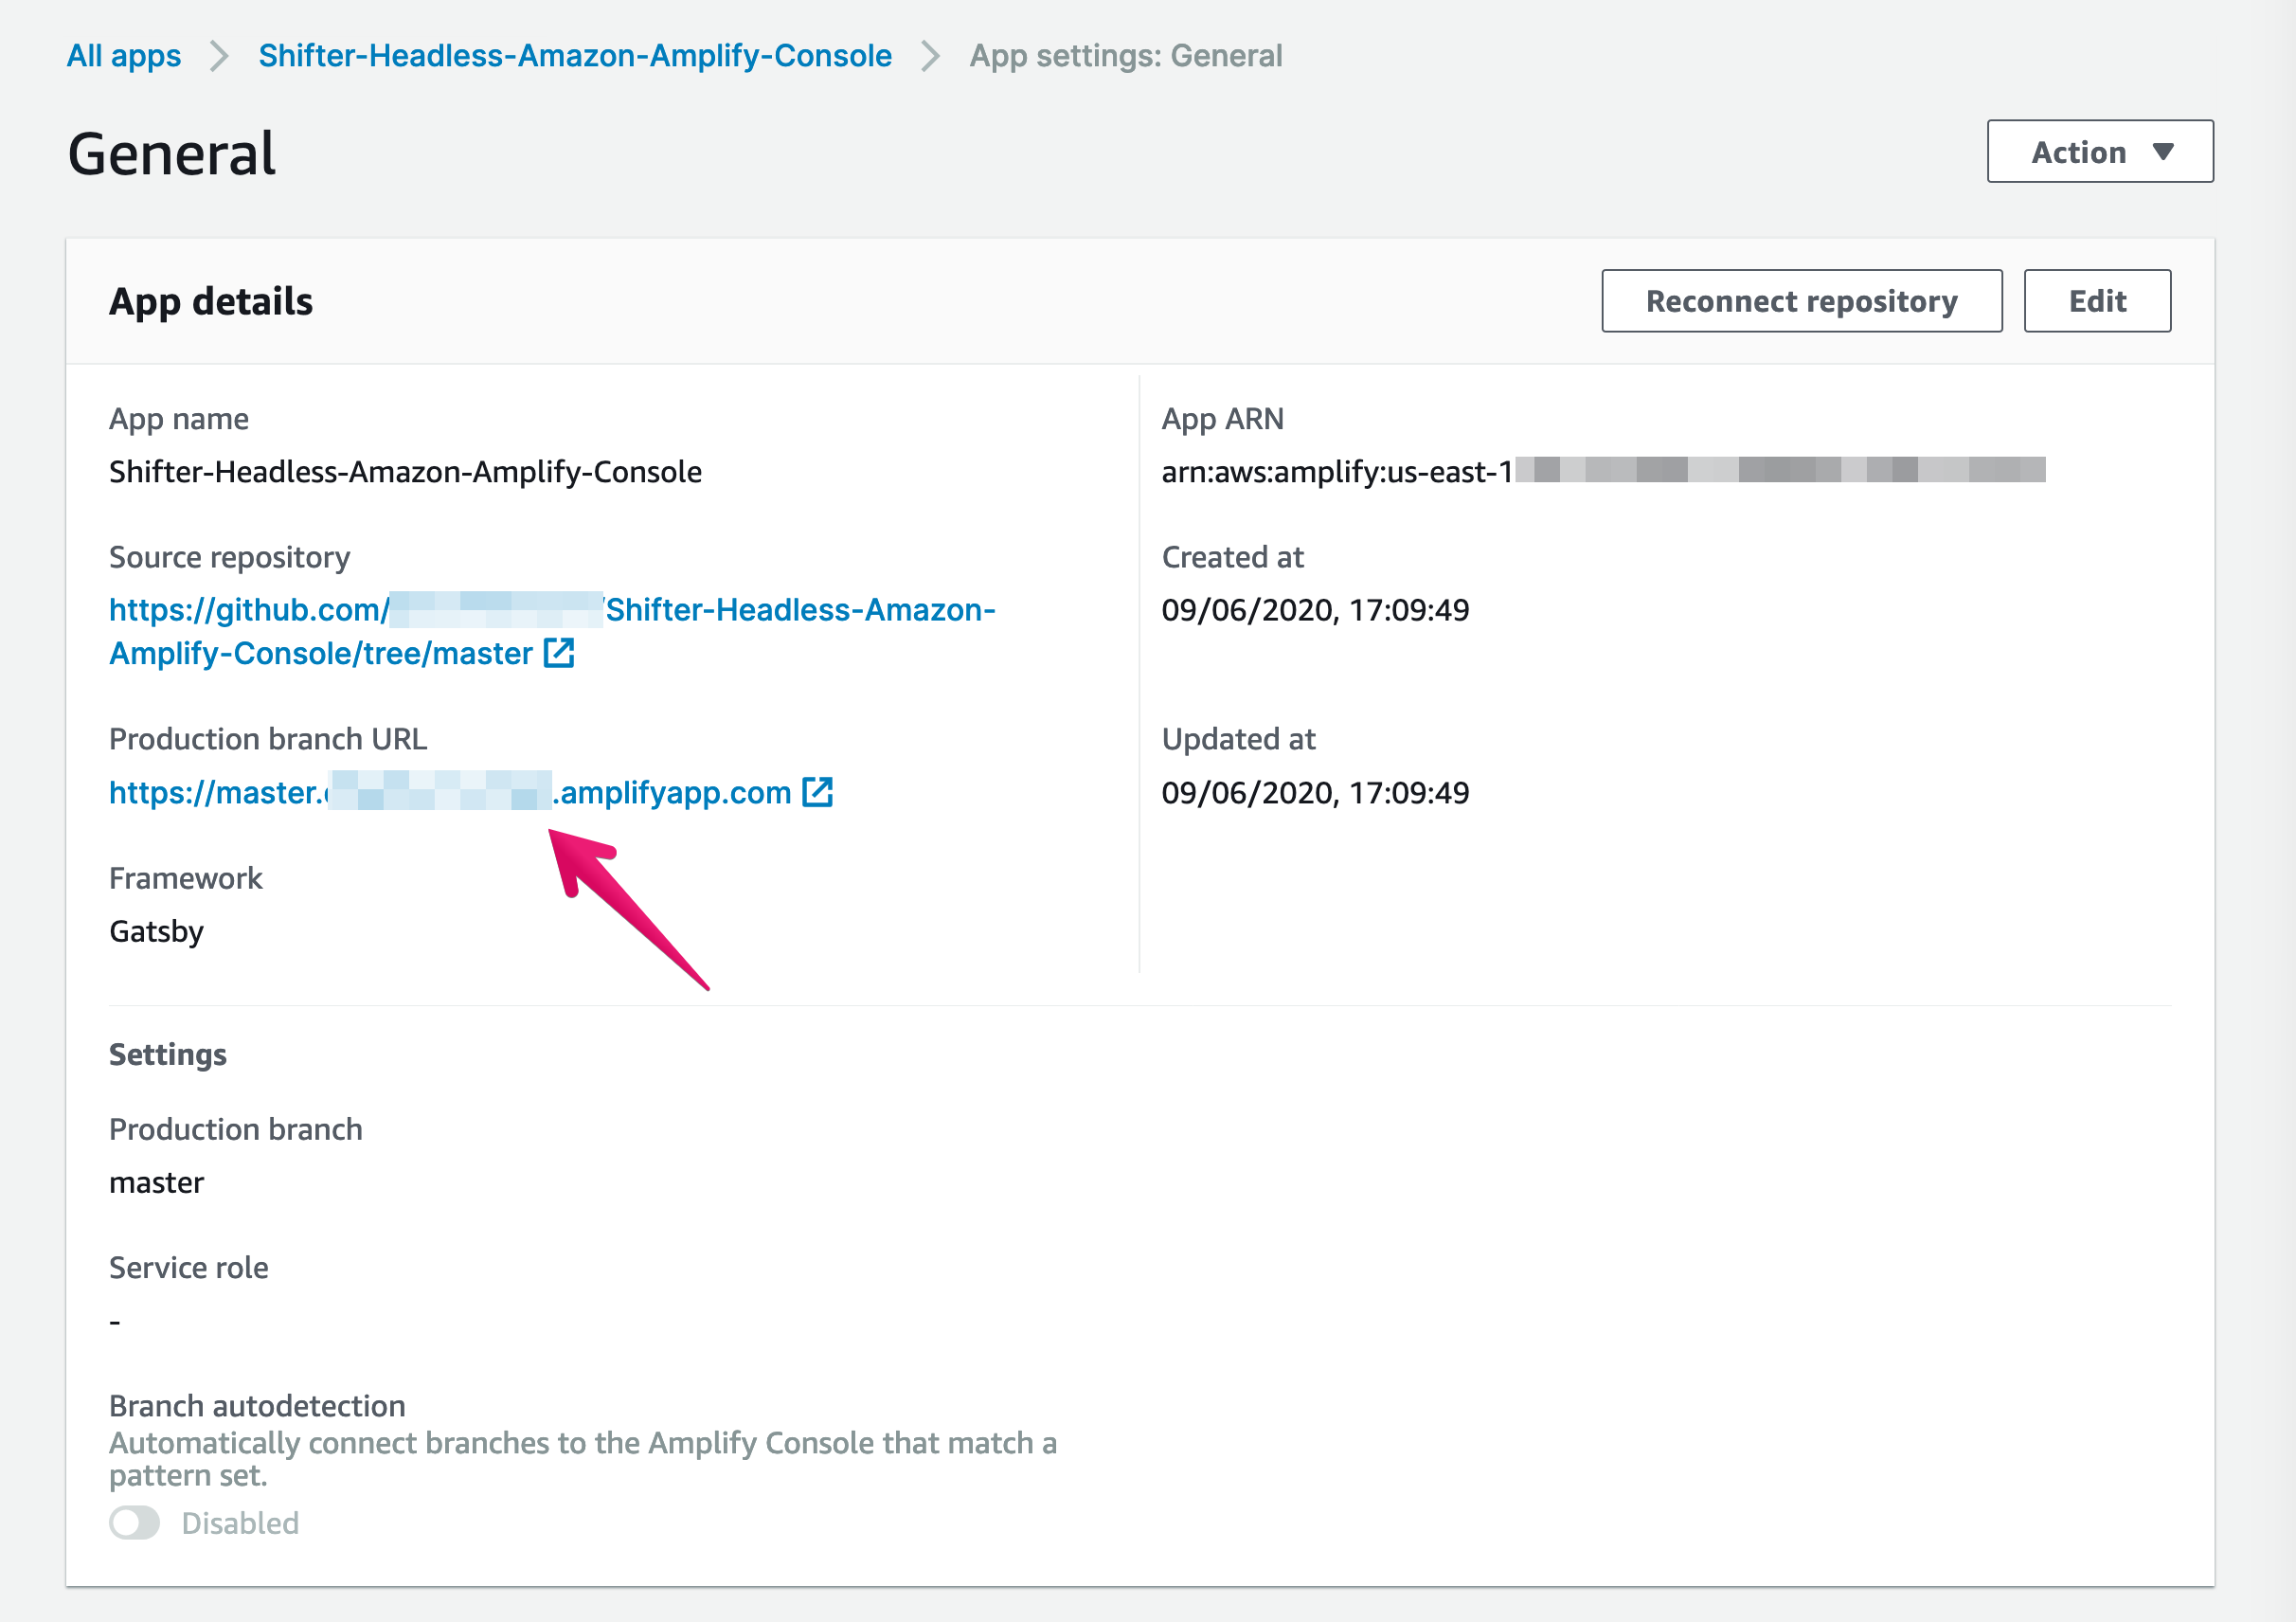
5. Access Production branch URL
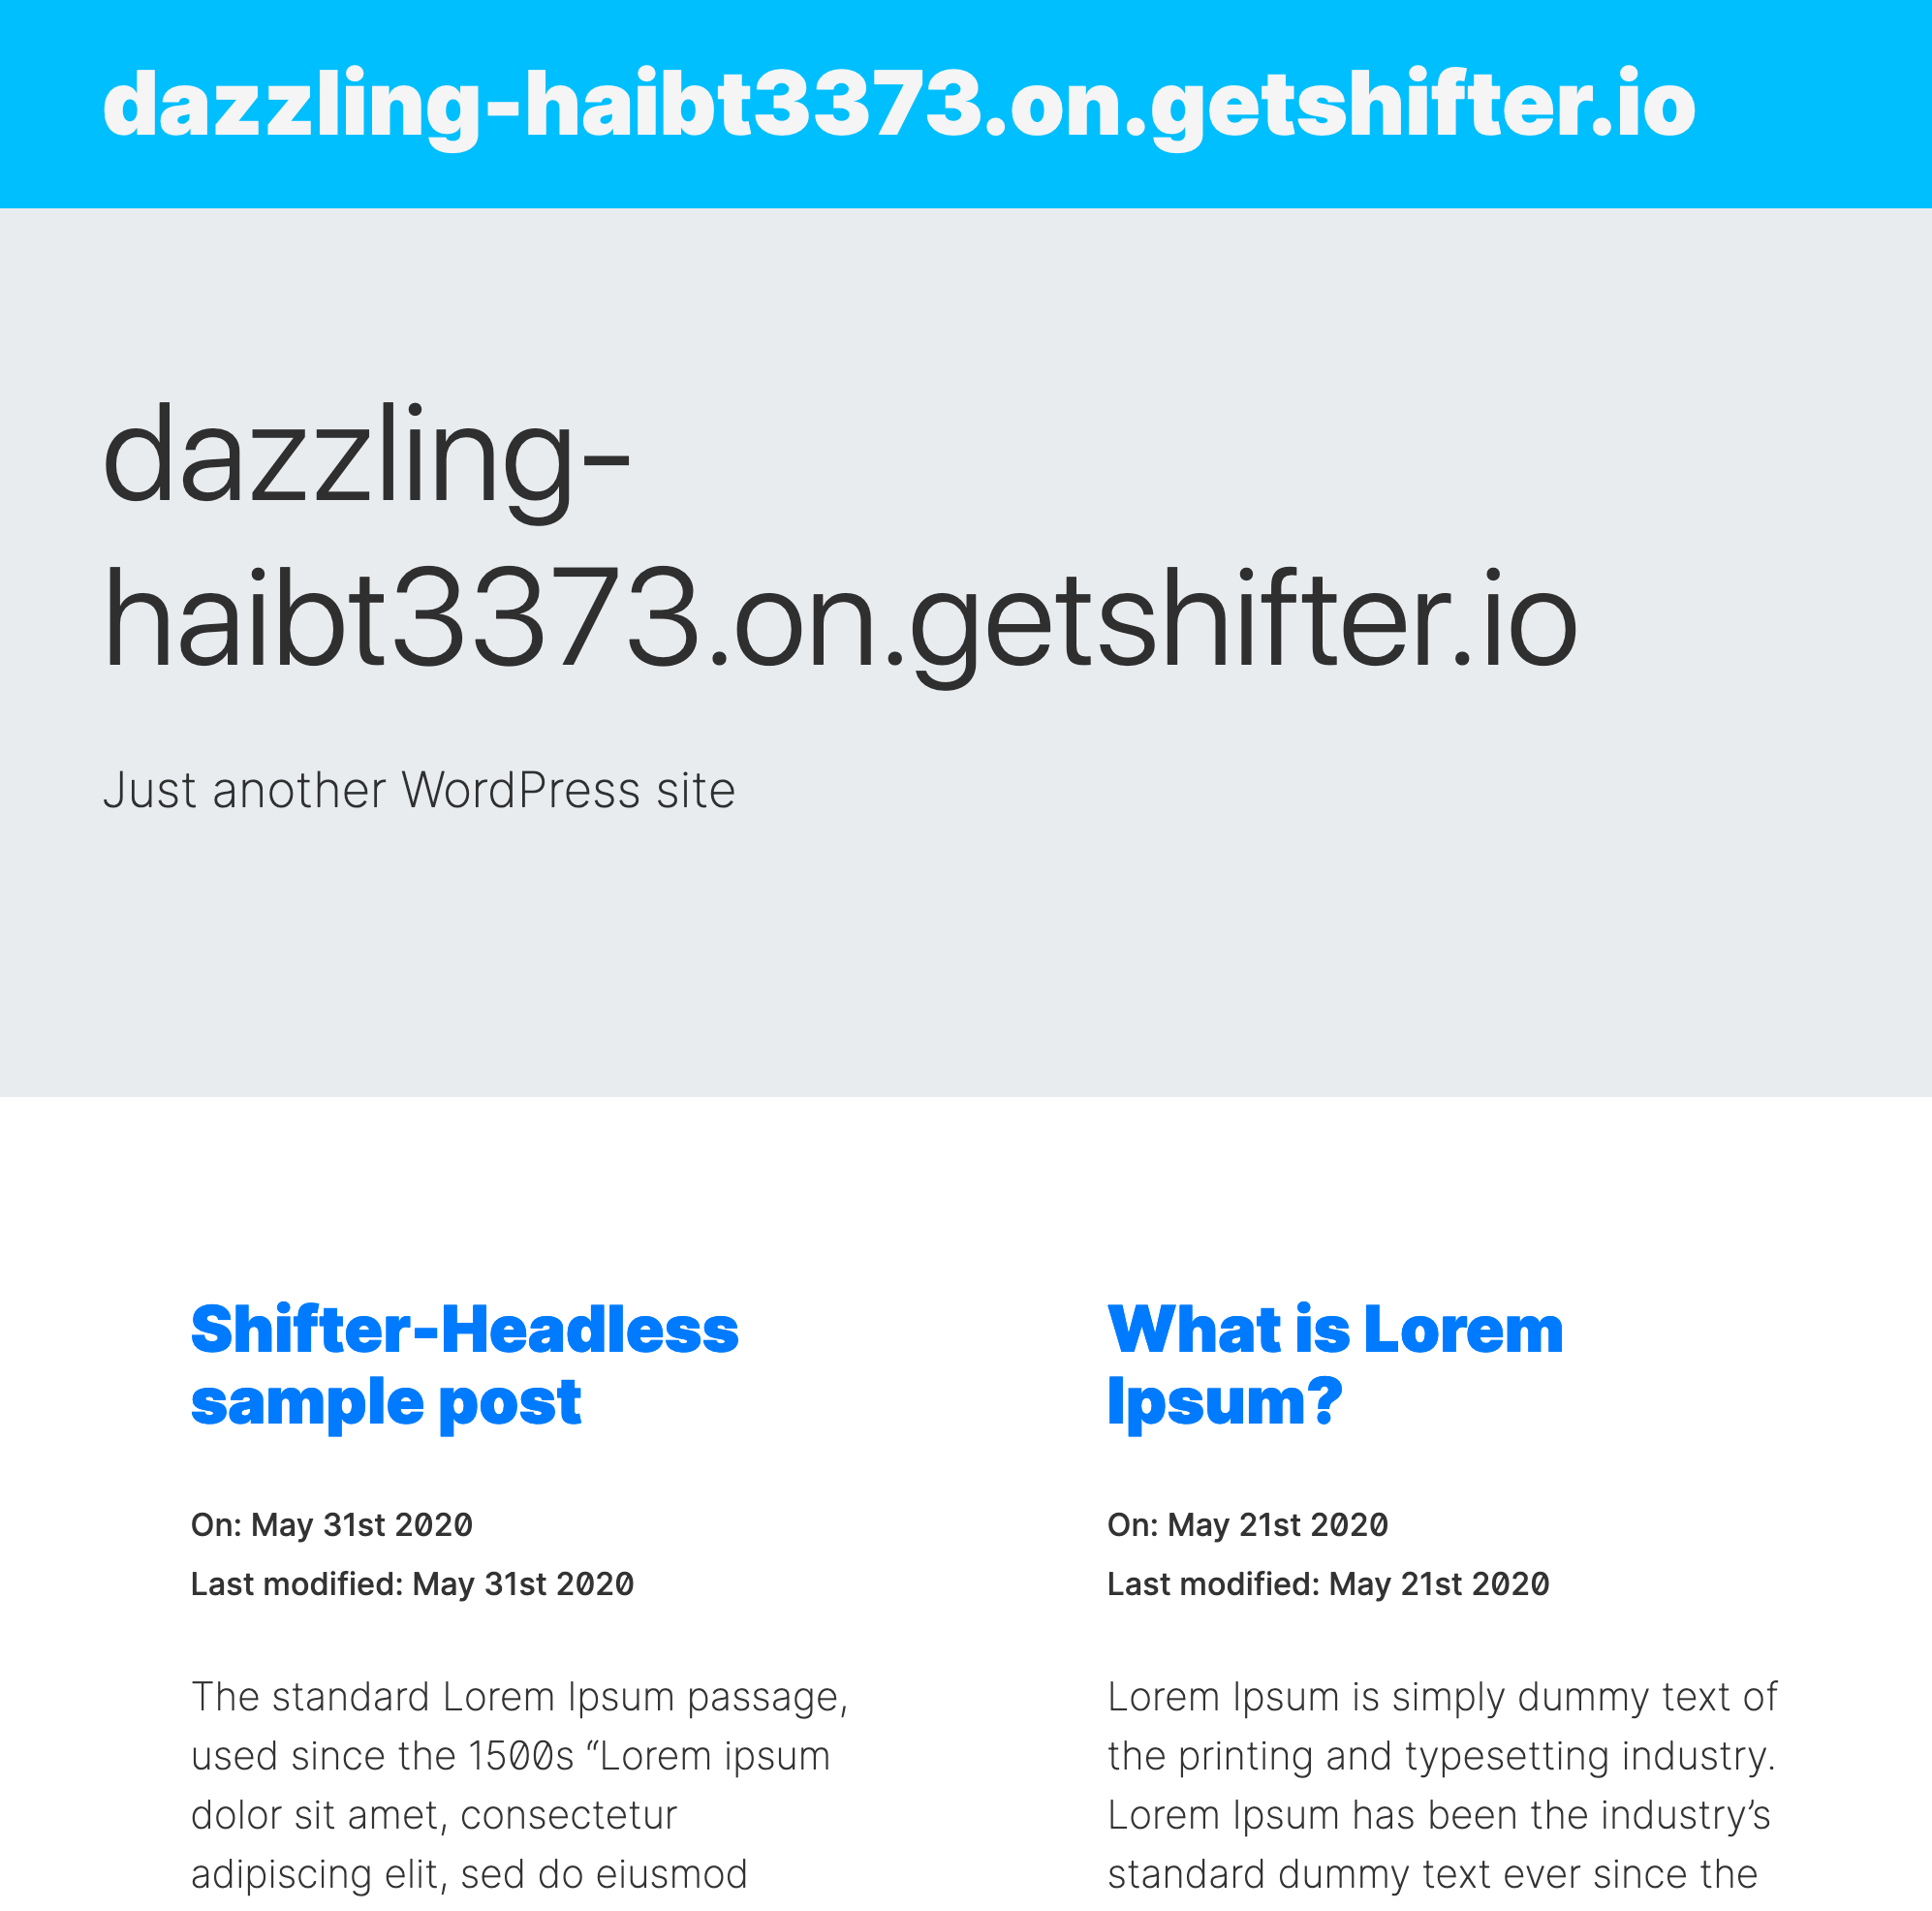
That’s all!
