
Previously, we introduced you to Shifter Headless and showed you how powerful integrations with Shifter Headless can be.
In this article, we will introduce you to the process of building a site as an Azure Web App with Shifter Headless that will support a wide range of platforms, languages, and content management systems. For this implementation,we will be using Gatsby for our front-end, Shifter Headless running WordPress for our backend data source, and Azure Web App for hosting.
Before You Start
Before we begin, take some time to sign up and familiarize yourself with the following services.
Official support documents are also very helpful for educating yourself on these services.
- Introducing App Service Static Web Apps
- Create and publish a static web app with Gatsby and Azure Static Web Apps
- Azure Static Web Apps documentation
- Tutorial: Publish a Gatsby site to Azure Static Web Apps Preview
Let’s try it out!
Install Gatsby CLI
If you haven’t yet, install Gatsby CLI and its dependencies in your local environment.
$ npm install -g gatsby-cli
Please note that NodeJS is required to install Gatsby.
Start Shifter Headless and Prepare Your Data Source
Choose an existing Shifter Headless site or create a new one. If you need to create a new site, you can find instructions for how to do so by using our official support guide.
Next, log in to the launched WordPress dashboard and prepare your cNext, log in to the WordPress dashboard and prepare your content. We’ll be using sample data from WordPress theme unit test project.
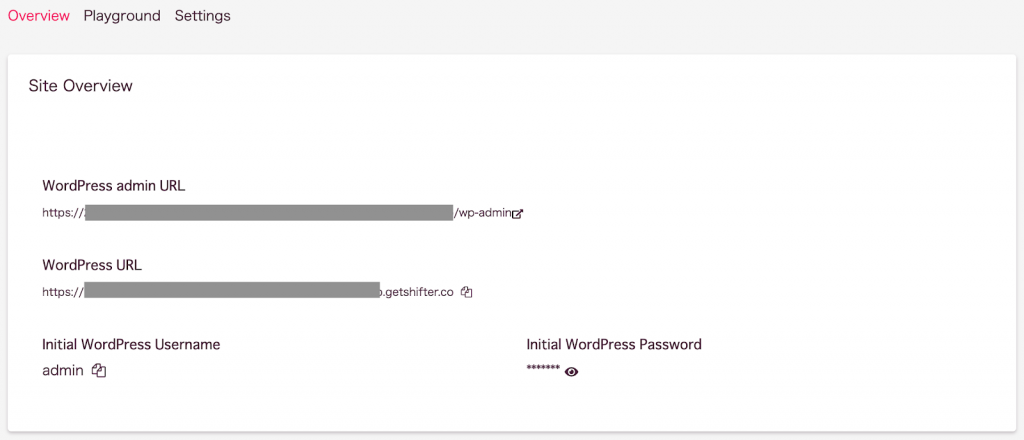
Make note of the admin, WordPress URLs, and credentials for your Shifter Headless WordPress site. You’ll need this for setting up Gatsby.
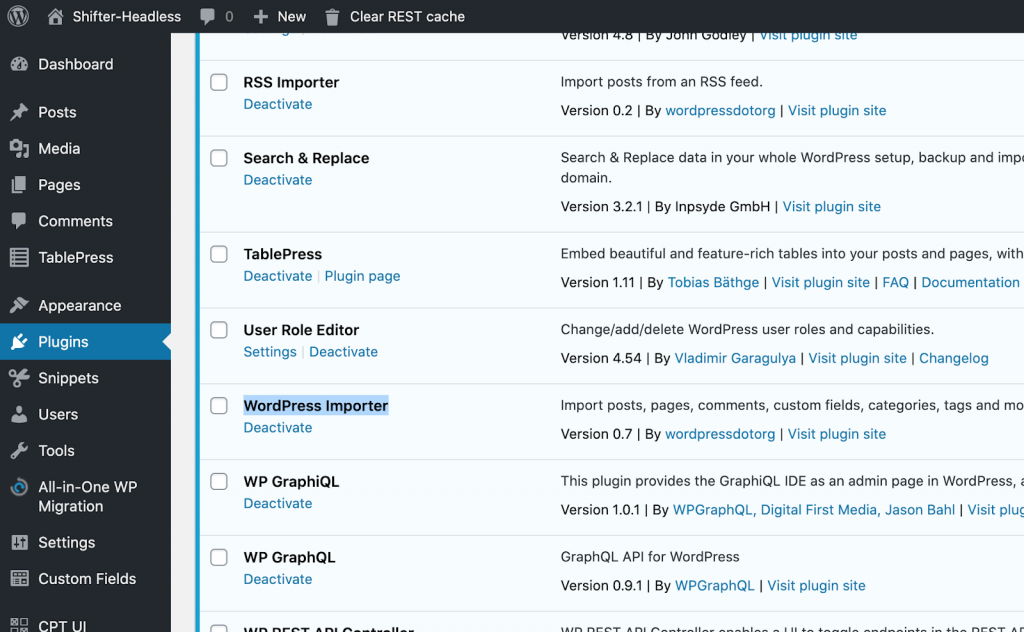
After logging in to the dashboard, use the navigation menu to go to your Plugins page and activate the WordPress Importer plugin.
Return to the Shifter dashboard and copy your WordPress URL, you’ll need it for the next step.
Clone The Starter Templates
We’ve prepared both Azure and Gatsby starter templates in advance.
You can also fork these templates to your own repo through the UI or cline them with the following commands.
$ git clone git@github.com:YOUR-GITHUB-USERNAME/Shifter-Headless-Azure.git Shifter-Headless-Azure$ git clone https://github.com/YOUR-GITHUB-USERNAME/gatsby-starter-wordpress -typescript.gitAfter you have cloned these repositories, switch to your new project’s location.
$ cd Created file nameThe files will now be saved locally where you can continue to edit them.
Edit Your Gatsby-Config file
In your Gatsby files, you will find a file called gatsby-config.js.
Go ahead and open this file and make the following changes.
First replace the baseURL with your WordPress URL that you copied in the previous step.
baseURL baseUrl: "YOUR-WORDPRESS-URL.getshifter.co",Next, update the searchAndReplaceContentUrls section with your WordPress URL
// Search and Replace Urls across WordPress content.
searchAndReplaceContentUrls: {
sourceUrl: "https://YOUR-WORDPRESS-URL.getshifter.co"",
// replacementUrl: "https://localhost:8000",
},your
Commit your changes and check them.
$ git add .$ git commit -m "update gatsby-config.js"$git push origin / masterSet up your Microsoft Azure Account
Sign in to your Microsoft Azure account or create a new account if needed.
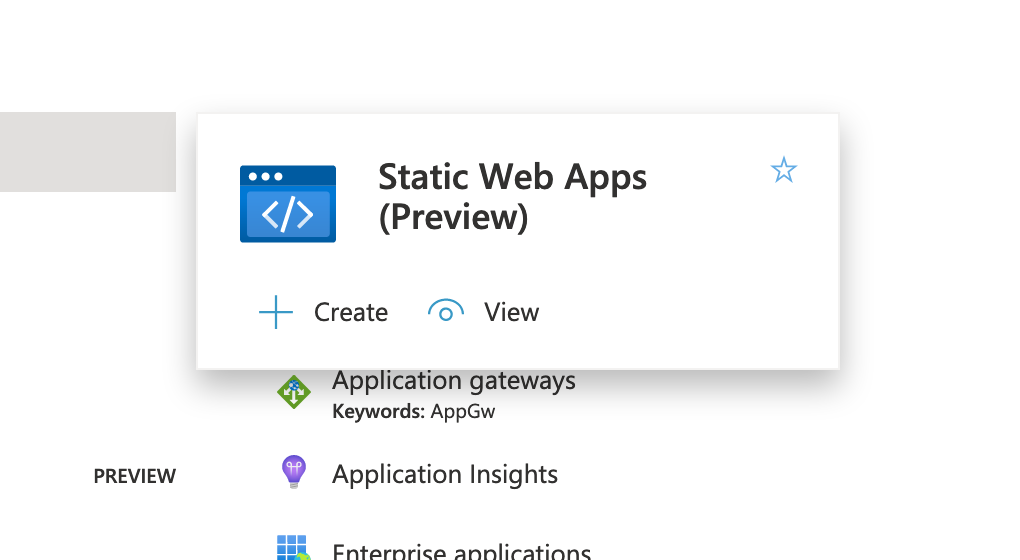
Select Static Web Apps
From the Azure Portal, search for Static Web App, and select it from the list of options and create a static web app.
If you don’t already have an Azure subscription, you will be asked to select how to proceed. The free trial is a good option and If you register a payment method, Azure allows you to continue to use their service for up to 12 months. Please note that Azure’s terms are dictated by Microsoft and are subject to change.
For full instructions for setting up your Azure account, be sure to check our official support document.
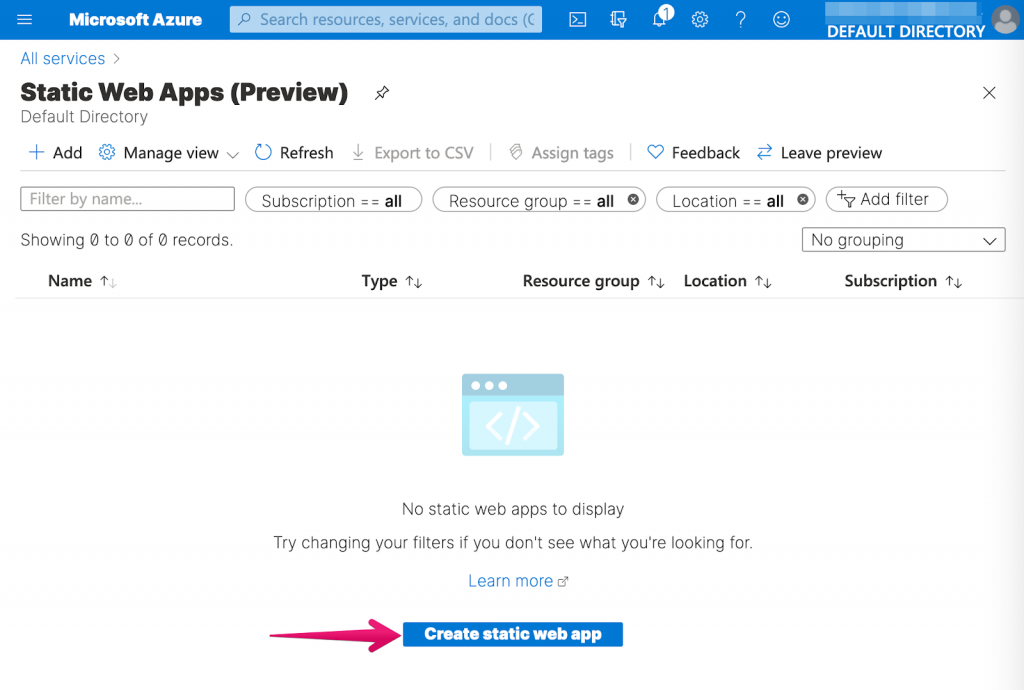
Click [Create static web app]
Fill in required fields and click [Sign in with GitHub] to connect your GitHub repository
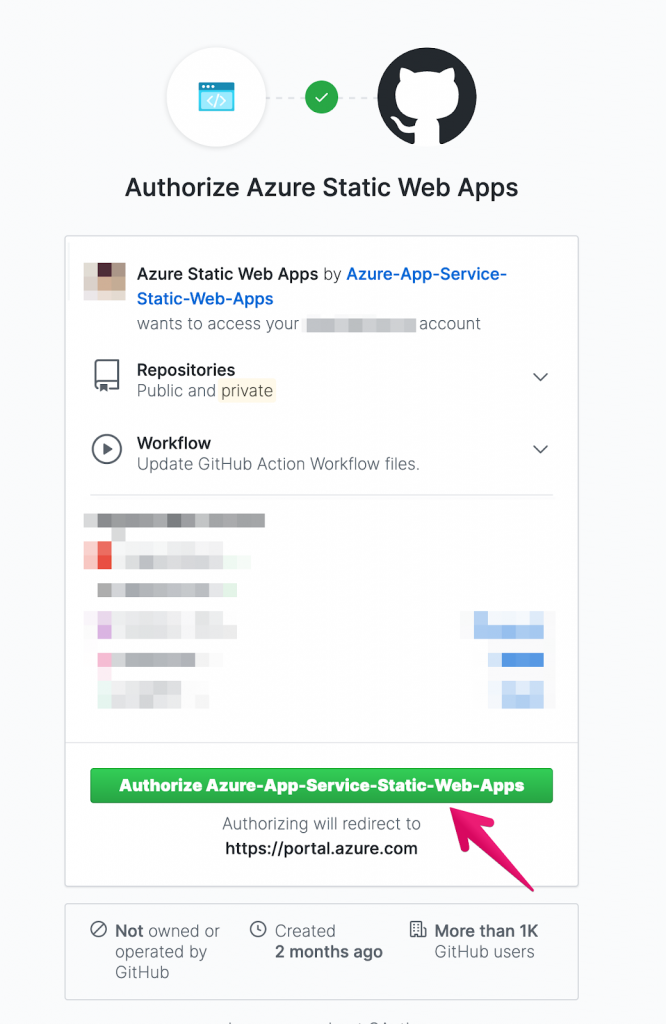
Click [Authorize Azure-App-Service-Static-Web-Apps] to authorise
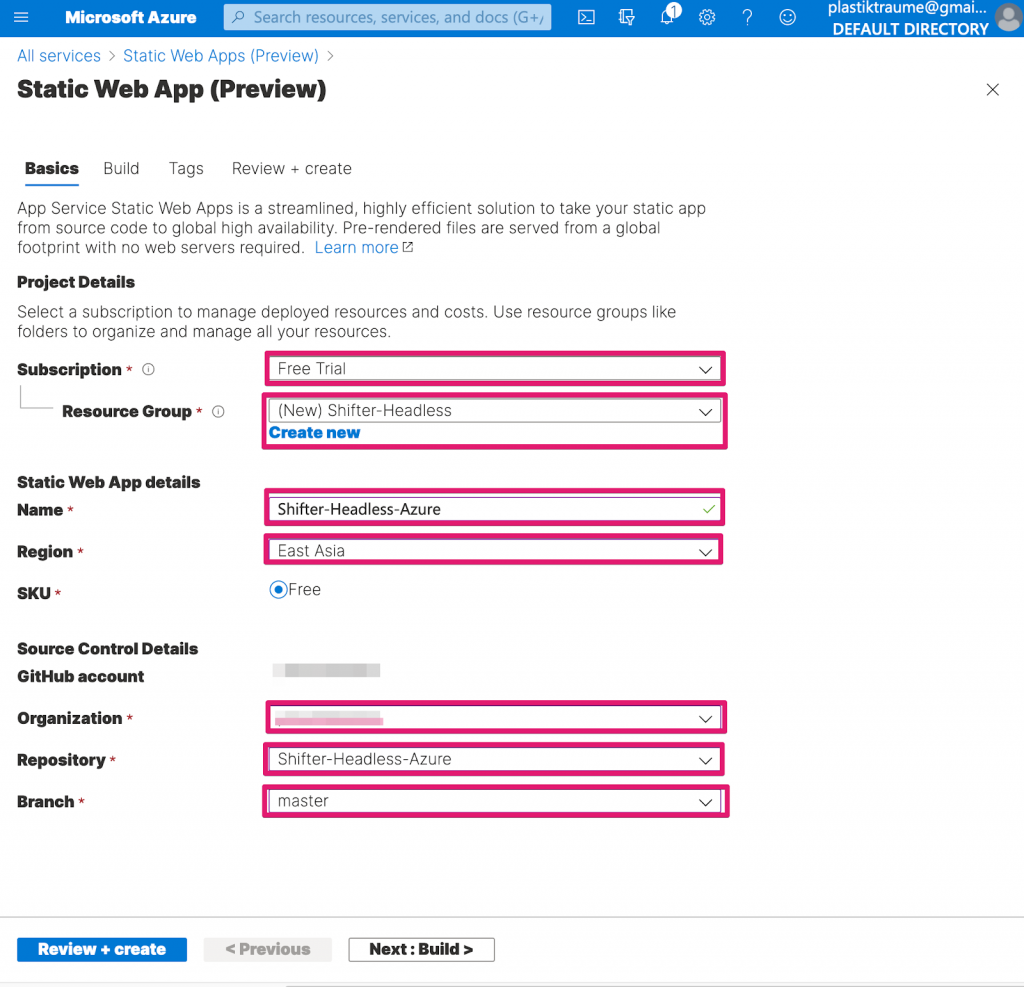
Fill in required fields and click [Next: Build>] button
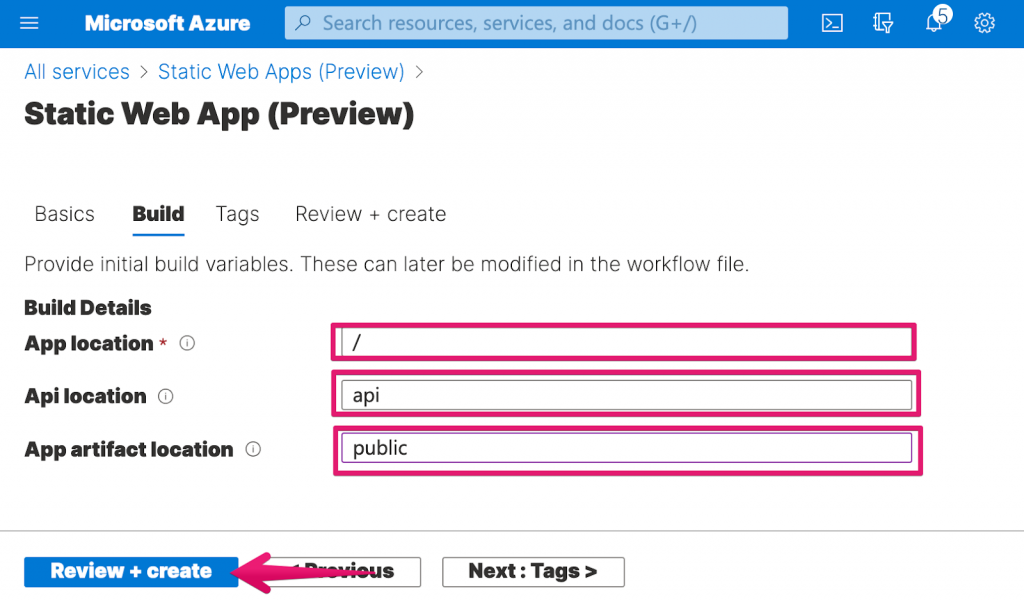
Fill in required fields and click [Review + create]
- App location: /
- Api location: api
- App artifact location: public
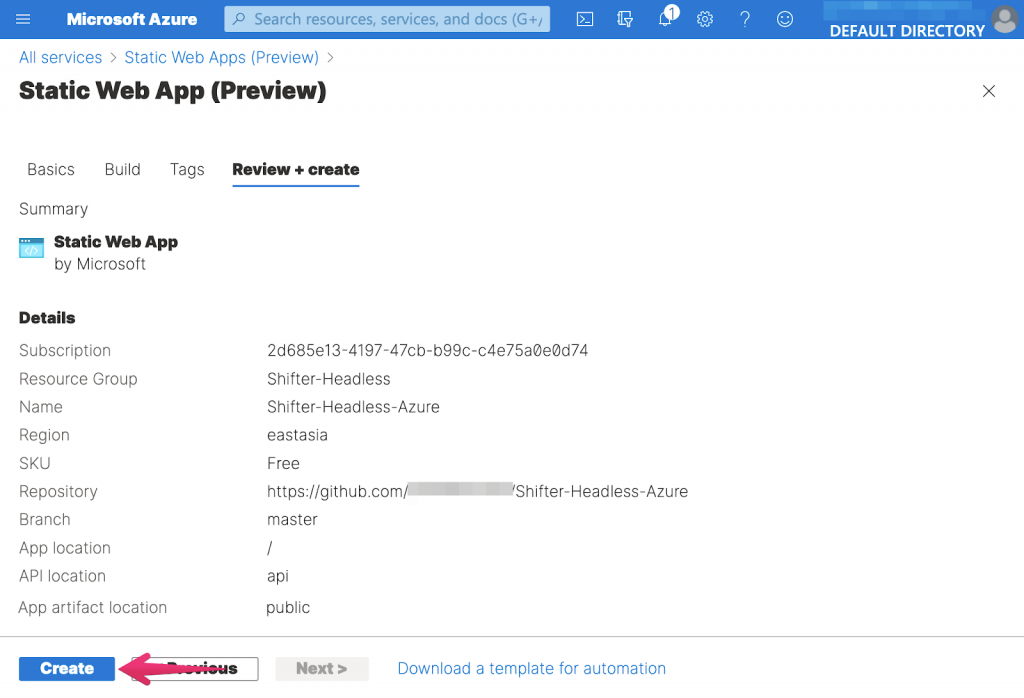
10. Click [Create]
Navigate to Overview and copy URL of Azure Web Apps
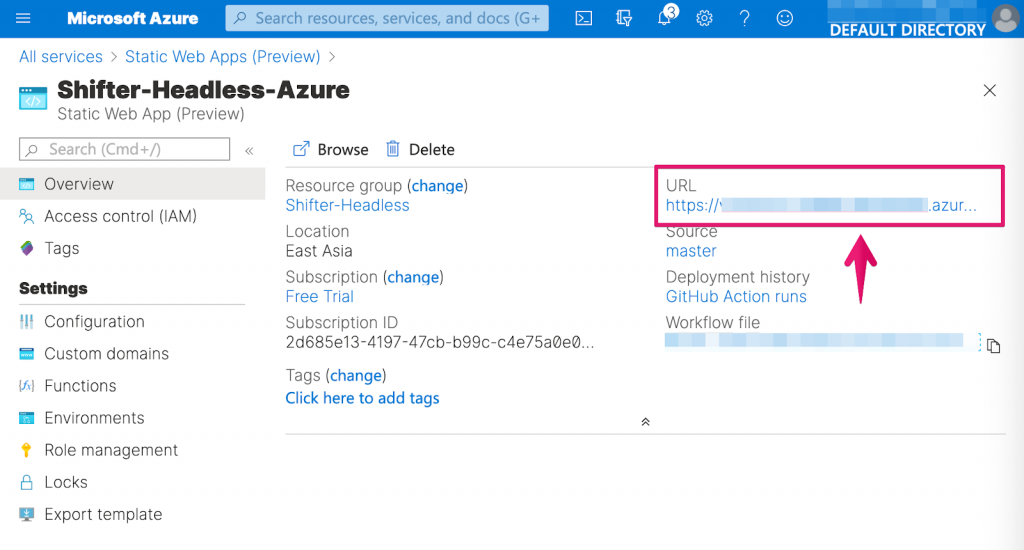
Click “Workflow file” to confirm GitHub Action had been created
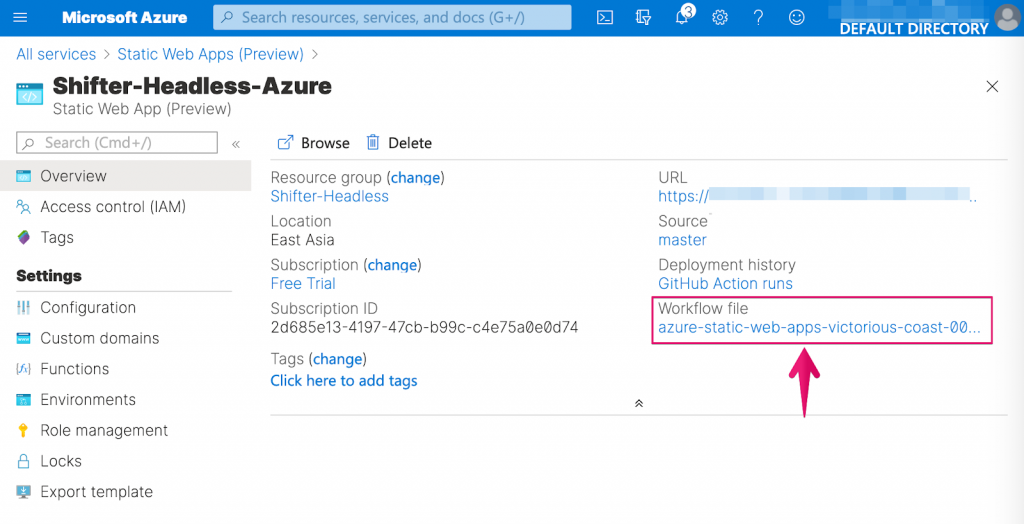
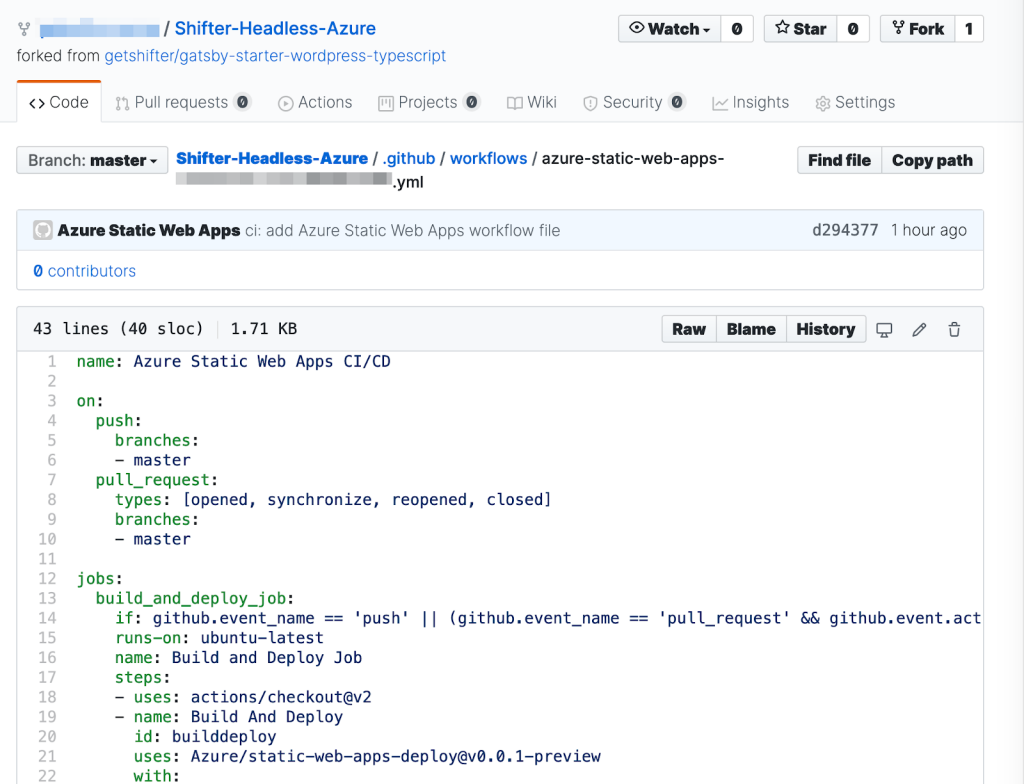
GitHub Action is created and the Azure’s workflow is also copied to the repository
Using the Start Kit for Gatsby Link
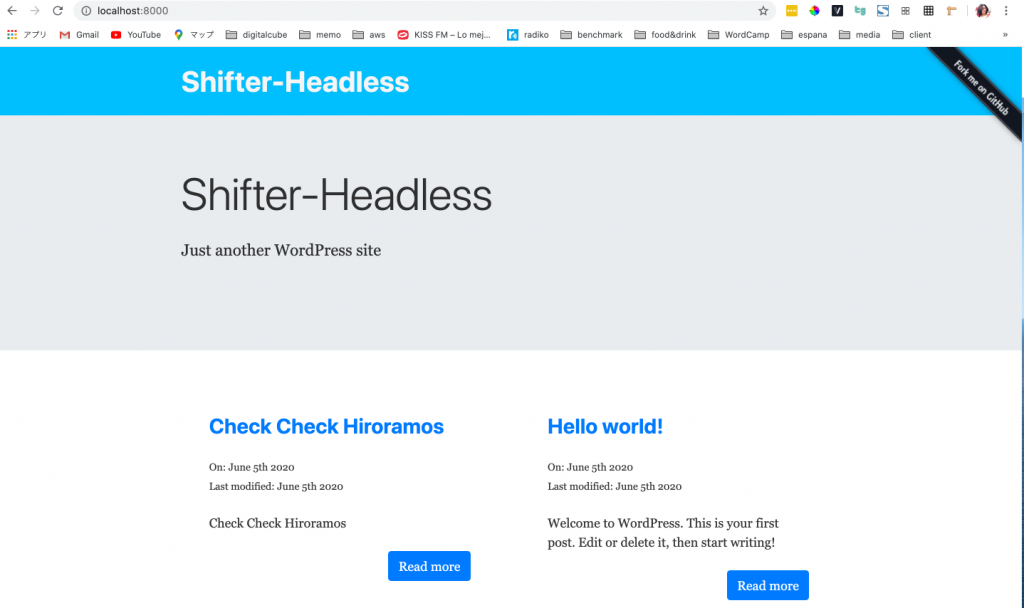
Run the following command to start the server
$ gatsby developYou can now visit view gatsby-starter-wordpress-typescript at ://localhost:8000/ in your browser.
And, you can explore your site’s data and schema at http://localhost:8000/___graphql
Note that the development build is not optimized for production. To create a production build, check your local version for errors and use Gatsby build to put your site into production.
Create a static file for deployment
Stop the local server by pressing Ctrl+C.
Store the static files created by executing the Gatsby build command in the public directory.
$ gatsby buildIf you get the following result, proceed to the next step.
success open and validate gatsby-configs-0.032s
success load plugins-2.378s
success onPreInit-0.005s
success delete html and css files from previous builds-0.036s
success initialize cache-0.013s
success copy gatsby files-0.103s
success onPreBootstrap-0.020 s
success createSchemaCustomization-0.003s
-> wordpress__POST fetched :40
-> wordpress__PAGE fetched :19
[.....]success Building production JavaScript and CSS bundles-12.085s
success Rewriting compilation hashes-0.006s
success run queries-12.560s- 6/6 0.48/s
success Building static HTML for pages-3.154s-66/66 20.93/s
info Generated public/sw.js, which will precache 6 files, totaling 236235 bytes.The
following pages will be precached:
/offline- plugin-app-shell-fallback/index.html
success onPostBuild-0.077s
info Done building in 56.884 sec
Access your project’s Github repository and confirm that the action is complete.
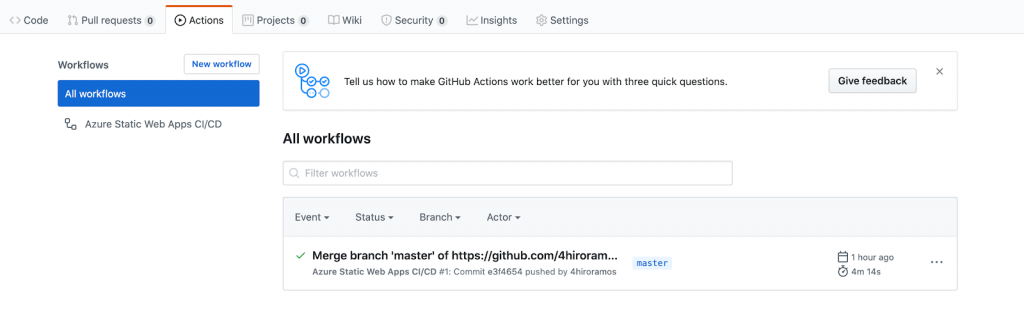
Confirm that the site has been published
Return Portal.Azure and click the Azure Web App URL.
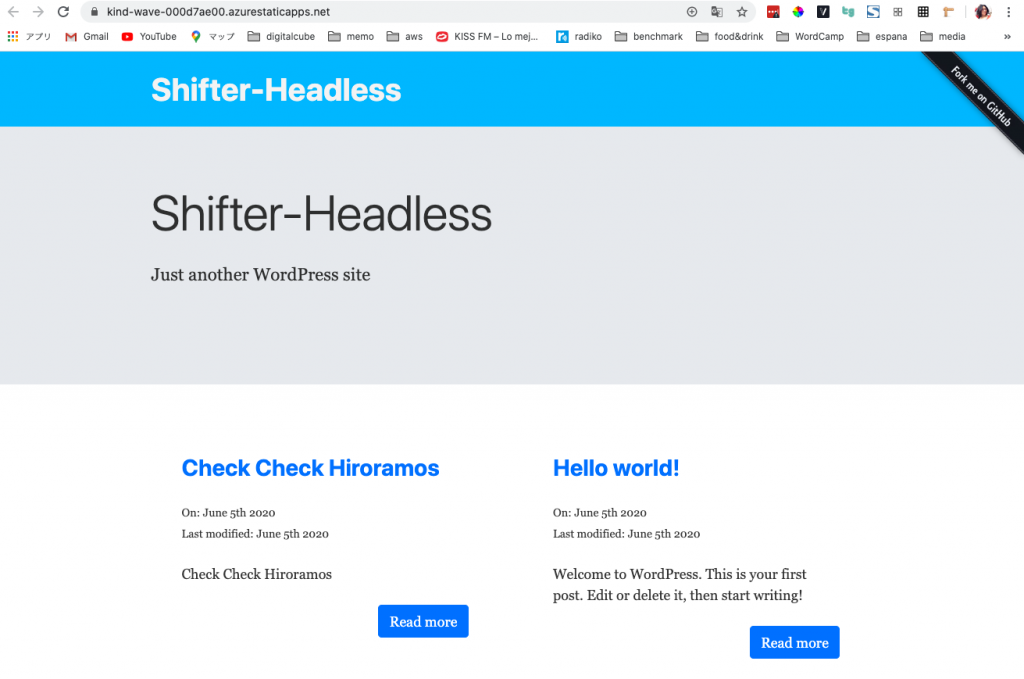
If you’re able to see your site, congratulations! Enjoy the results of your hard work. Next steps include setting up a custom domain on Microsoft Azure which is done through their portal.
Finally,
What we’ve covered in this tutorial has introduced a basic Jamstack configuration with Shifter Headless as the data source, Gatsby controlling our front end, and Microsoft Azure as our host. This is a setup that’s not only useful for creating websites with a headless CMS, but also for creating headless sites at scale.
If you decide to give this tutorial a try, contact us through social media or support chat and let us know how it goes. Your feedback drives our development, so we look forward to hearing from you.
