In this guide you will see the following:
- Enabling Algolia
- Starting WordPress and initial setup of plugin
- Starting a Shifter Algolia Search block
- Building the deployment and indexing Algolia
- Operation test
How to Video
Enabling Algolia
Login to your Shifter dashboard and select the site you want to add search to.
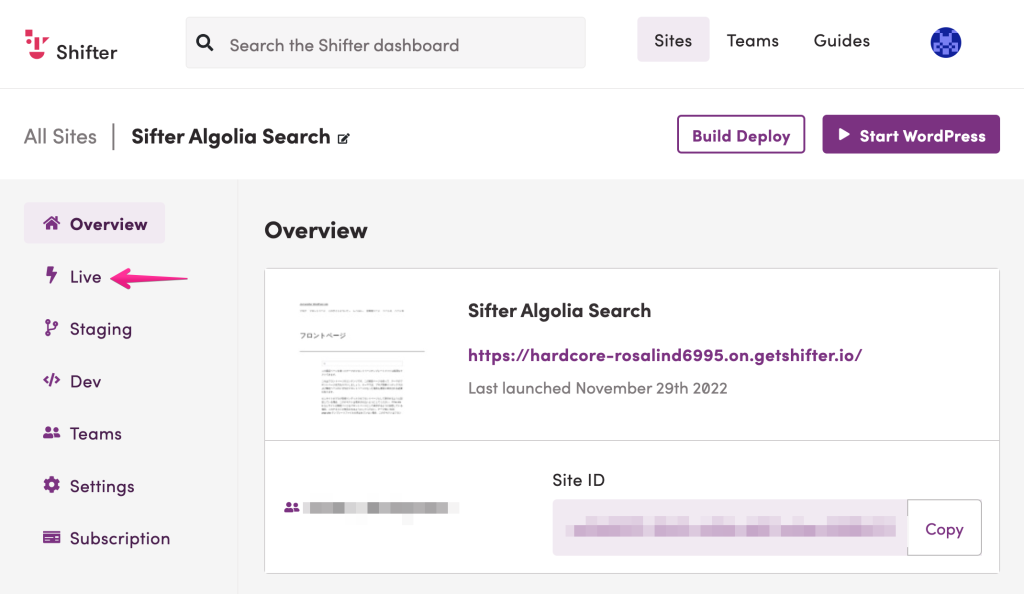
Click on Live in the left side menu
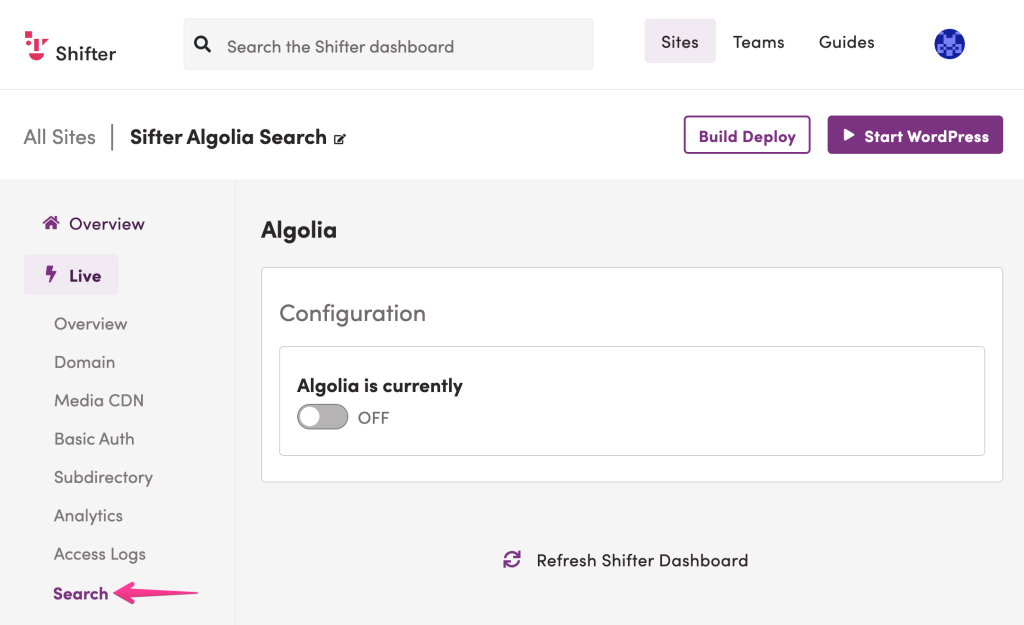
Click on “Search” from the sub-menu
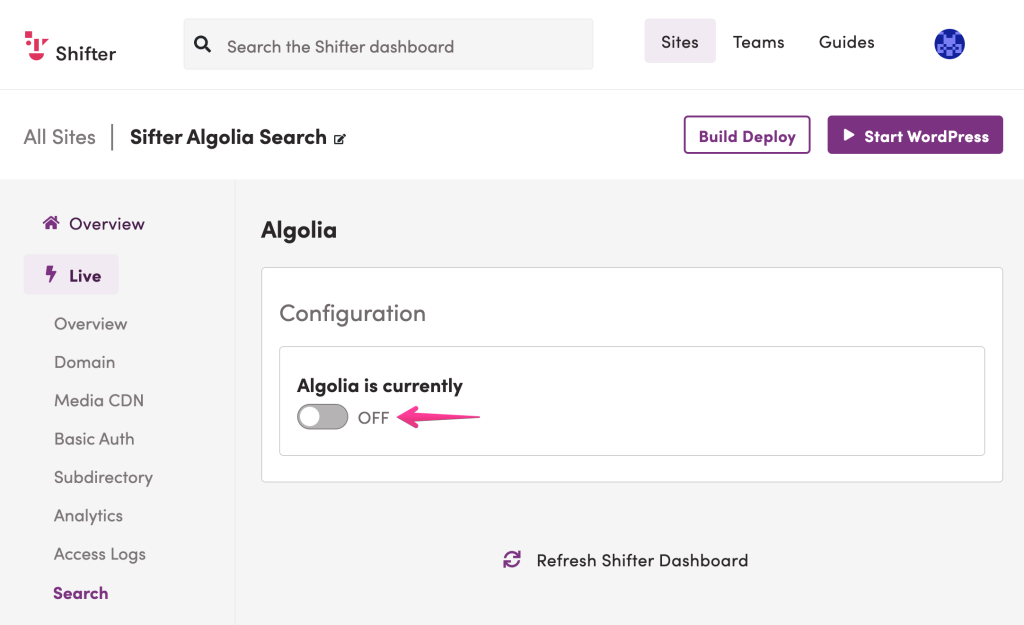
From here you can toggle search on/off by clicking the switch
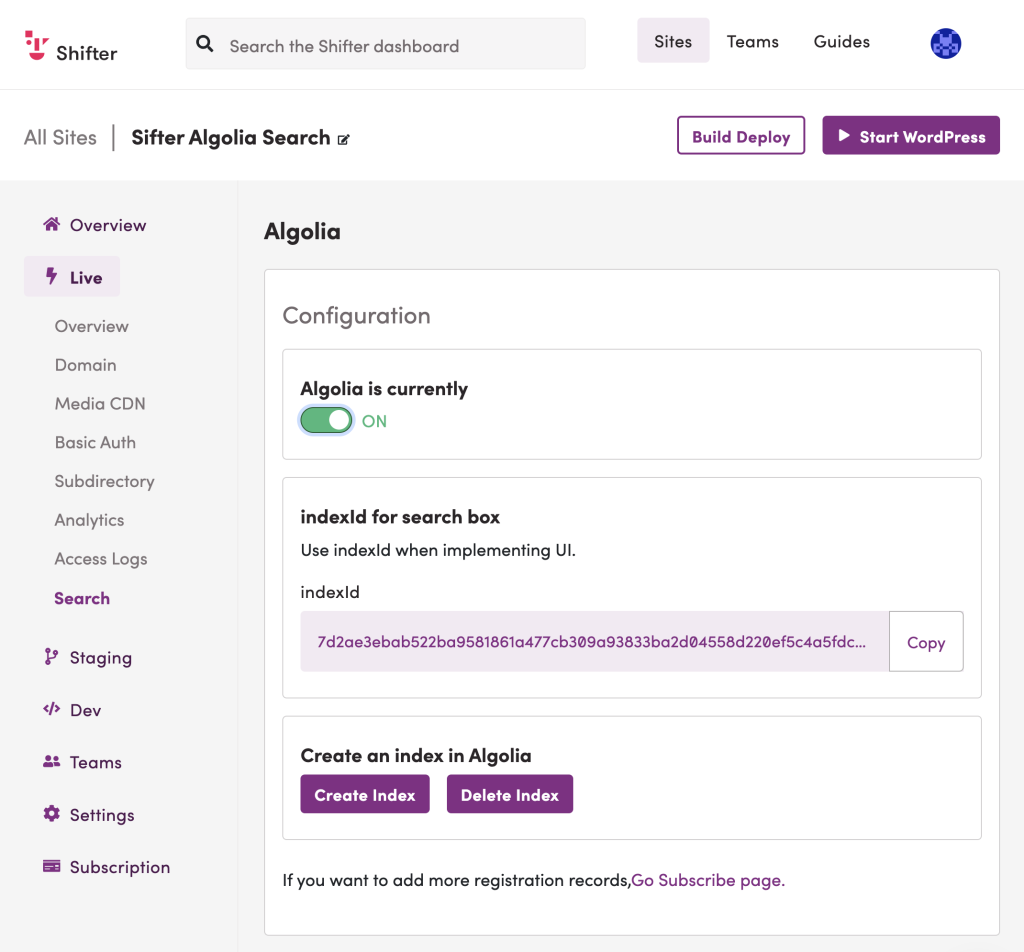
Search is now enabled and you should see something like this:
Starting WordPress and the Initial Setup of the Plugin
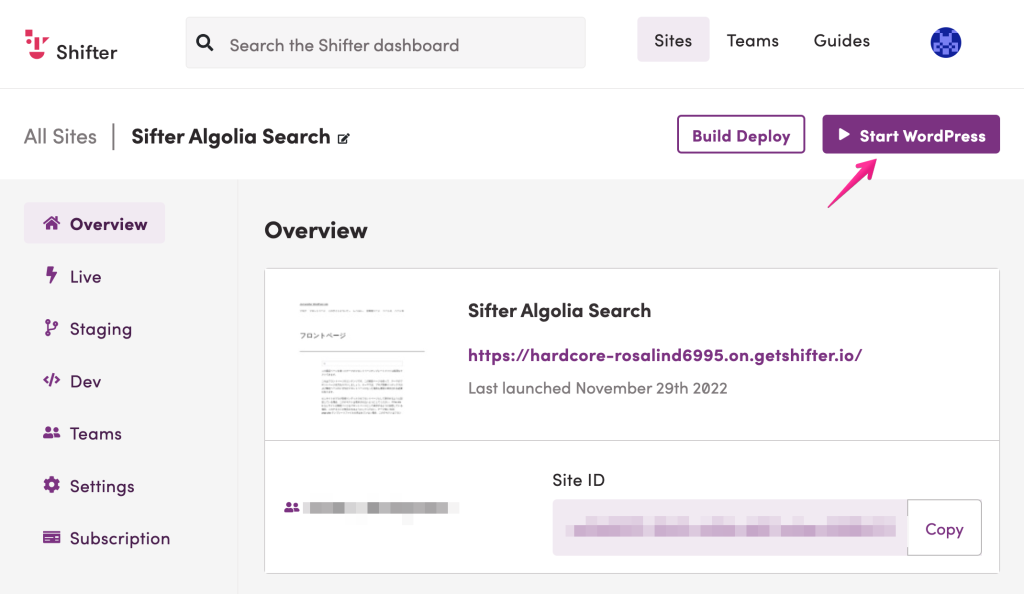
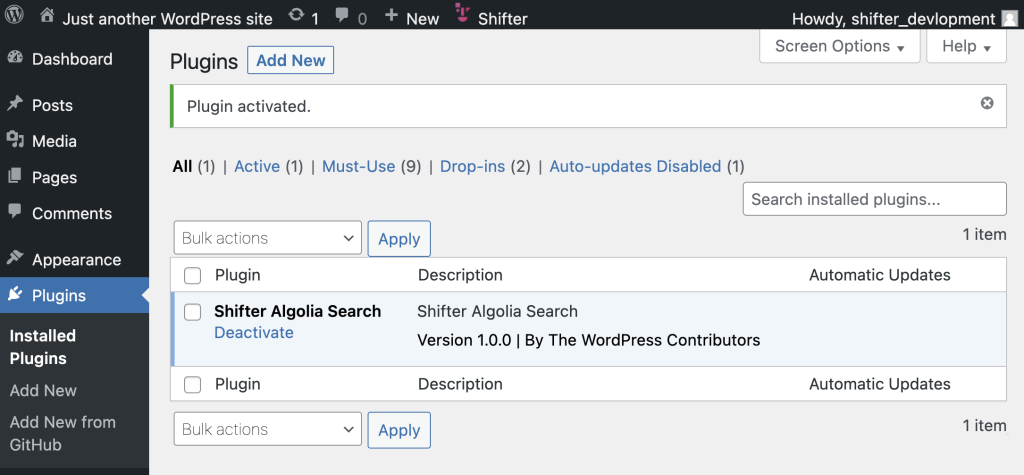
Start WordPress and go to the Plugins page to enable “Shifter Algolia Search”
Adding a Shifter Algolia Search Block
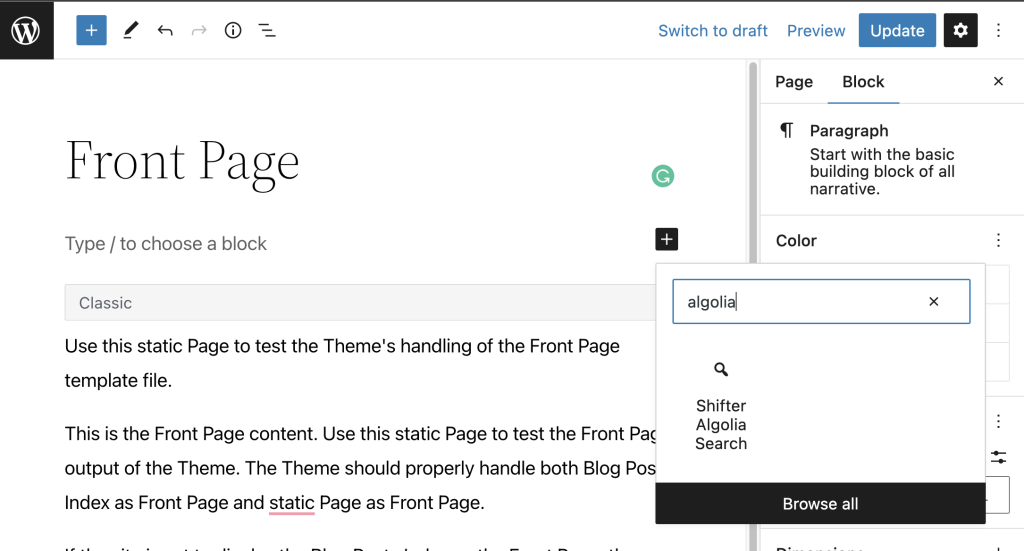
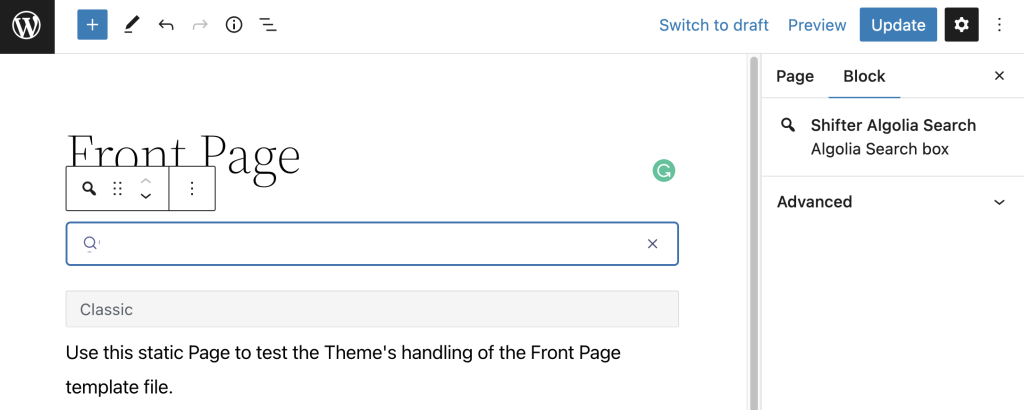
Begin editing your site and add a “Shifter Algolia Search” block. You should be able to find the block by searching for “Algolia” in the block menu
Building the Deployment and Indexing Algolia
Once your block has been added, go back to your Shifter dashboard, stop WordPress and build your deployment
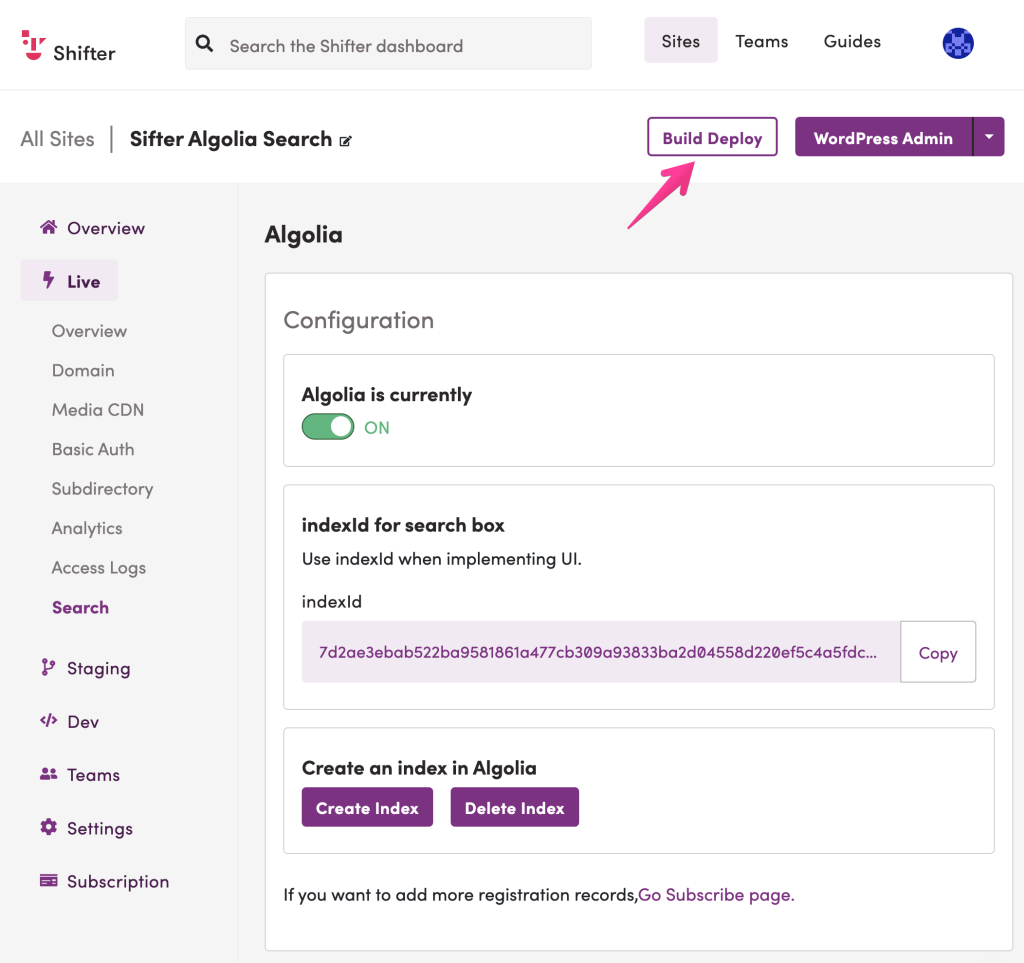
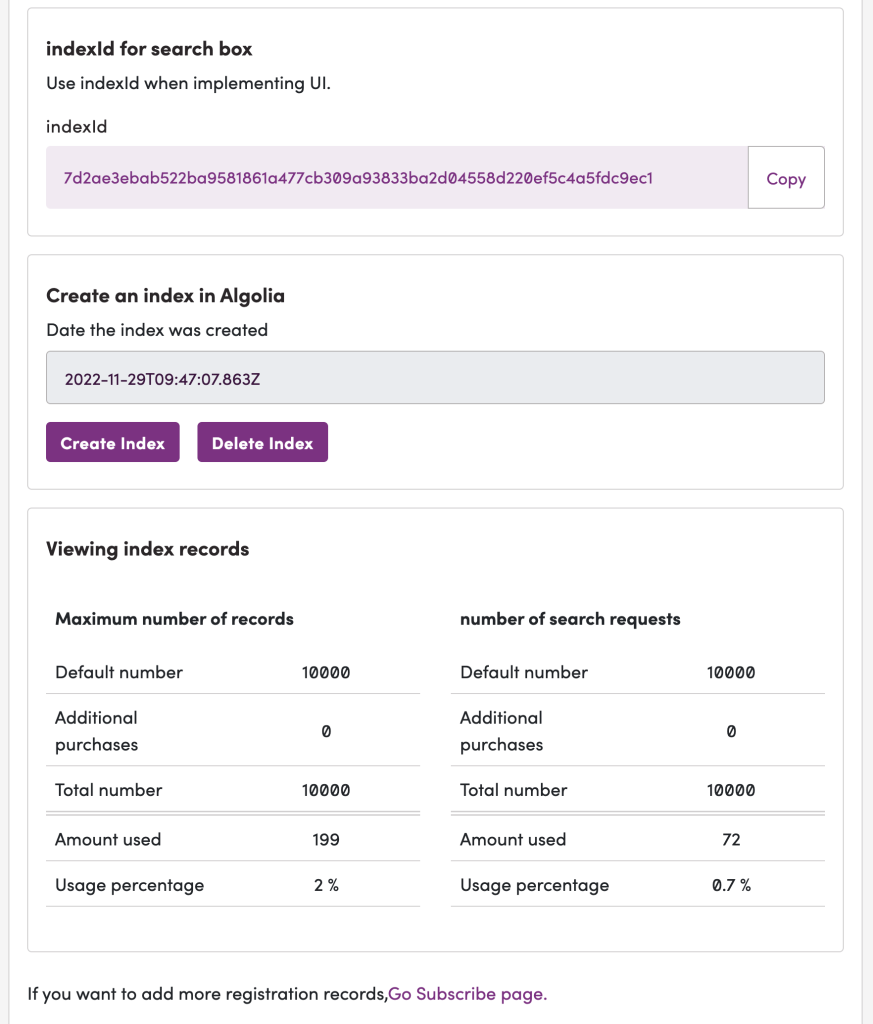
Algolia’s search index for your site is automatically created after your deployment has been created. If, after waiting for a while, this does not happen automatically you can click the “Create Index” button to do so.
A note about search targets in Shifter’s standard Algolia: Shifter’s standard Algolia indexes the contents of XML sitemaps output by WordPress so the subject, body, tags, categories, etc. are searchable. If you need to search for content other than what is included in this list, it is recommended that you create your own Algolia account and use the Algolia plugin, rather than Shifter’s Algolia plugin. For additional information please refer to the support documentation.
Operation Test
Navigate to the page containing your Algolia block on your published or live site
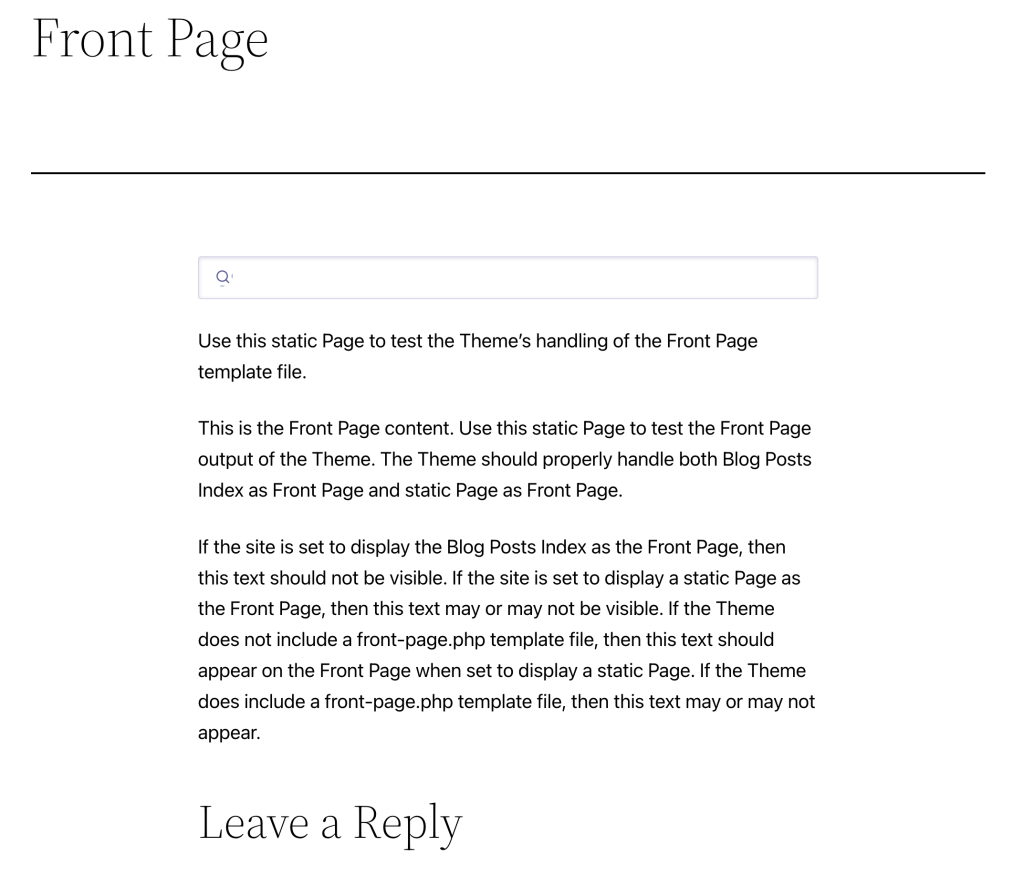
Begin typing in the search bar and live results will appear as you do so. Click on a search result to go to that page.
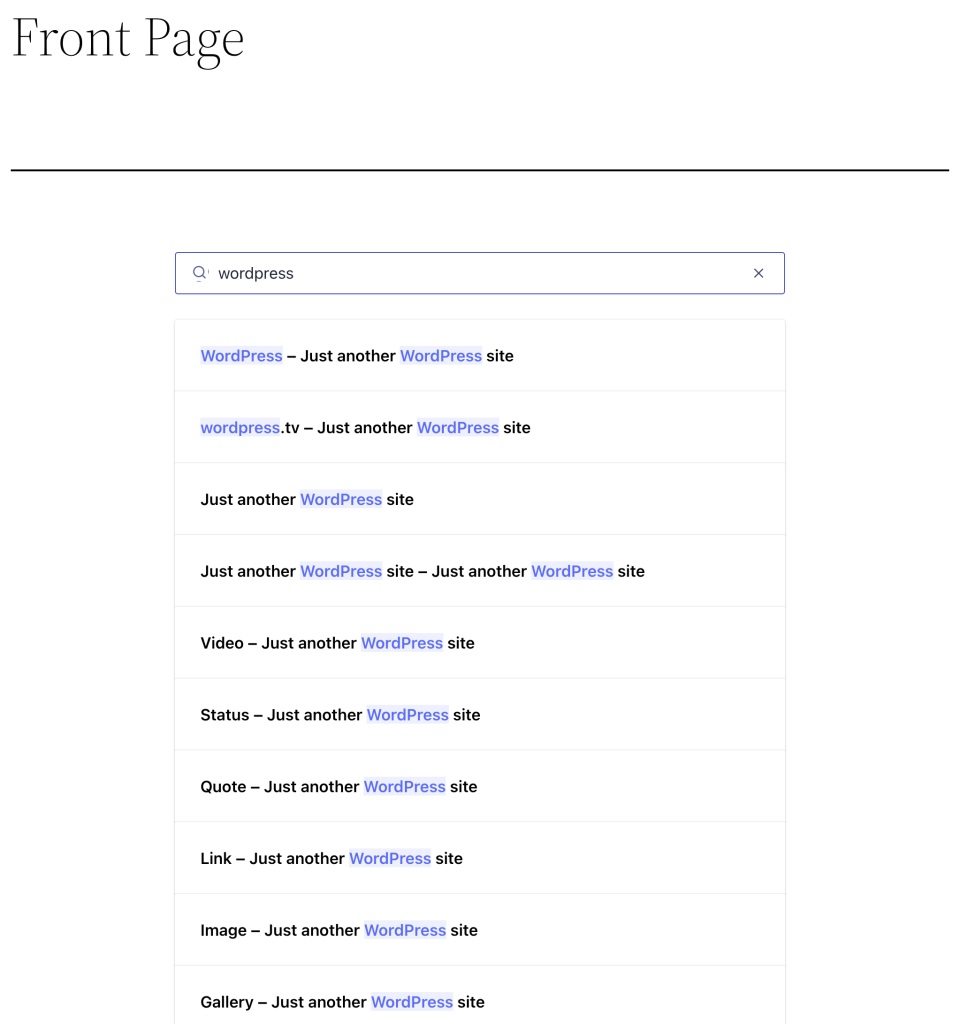
This concludes the settings for Shifter for Algolia Search, you should now have functional search on your site.


